The State of the Studio: A Closet!
Some of you may recall (from the dim past) that I was fixing up a space in the basement of our new house (we moved in early February…four months already!) to use as a studio. I blogged about it here in February and here in late March and here also in March and here about the display walls. Well…. we are nearing the end of the fixing up of stuff. The last major project was installing sliding design wall-closet doors along one side wall which conveniently had NO windows, doors or whatnot in it. Since the room is large (about 22×22 feet….honestly larger than I need but that’s what size it turned out to be when two weird smaller rooms were combined), losing 2 1/2 feet on one side wasn’t a big deal.
The closet is loosely organized into three zones: teaching, art supplies and quilt storage (from near to far corner).
When I proposed this to our contractor, I had thought something like the rigid foam insulation boards (which I’ve used successfully in the past as a design wall–used the last ones nearly 7 years and they are still doing fine) mounted on plywood panels (both 4×8 feet). John realized that the plywood would warp, so he did some research into a more stable but not-costly alternative. He found some 24″ wide hollowcore doors and figured the cost for glueing two together on a long side to create 48 x 90 inch panels, mount the foam core onto that, and then I covered them and he hung them from sliding tracks.
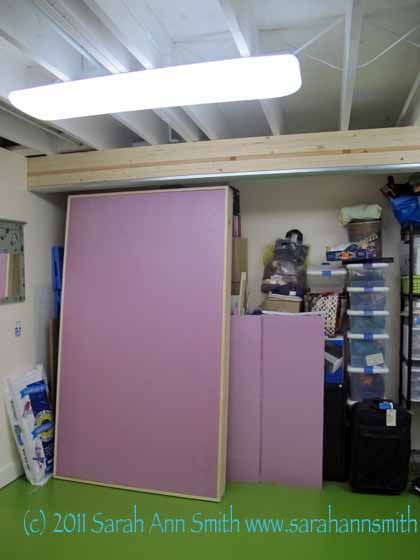
Some of the doors plus the leftover pink bits from the panels behind. Notice the wood above: John nailed boards to create a strong "top" from which to hang the doors.
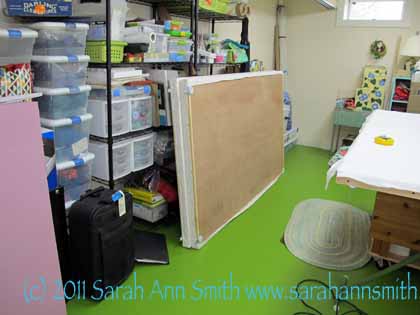
The back side of the first two doors that I "upholstered" to show the two (looks like one) hollow core doors used
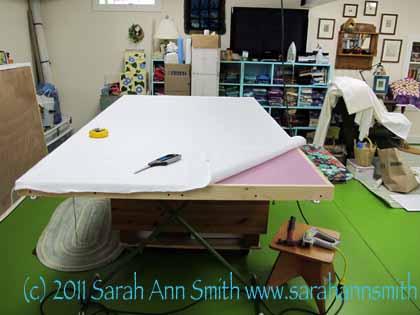
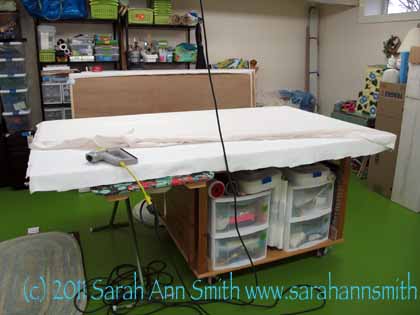
One of the closet doors on my work table to be upholstered. John framed out the doors with 1x trim to contain the pink insulation board and keep the edges crisp. Here I am layering up batting over the front, sides and top of the door. Notice the electric (!) staple gun...yes, electric....it is my best friend forever!
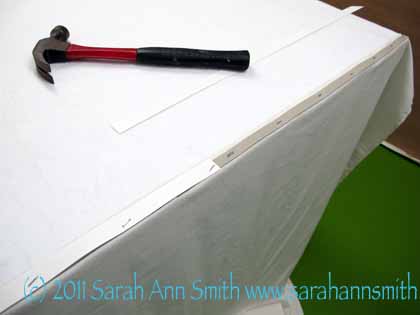
At the bottom, I didn't want the flannel covering etc to drag or make the doors balky, so I used an upholstering trick. I used strips of cardboard to staple the flannel to the bottom edge. When turned up the edge is crisp and doesn't pucker or ride up.
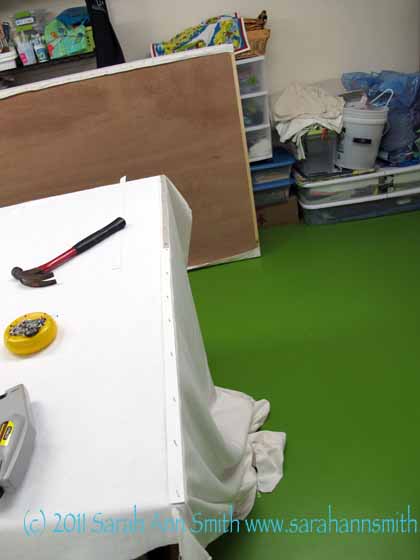
Covering up the gray cardboard with white posterboard. Wasn't gonna do that at first, but after doing the first one I hated the shadow effect, so I took out the staples and added the poster board (which is white and hides the gray shadow line). On the left there is white batting; the cream flannel I used (sheets from Lands End) is to the right. The flannel will be lifted up over the cardboard strip and stapled in place.
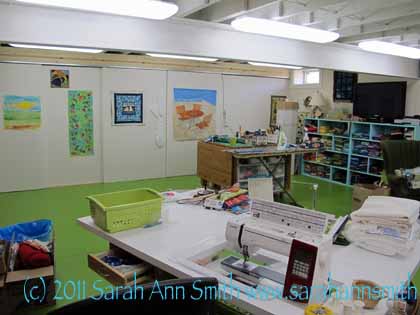
With the first stuff uip on the wall. From left to right, the table runner version of my Balinese Garden pattern (STILL waiting to be quilted), a piece for the Coastal Quilters Challenge, and my Frayed Edges challenge piece for our library show in July. More about the latter two items coming --soon I hope!
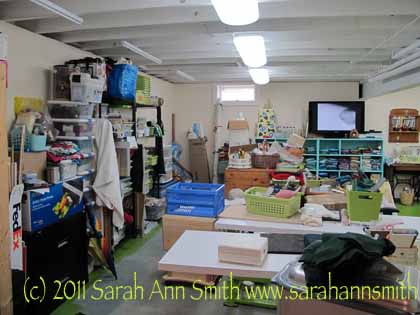
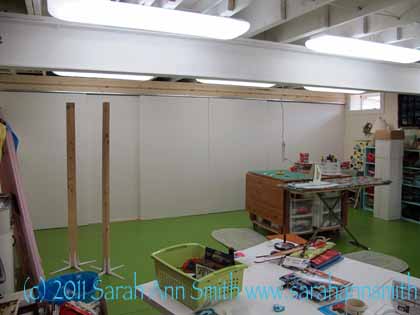
What I find appalling is that the closet is FULL!!!!!! I even had to store a few things (like the photography light stands seen in the photo where the doors are up but don’t have anything on them) elsewhere. My excuse is that about 14 feet of the closet is used for either business (storing teaching materials and supplies, books and patterns for sale) or quilt storage. For the latter, I’ve got an idea and hopefully that storage method will be a blogpost by the end of July…….depends on (the lack of) available time! That’s it for now…. just a few more things left to make this my quilty home!

June 19th, 2011 at 7:41 am
Awesome! Great to have your supplies under cover and a ginormous design wall to boot!
June 19th, 2011 at 9:11 am
OOOOH, I so love your ginormous design wall! Love it!!!! I’m so excited that your studio is coming along so well! Squee!
June 19th, 2011 at 9:52 am
How wonderful, a long wall of design space. So much space to have multiple progects going and you can see them all. Great!
June 19th, 2011 at 9:54 am
Great space and great doors! I think 22 x 22 is about perfect. 22 x 44 would be good too! lol!
June 19th, 2011 at 11:23 am
22 x 22 – big enough??
revisit that comment in 1 year, 2 years, 10 years!
We fill the space we have.
15 years and counting for me!!!!
June 19th, 2011 at 12:03 pm
This is fantastic. I think I need to show this to Mr C.
June 20th, 2011 at 9:06 am
Sarah how fantastic, I had to smile when you said you had already filled it but it is nice it’s to have stuff out of sight and I imagine much easier to get at what you want/need, now do you think your contractor would like a working holiday in Scotland I really must find a joiner to finsh the last room that needs work in my house, look forward to reading about the coming projects, Frances
June 21st, 2011 at 12:58 pm
I can dream…. Looks great.
July 8th, 2011 at 5:09 pm
What a fabulous space!!! Love it and am jealous.