Conversations, Part 1–the idea, the photos and starting work
When my fellow Frayed Edges and I started talking about the “Letters” challenge (see the posts in July about our Frayed Edges show at the Camden Public Library), I was working on my online lino-cutting class with Dijanne Cevaal (posts here and here and here and here). I wanted to use writing on the fabric similar to how Deborah does, and also to perhaps make some linoleum blocks or screen prints to print onto the fabric. As I thought about the title for my pieces, I thought about the conversations that happen at the lunch tables at the Getty Museum…
and realized that words make letters make conversations. Then I realized that it wasn’t just about the literal conversations, but about the interplay, or the conversation, between the sky and stunning lines of the architecture, between the museum patrons and the artwork, between the straight and curved lines in the buildings, between the buildings and the equally stunning landscape. Conversations among the elements and principles of design–line, shape, form, harmony, rhythm, contrast, repetition…. and finally, the conversation between me and the materials: white cloth, dyes I used to color the cloth, and thread.
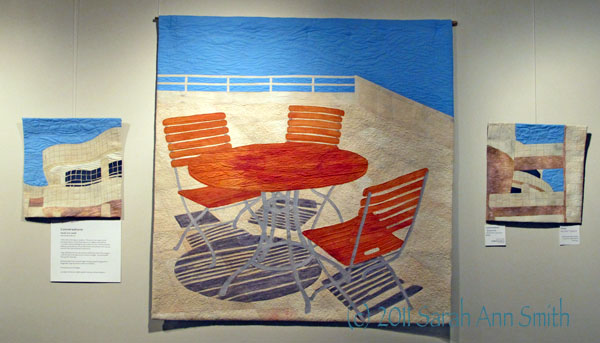
Here are my three pieces (click to see larger):
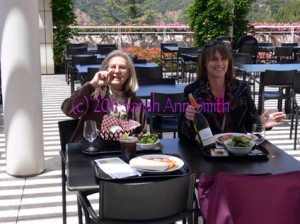
I based the center piece on two photos:
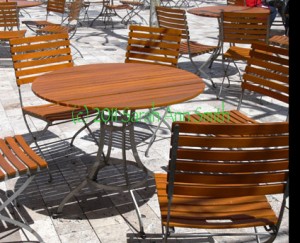
This was the main photo; I used the two chairs on the far side of the table, but didn't like the position of the chair close to me
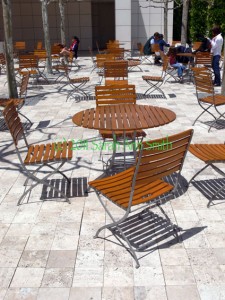
The chair in the foreground became the one on the near side of the table, but I had to account for the change in the location of the sun
And the smaller pieces were based on photographs I took of the buildings.
It is the contrast in straight and curved line, stark stone against the brilliant blue sky, and the shadows cast by the lines of the architecture and the lines of the bistro tables and chairs in the patio that sang to me. At first I was going to make the center piece based on one of the buildings. Then I realized I’d really to have a least a snowball’s chance in a very hot place of selling my work, and the chances of selling a quilt of the Getty Museum (located in Los Angeles) while based in Maine was pretty much less than zero. So I switched gears and focused on those wonderful tables and lines and shadows.
With all the tumult in my life, the lino-cutting and screen printing, which I thought I would use to texture the cream colored cloth for the stone used to face the buildings and pave the courtyard, just didn’t happen…I ran out of time and just didn’t get to explore the use of letters in the way I had hoped. But I did write on the quilt to create the shadows on the table and chairs where there are vertical surfaces on the slats. It is *really* subtle now that it is quilted…I’ll confess even I have a hard time reading the words! But I promise…the words ARE there (maybe it’s the way conversations fade and vanish into dim memory?).
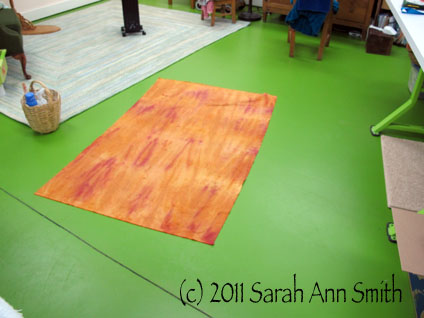
Before I got to the writing, however, I had to make the cloth.
Then I had to mess around with the cloth. I couldnt decide how to make the shadows. I tried darkening the light stone cloth. I tried lightening the dark gray cloth. I used various methods. I didn’t like them! It looked like paint on the paving stones–not shadows. Somehow I needed more transparency, and any sheer fabrics in my stash were to shiny/cheezy-prom-dress stuff. So I decided to try doing the shadows with thread at the quilting stage. Hmmm.
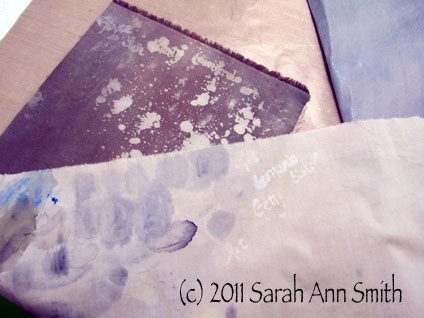
I tried paint, pencil, ink, assorted other painats, bleaches and discharge agens. Nothing quite worked for the picture in my head. Hmmm....
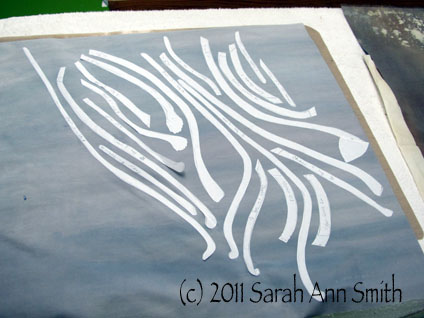
Then there were the table legs…here, the freezer paper patterns for all the table and chair components that were metal.
Then the construction process began. I decided to try something new. Having tried it, I can tell you I will NOT do this again! Usually when I create a fused top, it is an independent thing… I fuse the top on my non-stick sheet, moving around as needed. This time, I decided to try fusing things to a base, in this case a large piece of embroidery stabilizer. This stabilizer is (when used under embroidery or applique) water-soluble and turns into little bits of polyester fiber, which helps add loft to the applique or become a bit more batting. What I didn’t think was that by fusing the fabric to it, I would make it impossible for the stuff to “dissolve”. Erk. Not so great.
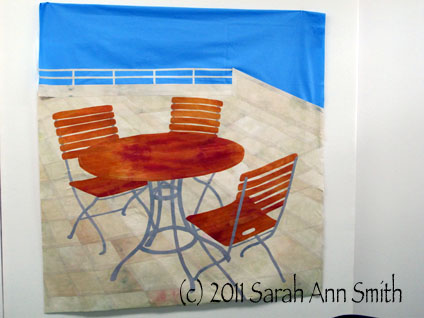
Here’s the top in progress:
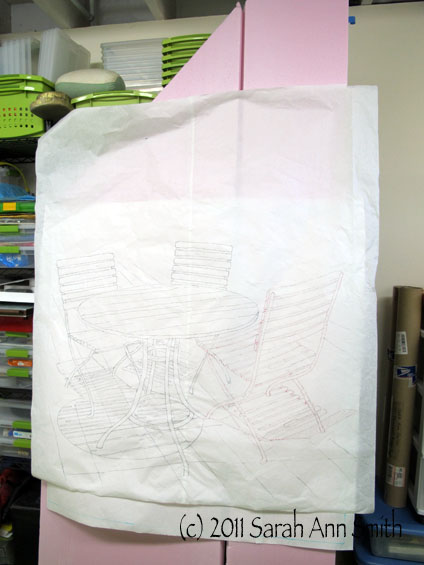
The initial "sketch;" I used my digital projector to project the photos onto the paper, then outlined and created the composition from a couple photos.
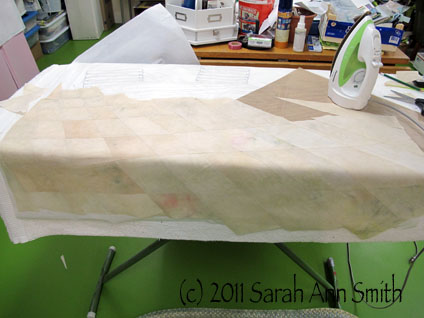
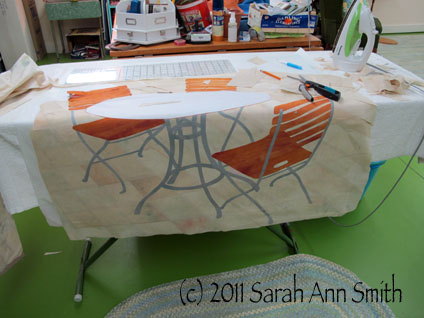
The fusing begins. I cut freezer paper patterns for the paving stones, then cut from various light and dark areas of the hand-dyed cloth to get the varied appearance of the terrace.
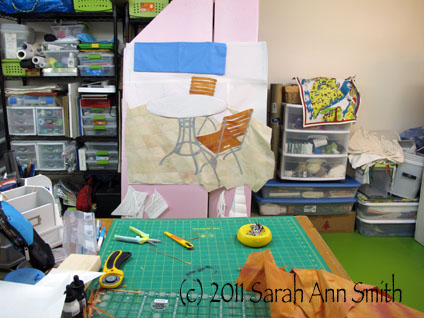
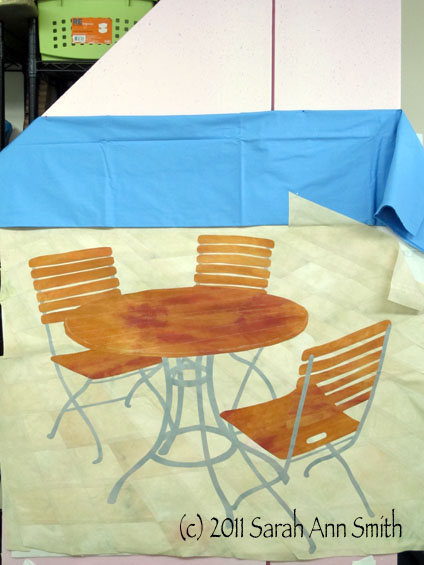
Checking out the sky fabric. This railing and table scene doesn't really exist... but I so wanted the contrast of stone and sky, and most of the tables are in a courtyard area. So I made up a terrace that has a railing and sky in the distance!
Next, I had to figure out what my made-up railing and side wall would look like. Straight across was too boring, so I added the angled wall.
Finally, the top is done:
Next post I’ll talk about the quilting, at least the first part of it.

August 7th, 2011 at 3:13 am
What a lovely piece of work, Sarah Ann. Thanks for sharing the proces!
gr. Marjolijn
August 7th, 2011 at 10:15 am
Glad to see you’re back at quilting. Very nice! Which product was it that didn’t work out? Sally
August 7th, 2011 at 10:46 am
Sarah, It is such fun seeing your process and your experiments with new process. What is a digital projector?