Clothed in Color–more photos
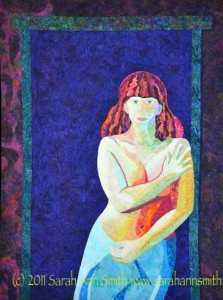
As I promised on Friday, more pictures! A while back, Kris C. asked in a comment for more detail photos in general…of course we ALL want more pictures, so here you go–ask and it shall be given! And I’ll try to include more close-ups in the future.
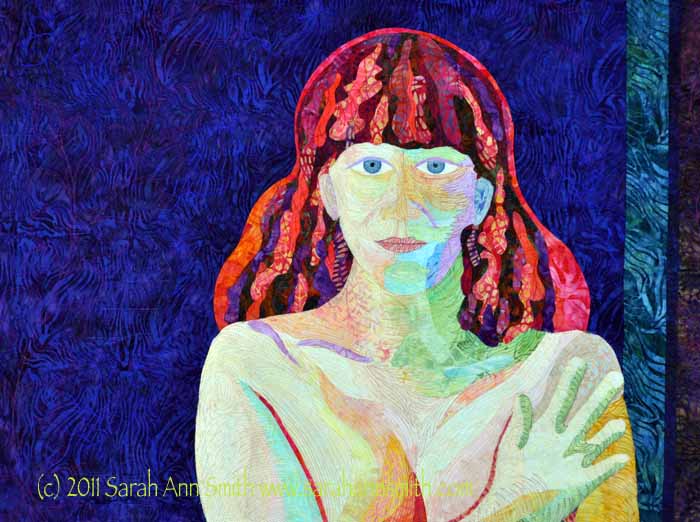
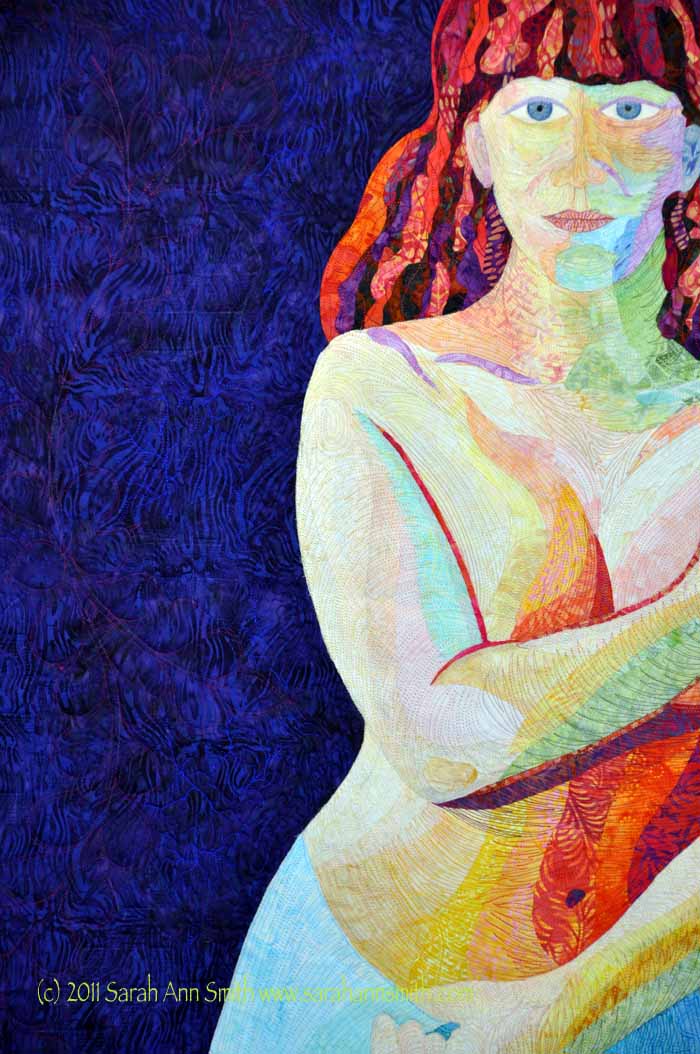
The detail photos are large–you should (in theory) be able to click on them to see them a bit larger and therefore see more of the quilting. All of the color on this quilt comes from either the cloth or the thread–no paint or pencils on this one!
and another:
And a few more…these are cropped sections so I’m not sure how well they will display on the internet at internet resolution….
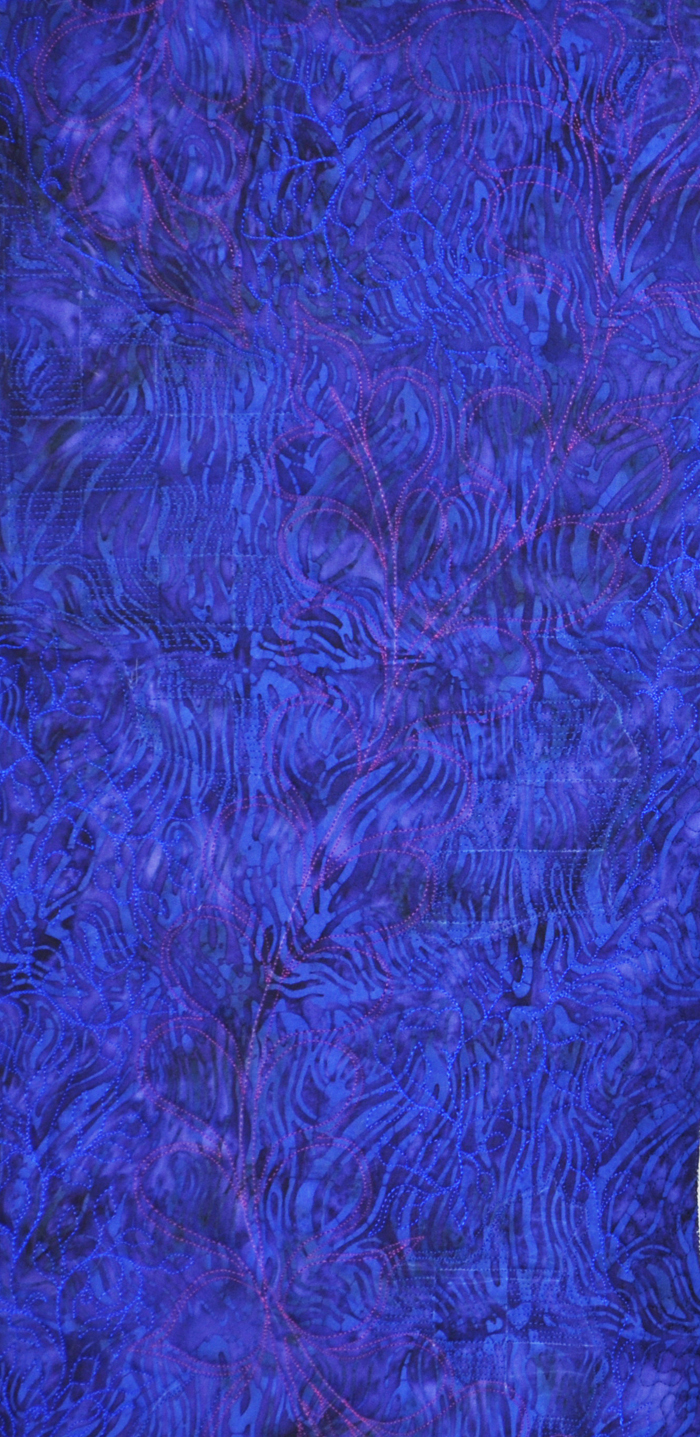
This feather is in the background to the left of the figure. Thanks to Photoshop Elements I lightened the color a bit so you can better (I hope) see the stitching. The background quilting is a checkerboard in some areas (you can still see the chalk mark guidelines) and freeform small vine in others.

Another feather in the border, along with words facing both forwards and backwards. The words include the things that are the good and the not so good that make me the one caught in the space between: mother, daughter, wife, quilter, tired, artist....
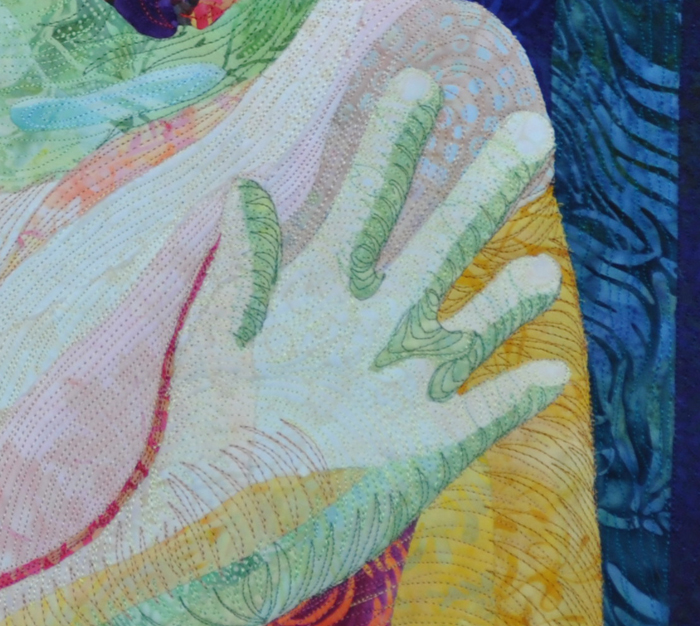
And a close up of the hand:
Once again, great comments from my readers lead me to add a PS:
Kris…believe it or not, the “nested “V” is really easy….. think of it as free-motion multi-stitch zigzags….. I’ll do a row or two of nested Vs in one color on the edge of the arm (darkest), ditto on the opposite side in the next-to-lightest (or whatever color is suitable for the way the light falls).
For example, on the arm I’ll use maybe 4 or 5 colors….depends on the value (light-light medium-medium-medium dark-darkest tones) on that part of the arm. The trick is learning to see what is there and then break it down into colors.
Sometimes, I use my thread stash as a guide. If I have four colors that blend well but not five, then the color shift must be done in four colors. You’d think with the gazillion threads I’ve got I’d have plenty, but when you really start sorting out tones, it’s amazing what you DON’T have LOL! I’ll sometimes alternate a row or three of two colors to try to blend it, letting the eye “moosh” the colors into a seemingly smooth transition.
I can’t recommend “The New Drawing on the Right Side of the Brain” by Betty Edwards highly enough, or a drawing class in general. Learning to actually SEE what is there, as opposed to what you think is there, is wonderful. Also fiddling around with the filters in Photoshop Elements (just the cheapie version is unbelievably robust) can teach you to figure out where the lights, mediums, darks and deepest darks are. I was surprised when in a drawing class 20 years ago someone said the darkest part of the face is the line between the lips. It actually is, but I’d never noticed, and now I believe nostrils aren’t far behind!
Thanks to all who take the time to comment on my blog… I learn so much from all of you and your questions and comments!

April 16th, 2011 at 2:47 pm
Thanks for letting us see the detail quilting!
April 17th, 2011 at 1:16 pm
Those pics are fantastic, Sarah. It is wonderful to see so clearly where you changed color and shapes in your stitching and in your fabrics. I for one, still a bit dubious about your statement that anyone can learn to FMQ, will study this for hours. I had no idea you changed thread color so often. You have really managed to give every inch of your lovely (!) subject such great shape and a sense of roundness. I can’t quite make out the words in the border, yet. Thank you thank you! What a learning tool from a great teacher.
April 17th, 2011 at 1:37 pm
Beautiful quiltwork Sarah, in details very good to see. It really adds something to the quilt!
Well done!