The State of the Studio, a display wall
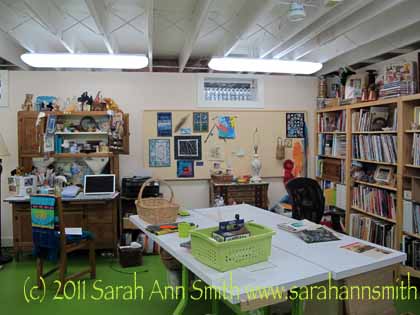
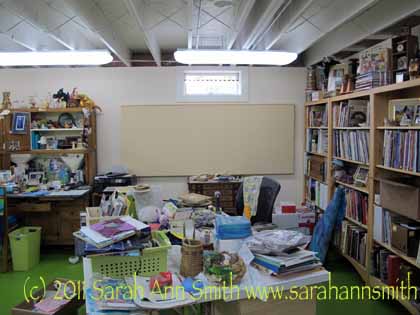
When I moved out of the old house, I removed the design wall from my old studio. Since the corners were cut off the 2-feet wide rigid foam insulation, they couldn’t be re-used well in the new studio as the new design wall. BUT, as I was hanging some artwork, I decided a ginormous “bulletin board” would be just the thing to display smaller pieces by sons, friends, inspiration, and so on.

With stuff...quilts and art on the left are by Betty Johnson, Jacquie Scuitto, my son Eli, some calligraphy from Lunnette (a christmas card) and a fabric postcard of hers, and on the right a photo that was on display at IQA-Houston, a leftover Koi from that quilt that will be made into something eventually, my very first (but I hope not my last) Houston ribbon, and a basket
Here’s how I did it, so you can try also.
- I took the largest piece of rigid foam insulation which was 2 feet wide by 91 inches long as my “big piece.”
- The second piece, with a corner cut off, would yield another 91 inch piece that was 12 inches wide. I cut the pink 2″ thick insulation with a new blade in the box cutter (extended to a scary distance) and managed to get a nice clean edge.
- I used clear packing tape on both sides at the join so it wouldn’t buckle, then wrapped the flannel from the previous design wall (a sheet from Lands End) around the 36×91 inch piece (that’s just under one metre tall by about 2.5 metres long for my metric readers).
- Next, I used “L” shaped brackets spaced about every 20 inches so there were 5 brackets on the bottom edge. I bought some wood lattice (a thin strip of wood about 3/8″ thick by 91 inches long) which I screwed with very short screws to the brackets. This gave me a long, flat, firm bottom edge on which to rest the display wall.
- Placing the display wall on the strip, I marked the top edge just about above the five “L” brackets on the bottom. I added another five brackets to the top edge, moving them down about 1/16″ or 1-2mm. below the marked top edge. This way I can just slightly squish the rigid insulation and it is held in place by friction…no need to use glue or otherwise muck up the wall (well, any more than putting the screws in).
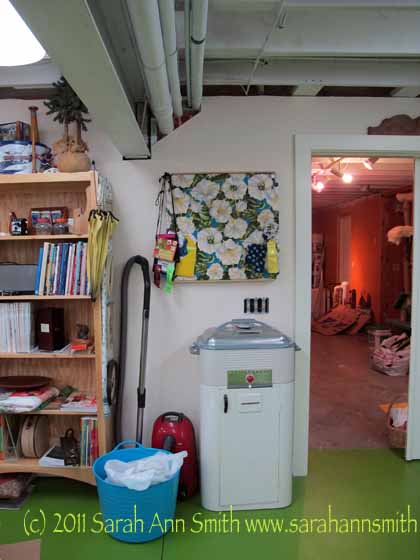
I made a smaller “bulletin board” with a 24×24 piece of insulation leftover from another project and covered it with this beautiful fabric. It’s by the door the center part of the basement (which WILL get a different color of paint…sky blue, with green on the floor….but not soon….maybe in August or September after the year’s travel teaching is mostly done). I had to underline this one with batting because the pink insulation changed the color of the fabric–an effect I did not want.

The bulleting board next to the door is made the same way as the large wall, but I added batting because the pink of the insulation distorted the crisp white in the flowers, so I added batting to prevent that.
And when the closet is done, that vacuum had better fit inside! Don’t like the look! The blue bucket is my large new garbage can…5.99 from Target! I think it was intended as a beach tote or bucket for filling with ice and sodas in summer. Nope. With the flexible shape and two handles it’ll be easy to tote upstairs to the outside garbage can. That’s it for now!


April 30th, 2011 at 7:30 am
It is looking like a great place to create something in!
April 30th, 2011 at 7:32 am
Looking great! Love your showcase idea. Am enjoying watching your space evolve.