A Lino-cut demo for Coastal Quilters
Last year I was the lucky recipient of a $50 scholarship from Coastal Quilters to take a class; they can be in person or online, and must somehow relate to your quilting. If one wanted to take a class in photoshop, for example, to learn about manipulating photos and printing them on fabric, that would qualify! Well, I had signed up for two online classes: lino-cutting and the workhorse sketchbook/journal. I used my scholarship to defray part of the $60 fee for each of the classes. In return, scholarship recipients share what they learn with the group. We don’t give away the teacher’s entire class, but share enough to whet the appetite to learn more, I hope!
I did a fairly long program about lino-cutting, including explaining the tools, the materials, where to order them (you can buy some at the local art supply store which is awesome, but the linoleum I prefer we have to order from away).
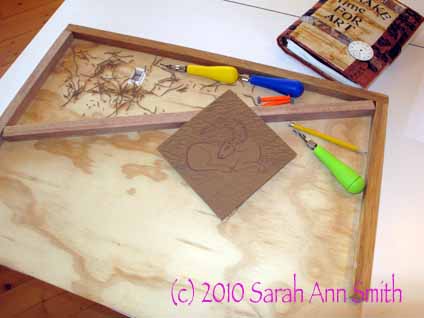
My cutting board/jig, with a new block in progress and the carving tools. Of course I had to buy the pretty bright colorful ones!
I got the idea for this block while working on my ornament gifts for my Frayed Edges friends this past Christmas. I realized there was NO way I was going to carve the block, print the fabrics, and make ornaments in time, so I set aside the idea for future reference. But I did decide to work on the design and make the block as a demo of the process for Coastal Quilters.
I went to some of my reference books and Google Images for pictures of reindeer. I ended up with a composite image of a caribou resting:
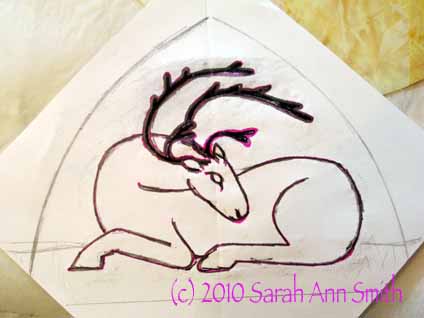
I liked the arched-top shape for an ornament; I think I can make these similar to a fabric postcard using Peltex as the stiffener inside.
To make carving the block easier and make the block more versatile, I chose to use a 6 inch square of linoleum carved on point:
Originally I thought I’d carve some rocks in the ground, but eventually decided that grass was a better choice.
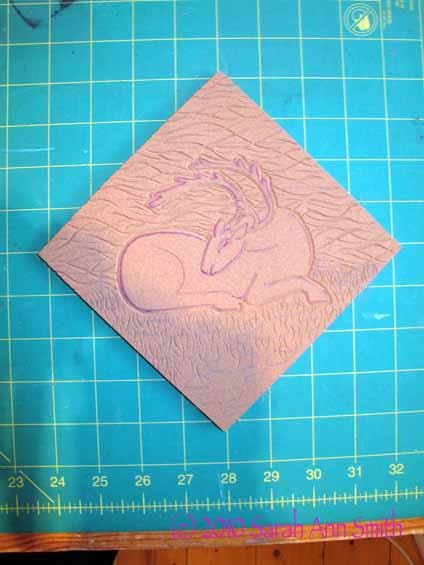
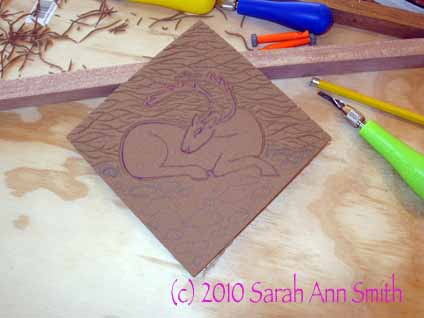
Nearly all carved...I saved some of the grass so I could actually finish the carving during the presentation
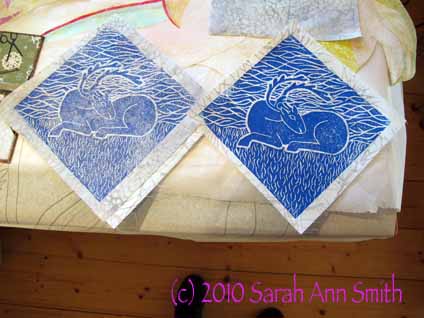
I made the first test-prints during the demonstration. As you can see, the first print came out OK, but a bit light (on the left). Figuring out how much ink is enough without getting goopy is a trial and error effort. You just have to accept that you may have a few duds. I added more ink (think consistency of toothpaste) and got the second, better print (on the right).
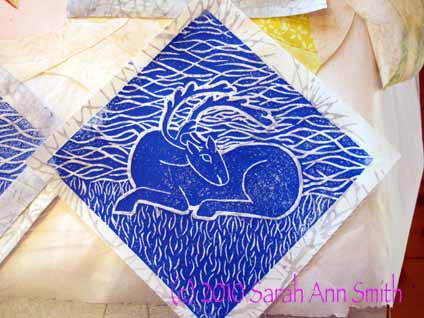
Here’s a close-up version of the stag/caribou. I can leave these prints as is or cut them down into the curved-top shape from the original sketch:
I pretty happy with this one, tho I didn’t get the lines on the face quite right. Hope you’ve enjoyed the process, cheers, Sarah

February 1st, 2011 at 8:36 am
How cool!
February 18th, 2011 at 10:16 am
Great Job Sarah!
I haven’t had the time for much (any) quilting, but really felt the need to do something artistic. We have a world class printmaking center a few miles from my house, so I suggested to Tom to pay for a few classes instead of putting something under the tree. I took a 2 day wood block class, although carving the wood was way too much work! LOL
A few weeks ago I started a 6 week class which teaches a different technique each week. I’m having a blast and am very excited because with our membership we get 6 extra hours of studio time PER WEEK! Guess where I’m spending my weekend!
Next week is our lino print week.
😀 eirdre