Joshua, the quilt in progress #4
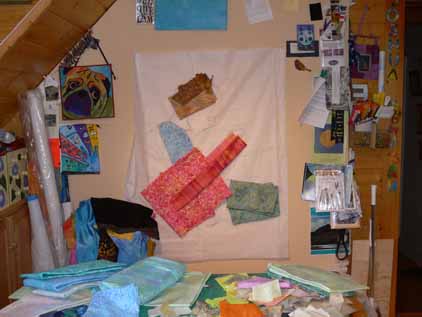
Once the torso was complete, PHEW!, it was time to tackle the guitar. With the shirt and pants a medium-light value in cool colors, I wanted the guitar to be a medium-light warm, especially since both of Joshua’s guitars are red (he has this cool idea that he will keep all his guitars and have a gallery of them, and hopefully all red!). I didn’t have quite the right colors–I tested out a couple of options. Here you can see me “color-blocking” early on:
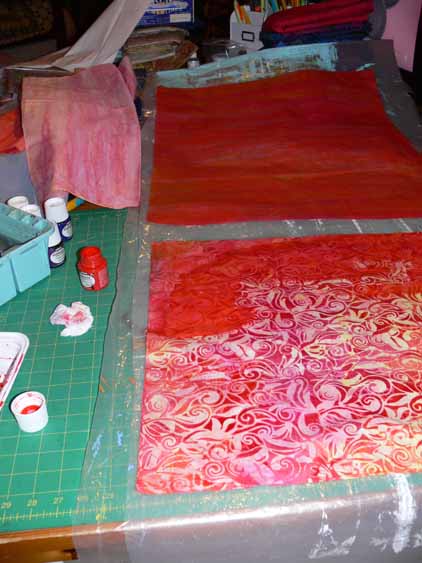
I found a couple fabrics that were close, but not quite. A hand-dyed-look batik fabric was too pale, and a batik was too contrasty. Solution? Pull out the textile paints and fix them!
The fabric in the upper left corner is the “before”, the piece on the upper right is the “after” that became the main body of the guitar. The contrasty swirly lovely batik on the bottom became the lower edge of the guitar.
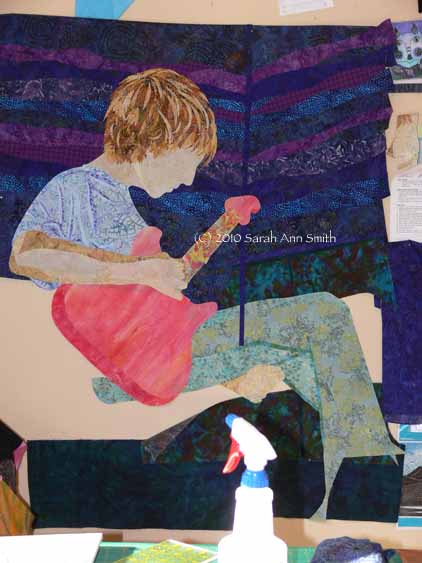
The neck of the guitar proved to be one of the coolest moments of the construction process. Initially I pulled some stripey batiks, thinking to use the stripes to simulate the frets on the guitar, but I just didn’t like how they looked. Then I found this awesome batik (another one that I wish I had yards of…), a lime green with weedy flowers (or flowery weeds) in coral and pink. I was a bit nervous about the color choices, but the neck was SO COOL in this fabric with a single stem running up the center!
The night I got the guitar fused, I showed Joshua the progress, more than a bit nervously. His reaction: “that is SO COOL… if I could find a guitar like that I’d BUY it!” WOW! It doesn’t get any better than that! And if I win the lottery (better buy a ticket, eh?), maybe I’ll just get him one custom made.
You can also see the wall in progress. In real life the walls are a lovely celery green, but I needed a deep dark, so I raided my stash of blues and purples. Although the walls are shiplap siding (wood, painted), I decided to be a bit more freeform and cut wavy-edged strips. I like the sense of motion it gives to the entire piece…like the room is rockin’ with him!
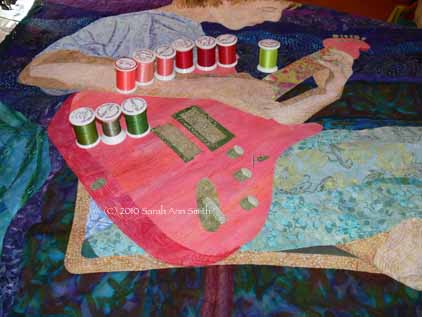
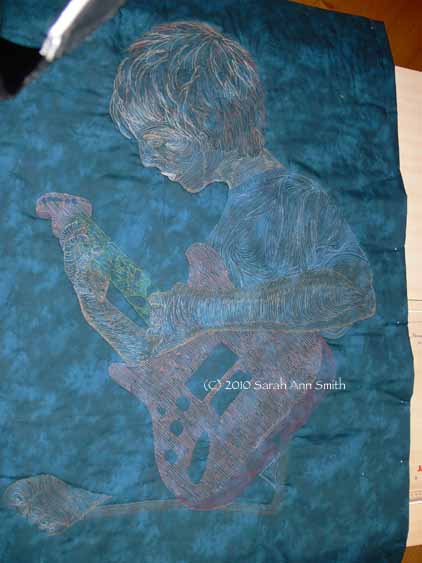
Here is the quilted guitar, with the sounding board (or whatever that stuff is on the bottom) fused on, but the strings weren’t stitched until the very last.
And of course, I have to share the back side with you. I think the guitar is the most densely quilted part of the entire piece… about 1/16″ apart over the entire surface! In the photo above, again you can see the colors of thread used for quilting.
Hope you’re enjoying the journey as much as I enjoyed making this piece,
Cheers, Sarah

April 23rd, 2010 at 11:50 pm
I am loving watching this piece in progress!
April 24th, 2010 at 7:39 pm
This quilt is amazing. It is really true, you are an artist.
April 26th, 2010 at 8:28 am
Just loving all the detailed information about the thinking portion of making this quilt. I just now caught on (I’m slow!) that you guilted each element as you added it. I never would have thought to do that. I would have put all the pieces on before every going to the machine. Very interesting how you were quilting, then adding, and back and forth. Umm…..
April 26th, 2010 at 8:32 am
Ok, maybe I’m confused or jumped the gun with my comment. Did you fuse all the pieces of the front down and then quilt each element and just took pictures of each step and wove the presentation together or was I correct with the first post? If you are fusing each element and quilting as you go, what did you fuse the pieces to? Maybe I just need to back and read each stage again more carefully. Thanks for your patience in advance!