Better satin stitching
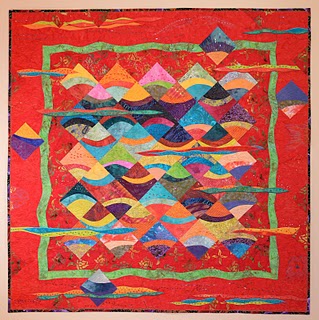
This post is mostly for Janome 6600 owners because of my “fix” to the dual-feed open-toe foot, but maybe others will be able to glean something from it about satin stitching.
I LOVE the line created by bold satin stitching (a very dense, tight zig-zag stitch)–to me it is an additional design element. Some people may think it is tacky (think cheezy sweatshirts with cheezy appliques), but used in the right way in the right place, satin stitching creates a beautiful, bold line. I used it a lot in my quilt, The Tide is Hire (above). Here are two close-ups: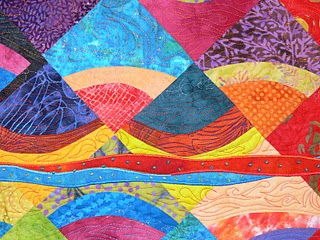
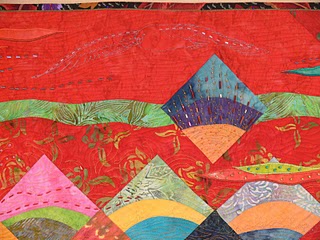
I outlined the satin stitching to “crisp it up”–I imagined a light source above the “waves”, so I used a lighter shade of the thread above and a darker shade of the same color below the satin stitching. This outlining is very time consuming and tedious, but it creates such a subtle yet dramatic difference that it is, to me and in the right place, worth the significant investment in time. On The Tide is Hire, I think it took eight hours of stitching just to outline the satin stitching on the waves. Yeowza!
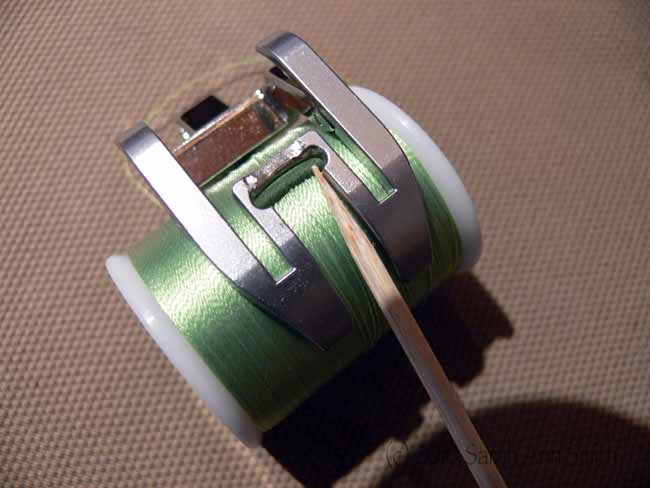
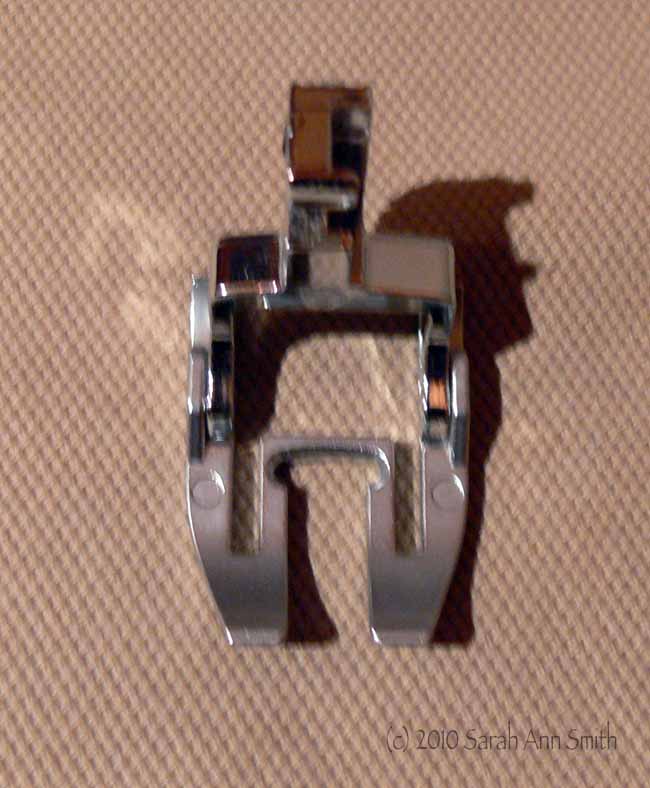
When Janome came out with the dual-feed open-toe presser foot I thought that it would be the bee’s knees (in other words, really cool). Here is the foot (not attached):
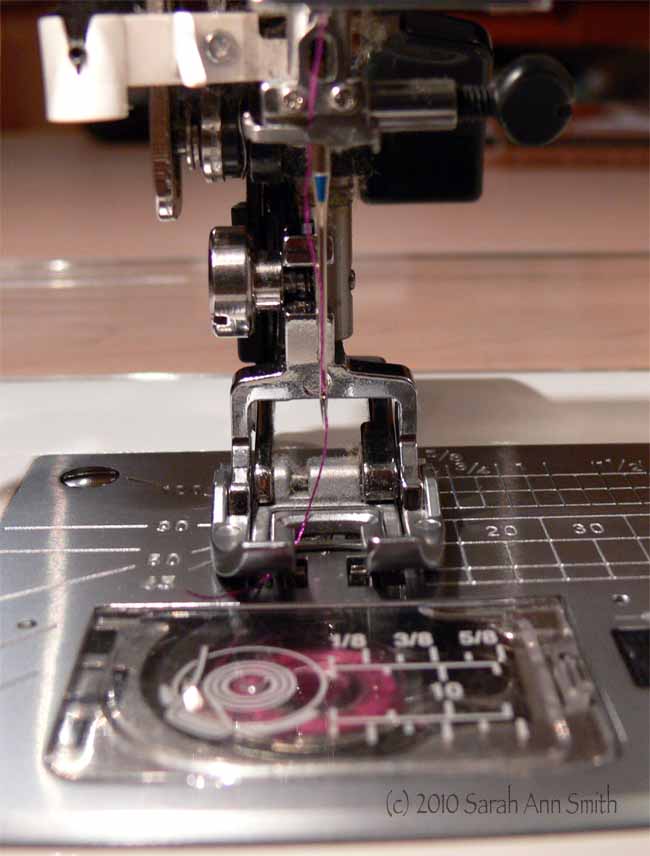
And here it is in place on the machine:
Well, not quite. A regular open-toe embroidery foot has a “scooped out” portion on the bottom, which permits thick / built up stitches (like in a satin stitch) to pass underneath it without jamming on the cross-piece. Alas, the dual-feed foot doesn’t have the scoop-y out-y part.
Enter the Dremel tool! I took out my trusty Dremel drill and attached a grinding tip. I then ground away a portion (maybe 1/32 of an inch? not a lot) of the under side of the cross piece, and then swapped the grinding tip for a polishing top to smooth any rough spots (which could snag and fray threads). BETTER!
Interestingly, when satin stitching this block, I used the dual-feed open-toe foot as made by Janome for the first two and half corners. Then I took the Dremel to it. The remaining section seemed to lie flatter than the parts first stitched (not to mention a lot less heartburn and snagging, like none, on the inside points of those leaves…ALL those blasted points!). The block (below) is blue fused onto a white background; both squares are about 19 inches. The block also was stabilized from edge to edge with freezer paper on the bottom. I’m thinking that by carving out the opening (the scoop-y out-y part, to use my highly technical term) there was less stretching of the fabric going on, as well as permitting the built-up stitches to pass underneath more smoothly. Cool!
And as a reward for reading this long post, here’s a picture of what I’ve been working on…a block for a Hawaiian-style quilt that will be a pattern in my book (how’s that for a wicked tease?…can’t say more yet but I will as soon as I can).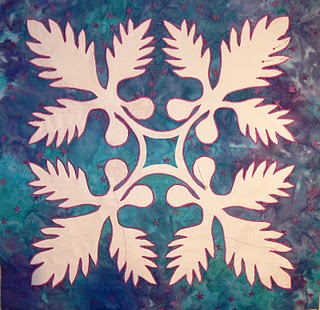
And here is a close up of the satin-stitching, with “on the fly” (as you are stitching) tapering (the spots with pins are places where I think I’m going to rip out and improve):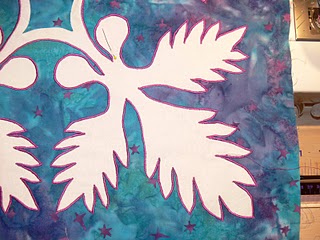

January 11th, 2007 at 1:35 pm
Thanks so much for this! I too have the 6600 and was getting so tired of changing feet just for a little satin stitching.
January 22nd, 2007 at 10:15 am
Go Dremel tool, Go! I love the tease pattern from your book-to-be.
November 5th, 2007 at 8:52 am
Hi Sasrah
I would like to know where you got your Dremel at? I am a beginner at quilting and like your blog and the comments on the 6600yahoo group.
Thanks
Vicki
November 5th, 2007 at 4:13 pm
Hi Sarah,
Thanks so much for taking the time to show the open toe foot pics. I was so surprised to see you are from Maine, I live in Naples! Your quilting is very nice, maybe I can improve with my 6600.
Thanks again
Brenda
September 7th, 2008 at 11:18 am
Hi Sarah,
Thanks for the post. I haven’t had my machine long, but have noticed a little difficuly going over a few layers.
Thanks for taking the time to share.
Cindy
November 19th, 2008 at 6:11 pm
Hi Sarah,
Thank you soooo much for having these directions!! I just bought my Janome 6600, and am still getting the hang of all the goodies! I haven’t really tried to applique anything yet, however I was thinking, “how to” with my AF, and a the Satin Stitch foot, and viola (don’t know if I spelled that right), you have the formula!!!
Yeah!!!! God bless you!!!!!
Ilu
ivquilter
N.CALIF