More postcards, September 2006
Here’s the second teaching series of postcards, plus a few more. In my previous post last week about making postcards, I showed how I build up a scene starting with a piece of stabilizer covered entirely with one fused bit of cloth. In this series, I am going to build up the background using several different fabrics. Rather than (a) waste fabric and (b) have double thicknesses, I like to use this method for most of my “scenics.” In this first sample, I have fused on the burgundy stripe for the sky and a chunk of blue for the focal point / distant mountains.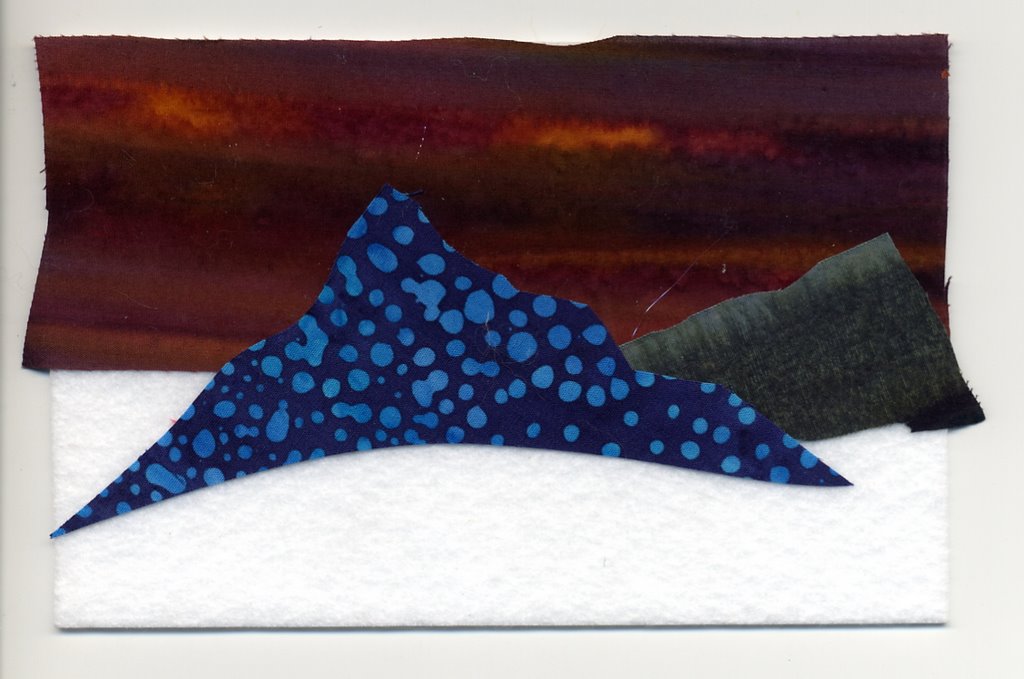
(Sidebar: I double-checked…the brand of stabilizer I used for these cards is Floriani Stitch and Shape, distributed by RNK….alas, they don’t seem to market their stuff through the quilting trade major wholesalers, although RNK does sell directly to shops. I’m hoping Maine-ly Sewing will be able to carry this product and have it on their web-shop, though. Stay tuned and I’ll let you know if Marjorie gets it in–price is comparable to Timtex, but you can buy it off the 15″ wide bolt, which means you have less waste when cutting because you can order a length that won’t leave you with scrawny strips of leftovers. No matter what, check out the website … Marjorie LOVES art quilting and has all sorts of cool stuff!)
This second card shows how I have sliced up a different, green-striped batik into shapes for the foothills and a third batik in the foreground. 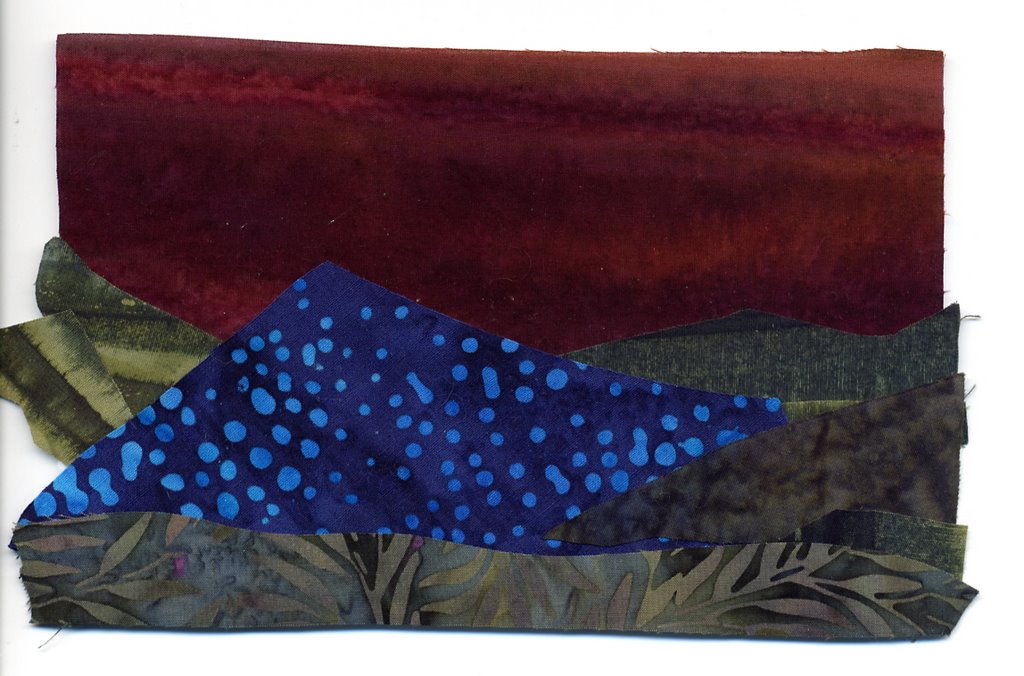
Finally, you have a modern twist on Moon over the Mountains: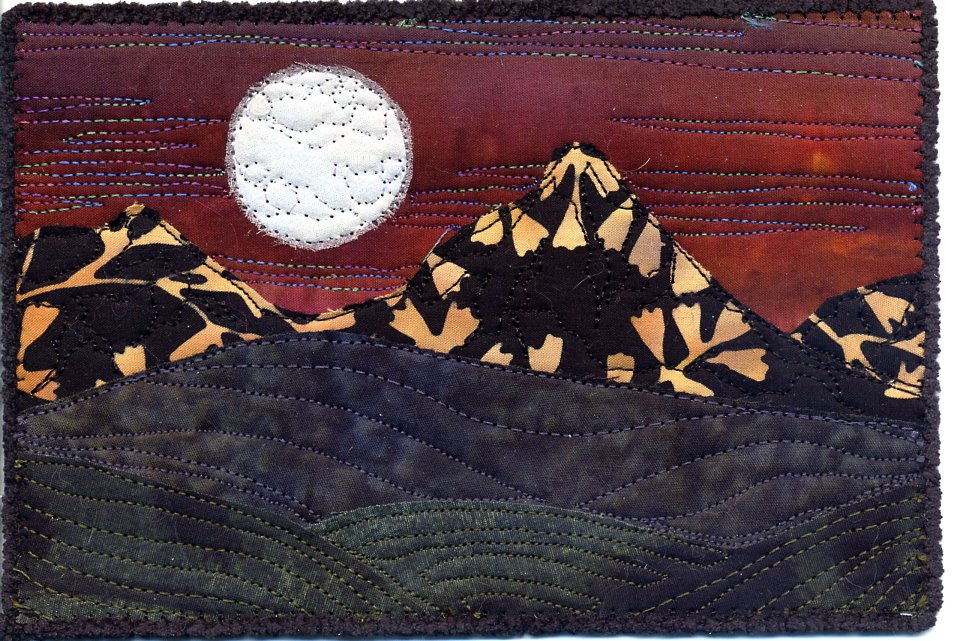
I made several other postcards using a layered background, and here are two using the same “colorwash” in blues. Both used slivers of fabric without fuse on. In both instances I used water soluble stabilizer over the “schnibbles” of brightly colored slivers. In Fireworks, I placed the slivers where I wanted them, spritzed one side of the water-soluble stabilizer (Dissolve by Superior Threads is my favorite…rinses out easily in cold water) with basting spray (Spray and Fix 505), then pressed the sticky side onto the schnibbles / front of the card. Then I quilted the card, then sprayed with water (a lot–if I hadn’t needed to take the postcard to a lecture the next day, I would have just soaked it in the sink…a better way to remove the Dissolve) to dissolve and remove the Dissolve. 
In the second card, I cut a circle in the colorwash blues (batiks and my hand-dyes). I made a nest of schnibbles on the stabilizer, covered it with a square of Dissolve, then placed the fused colorwash over it. I fused the edges of the colorwash blues with the iron, but kept the iron off the Dissolve water-soluble stabilizer. Next, quilting by machine (heavily over the schnibbles). Then, you guessed it, heavy soak with the spray bottle and some blotting to remove the stabilizer. 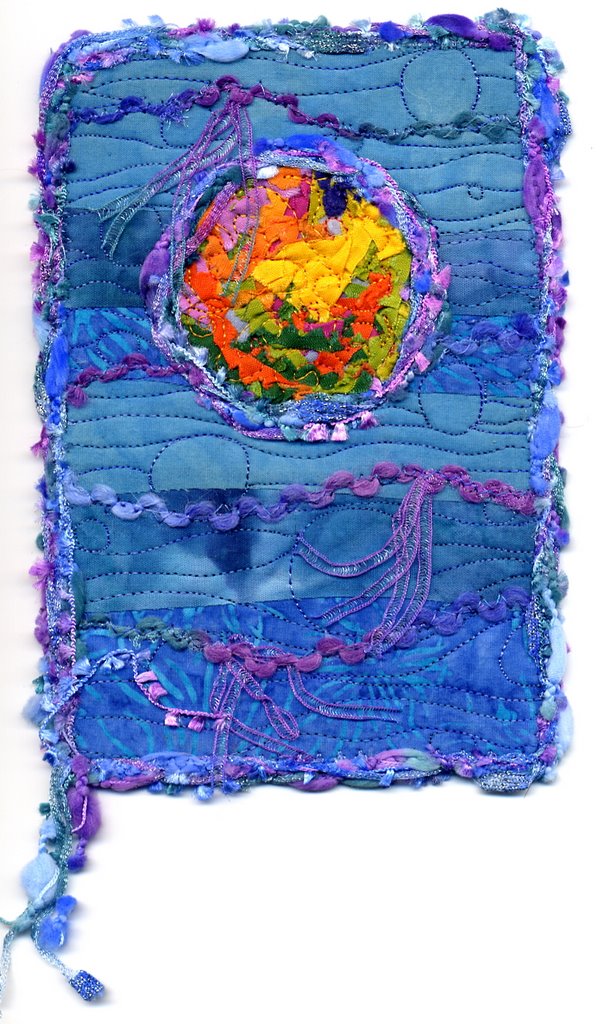
Finally, I made a card using a single piece of cloth for the entire background. I placed gold and deep blue Angelina fibers over a stamp (large-ish…maybe 6 inches long) of a fern and “fused” them with a medium-temp. iron. I cut off the bottom to turn the fern into a tree. The star is a freezer paper stencil using Shiva paintstiks. To learn more about Shivas, visit Cedar Canyon Textiles. Shelley Stokes has written a very helpful book on using these stick paints, which you can also order from her. 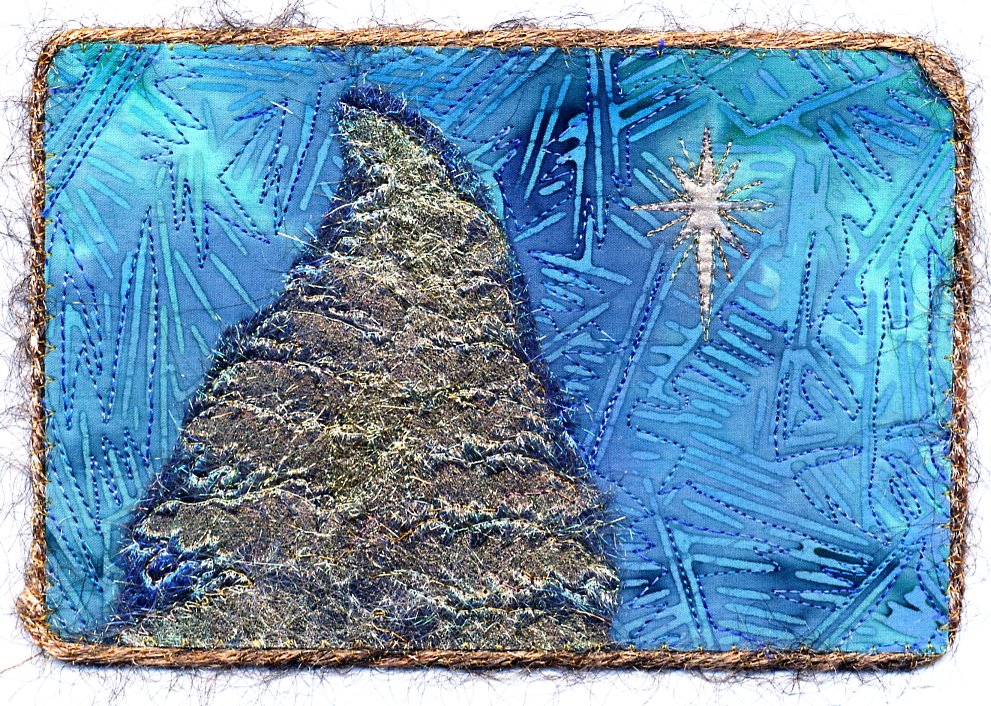
And, being a wicked soul, I’m saving what I think are the best for last…stay tuned for the Mt. Fuji series and a mini-lesson on making freezer paper stencils (really easy!).
September 14th, 2006 at 7:18 am
Sarah, I love these postcards. I have just made a few, but aren’t they fun!!
September 14th, 2006 at 9:43 am
Hey Sarah,
Debby here from NC and the Pro Chem Dyeing class, your tablemate.
Love the schnibbles pieces. Wonder where I’ve seen those before! FYI I got another batch of them from the Part II class – no one except Fay wanted any at all. I’ll try to send you a postcard with them following your instructions that you’ve so beautifully posted on your blog. Also you’re my inspiration and my goal for this week is to officially begin my own blogspot so I’ll send you a link to that as soon as I can. I don’t think I’ll have anything amazing like you do, but we’ll see what I can come up with. Best regards and great work! I love them all!
September 15th, 2006 at 9:36 pm
Sarah these are lovely. Thank you for the tutorials.