Rockin’ Retro Apron, Part 3
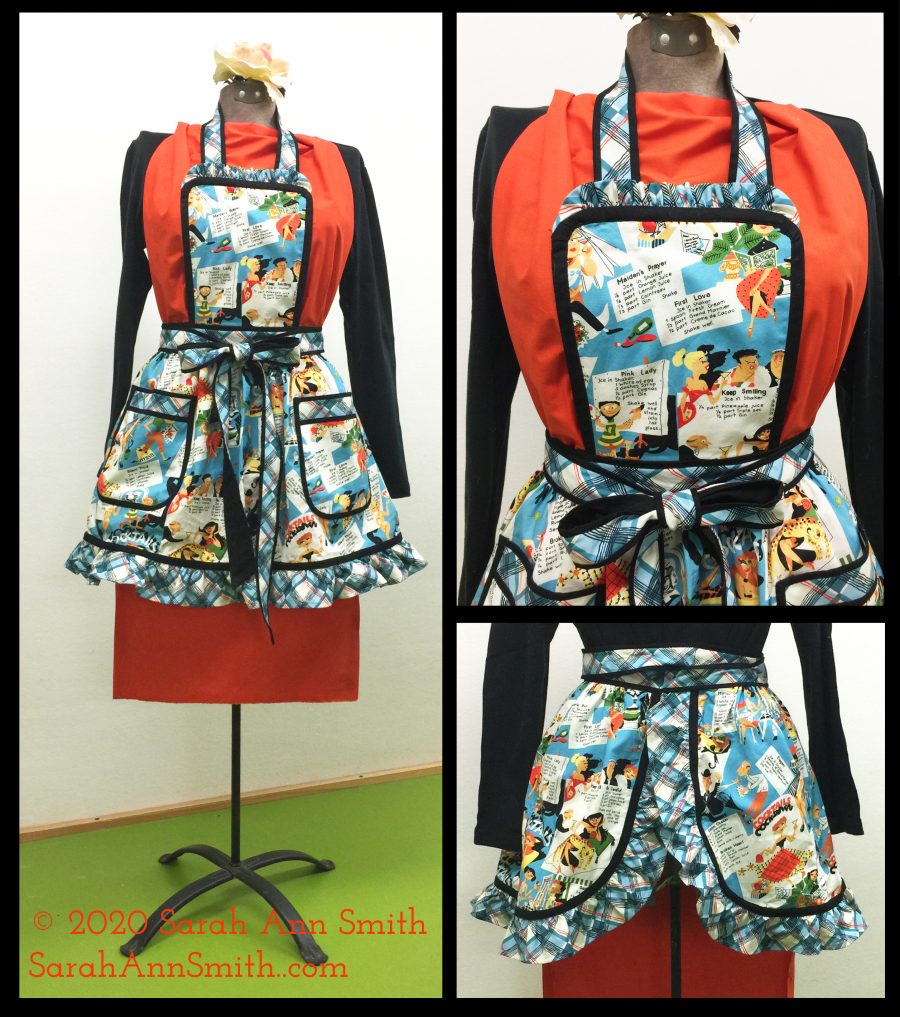
Today we’ll wrap up the last steps in this fun apron. Get ready to make a Kitschy Cocktail wearing the cutest apron ever to cover a frock. Enjoy a nice sip, preferably with a little paper umbrella! Make mine a pina colada, please!
For the blogpost for Part 1 of this pattern, click here.
For the blogpost for Part 2 of this pattern, click here.
To download a Free-in-2020 PDF pattern with ALL the instructions and images, click here.
Sew the waistband and finish neckband
- Administer chocolate or wine as needed—you’re near the end!
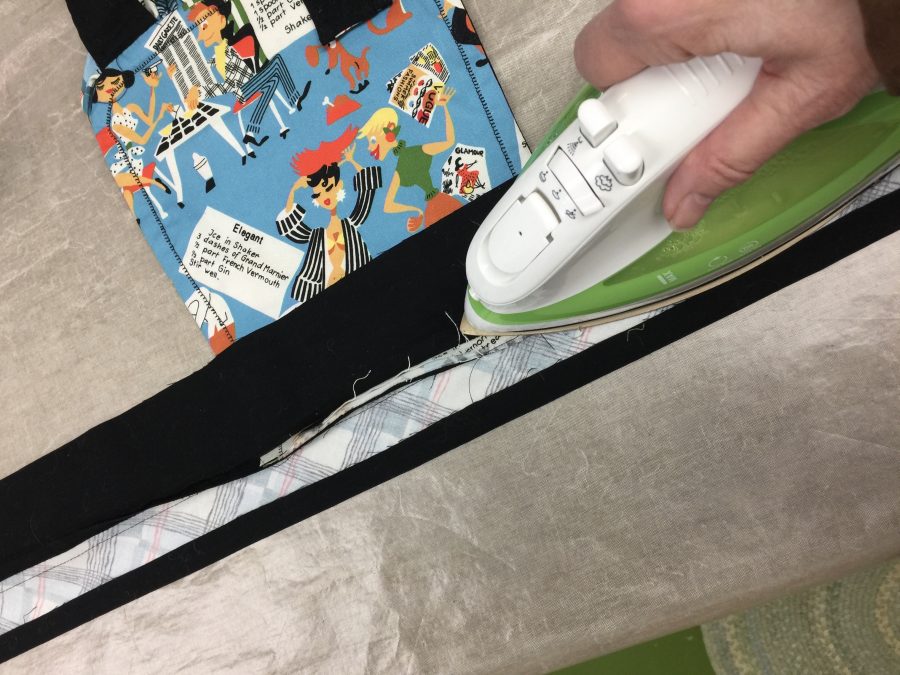
- Sew 1” strips of black to each side of the starched plaid waistband piece. Press seam as stitched, then press seams away from plaid. On top edge, wrap fabric around to the back and press. See photos below.
FITTING NOTE: this is where you get to alter the size to fit you. I wanted my apron to come around my hips to the back. This is your apron, so make yours the way you like best! It can come just to your sides, be almost all on the front, or wrap well around you. I’m messy, so far around was my choice!
- Sandwich the lower edge of the bib between the back and front of the waistbands. Optional: baste the bib to the center of the solid black waistband (back side). Photo below.
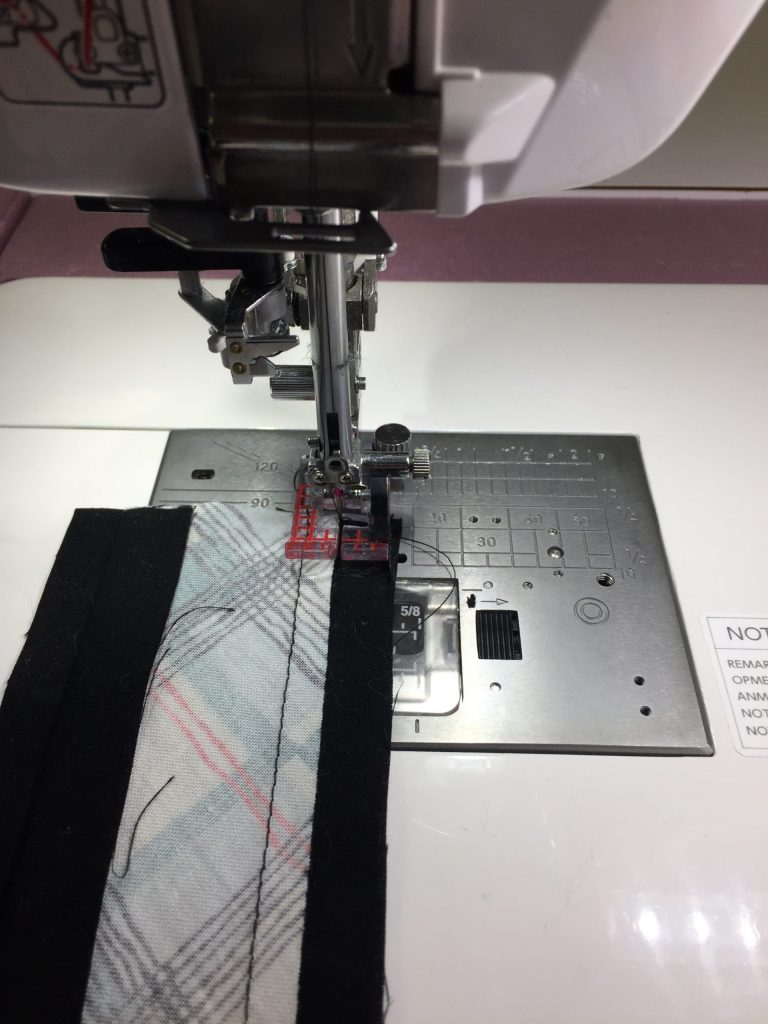
- Pin the plaid waistband front and sew. In the third photo below, I aligned the right side of the presser foot with the edge of the seam and positioned my needle just below the seam edges.
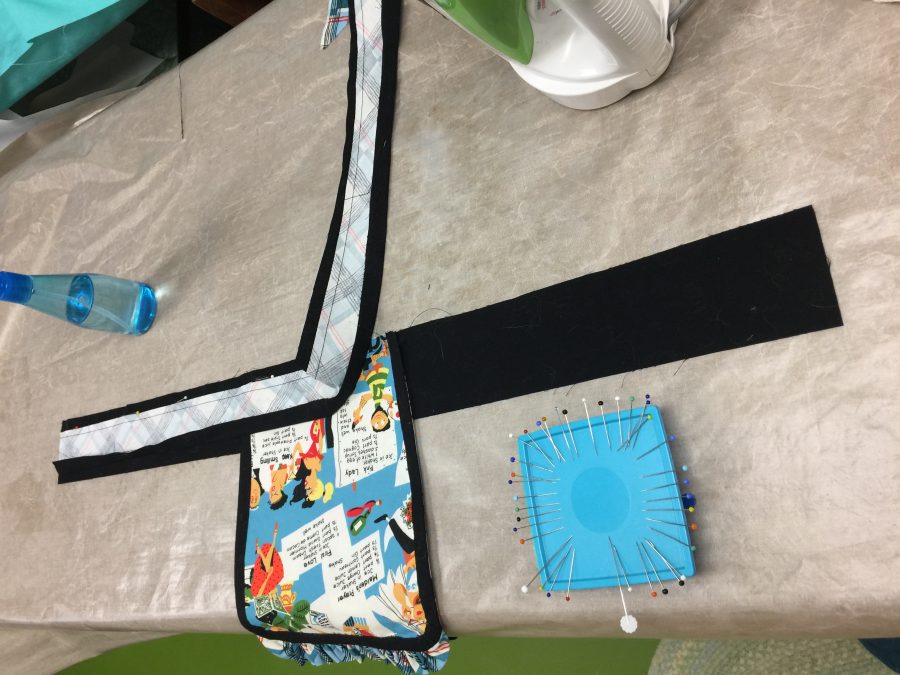
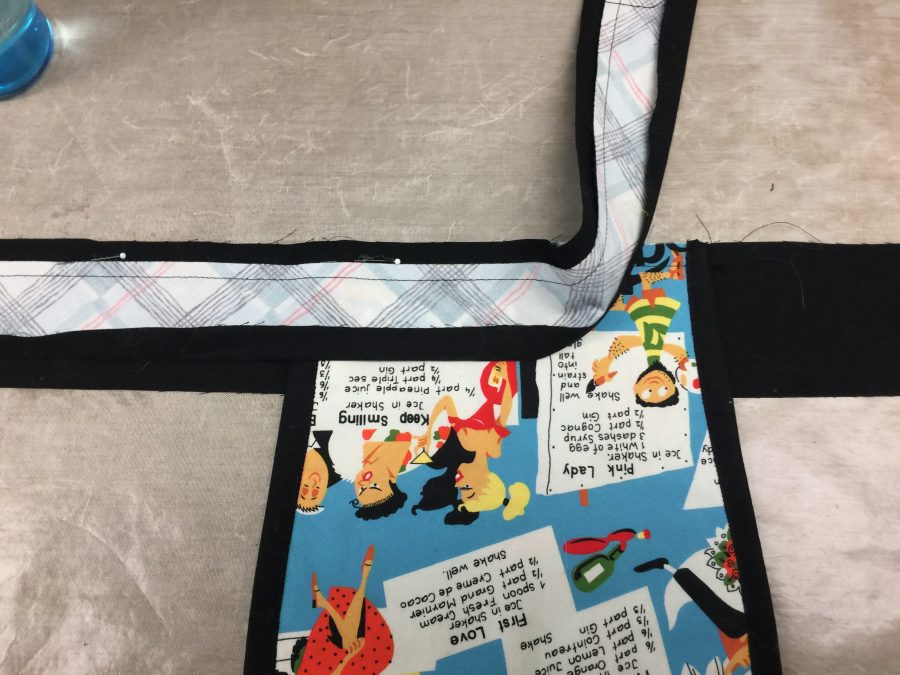
- Press seam as stitched, then press all fabrics away from the bib portion. Photo below.
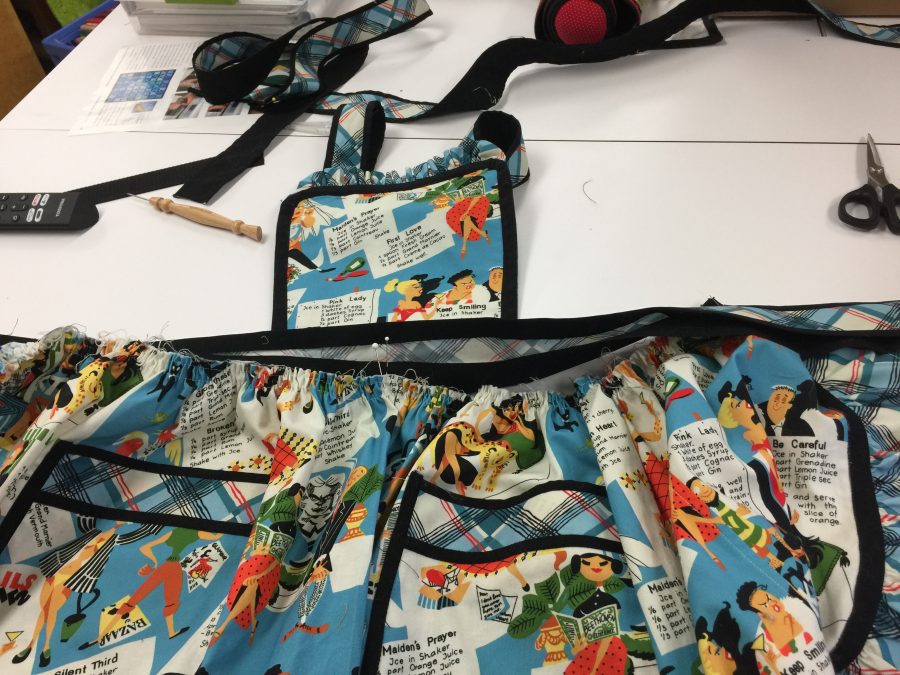
- Pin apron skirt to black portion of waistband, wrong side of apron to the right side of the black leaving ½” extra on each end (see step 43). Distribute gathers as desired/evenly. You can use the tip of a pin to scrape the gathers into place, photo below right. Sew.
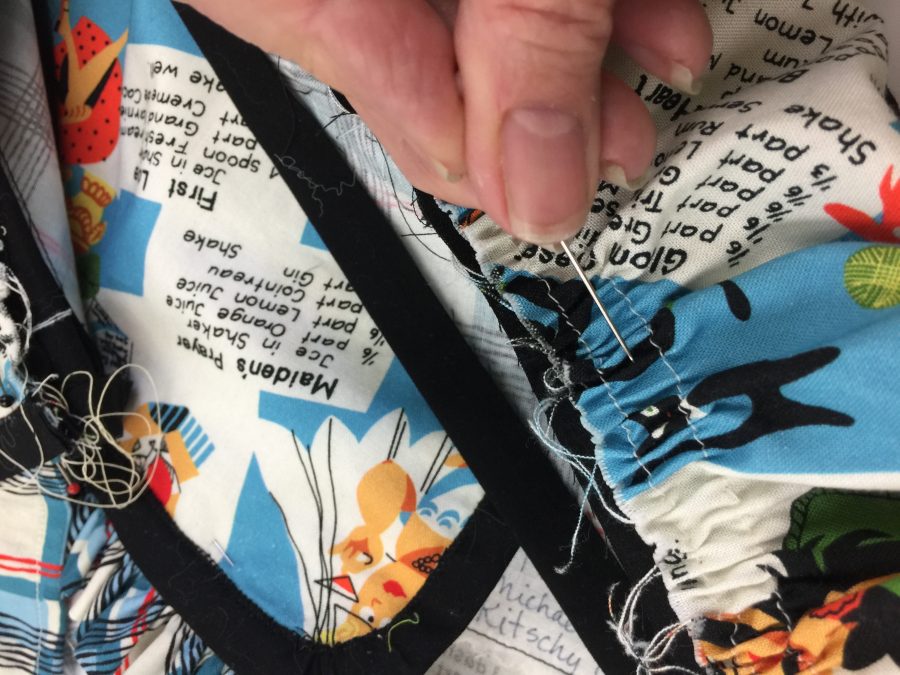
- Sew apron skirt to black waistband back with a 3/8” seam. Use the pin to prevent tucks from forming as you stitch. You may wish to decrease the presser foot pressure so the bulk travels more smoothly under the presser foot. Remember to change it back when done.
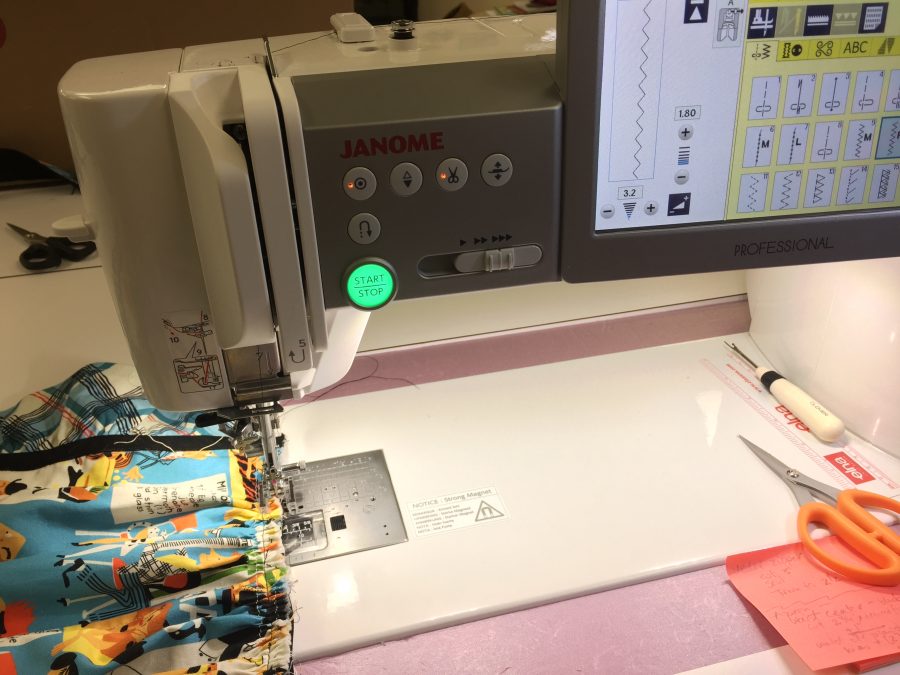
- Check to make sure you like the way it looks, then zigzag the edges, see right photo above. This will make the next two steps easier.
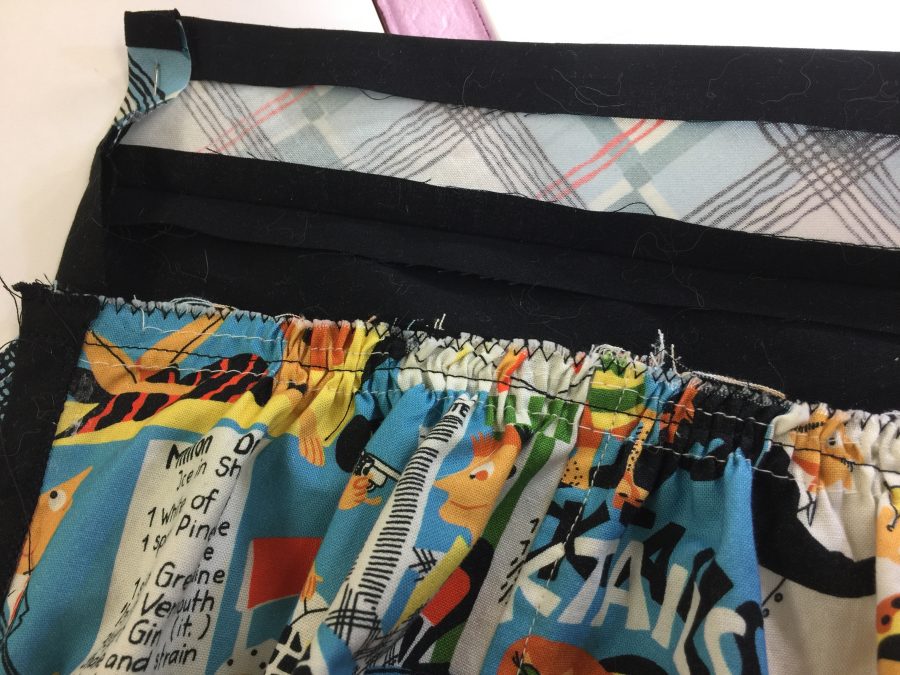
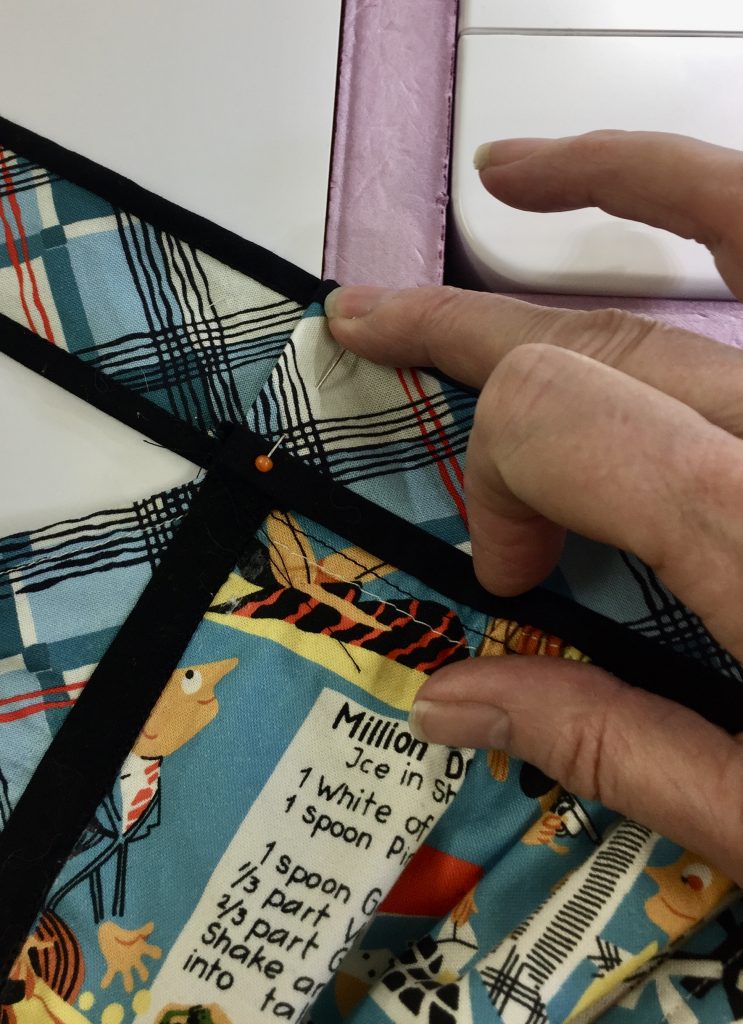
- Fold in the ½” extension on the waistband upper photo above. Tuck the square end of the waist band ties into either end of the waistband, lower photo above. Fold the waistband front over the seam you just stitched, being sure to cover the seam line. As best you can, get the skinny bits of black on the waistband and ties to line up.
- Stitch on the edge of the black waistband front to secure the waistband to the top of the apron.
- Stitch in the ditch or on the edge of the black of the waistband as well as along the ends where you tucked in the ties.
- Tie the apron to your waist. With the unfinished end of the strap behind the bib, adjust the length of the neck strap to suit you. If it is long enough to pull over your head easily, trim with about an inch of extra length. Tuck the ends in and stitch closed. Pin the strap to the bib at the desired spot and machine stitch in the ditch next to the black trim near the top ruffle. If it’s awkward to pull on and off, use Velcro or snaps instead
- HALLELUJAH you’re DONE! Put it on, wear it with gusto! Grab some bubbly or mix yourself a Kitschy Cocktail and celebrate a party apron made with the finest of details and finishing—not a raw edge to be seen anywhere. (And if need be, give it a wash or wipe to remove any visible glue stick—it’ll come out in the wash.)
THANK YOU for following along this intricate project. Yes, you could have overcast edges and make it faster, but this way you’ve learned some fine finishing techniques to apply to garment and home dec sewing AND made yourself a Rockin’ Retro Apron!
And of course, Thank you to Michael Miller Fabrics for selecting me as a 2020 Brand Ambassador and to Janome America for having me as a Janome Artisan since 2003. I am honored, humbled and grateful for your support.
And just in case, here is the link to download the pdf on more time for the Rockin’ Retro Apron in Kitschy Cocktails!
