a video of me quilting and progress on the Peony
So over on Facebook I’ve posted some photos of my current project, a hugely oversized peony…well, part of a peony. I decided I’d try a quick video posted via youtube so show me actually quilting. Along the way, I added a quick visit to my studio. The studio is sort of “midway messy,” true to life. I have a couple things piled on the floor that are: find time to sort and put away, try to get rid of in some way, and prepping for teaching in Houston piles. When I’ve found time (usually after just barely meeting a deadline), I have a tidy attack. Mid project it is utter chaos. This is in the middle. And apologies for the overly loud and enthusiastic hello at the start. Learning. I’m learning…..ps: if the video doesn’t display at first, hit refresh on your browser. Update: thanks to Donna for some good questions, so I’ve added info at the end of the post about holding your thread tails and my appliqué press sheets.
On the video, I mentioned how I select threads in a value range. The reason the light ones are in the box and the dark ones to the side is that I have used the dark ones. When done, I put them aside so I know what I’ve used. I keep them in the order in which I used them, which helps if I need to go back and do more in a certain shade.
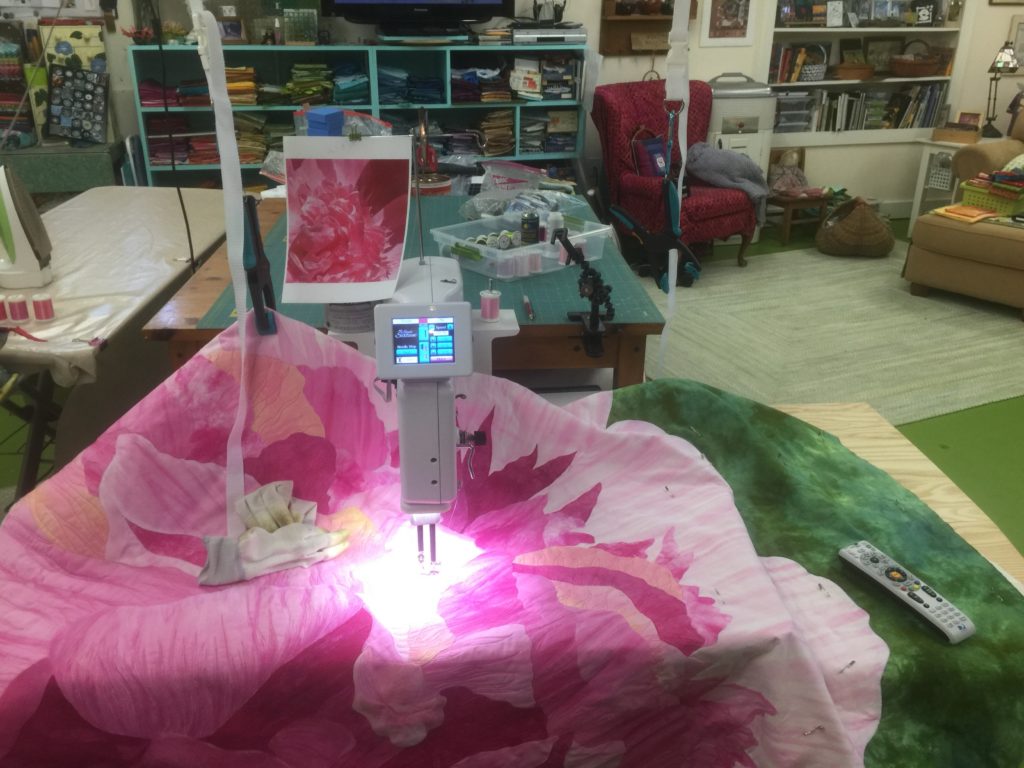
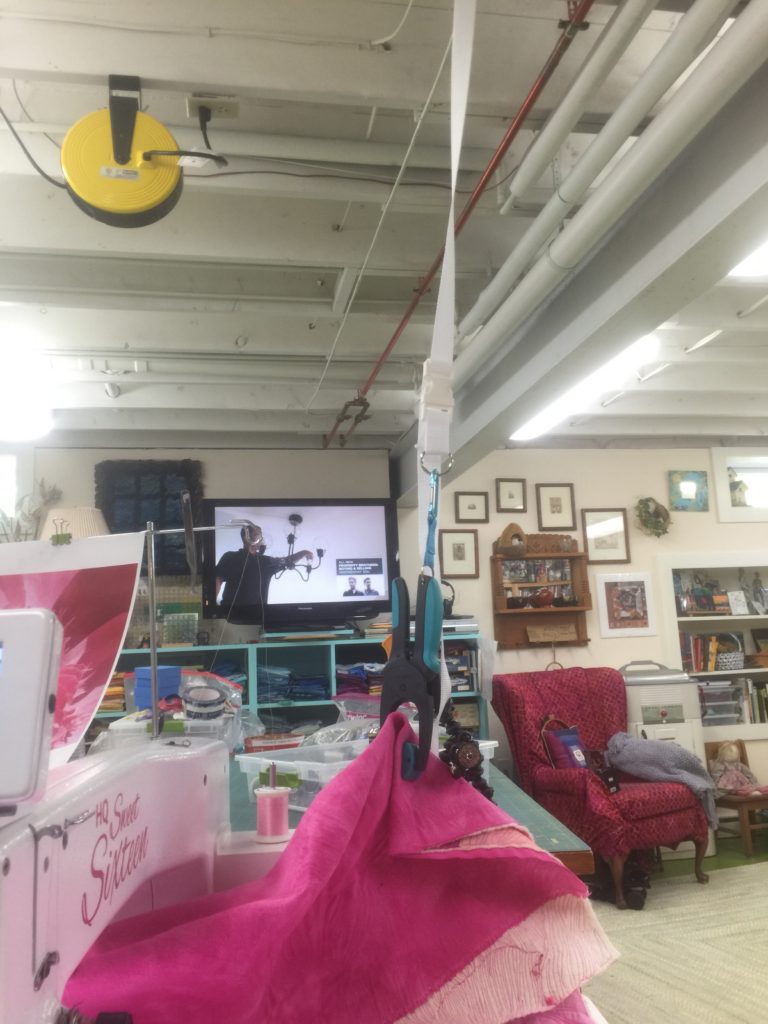
I had clamps by my Janome for working on larger projects, but hadn’t set up hooks from the floor joists (my ceiling) near the Sweet Sixteen until yesterday. WHAT an improvement!!!!!!! I’ve been using dyed-by-me cotton duck on the backs, and let me tell you the quilts have been HEAVY. So that’s why there is a blue-handled clamp visible. I didn’t use the one on the right because of where I had the phone set up to film.
If you like this, let me know and maybe I can do some more videos of me just quilting. And yes, I sound like a dolt when I try to narrate while quilting–I can’t concentrate on the quilting and manage to talk in a normal rhythm at the same time.

Working on the lighter petals on the big peony quilt. It will finish about 45×55 I think…..depends on how much I trim off and/or turn to the back. You can see both of the hanging clamps in this photo, as well as the photo of the peony clipped to the left side of the thread stand on the machine.

Showing the clamp on the right in use. Some folks have started using those dog-grooming things that you clamp onto the table and attach the dog with a short leash for grooming, but substitute a clamp. That idea became common AFTER I set things up over at the Janome; since I have bare (primed) joists and sub-flooring for a ceiling, I opted for the much less expensive hook in the joist!
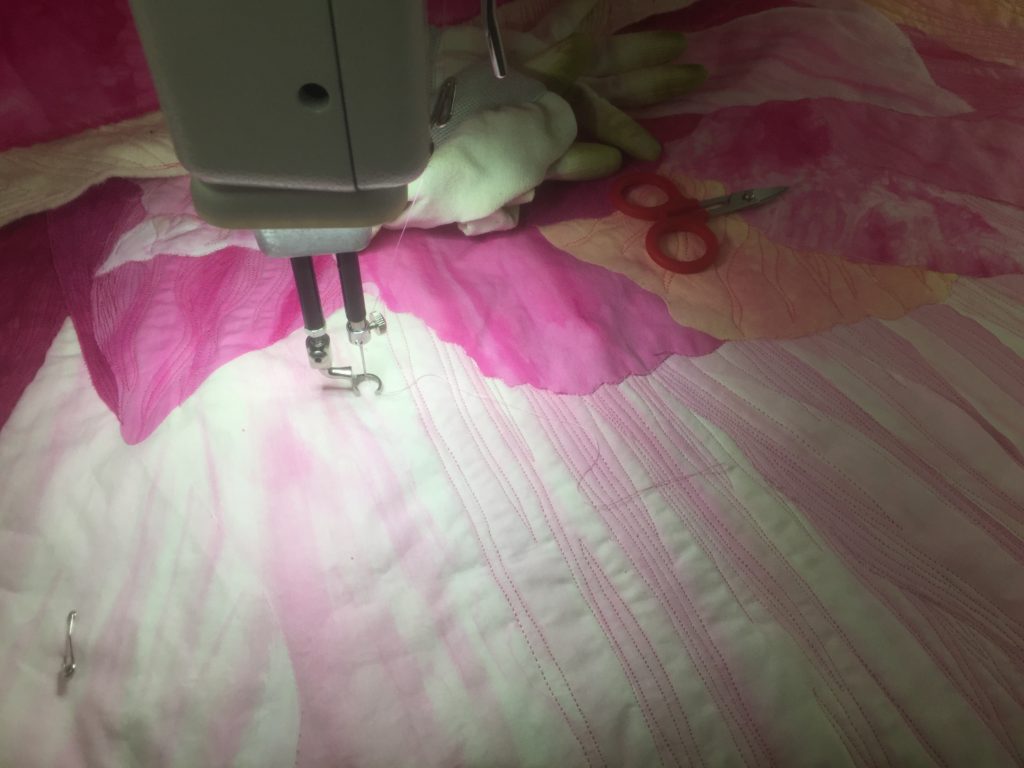
UPDATE/Addition: About the move to another bit, be sure to press down on the threads (top and bobbin) when you begin stitching, even if they are still attached. If the pulled out part is longer than the “jump” (which it sometimes is for me because I need tails long enough to bury), you can still get a snarl if you don’t hold the tails firm to the machine for the first stitch or few.
Non stick sheet on the wall: same as on the ironing table, just hold the iron vertically. I tend to make smaller components flat on the ironing board, then move to the wall. Sometimes I don’t use the wall…just depends. If I have draw a full cartoon/sketch, it goes UNDER the non stick sheet that is on the big board, so I just work there. On the rare occasions where I am working improvisationally or something seems amiss, up on the wall it goes.
I ordered my sheets from Valerie Hearder in Canada…the exchange rate is very favorable at the moment. She sells 24 and 36 in wide, by the foot. So I got two that are 72 inches long. They should hold me for a couple decades. Misty fuse now has the Holy Cow, which is 36×48. Had that been available when I got mine I might have done that instead. However, I REALLY like having my Big Board totally covered, and it is about 22×60 inches.
Thanks for writing! The peony is done and I am revelling in having the Peony DONE and HUNG!


August 29th, 2016 at 1:47 pm
Holy Cow, Sarah!!
Quite a physics lesson! Pulleys and clamps and joists! Who woulda thunk!! Is your studio on a basement level that provides the joists that are exposed?
August 29th, 2016 at 5:07 pm
Thanks, I enjoyed your video. I think I’m also as green as your gloves that you have an HQ16 and I don’t–not yet anyway. It is on my bucket list, but I think new wheels will take precedence. I have used similar clamps to hold my quilt while I was working on it, and it has made a great difference. I also use a Teflon sheet on the bed of my machine so things move even better. Getting it to stay where it belongs was the biggest challenge, but I finally figured out a solution. Lovin’ the peony. Looks like you were flower pickin’ in my yard!
August 30th, 2016 at 5:01 pm
Oh my! You are the absolute best teacher, and sharing so much is so generous of you! I love love love the video and would love to see many more! I feel as if I’m right there in your home. I don’t know a lot about video, so not much help there from me. I personally don’t mind the way you talk while sewing, didn’t bother me at all. I hope to see many more!
September 1st, 2016 at 5:55 pm
I loved the video Sarah, and picked up some tips! I always cut the thread to move to another area and you merely hung onto the top thread and moved.
Your studio looks like a wonderful, comfy space! I don’t know if this is a dumb question or not but I’m asking anyway (tee-hee-hee)–how do you use the non-stick sheet on the wall? I didn’t know they were available that large!
Also, I just noticed that I had an incomplete email address in here but I fixed it. I don’t know why I never noticed it before! Anyway, I look forward to your next video. I know I will enjoy it!
Take care,
D~~~~