email Youtube

Home
Galleries
Blog
Workshops & Calendar
Store
Resources
About
Contact

Archive for the ‘Color’ Category

Descended From the Stars, Part 3

Wednesday, July 20th, 2016
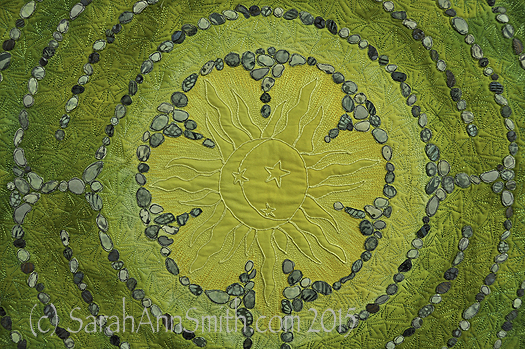
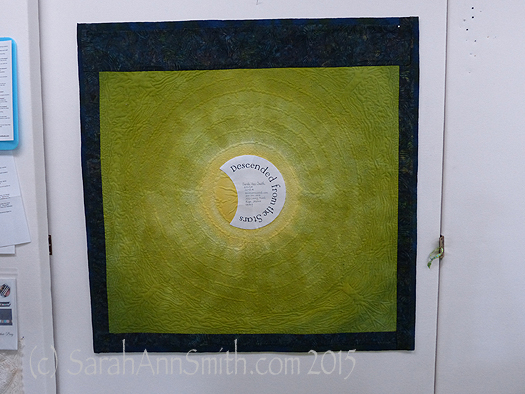
The sun in the center of Descended From the Stars

The sun in the center of Descended From the Stars

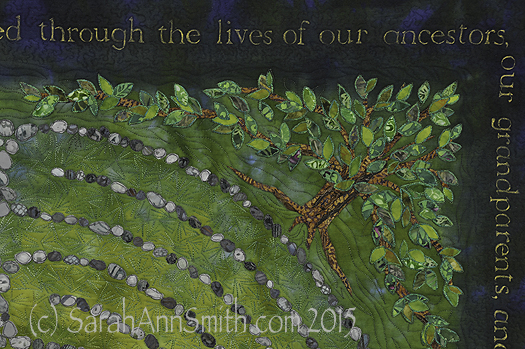
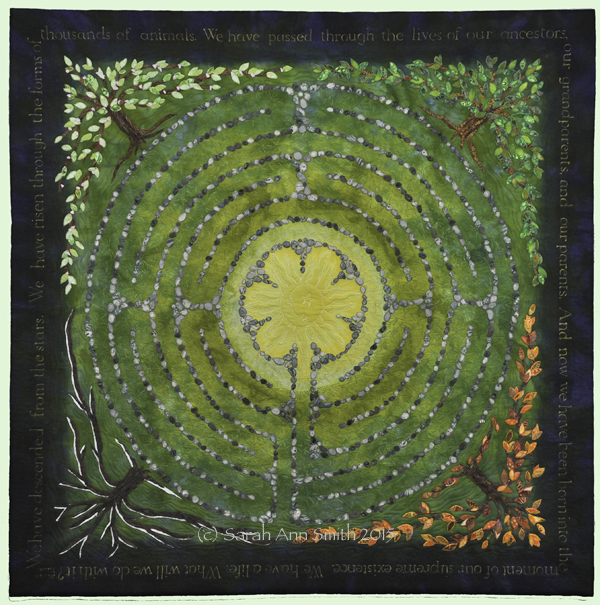
When I left on in my last post about this quilt, I had shared the dyeing process and the stones and lettering.   Next, I fused trees in the four seasons into the corners.  I distorted the shape so the tree canopy served as a frame.  I had thought initially I might need an inner border, perhaps couched yarn or stitching of some sort, but the shape of the tree worked so well I didn’t need anything extra.   As I did with the stones, I cut out leaves, LOTS of leaves, separating the colors into the ice cube tray so I could place them carefully.
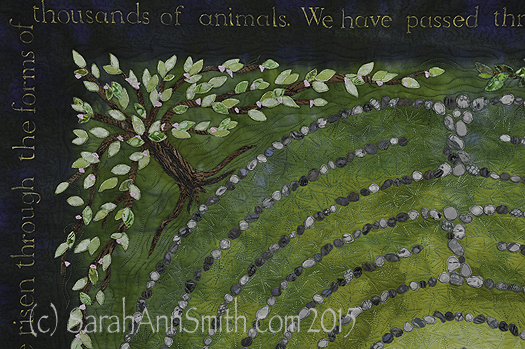
Detail, upper left corner, Spring Tree of Life.

Detail, upper left corner, Spring Tree of Life.  Each of the leaves is free-motion stitched with several rounds of thread on each leaf.  The nice part about doing this at the top stage is that I could use the scissors on my Janome 15000.  I didn’t have to bury thread tails!

Detail, top right, Summer Tree of Life.

Detail, top right, Summer Tree of Life.

Detail of the lower right corner, showing the autumn tree of life.

Detail of the lower right corner, showing the autumn tree of life.

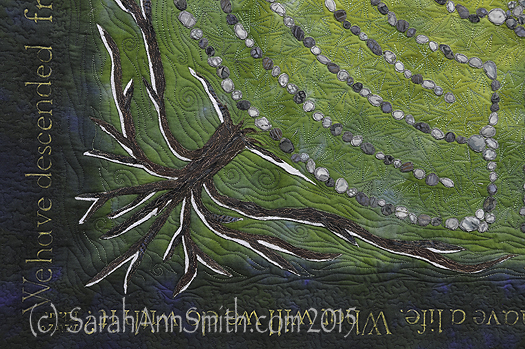
Detail of the lower left corner, with the winter tree kissed by snow.

Detail of the lower left corner, with the winter tree kissed by snow.

I did the stitching around the stones and on the trees, including the leaves, at the top stage with stabilizer underneath.  (See my post here to learn more about my current article for Machine Quilting Unlimited on the Fourth Layer–stabilizer– for densely thread painted quilts.)  I removed the stabilizer everywhere except for under the center because I knew I would want to quilt that area more densely than the rest of the quilt.
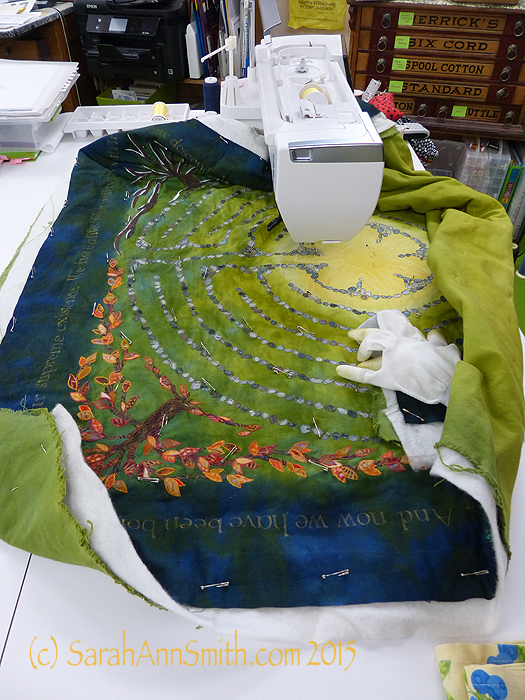
Here

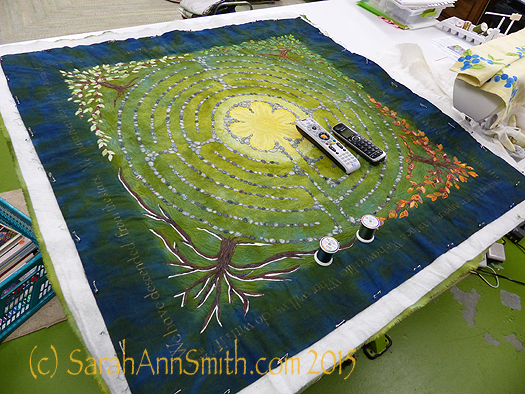
Here I have begun quilting.  You can see the custom-dyed cotton duck on the back.  The use of heavier cloth helps keep the quilt flat and stable; it also helps minimize shrinkage.  The final piece had to be 40 x 40 inches, and I wanted to have a balanced amount of blue on both sides of the lettering, so I needed to control the shrinkage that happens with dense quilting.

Next,
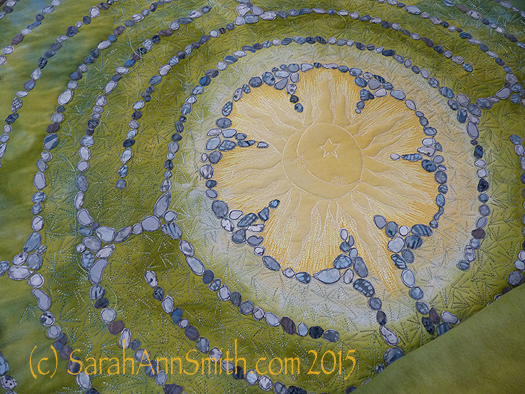
asdfa

Superior Threads (Thank you Bob and Heather Purcell!) has come out with some tone-on-tone variegated threads.   I have been pestering Bob for YEARS to make threads like these as I prefer blendy to contrasty.  I ordered up all of the new earth-tone blendy variegateds in the Fantastico line and used them.  I began with a light green blend in the first row around the sun, switched to another in the next to rings, and then a third in the fourth ring that you see here.  If you look at the left, you can see how I snuck some of the current thread color into the next ring to get even more color blending.

Then, I had to decide what threads to use in the dark areas.  My sewing tables (two back to back) are each 24 inches, so I have a nice, HUGE flat surface to support the quilt as I work.

asdf

Choosing thread:  dark, pine-y green and deep blue.

With all the manipulation, I realized that some of the ink had rubbed off, despite being REALLY careful to heat set it according to directions.  I wrote immediately to friends Judy Coates Perez and Susan Brubaker Knapp to seek guidance.  Judy had only used the regular colors, not the metallics.  And Susan had an article in the just-out issue of Quilting Arts about lettering, including these inks!  She too discovered that the metallics seem to “shed” a bit.
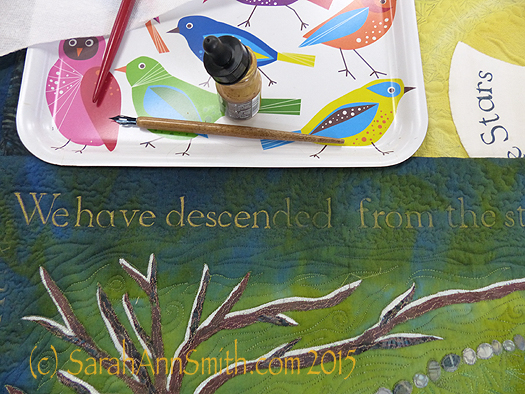
After quiting, some of the bling had rubbed off my quilt, so I had to do it AGAIN!

After quiting, some of the bling had rubbed off my quilt, so I had to do it AGAIN!  You can see where I have inked over the letters and what is left to re-do.

After re-inking and heat setting, I tested on my scrap cloth several products to seal the ink including GAC 900 (a textile medium that one adds to paint), a UV Coating, matte gel medium, and Krylon Spray Fixative which says it is acid-free, archival and safe on fabric.  Only the Krylon didn’t leave tell-tale signs that it had been used.  So I carefully masked off the rest of the quilt, leaving only the lettering area exposed and sprayed the Krylon on it (stinky!) in hopes that will help prevent the mica flakes in the gold ink from coming off.

I was nearly done, except that I didn’t really care for the multiple layers of thread I had used stitching the sun.  Picking it out did NOT appeal to me.  So I trekked down to Clementine fabrics in Rockland and bought some perle cotton in the right color.
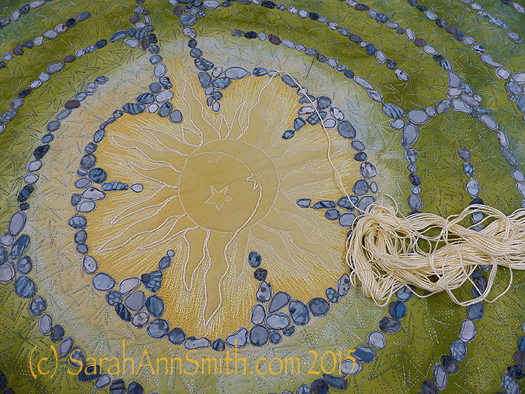
I wasn't happy with the way the stitching looked, so I couched perle cotton on top of the outline of the sun.  MUCH better!  You can see the difference in this half-way-through shot.

I wasn’t happy with the way the stitching looked, so I couched perle cotton on top of the outline of the sun. MUCH better! You can see the difference in this half-way-through shot.

At last, it was nearly DONE!  Time for facings, sleeve and label.
The back side of the quilt.  By dyeing the back to correspond with the front, the quilting design shows up on the back as it does on the front.

The back side of the quilt. By dyeing the back to correspond with the front, the quilting design shows up on the back as it does on the front.

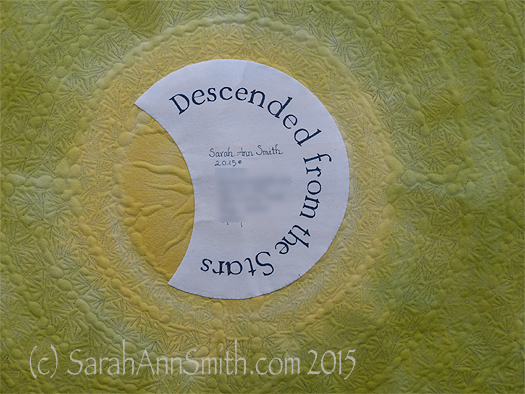
And I couldn’t resist the temptation to place a moon behind the sun as my label.  One more time with the dip pen!

The End--the label is on, the sleeve is done, the facings are stitched!

The End–the label is on, the sleeve is done, the facings are stitched!

(c)Sarah Ann Smith 2015; quote (c) Mirza Khan, used with permission

(c)Sarah Ann Smith 2015; quote (c) Mirza Khan, used with permission

This quilt will be for sale–another reason I opted to not include a lot of personal details in the quilt.   As I said before, I am happy!

What I can’t show you….

Wednesday, May 4th, 2016

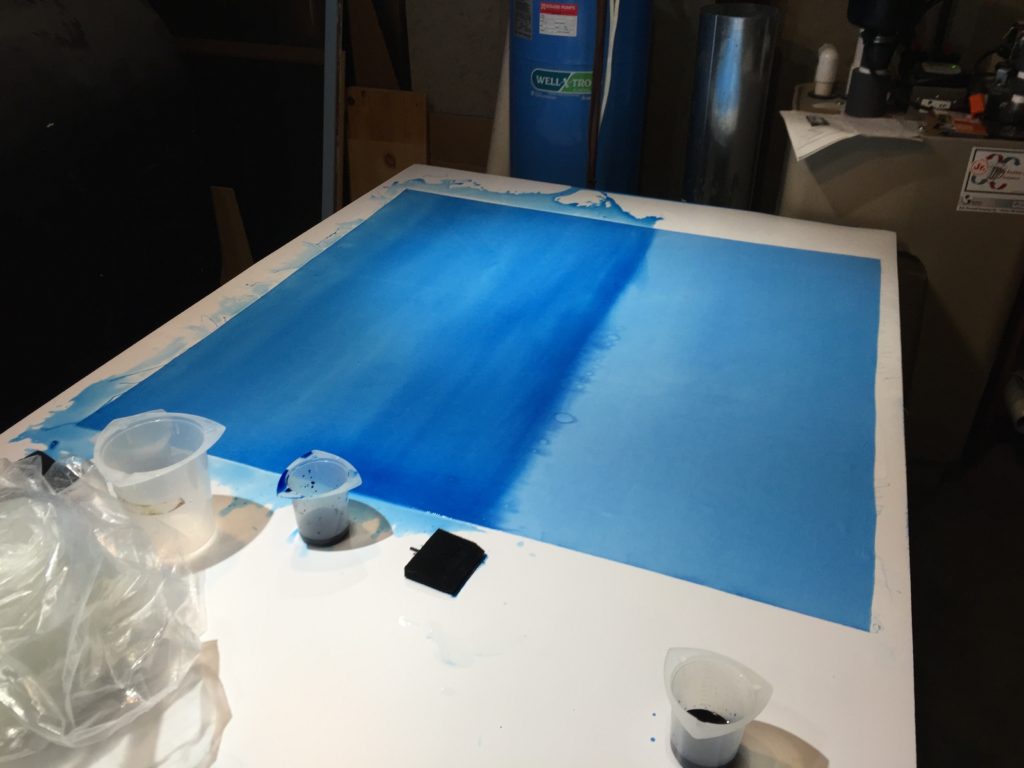
So, I’m working on a new quilt.  But we can’t publicize photos until after jurying.  But I figured I can show you one bit of it–the fabric that I am dyeing, because this isn’t what it’s going to look like.  I’d be surprised if anyone will be able to see this then realize that my entry is the one attached to this photo.  I hope.

My fabric dyeing space exists, which is a joy in itself.  However, it is in the "utilities" room with the 330 gallon heating oil tank (on the left), the water purification system (to remove arsenic which occurs naturally in the water table here...at the end of this work surface), the boiler (house heat), and the hot water tank.  Can you say barely enough room to slide sideways along the 4x8 foot melamine-glued-to-rigid-insulation work "table"?

My fabric dyeing space exists, which is a joy in itself. However, it is in the “utilities” room with the 330 gallon heating oil tank (on the left), the water purification system (to remove arsenic which occurs naturally in the water table here…at the end of this work surface), the boiler (house heat), and the hot water tank. Can you say barely enough room to slide sideways along the 4×8 foot melamine-glued-to-rigid-insulation work “table”?

I wanted a very exact color.  Thanks to my classes with Carol Soderlund, achieving this is possible, but sometimes I need to overdye.  My biggest challenge is that I haven’t dyed enough fabric to have a good grasp of how much the color will change once washed and dried–it lightens up a lot.  And in this case, the blue I wanted ended up being a mix of two blues, which I haven’t done in any of the classes I’ve taken.  So I was winging it.  I ended up using ProChem’s Intense Blue and a tiny bit of turquoise.   To get the shade I need, I used 0.9 gram (which is a ridiculously small weight) of Intense blue and…get this…. 0.1 gram of Turquoise.   On my first attempt, I used a very pale wash of the Turquoise over the solid blue I had dyed with Intense Blue.  And it was too turquoise.  So I started over.  The second attempt is the one that is on the table above, on its second round adding more of the combination (with a lot less turquoise) to get it a bit darker.  It worked!

And that’s all I can show you until about June.  Gotta get to work!   More anon!

Foto Friday, Week 40: Autumn

Friday, October 16th, 2015

What a concept, Foto Friday on a FRIDAY!    This week’s theme was Autumn.  Since autumn is at its glorious peak around Hope, Maine, that was easy.   And needless to say, since it is my favorite season, I got carried away!  Please note, photos can be clicked to view larger.  All photos are (c) Sarah Ann Smith.

Crunched levels a bit, smart sharpen.   I don’t know why, but I really like this shot!

Crunched levels a bit, smart sharpen. I don’t know why, but I really like this shot!  This was my class entry.

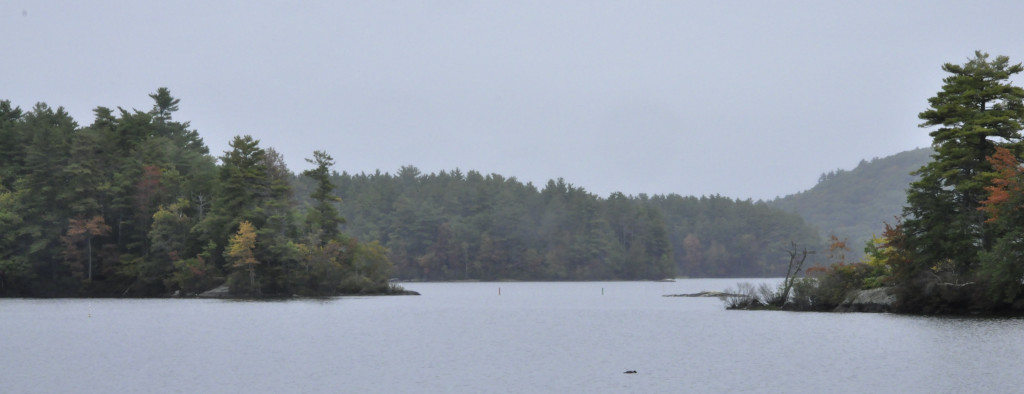
A misty, hazy, rainy morning at the boat launch on Megunticook Lake on Route 105 (on the way home from town).  Yes, I get to live in this gloriously beautiful place!  Smart sharpen and crop, but not much else.

A misty, hazy, rainy morning at the boat launch on Megunticook Lake on Route 105 (on the way home from town). Yes, I get to live in this gloriously beautiful place! Smart sharpen and crop, but not much else.

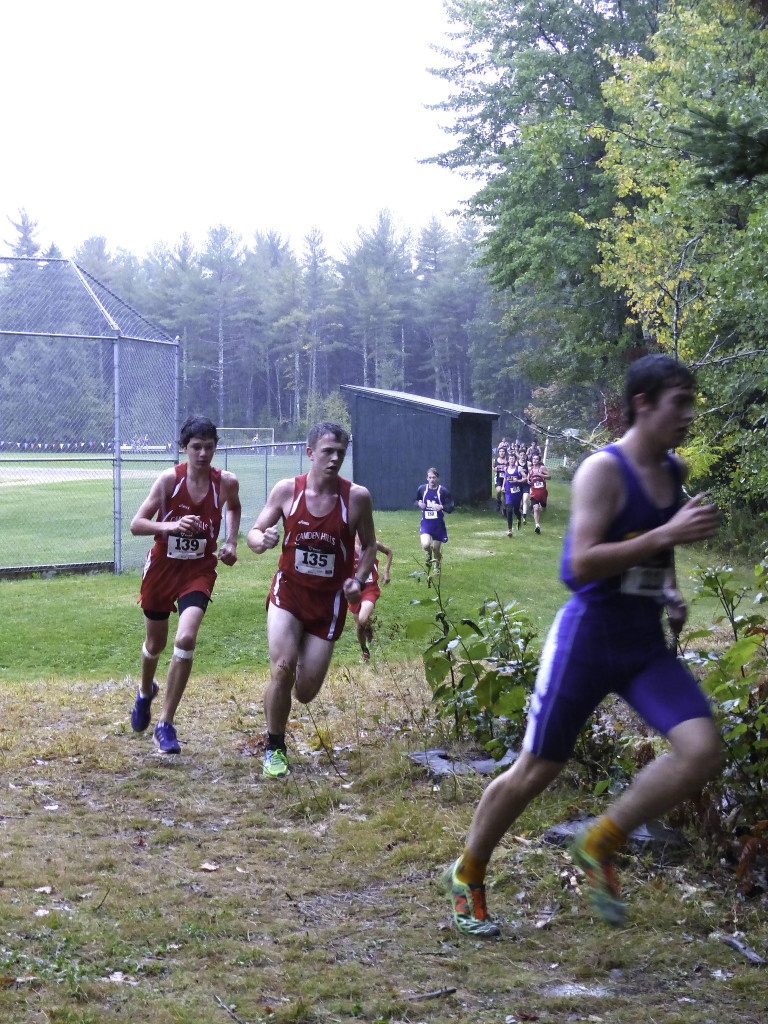
Not a brilliant photo, but this truly says autumn to me:  Cross Country team in full swing.  It is Homecoming at Camden Hills, it is raining, cold and dreary.  Eli is rounding the bend (#135) into my favorite view of the course alongside his friend since first grade, Ben.  Ben has FINALLY grown—now nearly as tall as Eli, who outweighs him by 45 pounds!  And still as fast and sometimes faster (proud mama!).

Not a brilliant photo, but this truly says autumn to me: Cross Country team in full swing. It is Homecoming at Camden Hills, it is raining, cold and dreary. Eli is rounding the bend (#135) into my favorite view of the course alongside his friend since first grade, Ben. Ben has FINALLY grown—now nearly as tall as Eli, who outweighs him by 45 pounds! And still as fast and sometimes faster (proud mama!).

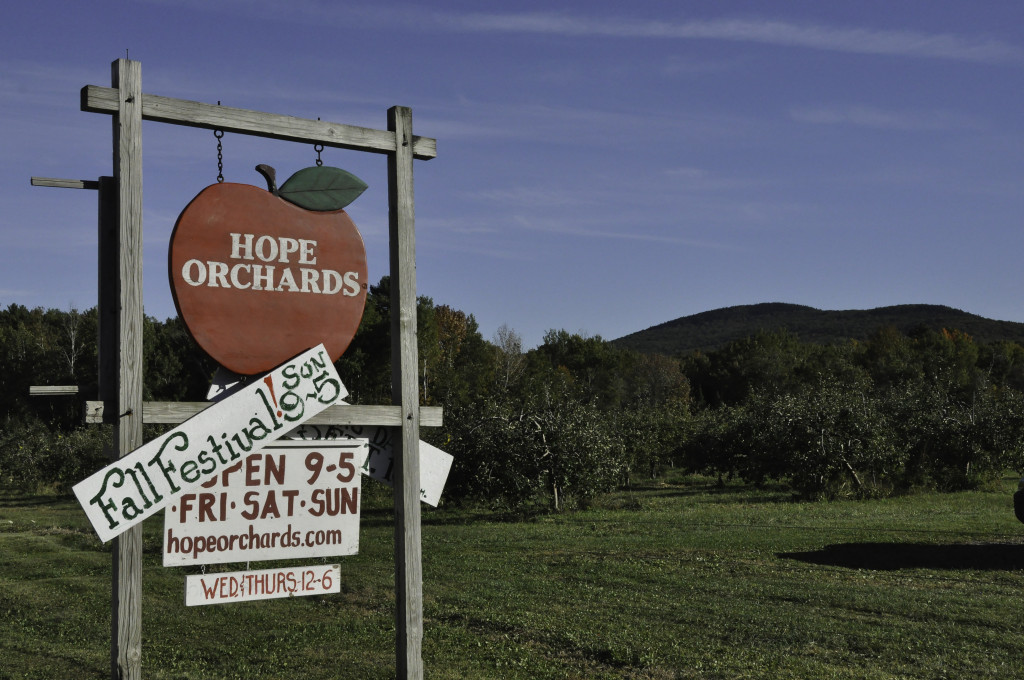
Removed a couple distractions on the left of the sign, smart sharpen. Hope Orchards is a you-pick and small commercial orchard on the way home.  It was a ZOO today (the Sunday) with more cars than that crossroads usually sees in a full day!  Glorious autumn at its finest in Maine.

Removed a couple distractions on the left of the sign, smart sharpen.
Hope Orchards is a you-pick and small commercial orchard on the way home. It was a ZOO today (the Sunday) with more cars than that crossroads usually sees in a full day! Glorious autumn at its finest in Maine.

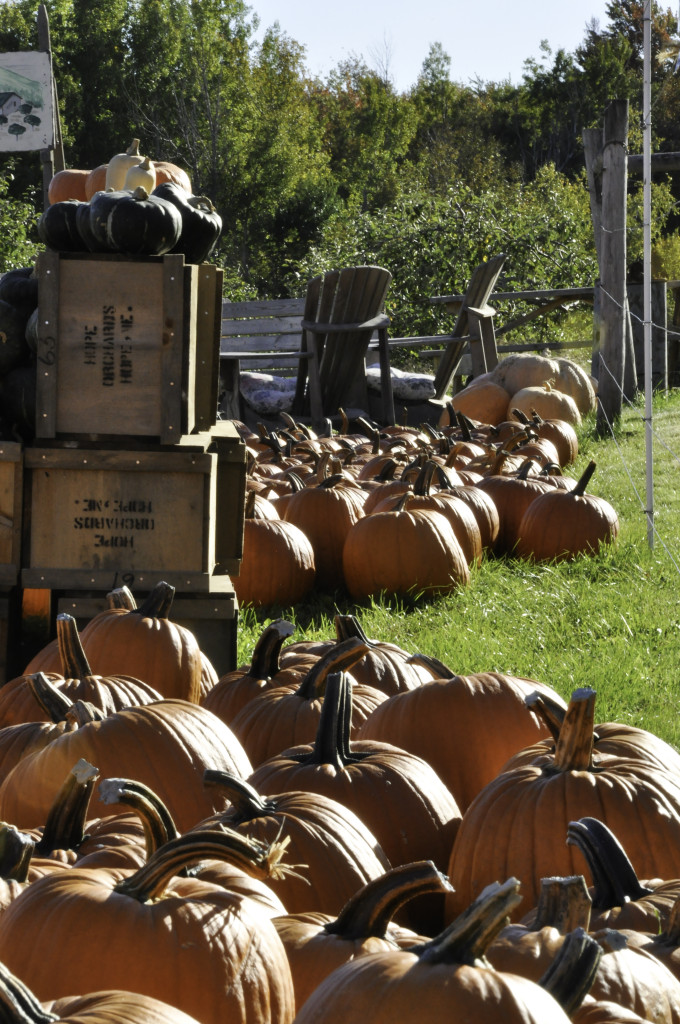
At Hope Orchard.  Should have bought a pumpkin the day I stopped for photography!

At Hope Orchard. Should have bought a pumpkin the day I stopped for photography!

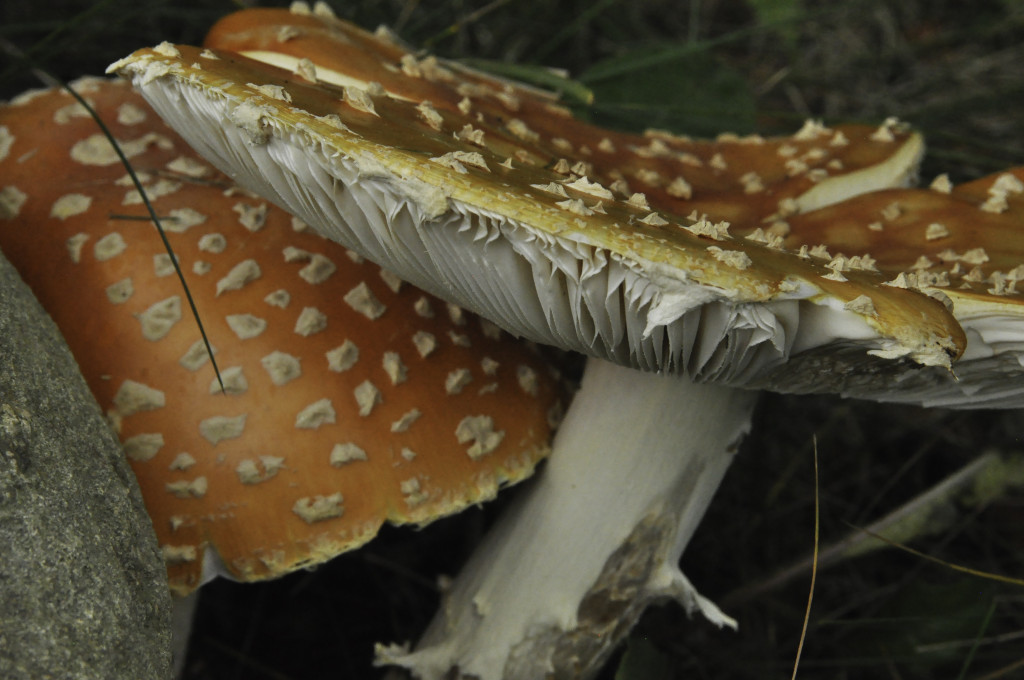
These mushrooms/toadstools in the yard are HUGE—at least 6 inches across when opened.  They seem to scream “ do NOT eat me!”  Smart sharpen, slight adjust to brighten.

These mushrooms/toadstools in the yard are HUGE—at least 6 inches across when opened. They seem to scream “ do NOT eat me!” Smart sharpen, slight adjust to brighten.

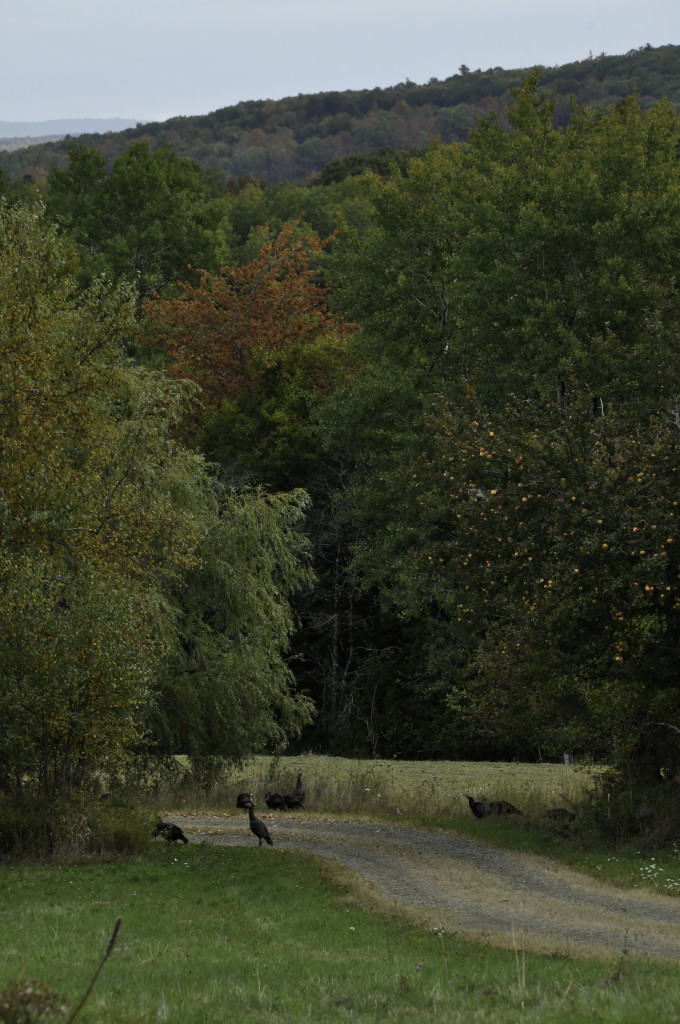
A few slight edits moved this from drab to contender for class image.  Minor adjustments to vibrance, crunching levels at both ends.   I call the deer and turkeys our Grounds Crew.  They come and eat the windfall apples every day.  We must have 23 apple trees, 21 of them very old, on our 11 acres.  They old farms always had apple trees for horse and pig feed over the winter.   We have two clans of turkeys—17 in total this year.  They are so much fun to watch—unless they are up in the two GOOD apple trees with scrumptious Macouns.  They are then politely asked to please move on to the other 21 trees!  This shot is at the bend in the driveway.

A few slight edits moved this from drab to contender for class image. Minor adjustments to vibrance, crunching levels at both ends.
I call the deer and turkeys our Grounds Crew. They come and eat the windfall apples every day. We must have 23 apple trees, 21 of them very old, on our 11 acres. They old farms always had apple trees for horse and pig feed over the winter. We have two clans of turkeys—17 in total this year. They are so much fun to watch—unless they are up in the two GOOD apple trees with scrumptious Macouns. They are then politely asked to please move on to the other 21 trees! This shot is at the bend in the driveway.

Smart sharpen only.

Smart sharpen only.

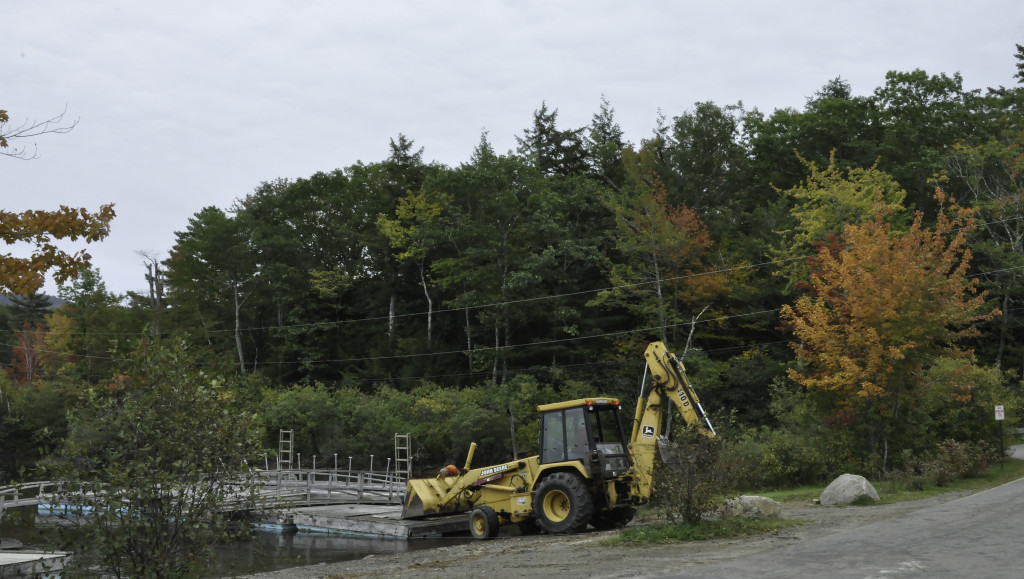
May I just say how much I love content aware fill????   Fixed several raindrops on the lens!  Cropped to eliminate extra sky and parking area.  This is at the boat launch on Lake Megunticook, Route 105.  A sure sign that autumn is well under way is the removal of all rafts and docks from the water.  They are stored on the other side of the road, cloaked in snow, until they migrate back across the road and into the lake.  Ice out is usually mid-April, so in the water in May sometime.  Not a typical shot of autumn, but it is OUR autumn here in mid-coast Maine.

May I just say how much I love content aware fill???? Fixed several raindrops on the lens! Cropped to eliminate extra sky and parking area. This is at the boat launch on Lake Megunticook, Route 105. A sure sign that autumn is well under way is the removal of all rafts and docks from the water. They are stored on the other side of the road, cloaked in snow, until they migrate back across the road and into the lake. Ice out is usually mid-April, so in the water in May sometime. Not a typical shot of autumn, but it is OUR autumn here in mid-coast Maine.

And one last uber-autumn-y shot:

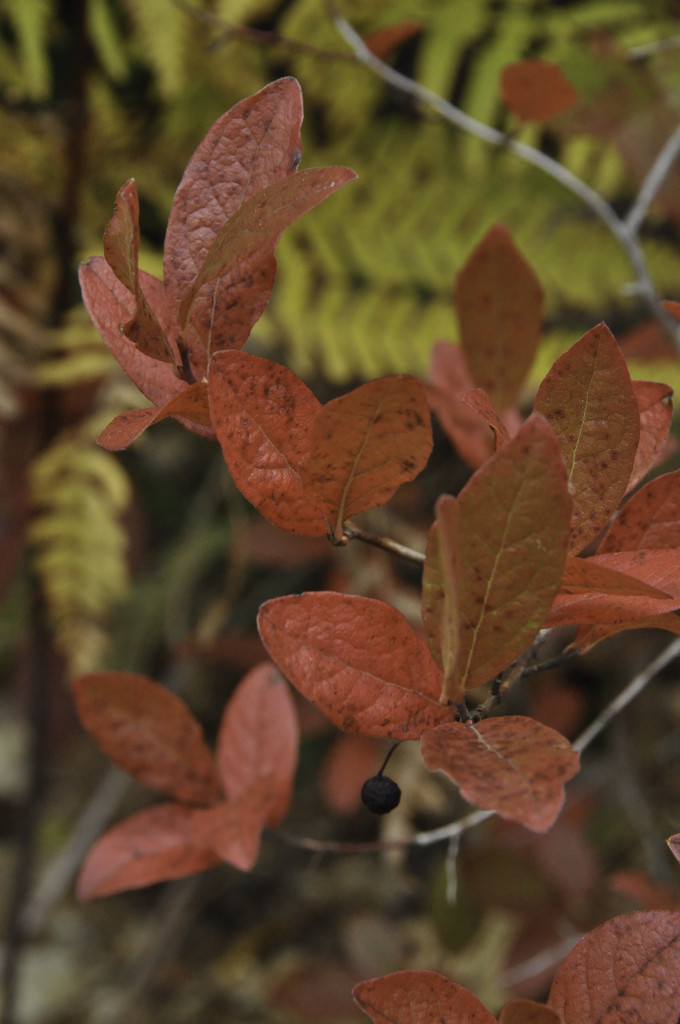
Slight tweaks to vibrance and levels.   I’m having a VERY hard time deciding which photo to use this week.  I guess that means I’ve learned a lot so far this year! I’m getting more candidates along with the flubs!

Slight tweaks to vibrance and levels. I’m having a VERY hard time deciding which photo to use this week. I guess that means I’ve learned a lot so far this year! I’m getting more candidates along with the flubs!

I’ve been working  a lot on various volunteer stuff–my high school alumni council, SAQA (Studio Art Quilt Associates, a couple committees plus just took on a coordinator job), and making clothes and testing the Janome Skyline S7, a brilliant new machine on the lower price end.  I have to stay I am astounded at how many features it has!  I hope to actually BLOG about some of the things I’ve been making…what a concept.  Stay tuned…I know I keep promising, but between thyroid issues (being tired), Eli being a senior and doing college stuff (and us doing the financial stuff), the volunteer stuff, making things, I’m pretty much tapped out!    One of these days I’ll return to more frequent blogging (too funny, typed blobbing….maybe that is more accurate.)  Anyway, off to enjoy the crisp autumn air!

Quilting the Garden–NEW Workshops! Photo to Flower Collage

Sunday, March 29th, 2015

I am SO excited to share with you the first of two new workshops that will debut with the Charlotte (NC) Quilters Guild next week!   The first workshop, From Photo to Flower Collage, can be a one or two-day workshop.  This time, it will be two-days (click here for more information, there are just a couple spots left).  The second workshop, ThreadColoring the Flower (click here) is booked this time as a one-day class.

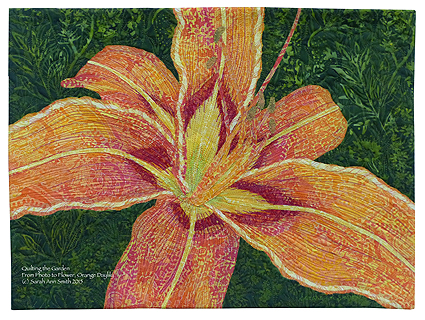
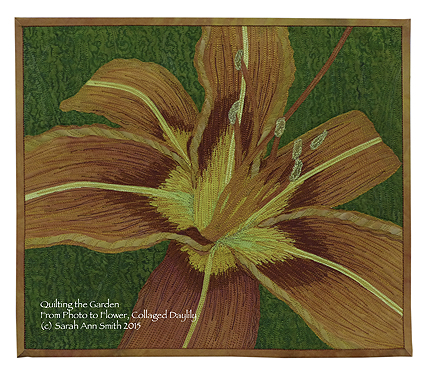
Orange Daylily collage in batik, part of the Photo to Flower Collage / Quilting the Garden workshop

Orange Daylily collage in batik, part of the Photo to Flower Collage / Quilting the Garden workshop

I designed these workshops so that a guild can book what will work for their guild:  a single day or a two-day  workshop for either of the two.  With a little added content, the workshop can be expanded to a full five days allowing students to really work in depth, with one-on-one assistance, to create their own collaged and thread-colored art quilt.  I’ll post in detail about the ThreadColoring workshop in two days.

The students learn how to see value (light and dark) and how to translate the imagery in a  photo into their own working pattern.  I provide two photos, the day lily (taken by the roadside near my home) and the water lily (taken by me at the Maine Botanical Gardens in Boothbay Harbor) for the Day 1 class project, which will finish about  9 x 12 inches:

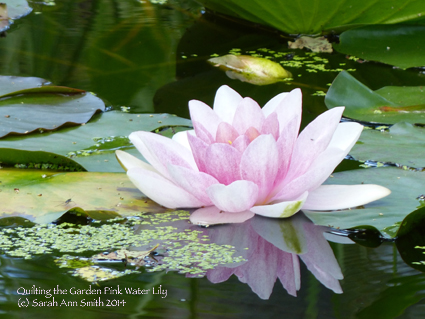
The water lily photo for the workshop. Photo (c) SarahAnnSmith

The water lily photo for the workshop. Photo (c) SarahAnnSmith

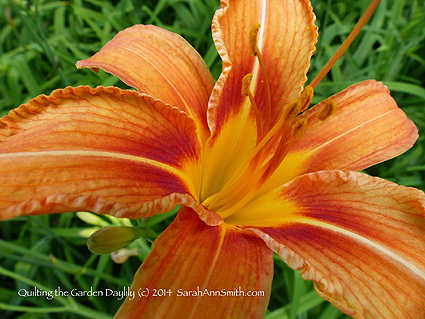
The Close up of the wild Day Lily, also used in the workshop. (c) Sarah Ann Smith.  PS:  Sorry about all the watermarking and copyright notices--after the incident where someone created derivative copies of my work, I'm being even more  diligent about marking stuff.  So sad to have to do this!

The Close up of the wild Day Lily, also used in the workshop. (c) Sarah Ann Smith. PS: Sorry about all the watermarking and copyright notices–after the incident where someone created derivative copies of my work, I’m being even more diligent about marking stuff. So sad to have to do this!

When I created the class sample, I wanted to do one in fabrics students can get, such as the batiks in the example above.  However, I also wanted to try the image using only hand-dyes.  This next sample is just that.  I used one of my thermofax screens, Squiggles (available here at Fiber on a Whim) and textile paint to create the green on green background on my own hand-dyed fabric.

Another verion of the daylily, made exclusively with my own hand-dyes and thermofax screened hand-dye.

Another verion of the day lily, made exclusively with my own hand-dyes and thermofax screened hand-dye.

And no, I don’t know which one I like most!

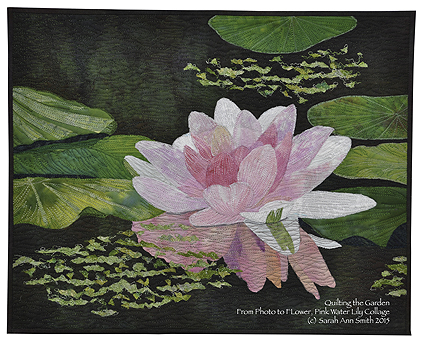
Here is the water lily, made from both commercial batiks and my own hand-dyes:

Pink Water Lily (c) SarahAnnSmith

Pink Water Lily (c) SarahAnnSmith

The second day in this workshop, students will bring their own photos (or use my second photo), select one, and create their own larger art quilt.  I’m so excited to be able to teach my collage process and help folks learn to see and create their own artwork by understanding some of the basic elements and principles of design with strong composition, lighting, and fabric selection.


The most beautiful place on Earth

Saturday, October 18th, 2014

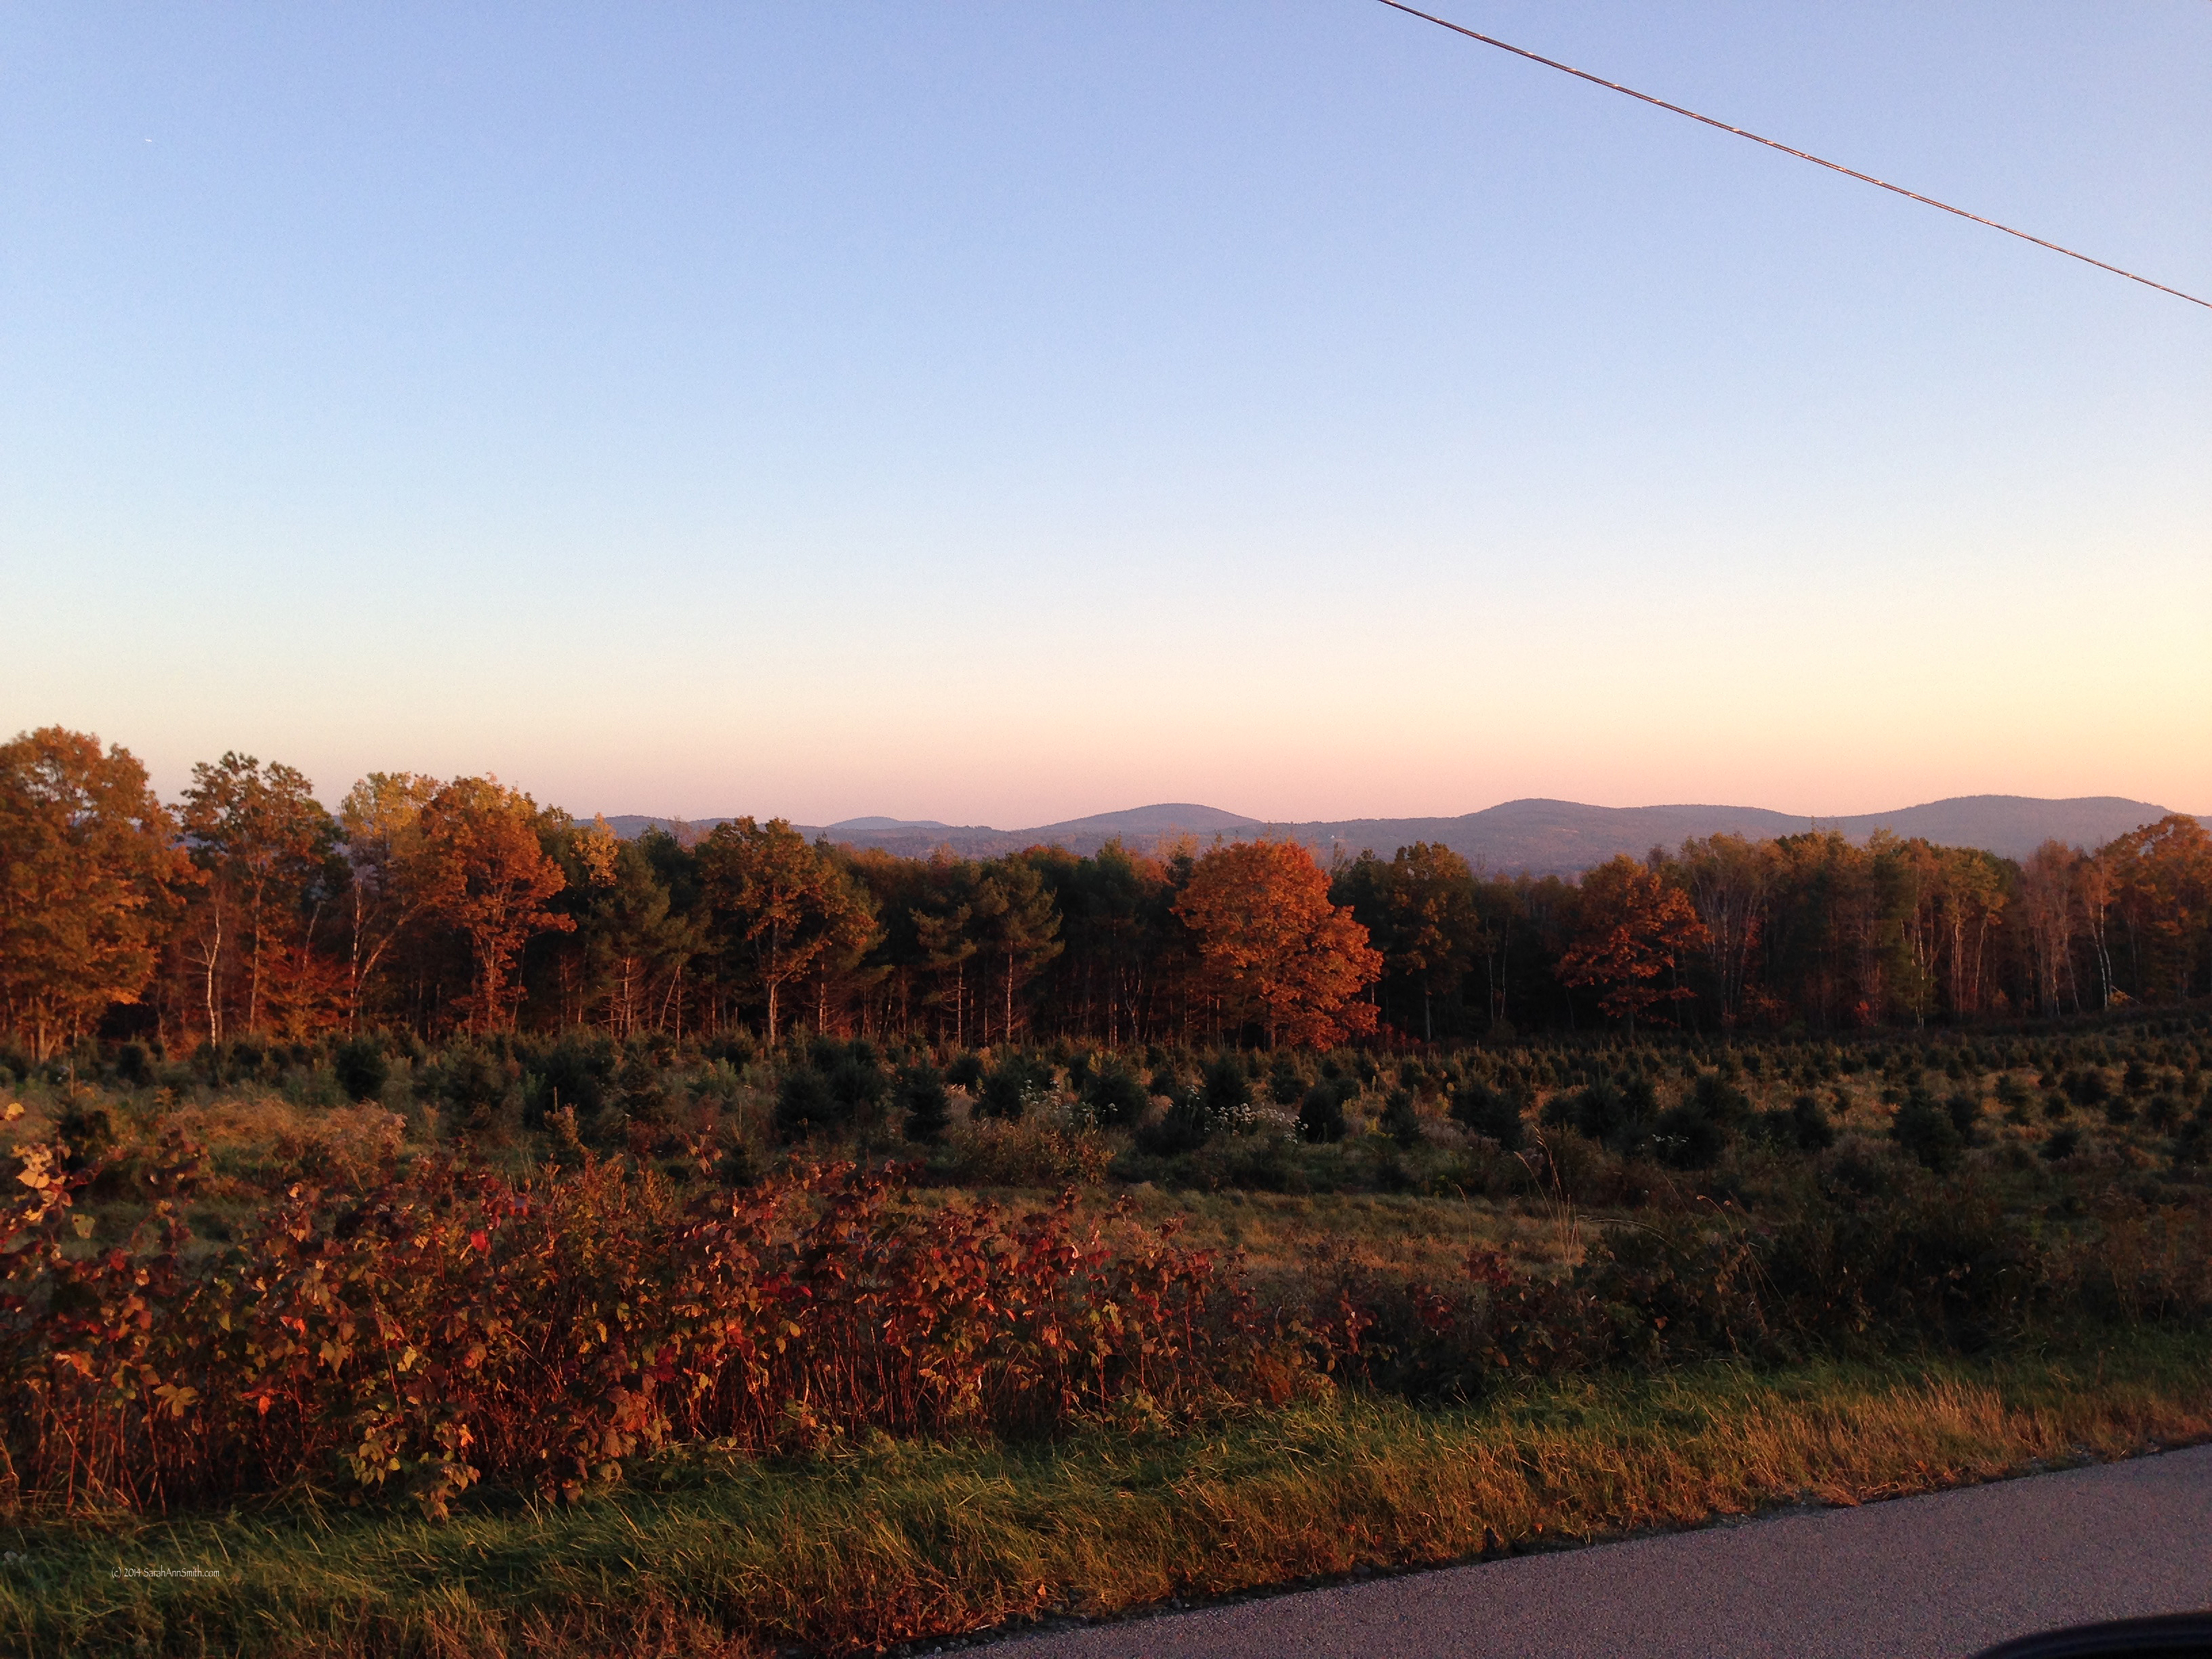
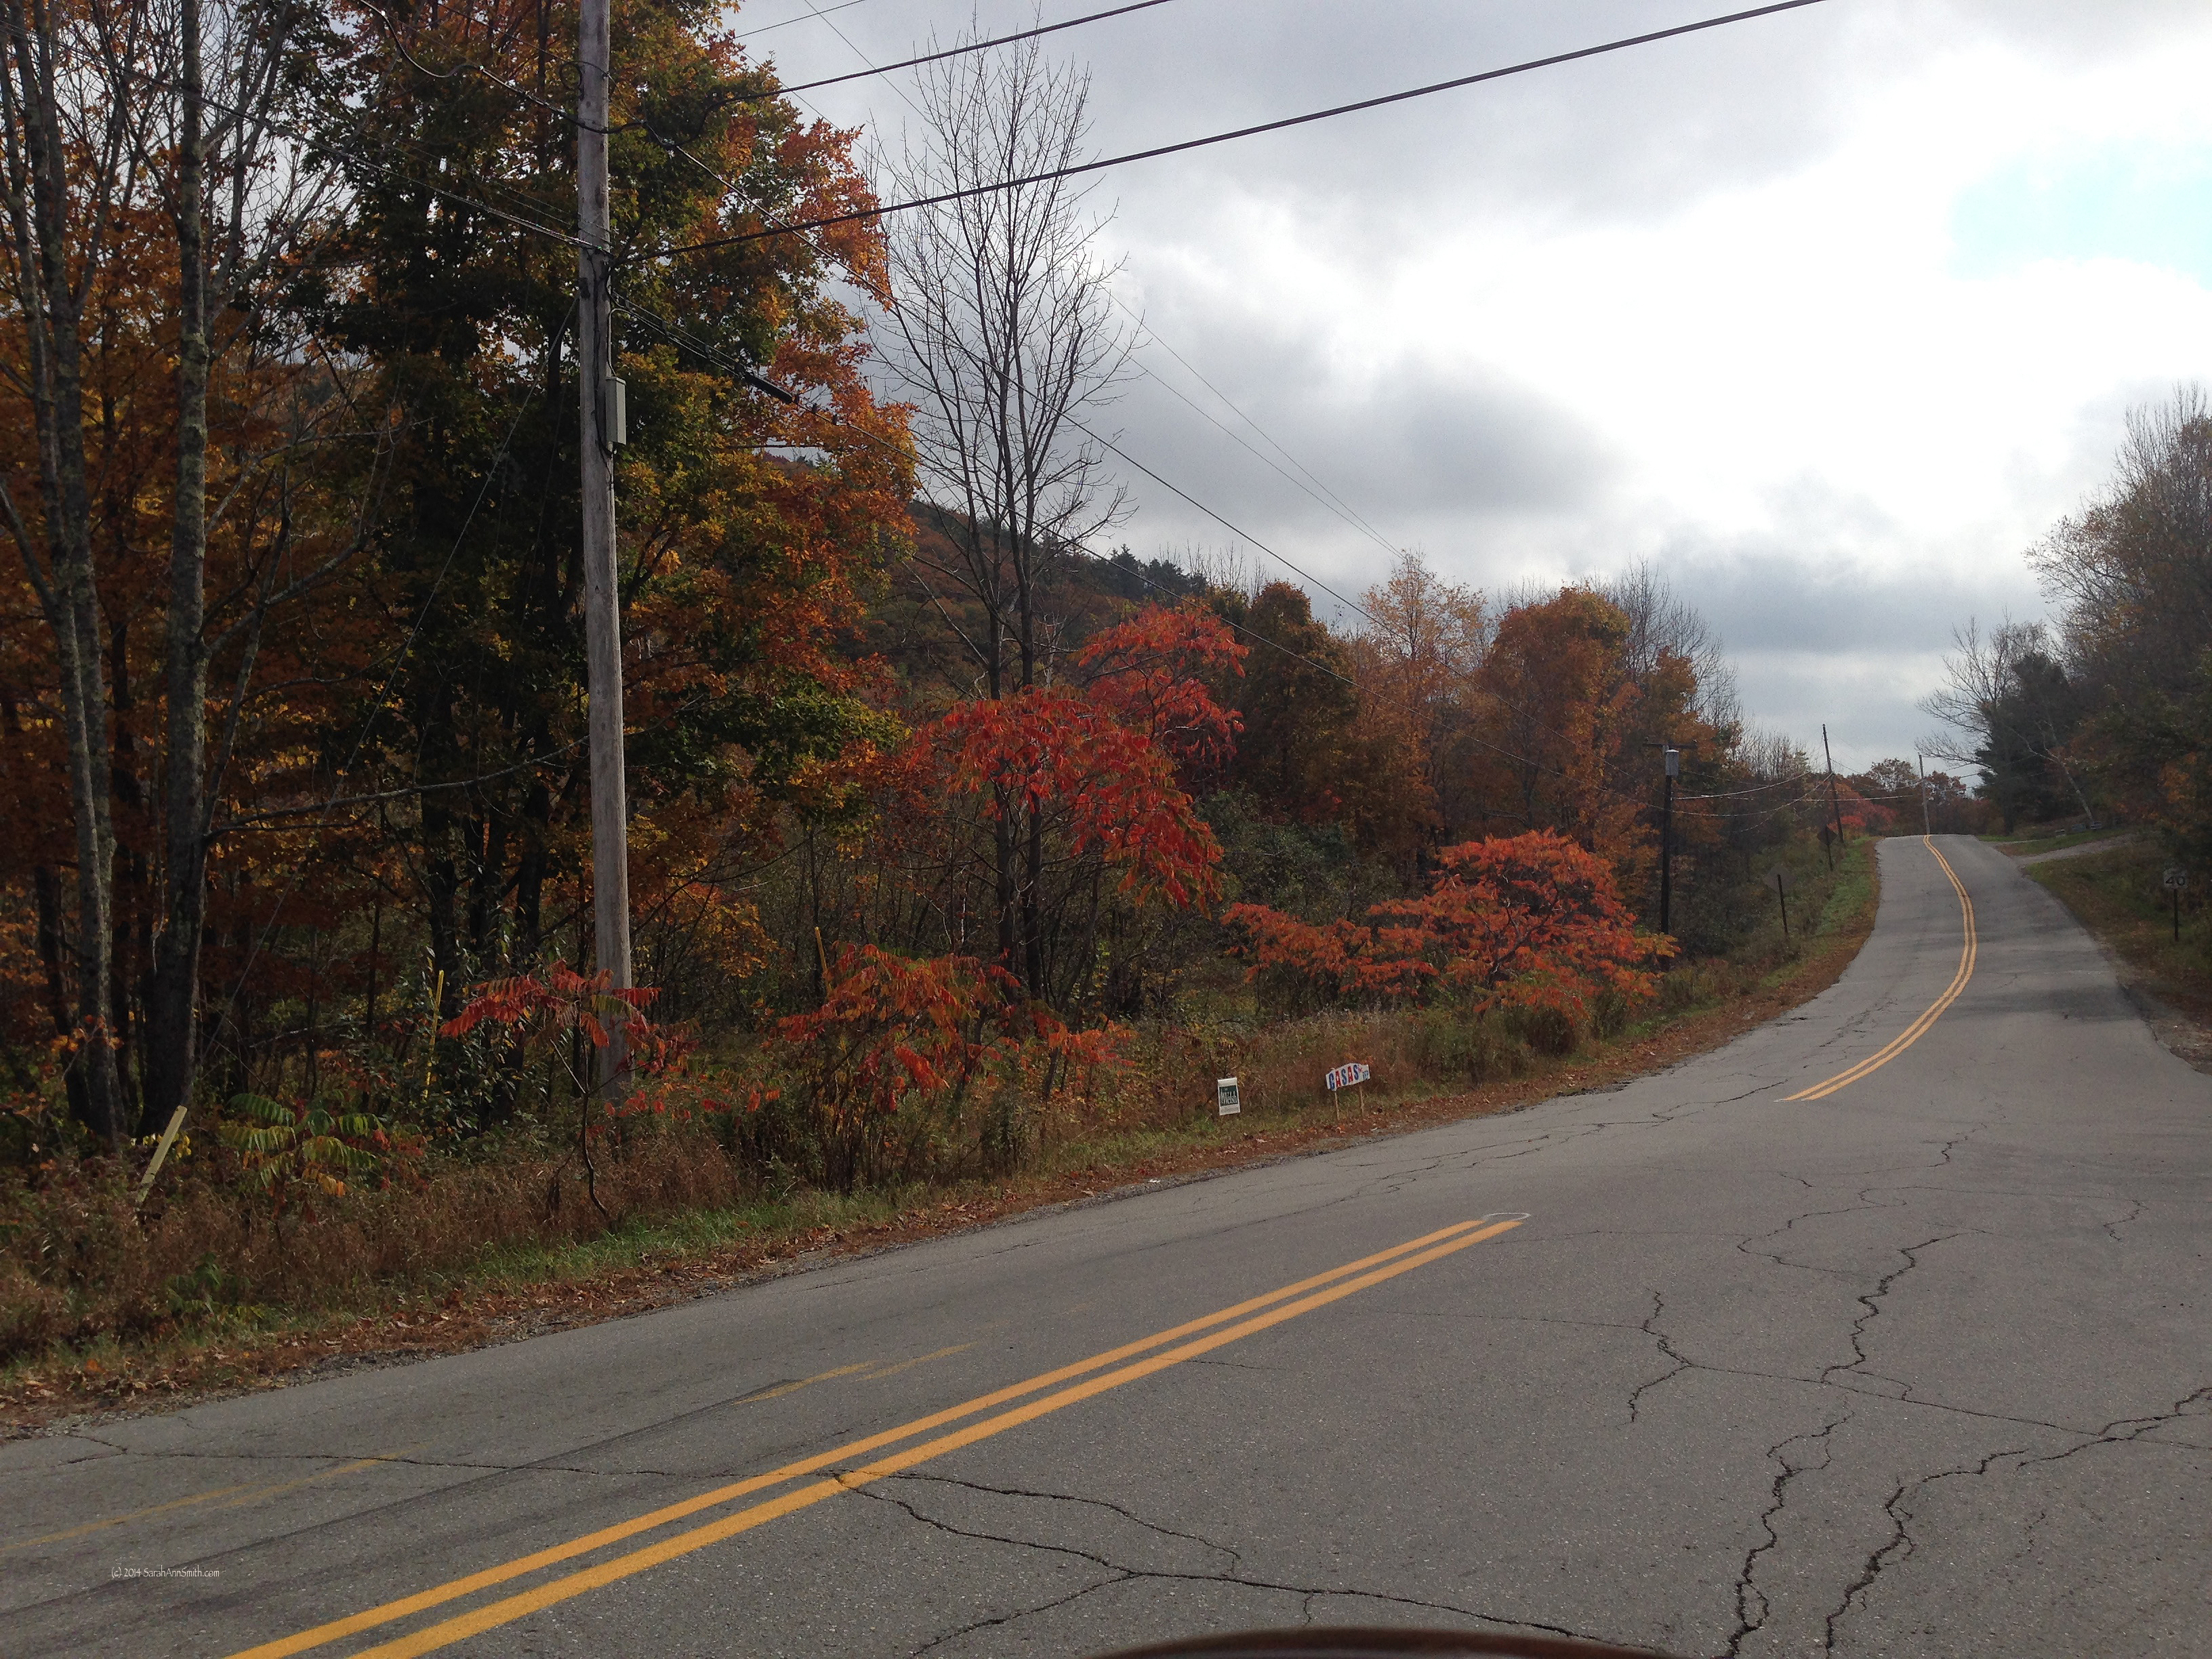
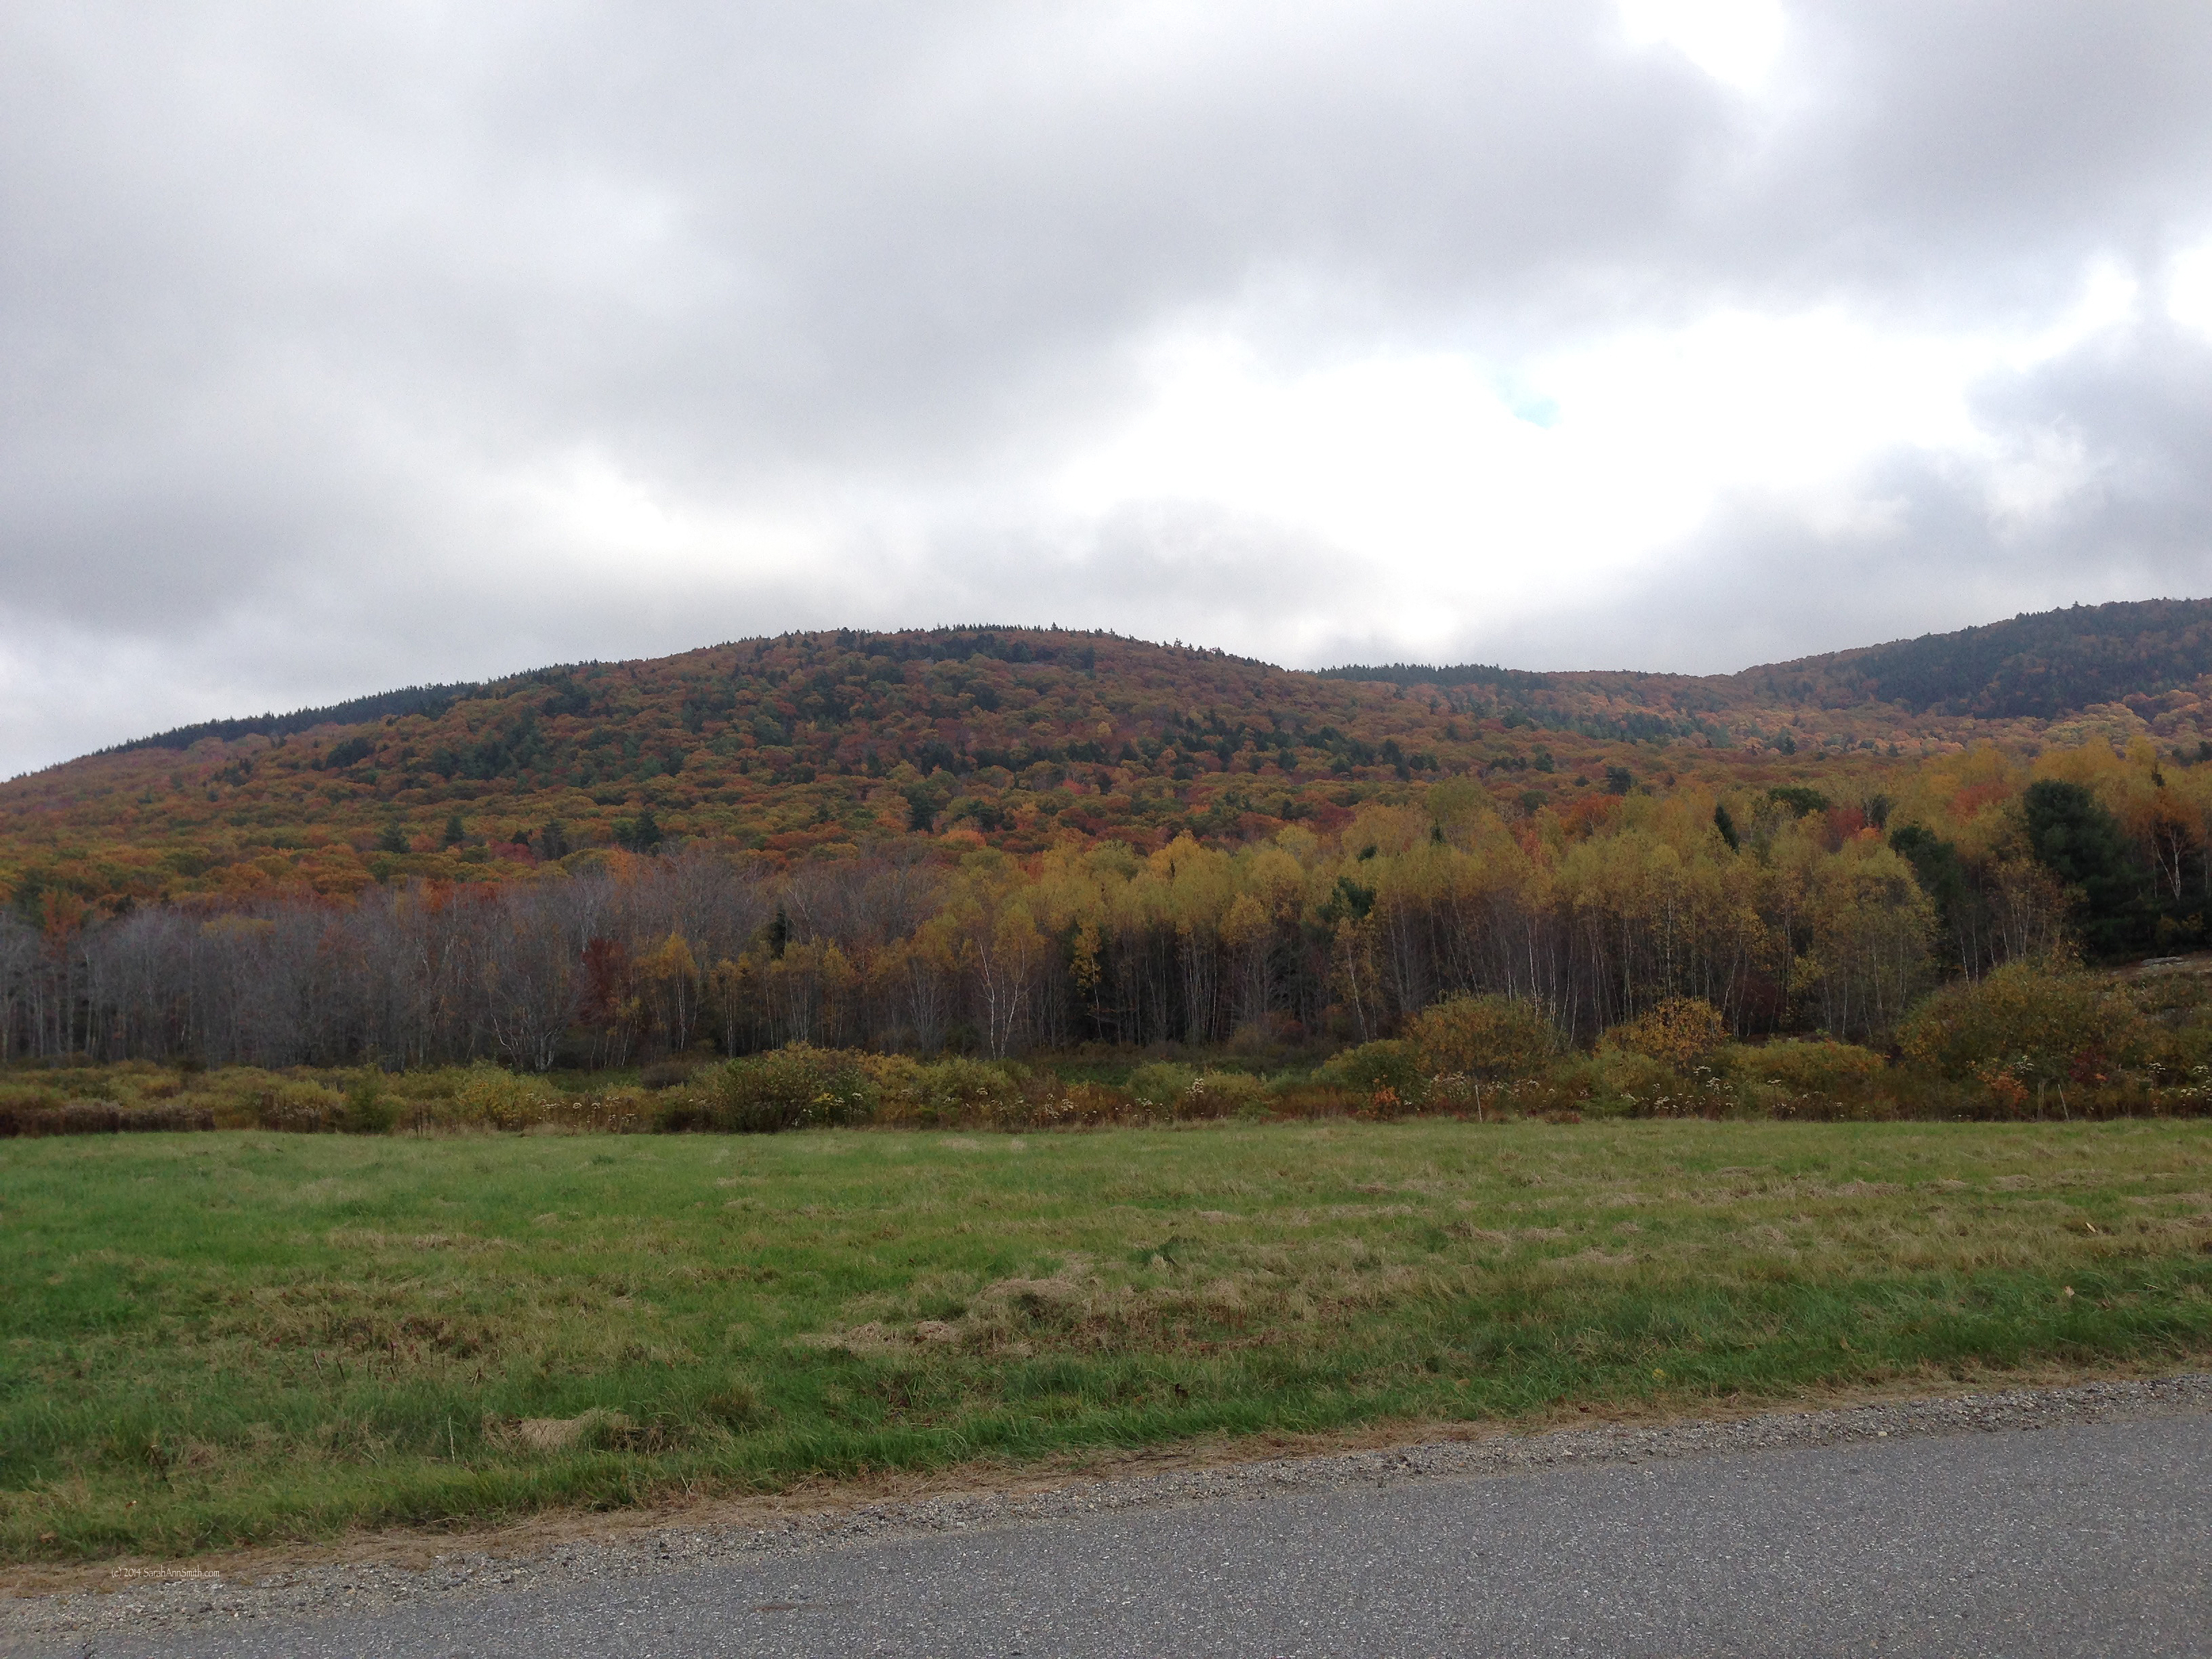
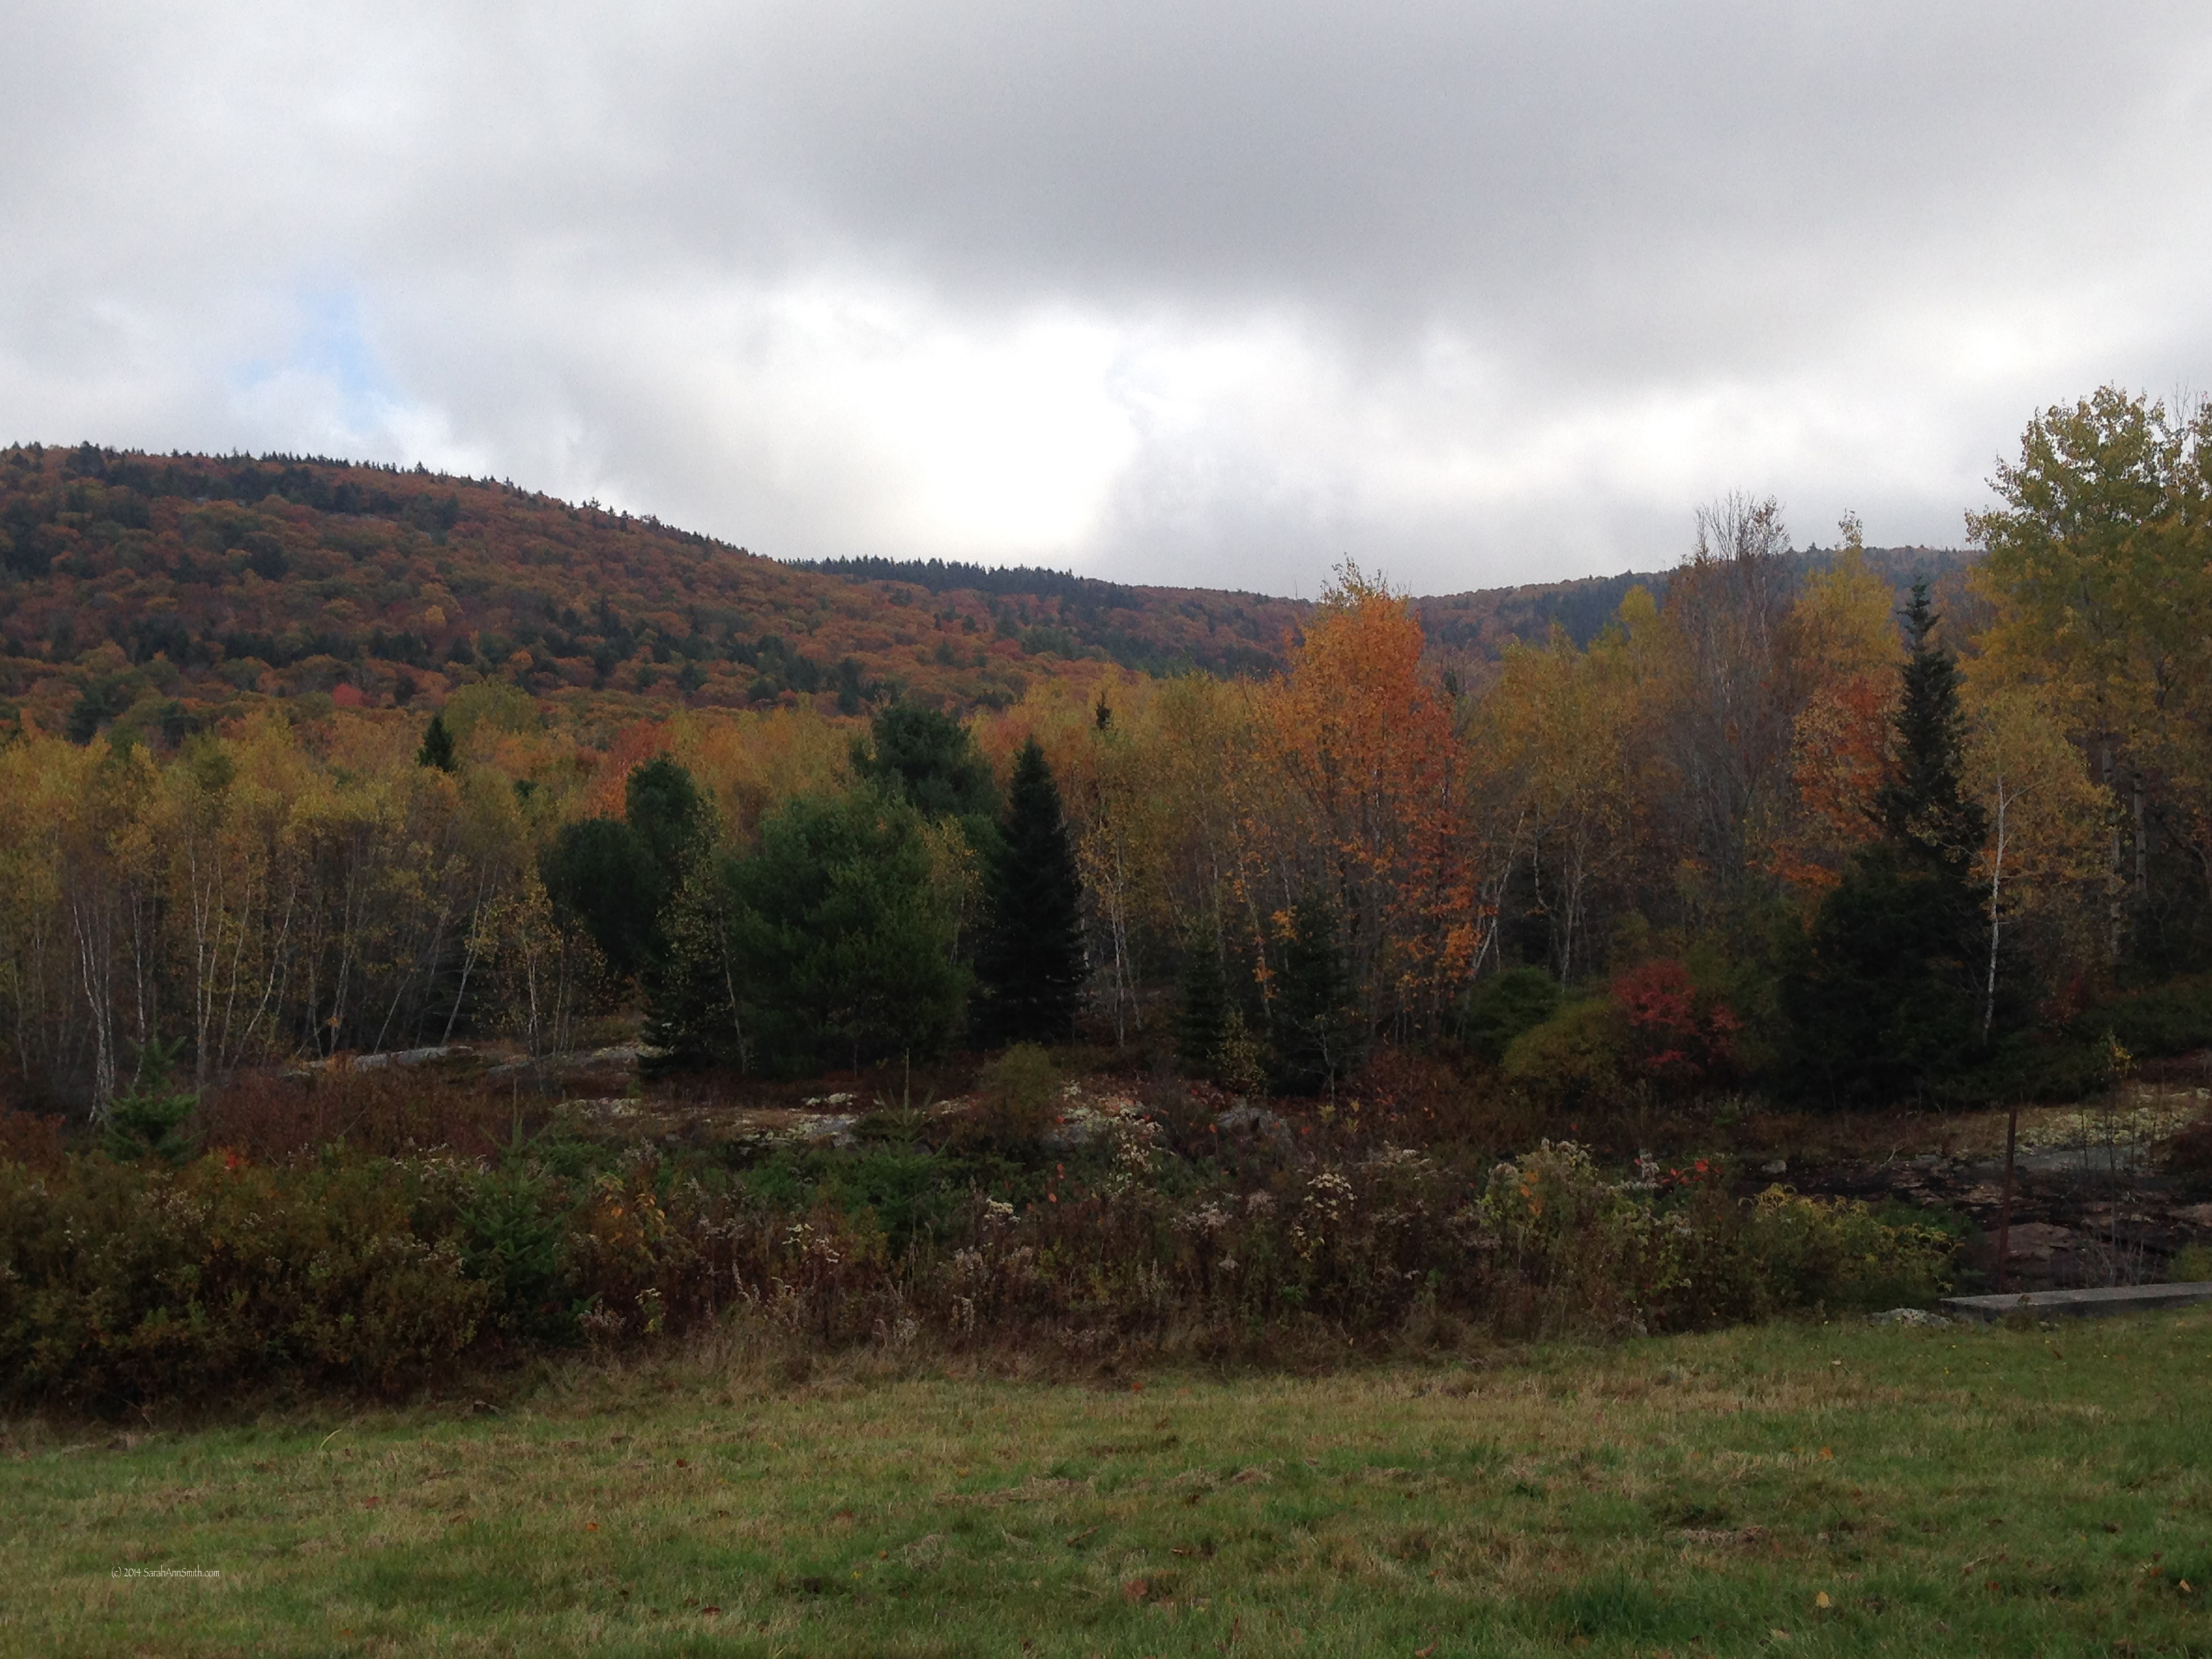
Yesterday evening, I dropped Eli off at a teammate’s home for the weekly Cross Country team potluck Spaghetti dinner.  The house is on Appleton Ridge Road, which has some of the most stunning views in the area, so I took the scenic route home.  Then today, on a quest for small halogen bulbs for our under counter kitchen lights, I took the back road–Barnestown to Gillette to Hope Roads to route 17.   OH MY… I truly live in one of the most beautiful places on Earth, and this is the finest example of autumn in the decade we have called Maine home.   Enjoy (and tell me you don’t want to grab paint and dye and play).  Click on photos to view larger.:

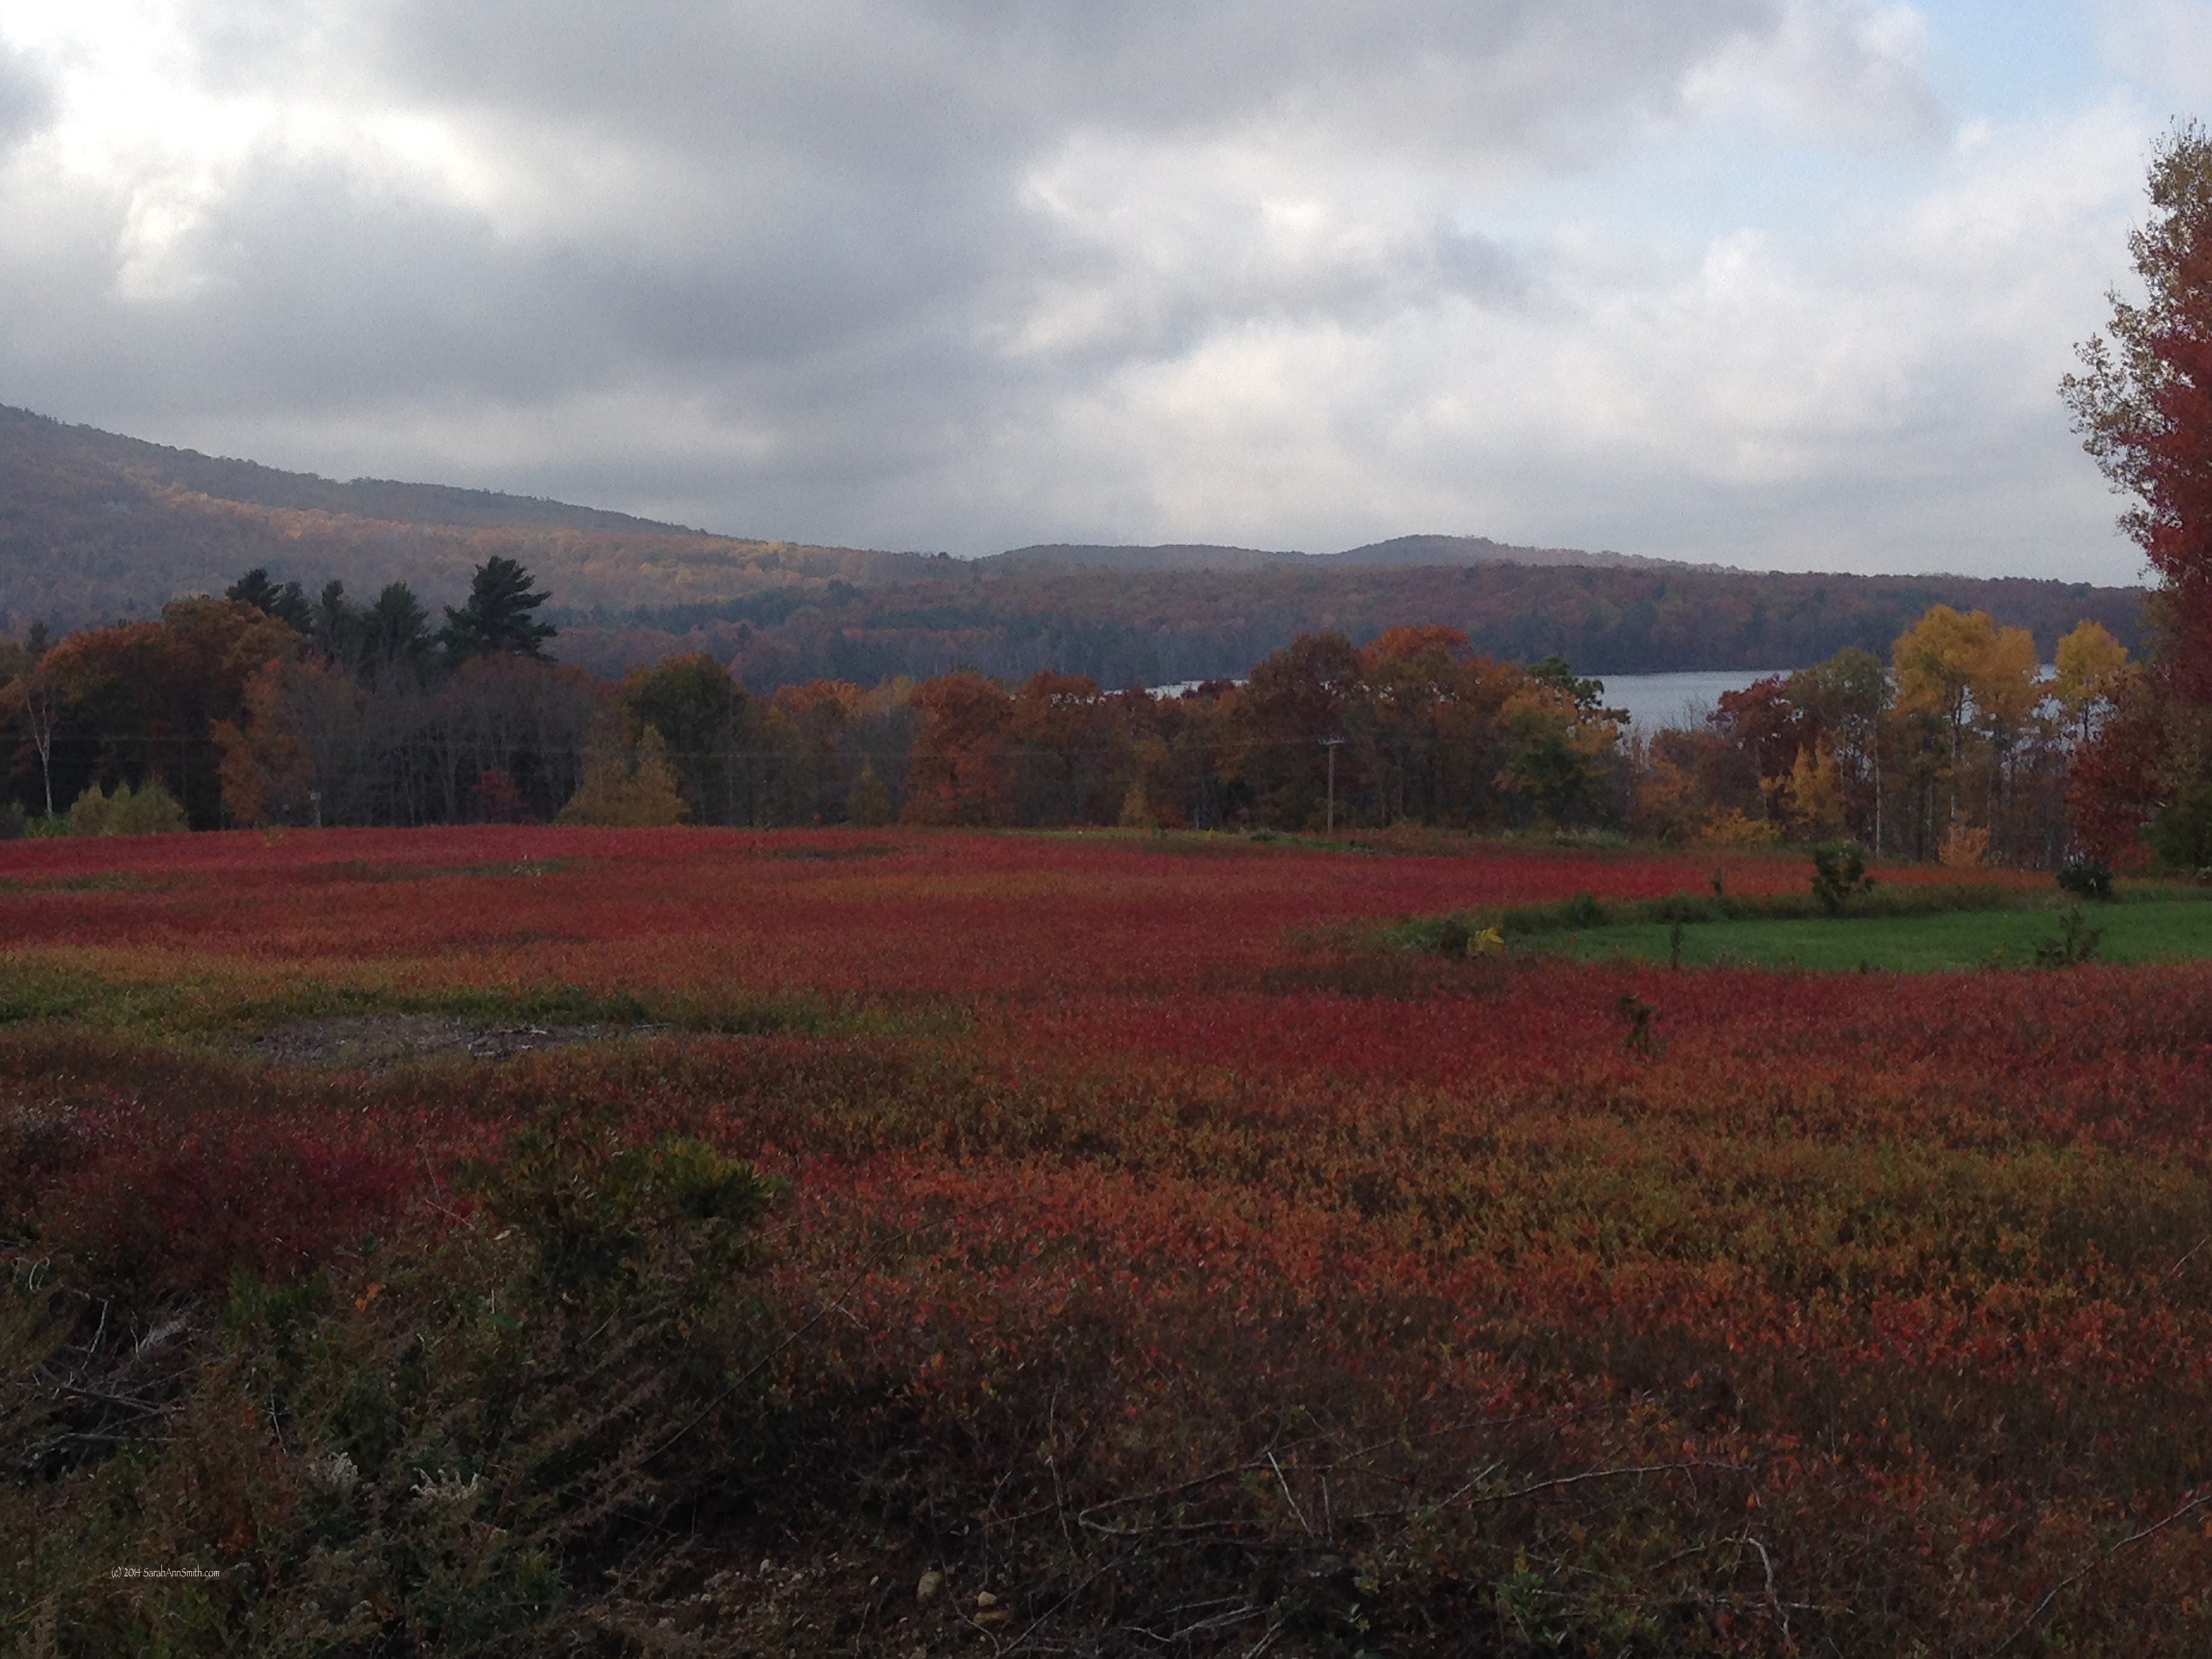
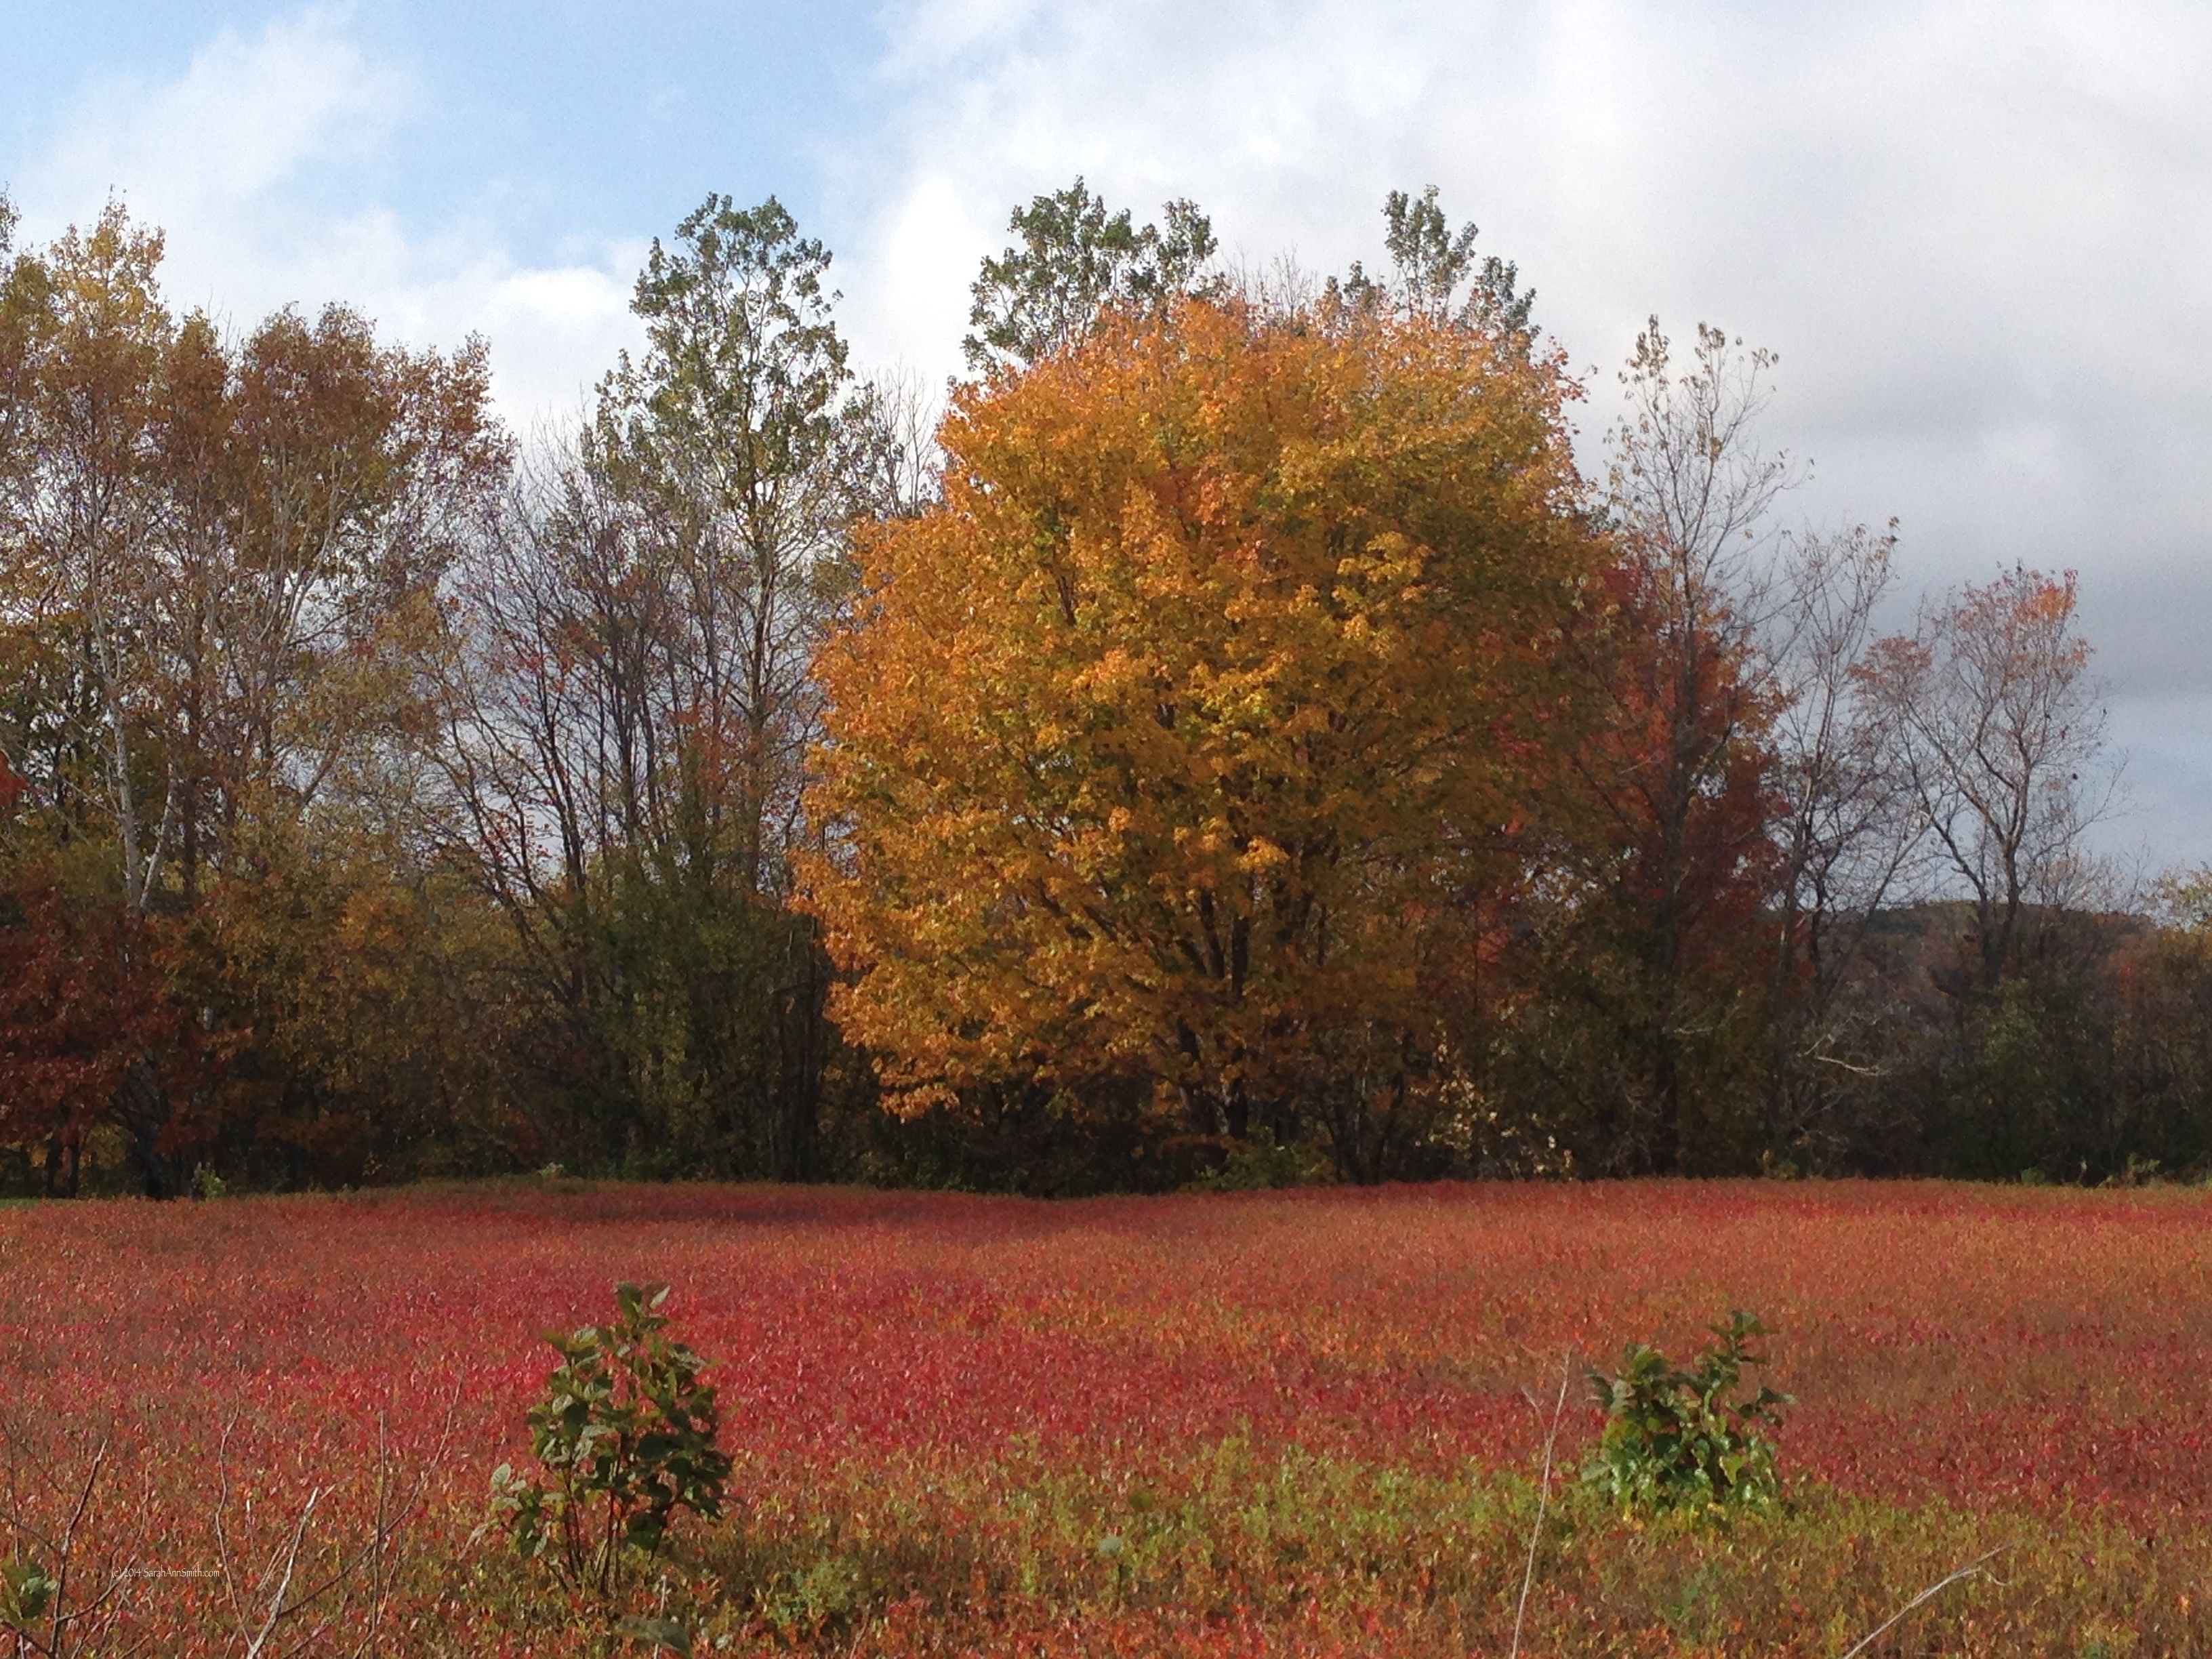
on Hope Road in south Hope, Maine.  Photo (c) Sarah Ann Smith

on Hope Road in south Hope, Maine. Photo (c) Sarah Ann Smith.  The colorful foreground is wild blueberry barrens.  Rockport in the background.

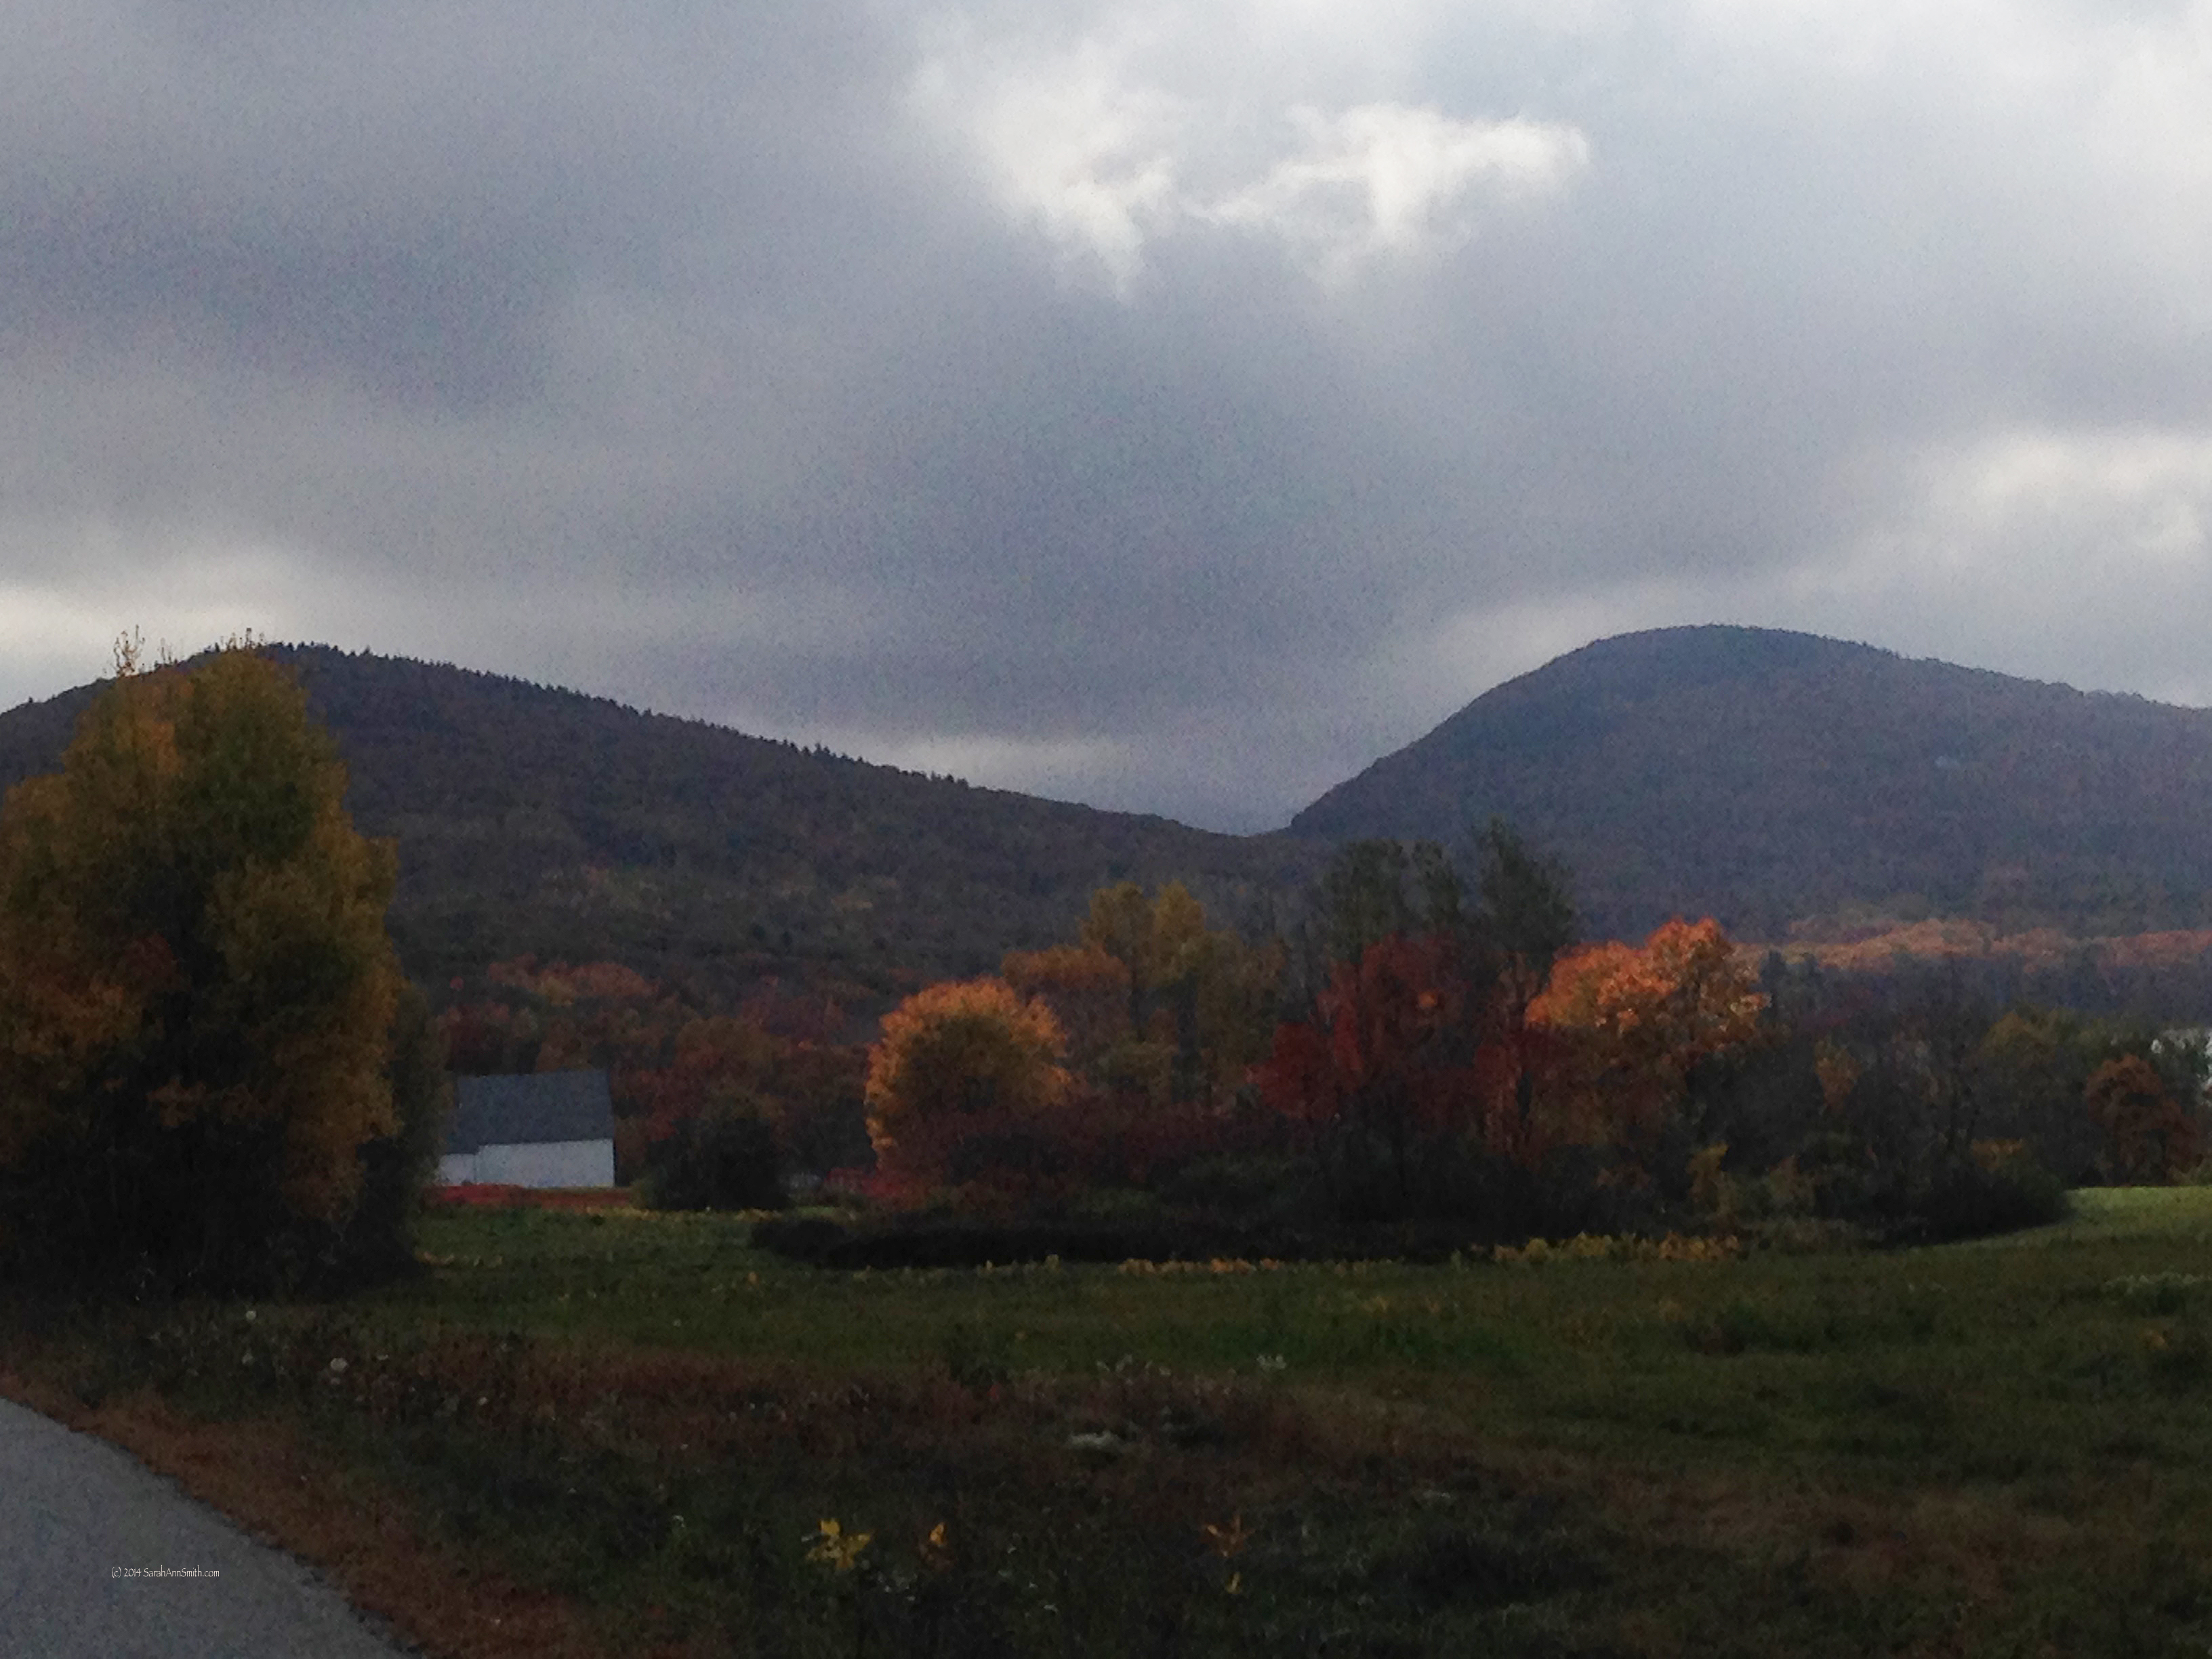
Friday evening on Appleton Ridge Road in Appleton/Washington, Maine. Photo (c) Sarah Ann Smith

Friday evening on Appleton Ridge Road in Appleton/Washington, Maine. Photo (c) Sarah Ann Smith

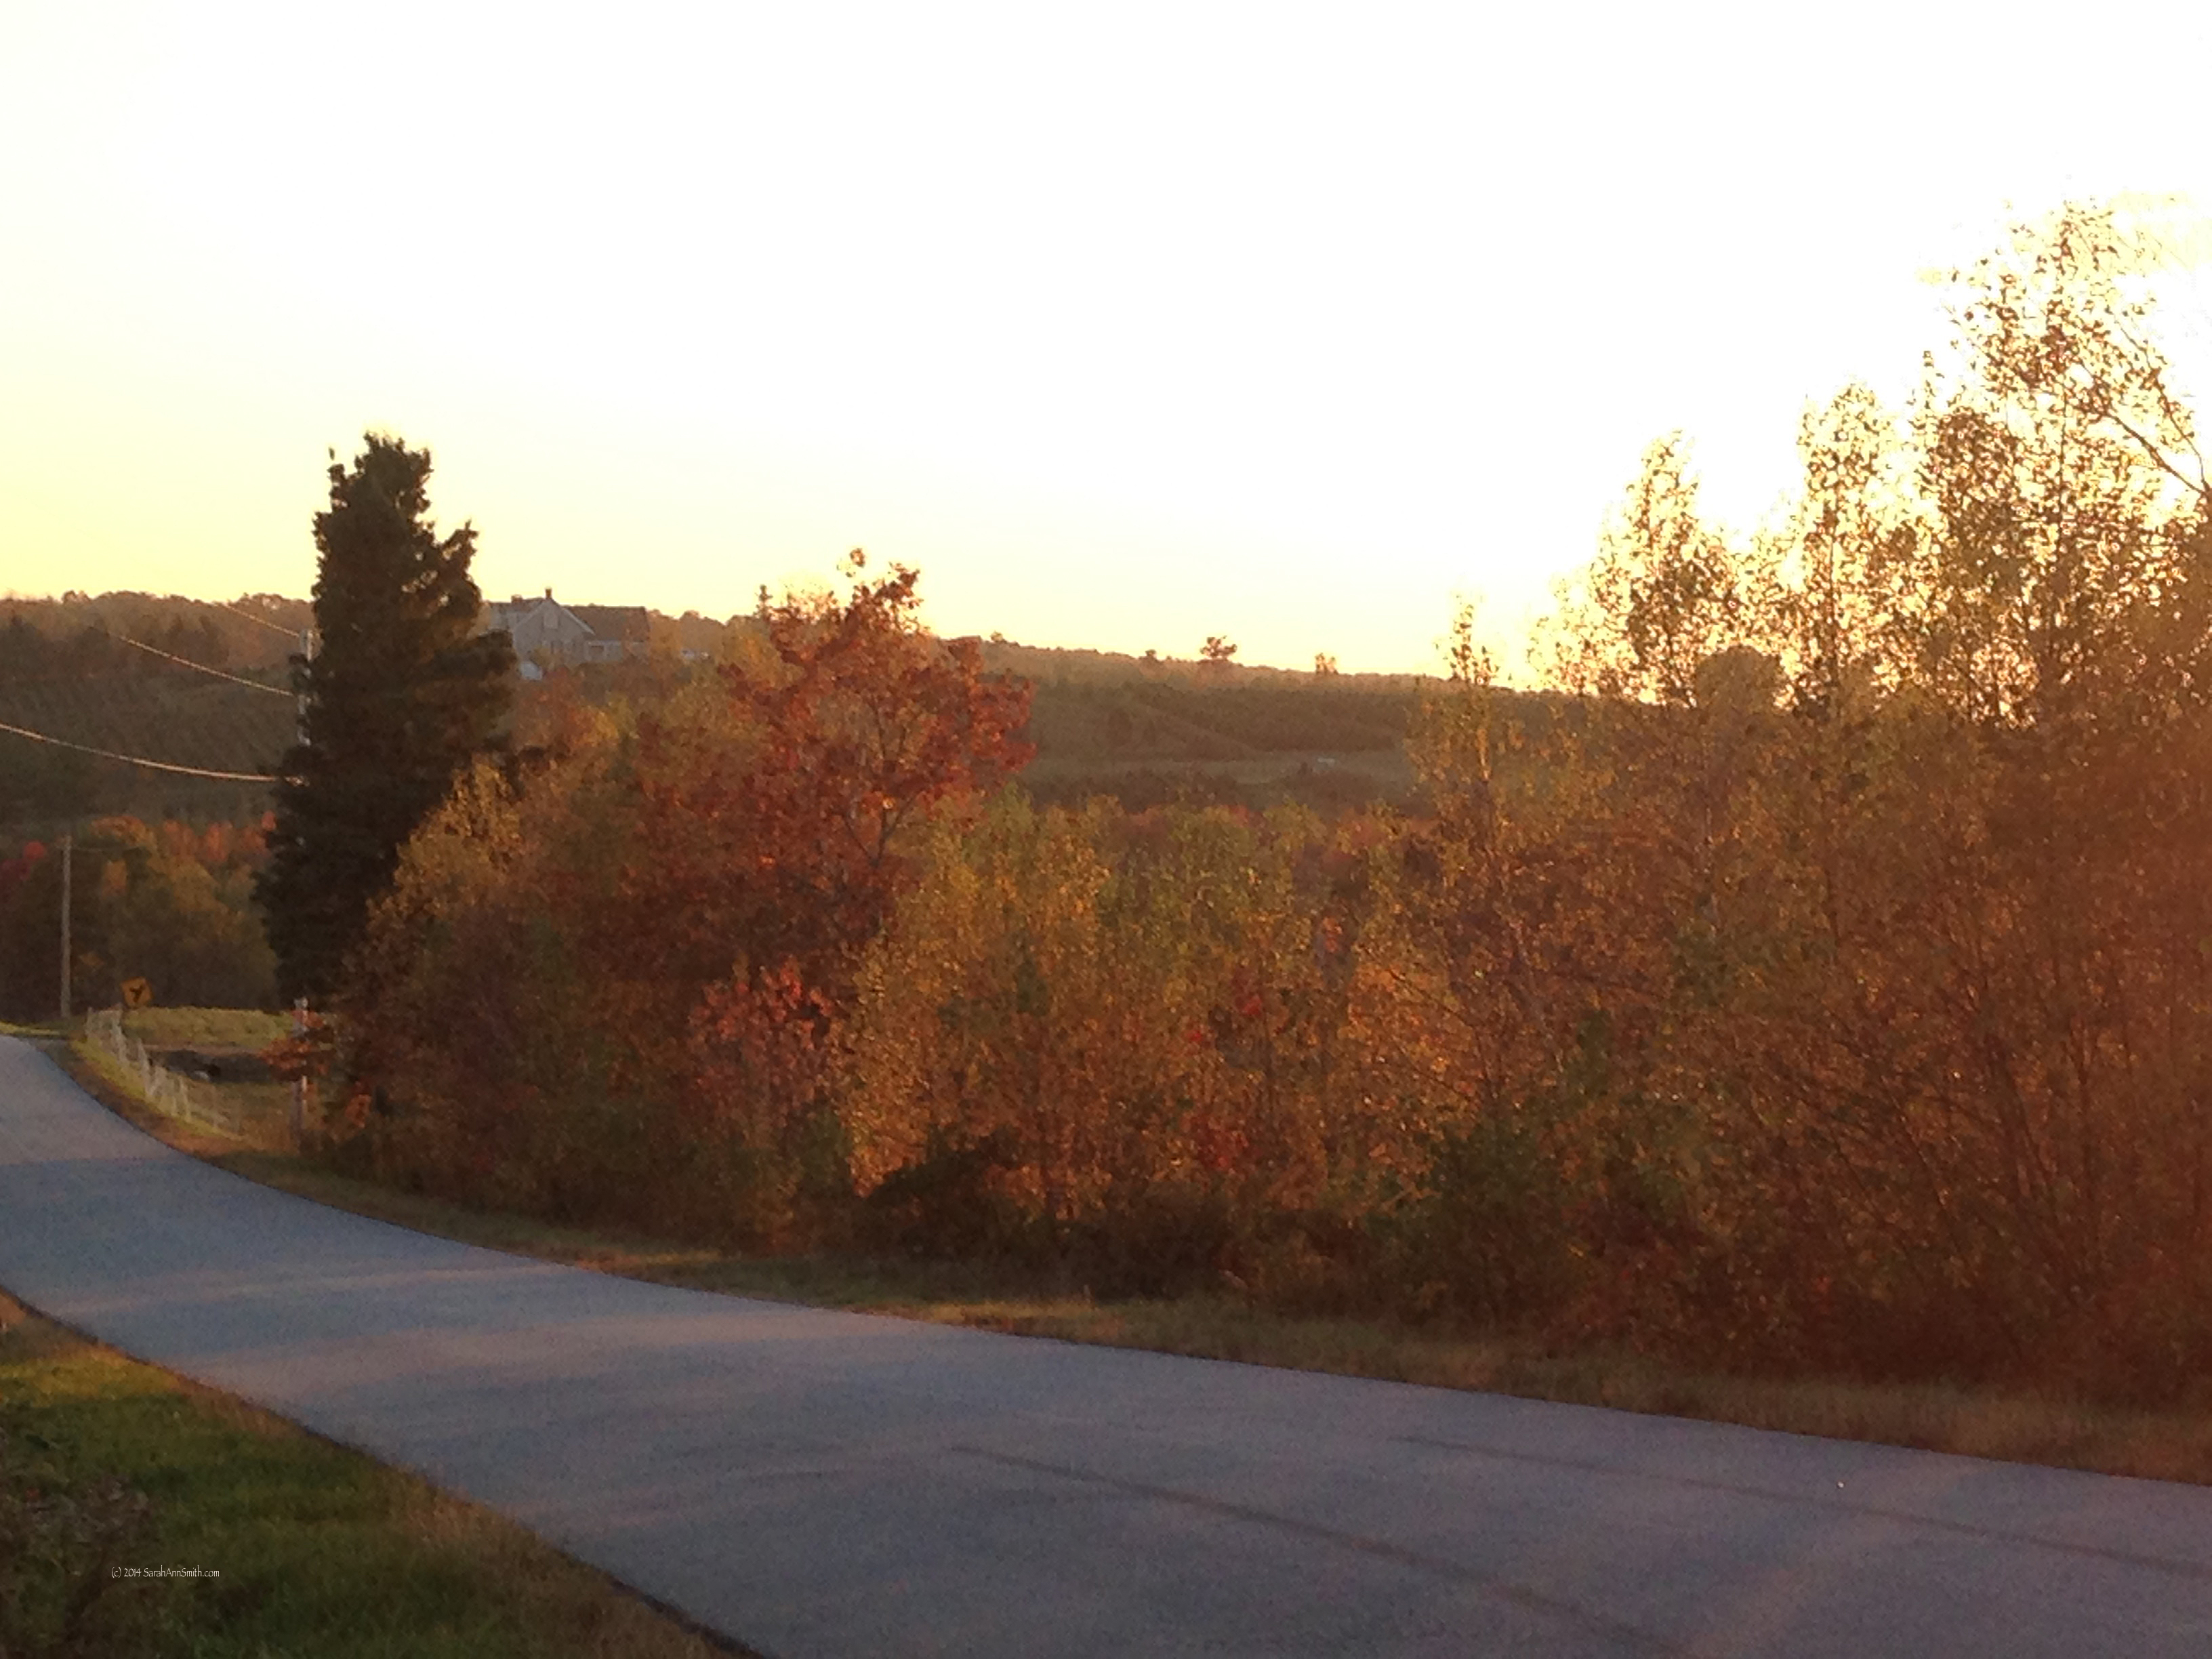
Looking west from Appleton Ridge Road at sunset.  Photo (c) Sarah Ann Smith

Looking west from Appleton Ridge Road at sunset. Photo (c) Sarah Ann Smith

Sumac at Barnestown and Gillette roads, Hope, Maine.

Sumac at Barnestown and Gillette roads, Hope, Maine.

From Gillette Road in south Hope, Maine. Photo (c) Sarah Ann Smith

From Hope Road in south Hope, Maine, looking back towards Gillette Road.  I am pretty sure this is the back side of Ragged Mountain. Photo (c) Sarah Ann Smith

South Hope, Maine.  There is a trail head near here and I keep promising myself I'm going to go hiking there.  Maybe early this week as a treat?

South Hope, Maine. There is a trail head near here and I keep promising myself I’m going to go hiking there. Maybe early this week as a treat?

Tree and wild blueberry barrens on Hope Road, south Hope, Maine. Photo (c) Sarah Ann Smith

Tree and wild blueberry barrens on Hope Road, south Hope, Maine. Photo (c) Sarah Ann Smith

Looking towards Rockport from Hope Road, Hope, Maine.  Photo (c) Sarah Ann Smith

Looking towards Rockport from Hope Road, Hope, Maine. Photo (c) Sarah Ann Smith

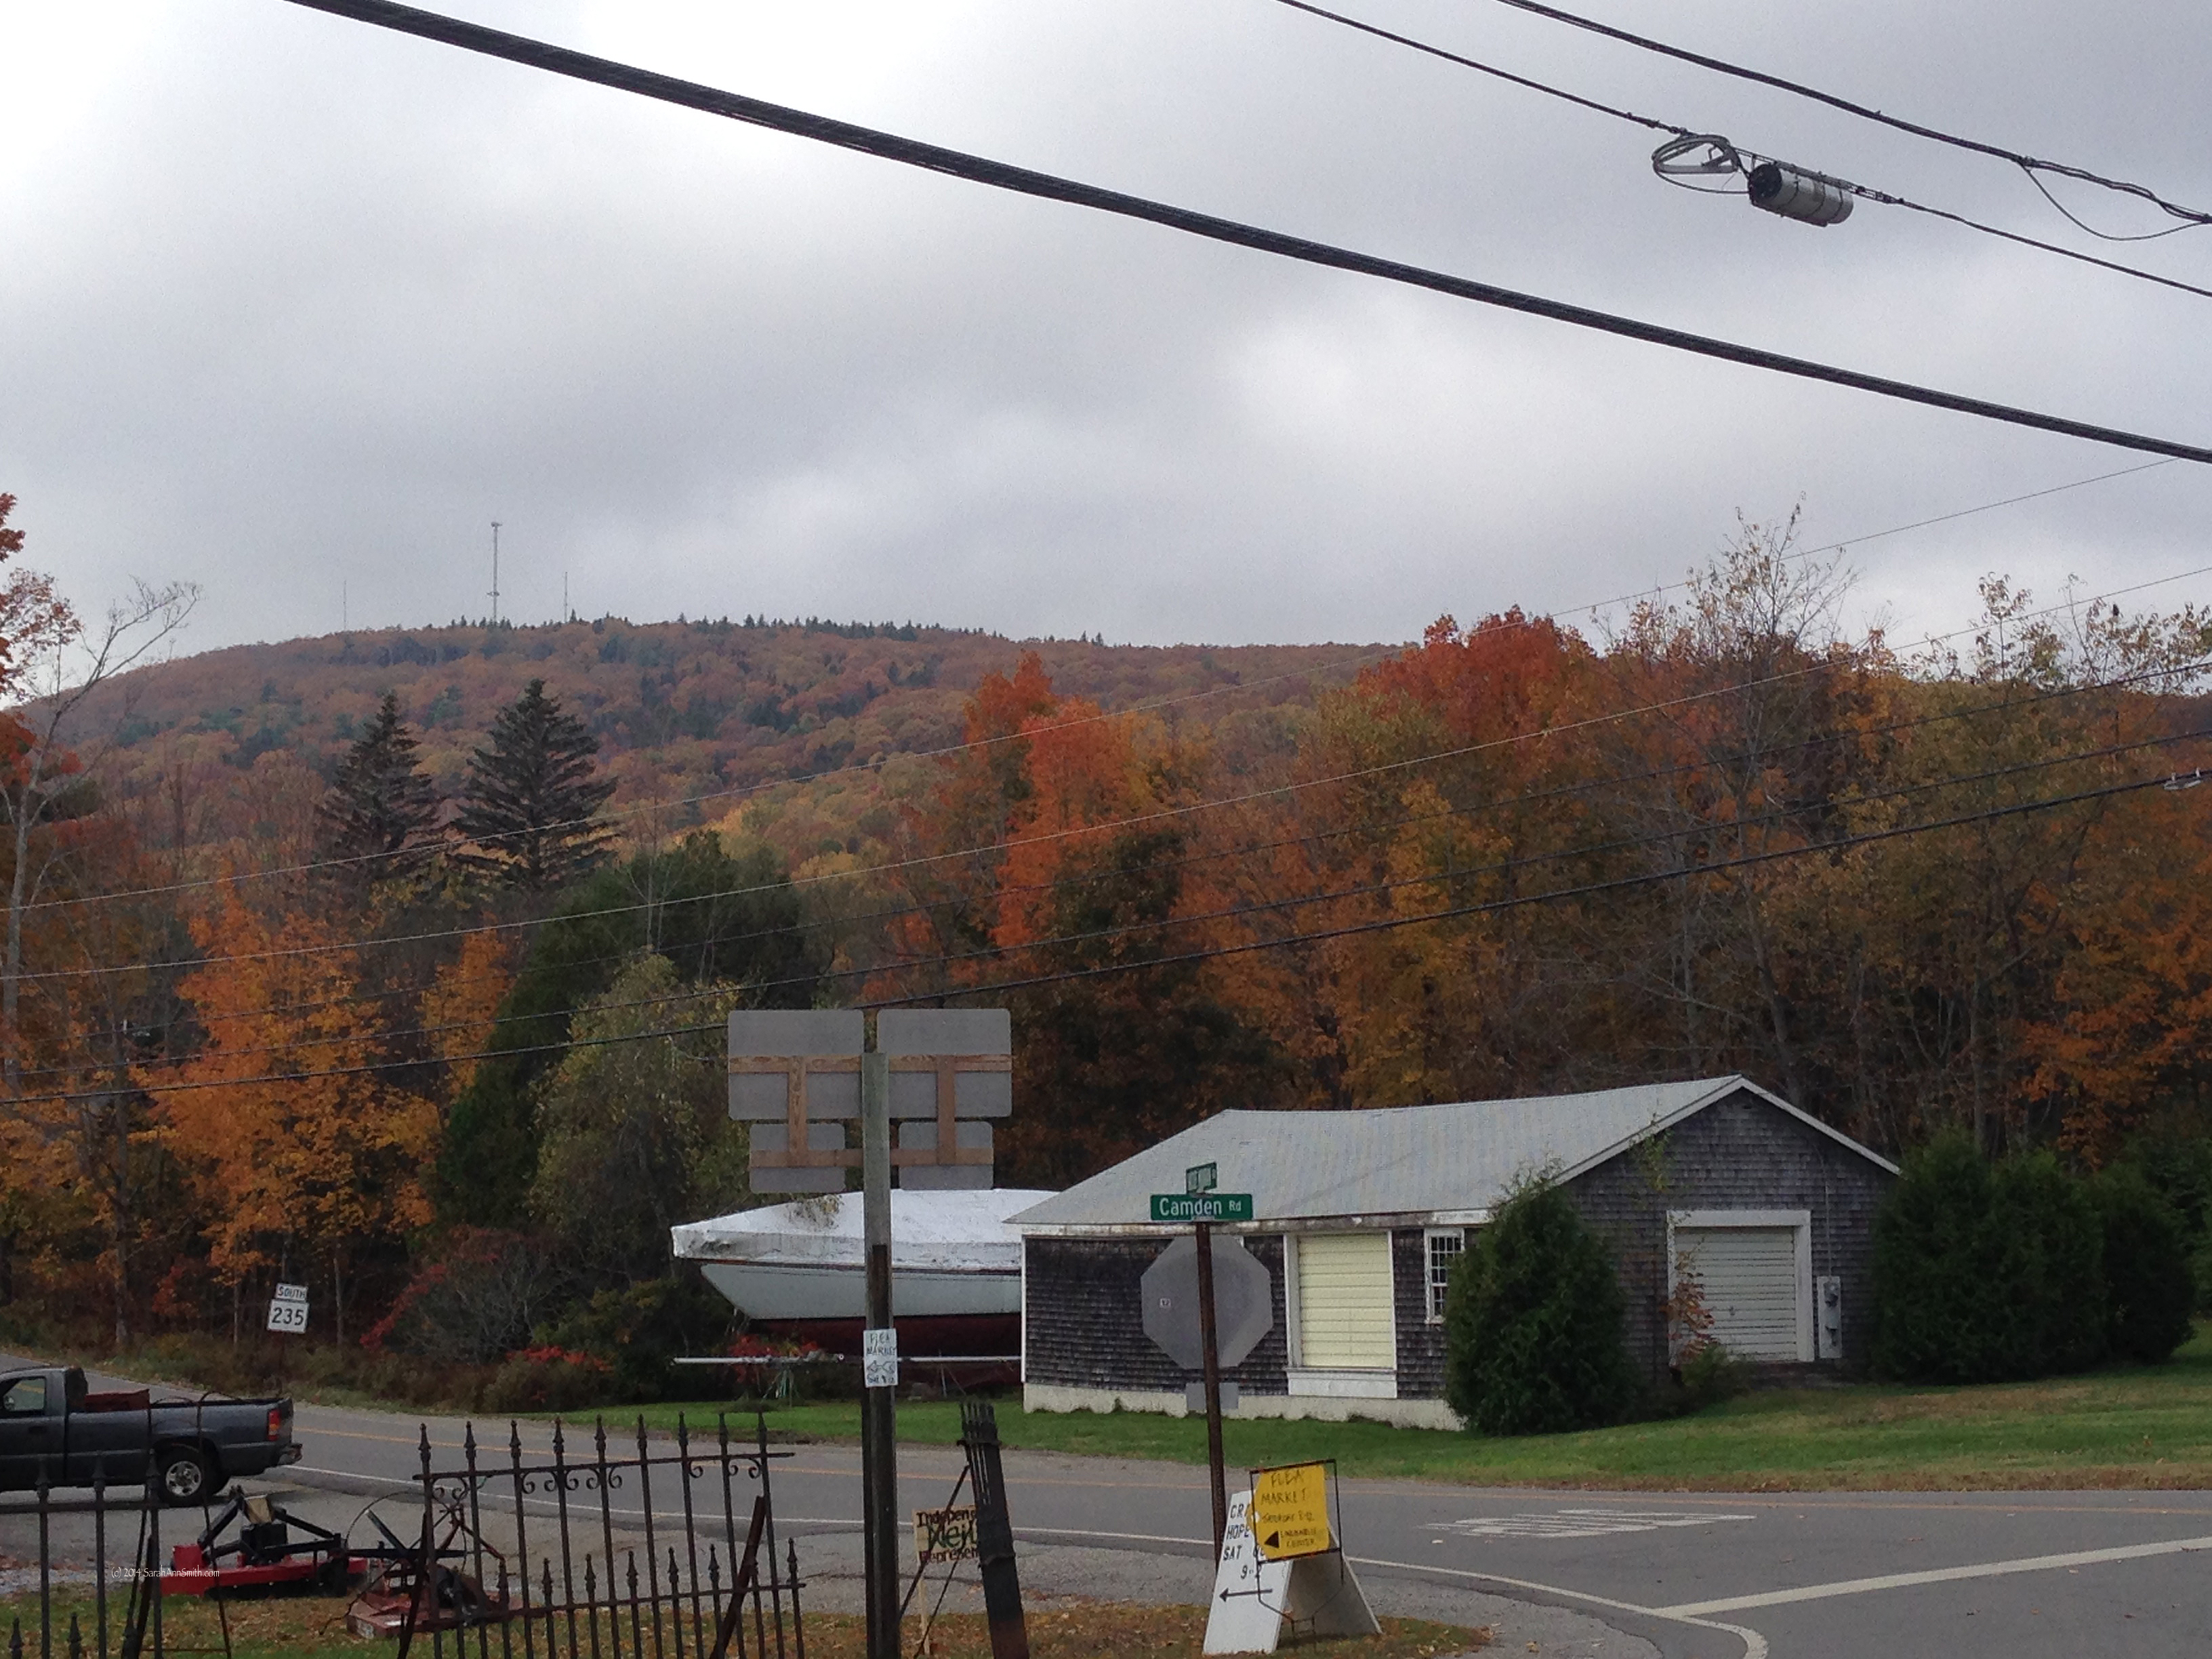
Hatvhet Mountain as seen from in front of the Hope General Store.  Hope, Maine.  Photo (c) Sarah Ann Smith

Hatchet Mountain as seen from in front of the Hope General Store. Hope, Maine. Photo (c) Sarah Ann Smith

Sure wish I’d had my good camera with me, but thank heavens for the iPhone Camera!