email Youtube

Home
Galleries
Blog
Workshops & Calendar
Store
Resources
About
Contact

Archive for the ‘Home’ Category

A brief interlude….deer!

Friday, May 6th, 2016

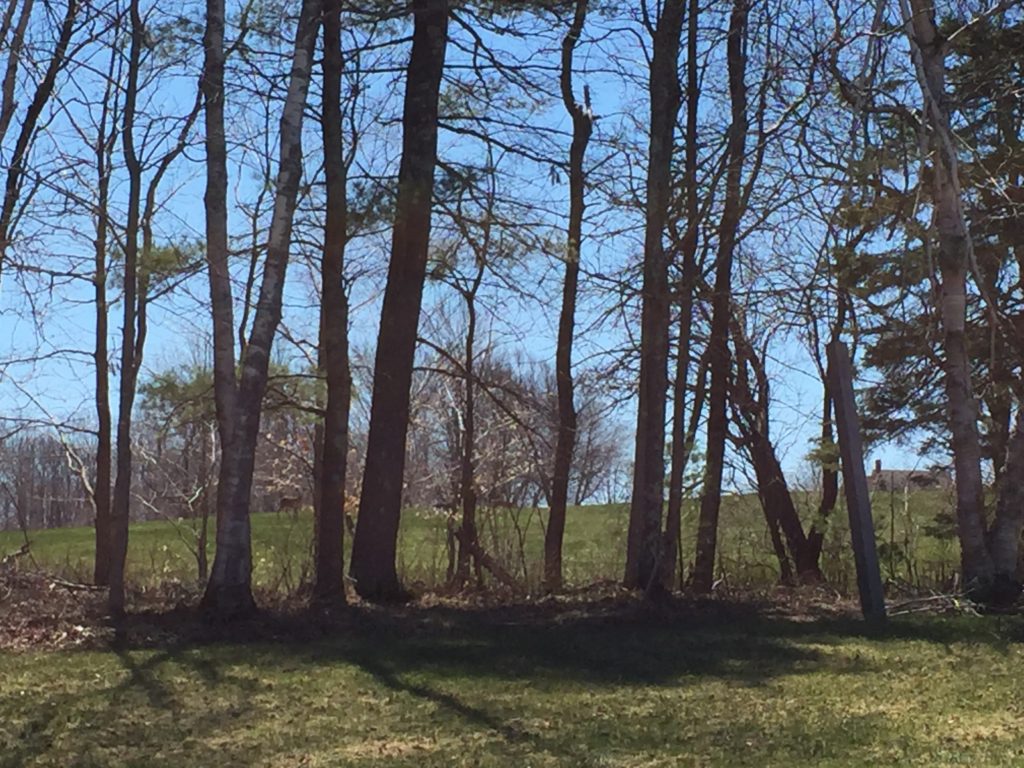
Yes, it is spring.  And we’ve had more deer this spring than ever before.  One day, we counted NINE in the big meadow…along with a passel of wild turkeys who are preening and displaying in hopes of a mate to make more little turkeys.  Anyway, one day I came home and spotted many of the deer on the neighbor’s back 40, which is just beyond the stone wall that marks the boundary of our property. If you look through the woods, you can just see one of the does looking at me before she decided it was time to go elsewhere.  There were at least five of them up there!

Deer and sunny skies

Deer and sunny skies.  If you look in between the second and third trees from the left, you can see her.  There is another peeking through that sliver in the next gap, and couple closer to center, but you can’t tell from this photo that they are deer!

Painting…the house

Sunday, May 1st, 2016

So I have been hideously absent from blogging.  Basically, lots of life happening.  One of the things I’ve been doing is painting the house.  In particular, I needed to get two walls done when the temperatures were at or above 40 degrees, but the perennial beds were still low enough that I could get the ladder in without damaging the plants.  Luckily, we haven’t had a super rainy spring or I’d be out of luck.

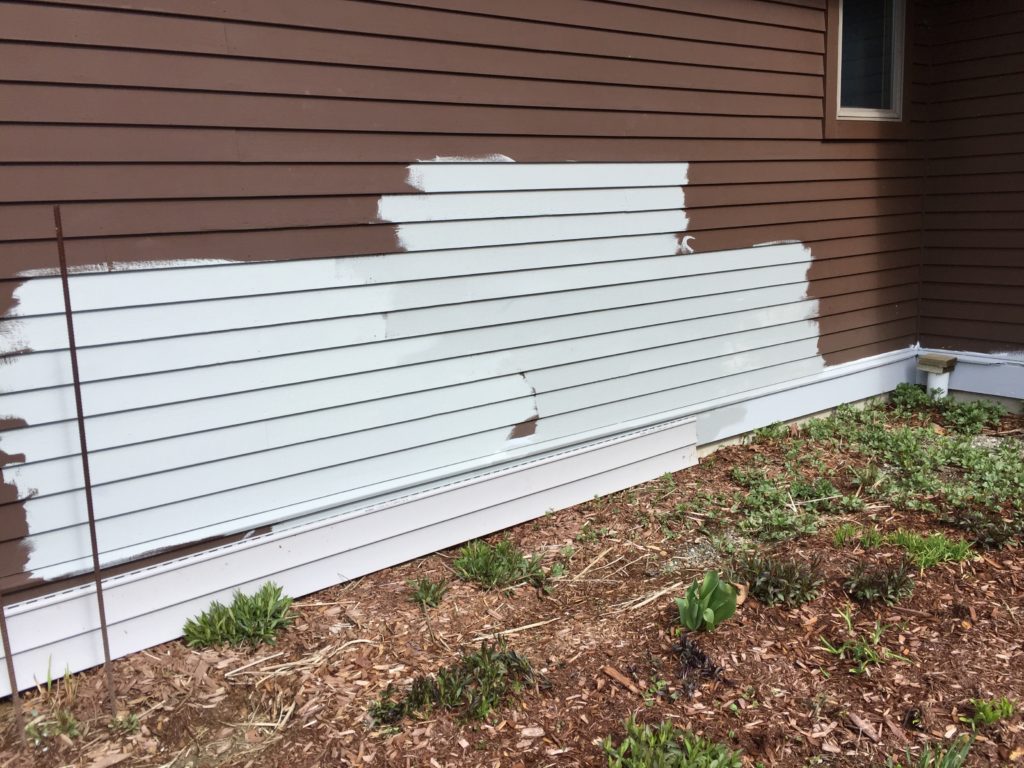
The house is brown.  Dark brown.  That may be fine on some houses in the right setting, but on a ranch house in the middle of a big open space it looks like a dark  hulk.  So we decided on a medium-light gray with white trim when we built the garage.  Now it is time to do the house, which has "solid stain" on it (the dark brown).  The stain holds up a LOT better than paint, but along the bottom was peeling, so it was time.  In this image, I'm testing various mixes to see what best matches the siding on the garage (resting on the ground).  The answer was none of these!

The house is brown. Dark brown. That may be fine on some houses in the right setting, but on a ranch house in the middle of a big open space it looks like a dark hulk. So we decided on a medium-light gray with white trim when we built the garage. Now it is time to do the house, which has “solid stain” on it (the dark brown). The stain holds up a LOT better than paint, but along the bottom was peeling, so it was time. In this image, I’m testing various mixes to see what best matches the siding on the garage (resting on the ground). The answer was none of these!

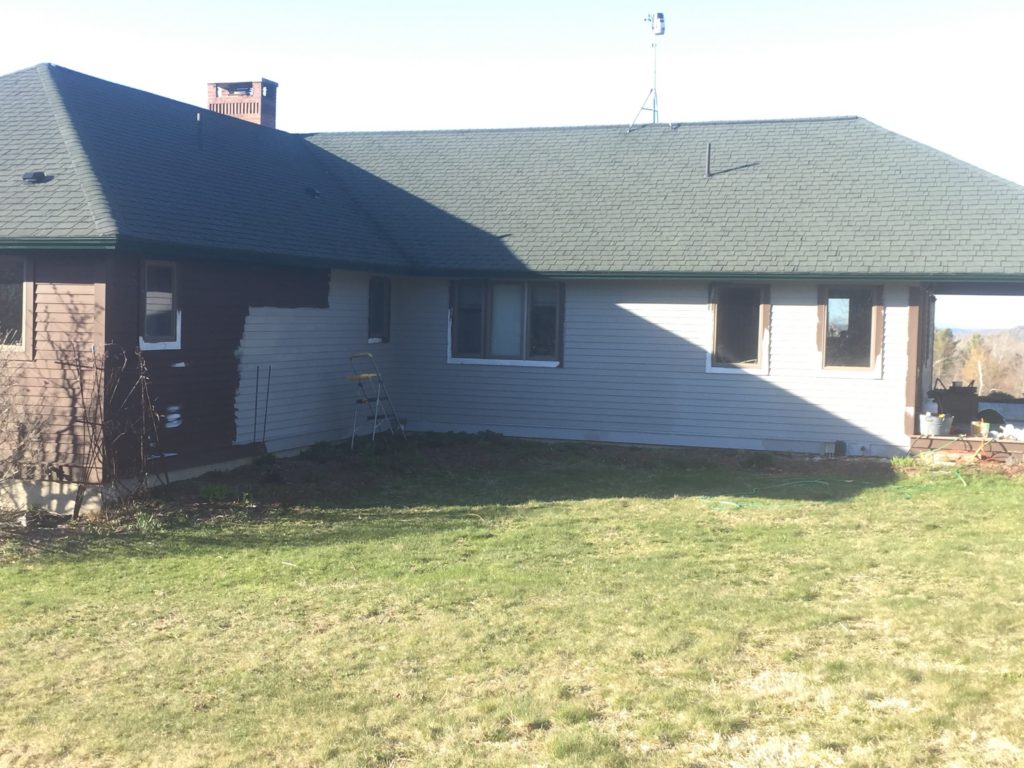
Luckily, I had purchased only sample amounts.  Finally, we got a match that is as good as you can get.  Here it is in progress:

These two walls and the trim are now almost done (one more coat of white on the wood just under the roof shingles).  Then I'll take a break to work on a new piece!

These two walls and the trim are now almost done (one more coat of white on the wood just under the roof shingles). Then I’ll take a break to work on a new piece!

Temperatures have dropped again, with mornings in the 30s (just above freezing), so I am working inside a couple days.  Once it warms up, I’ll be distracted outside finishing this area and the porch (on the right in the photo above).  Then I’ll get back to the house once the quilt is done and submitted by the deadline.  Phew!  I’m tired!

Merry Christmas to one and all!

Friday, December 25th, 2015

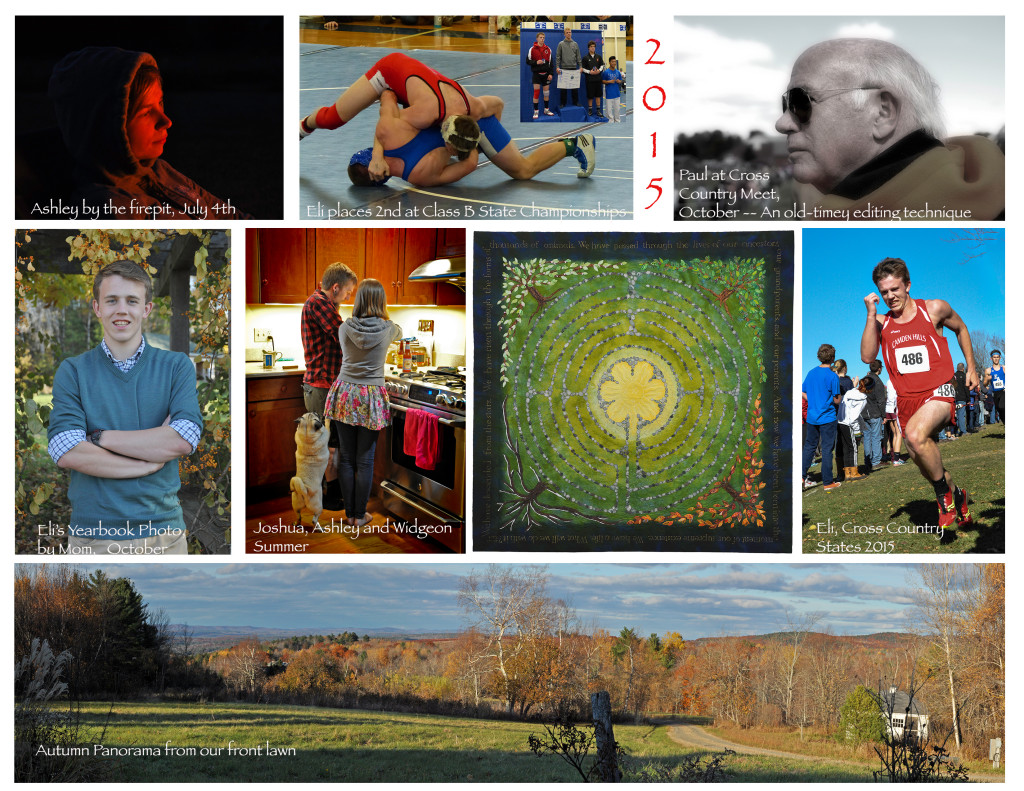
Happy Solstice, Christmas, Boxing Day, Kwaanza, New Year’s, Winter and just plain old happy day to one and all!   Just a quick note to say hello, as I will be otherwise happily busy with family, cooking, family, and more family on Christmas day.  I thought I’d share the year in pictures–the page of photos I share in our annual Christmas Newsletter that I send out to friends from long ago and far away.

Some of the photos are ones I have taken during my yearlong workshop with Ricky Tims. I've worked hard to make the most of the class and am thrilled with how much I have learned. If you're interested, put Foto Friday or Ricky Tims in the search box to see related blogposts. But wait until Christmas is over! Enjoy family and whatever you are doing today. Life is short, so remember to enjoy your blessings and the beauty of the day.

Some of the photos are ones I have taken during my yearlong workshop with Ricky Tims. I’ve worked hard to make the most of the class and am thrilled with how much I have learned. If you’re interested, put Foto Friday or Ricky Tims in the search box to see related blogposts. But wait until Christmas is over! Enjoy family and whatever you are doing today. Life is short, so remember to enjoy your blessings and the beauty of the day. (You can click the photo to see it a bit larger if you’d like.)

Understanding your perfect 1/4″ seam

Saturday, May 2nd, 2015

Hullo!  I’m home from being on the road most of April, and boy am I glad to be HOME!  I also want some sleep, so it may be a bit until I get to share pics of all the wonderful things I’ve been doing.  BUT, I recently had a question from someone who was having difficulty with her new, wonderful sewing machine which wasn’t giving her the wonderful quarter inch seam that she wanted.   I replied privately and in the comments, but thought I’d share my thoughts here since the “issue” applies to more than her specific machine.

Question:

I have had a little bit of trouble with my machine, but there is also a lot I like about it. My problem…I took a miniature quilt class last weekend, and was told to use the 1/4 inch stitch with the single hole stitch plate. I had already had trouble with the “pre-set” 1/4 inch stitch not coming from the factory with a true quarter inch stitch, and had it accurately reset. When I went to use the single hole plate with the 1/4 inch “button”, the needle does not go through the hole. Why would Janome design a machine that you cannot use the preset 1/4 inch stitch with the single hole plate? Am I missing something? Every quilter uses the 1/4 inch stitch and wishes for a single hole plate. I am so dissatisfied with this design that I’m thinking of changing brands. Can you set me straight?

Answer:

Thanks for writing! I have been on the road for weeks and was having trouble getting an email sent out to you directly, so not sure if you received it.  I understand your frustration, but want to explain why this happens on ALL brands.

To get a perfect 1/4″ seam, you need to account for the thickness of the thread and the thickness of the cloth, since some of the cloth is “used up” in the turn (when pressing).  If you stitch two squares of 2 inch  lightweight cotton lawn, cotton batik, and cotton flannel with the same setting (a default 1/4″ for example), then press the seam to the side as one would for piecing a quilt, the cotton lawn will be the widest, the flannel the narrowest.  That is because the flannel is thick and it takes up more of the flannel to fold back on itself.  To get a seam allowance that would yield a section that measure a perfect 3 1/2 inch across after that seam is pieced, you’d have to use a larger seam allowance with the lightweight cotton lawn and a narrower seam allowance with the flannel.

Then there is the straight stitch plate and quarter inch seams.  With our fancy new machines that stitch wide stitches, on the Janomes up to 9mm apart (that’s nearly a half inch across), the feed dogs must be farther apart to permit the needle to swing that wide on the decorative stitches.  That means when it comes to pieceing you have two choices:

1.  Leave the needle in the center with the straight stitch plate on, but then have the pieces feed ONLY with the left-side feed dog (because the quarter inch seam allowance won’t extend fully onto the right hand feed dogs)
or
2. Use the quarter inch foot, move the needle to your own personal perfect quarter inch (based on the thickness of your fabric and thread), and have the pieces feed over BOTH feed dogs so that it feeds straight and even.

Basically, you can’t have it both ways IF you have a machine, such as the 8900, that also makes wide decorative stitches.  If you want a perfect straight stitch, to be blunt, the old Singer Featherweight 221 has always had the best straight stitch ever.  That is because that is the ONLY thing that machine does–any straight-stitch-only machine will be the same.  Why?  Because the needle bar never moves.   It goes up and down only.

That means you can either get used to the Janome 8900’s (and any other fancy machine’s) requirements for getting a perfect-for-you quarter inch (including fine-tuning–the pre-set is just an “average” setting that frequently needs a little fiddling), OR have a second machine for simple piecing.   Frankly, I adore my 1934 Featherweight.  I don’t actually use it much, since I almost never piece.  And when I DO piece, I use my wonderful Janome because I understand what it is I need to do to make an accurate seam.  You can also create a “favorite” stitch that is set to your perfect quarter inch–you’d need to refer to the manual, though, because I don’t know how off the top of my head.

I hope explaining this helps–there is nothing wrong with your machine!   It just needs for you to learn how to adjust the settings so that they yield the perfect result for you.

Hope this helps!

Clouds in the morning

Thursday, December 11th, 2014
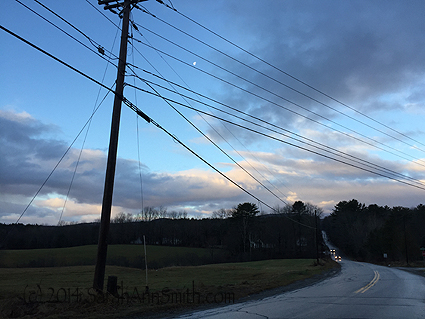
Near Spears Automotive across.  This land is "Forever Farm,"  YEAH!

Near Spears Automotive across. This land is “Forever Farm,” YEAH!

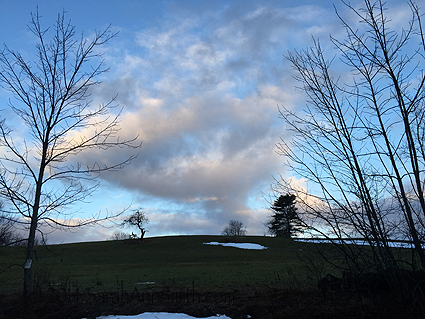
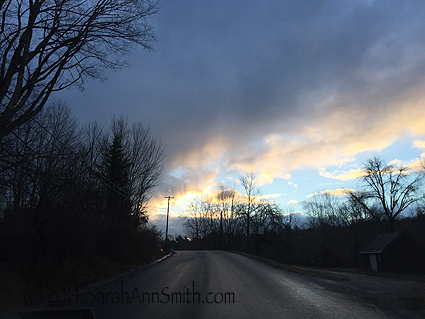
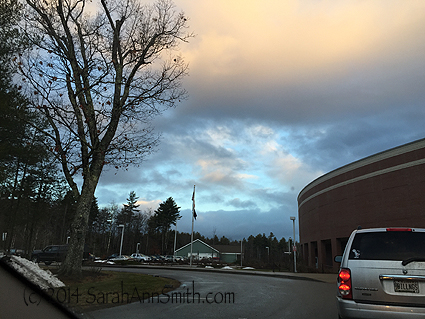
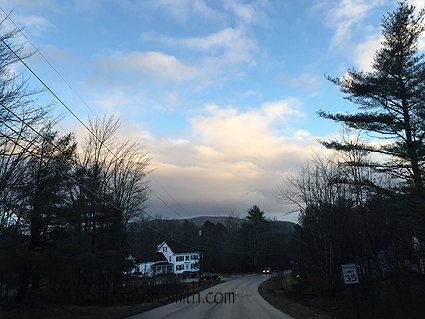
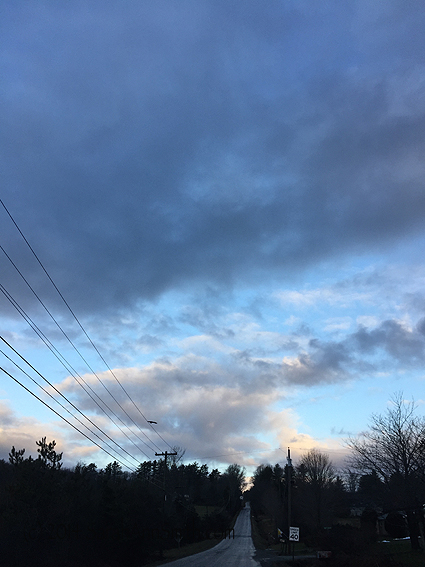
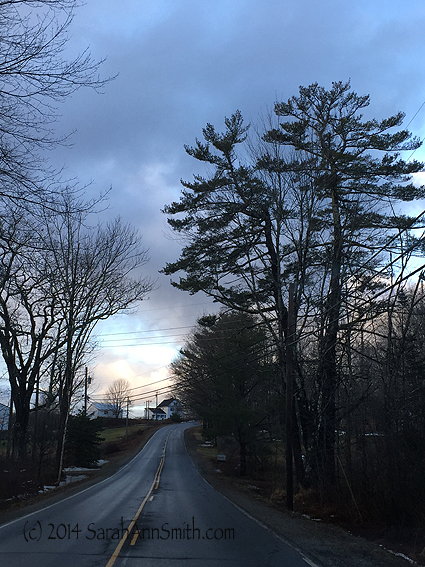
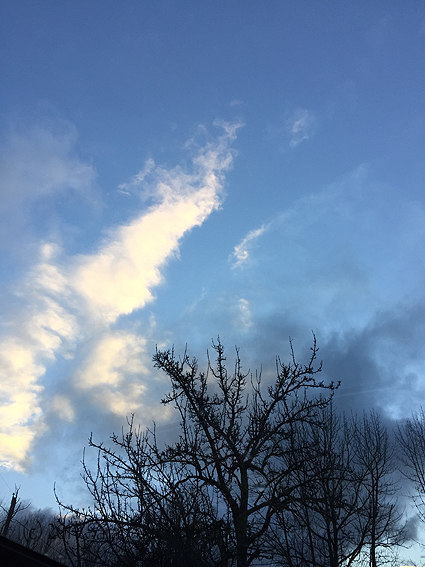
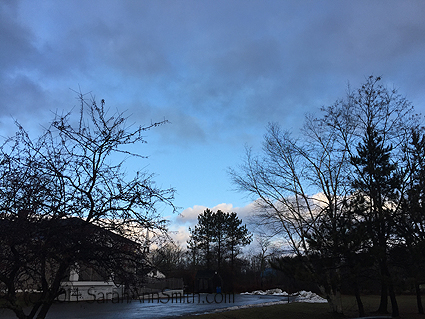
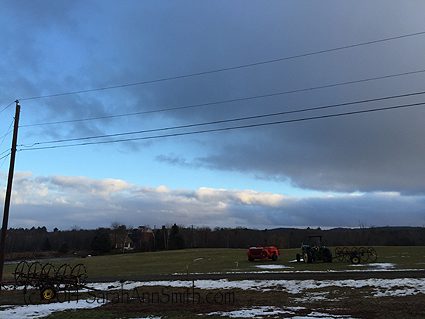
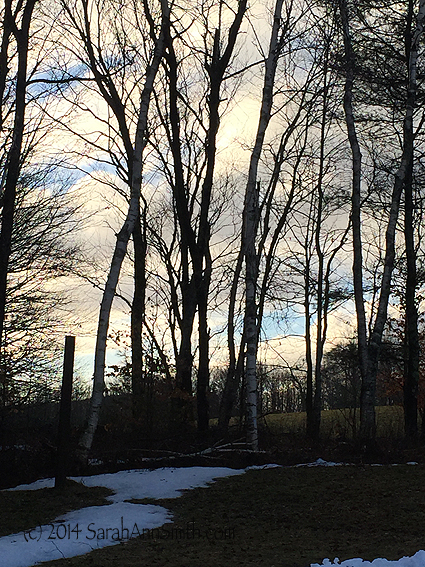
The sky was beyond spectacular this morning….. so even though I was taking Eli to school, I finally had to grab my phone and get some pictures.  Only one on the way, the rest taken on the way home about 7:20-7:45 am.   Enjoy my beautiful world!

At Simonton Corner.  I could no longer resist the temptation to take pictures, even though I was doing the morning kid-schlep to school.

At Simonton Corner. I could no longer resist the temptation to take pictures, even though I was doing the morning kid-schlep to school. Facing East.

At the high school, facing north-ish

At the high school, facing north-ish.

On Park, heading north-ish.

On Park, heading north-ish.

On Barnestown, headed west, near the North Fork turn.

On Barnestown, headed west, near the North Fork turn. That’s morning rush hour approaching me.

asfd

Heading up North Fork.  Sigh…these pictures just don’t capture the incredible colors in the clouds:  soft purple, yellow gray, blue, gold, yellow…..

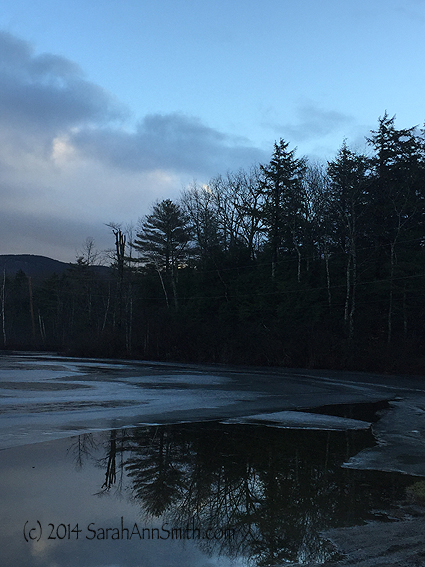
Boat Landing on Rte 105 just past Molyneaux, Lake Megunticook, facing North ish I think, perhaps a bit NW?

Boat Landing on Rte 105 just past Molyneaux, Lake Megunticook, facing North ish I think, perhaps a bit NW?  incredibly still water and ice in the shallow bay.

Same boat-launch bay, more NE ish.

Same boat-launch bay, more NE ish.

The end of the cove, not a bit further NE

The end of the cove, not a bit further NE

Route 105 just past 235/Moody Mountain Road heading in to Hope Corner

Route 105 just past 235/Moody Mountain Road heading to Hope Corner

Through the top of the car, looking past the town office to True Field in "downtown" Hope/near Hope Corner

Through the top of the car,  near the town office

Looking toward True Field near Hoep Corner

Looking toward True Field near Hope Corner, Town Office on the left

Turning the corner onto our road, looking up over our neighbor's "front yard"

Turning the corner onto our road, looking up over our neighbor’s “front yard”, facing East. 

Facing NE, haying equipment in the neighbor's yard

From our driveway, facing NE, haying equipment in the neighbor’s yard

Near our garage, looking up to our other neighbors, the ones with the sheep, facing somewhat SE

Near our garage, looking up to our other neighbors, the ones with the sheep, facing somewhat SE