email Youtube

Home
Galleries
Blog
Workshops & Calendar
Store
Resources
About
Contact

Archive for the ‘Edge Finishes and Bindings’ Category

I Love, Therefore I Am (Widgeon’s quilt)

Tuesday, August 20th, 2019
“I Love, Therefore I Am” is the perfect title for this quilt of our beloved pug, Pigwidgeon.

Earlier this summer I made three quilts for Janome America to share at the upcoming dealer conference in Florida this week. Janome has generously sponsored me with a machine and included me in their Artisan program for over 15 years!!!! THANK YOU (yes I’m shouting)! I was delighted to make these in appreciation. Here is the blurb I wrote to go with Widgeon’s quilt.

I Love, Therefore I Am
 
Yoda, the love of my life, tells me that Mom has done a good job on my portrait.  Mom and I were sitting on the porch in late Spring even though it wasn’t quite yet warm enough, so I snuggled under the blanket and kept her company (and warm) one afternoon.  I don’t see or hear very well any more, but Yoda tells me the picture shows how much I love everyone in the whole universe, especially him, my boy, Mom, the rest of my family, and well, the whole world.”  (Pigwidgeon is a 12 year-old industrial-sized pug.)

My Facebook friends know Widgeon because of my dog walkies posts and other photos. My friend Rachel Parris commented on this photo that it was the best one I had ever taken of him, and the idea for the quilt was born! Often I end up working too much during summer and don’t get my “Porch Time” to relax, read, and enjoy life in Maine. So this year I started early, in our long, late, cold Spring, wrapped up in warm fuzzy clothes with a two-layer fleece blanket on my lap and the dog snuggled underneath.

This post will be mostly photos and captions (because we all know photos are better). They show the sequence of how I work, and towards the bottom if you keep going you’ll be rewarded with a mini-tutorial on couched and faced edges. And yes (gratuitous self promotion here) I TEACH classes on how to do this –my Bindings and Facings and Piping, Oh MY! class, and also my collage and thread coloring process: Collage the Garden and Thread-Coloring the Garden–just click the link. Have students (and contract) will travel (hint hint).

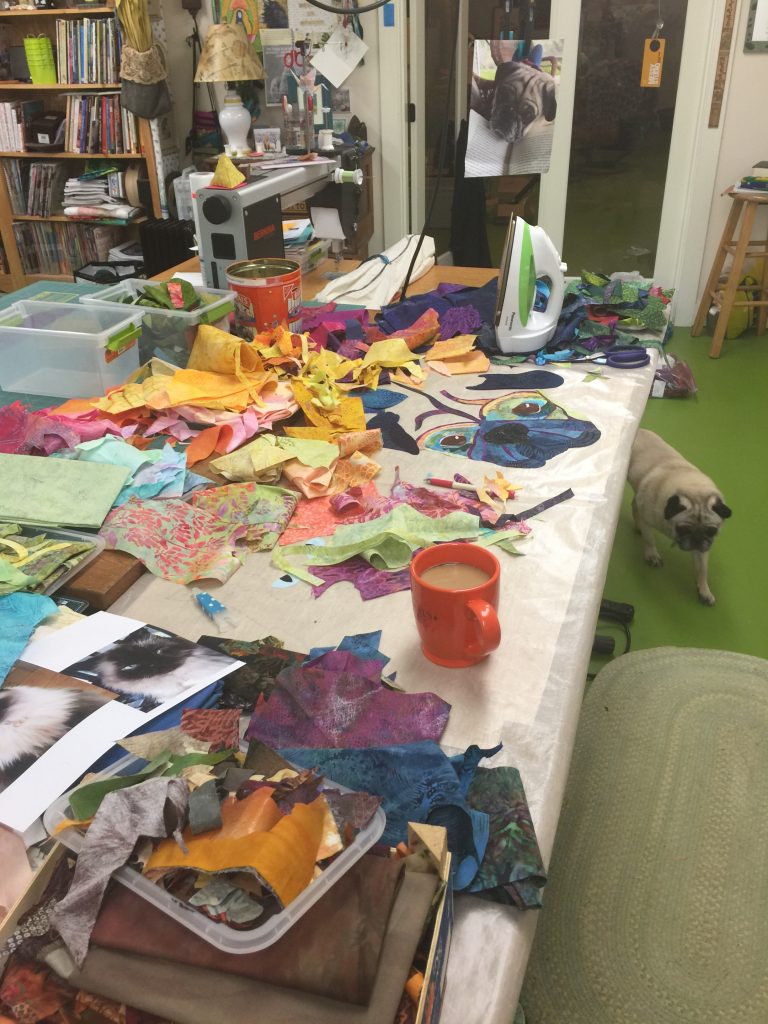
As you can see, the work area ends up just a bit messy! I tend to sort prefused (Mistyfuse ROCKS! It changed my life!) fabrics by color and value, then start working. The heaps are the “sorted” stuff (ha!). Widgeon is coming to lay down right under my feet so I can trip over him. He likes to stay close to his beloveds.
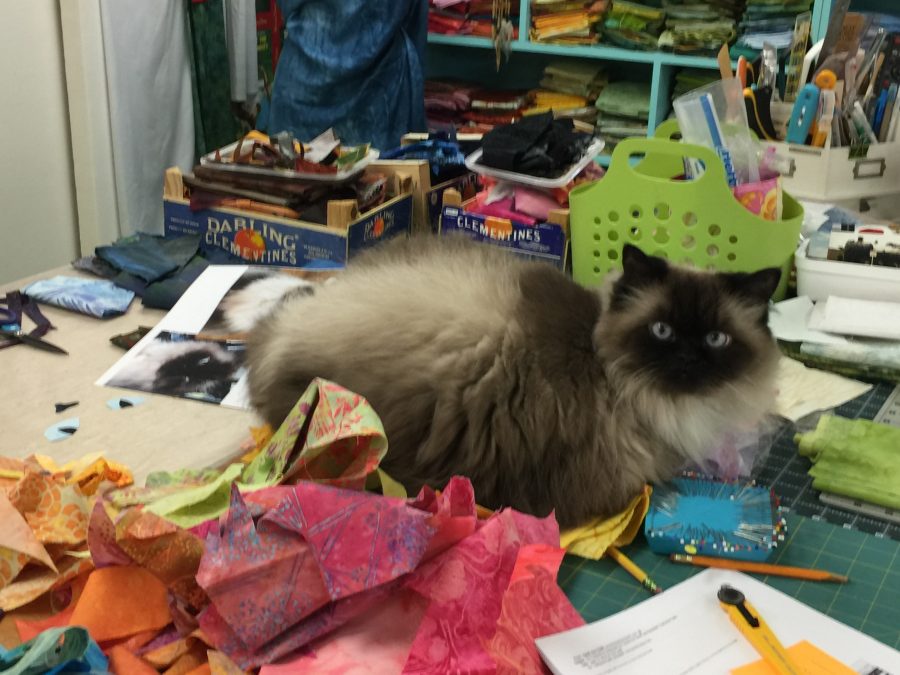
Sometimes Yoda supervises…..
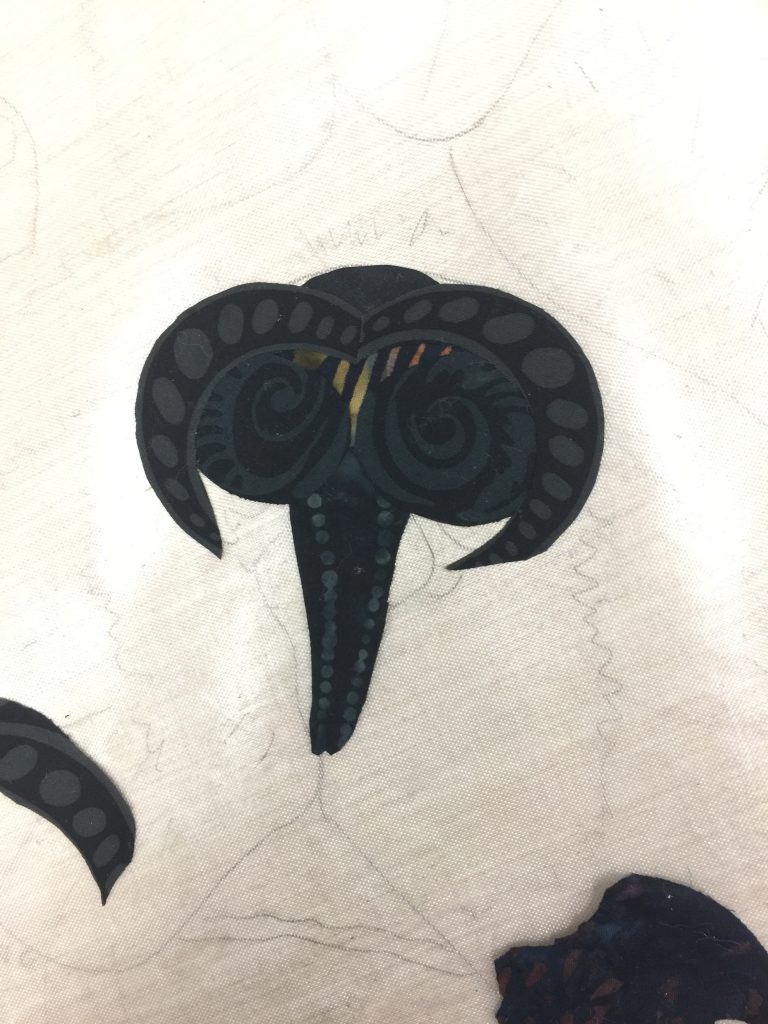
Folks say “Oh that’s the perfect fabric for the nose.” Sorta. This is seven pieces of fabric, and that’s about half of the fifteen or so tiny bits that eventually created his nose. You can see the sketch under the non-stick mat (check out Goddess Sheets at Mistyfuse.com).
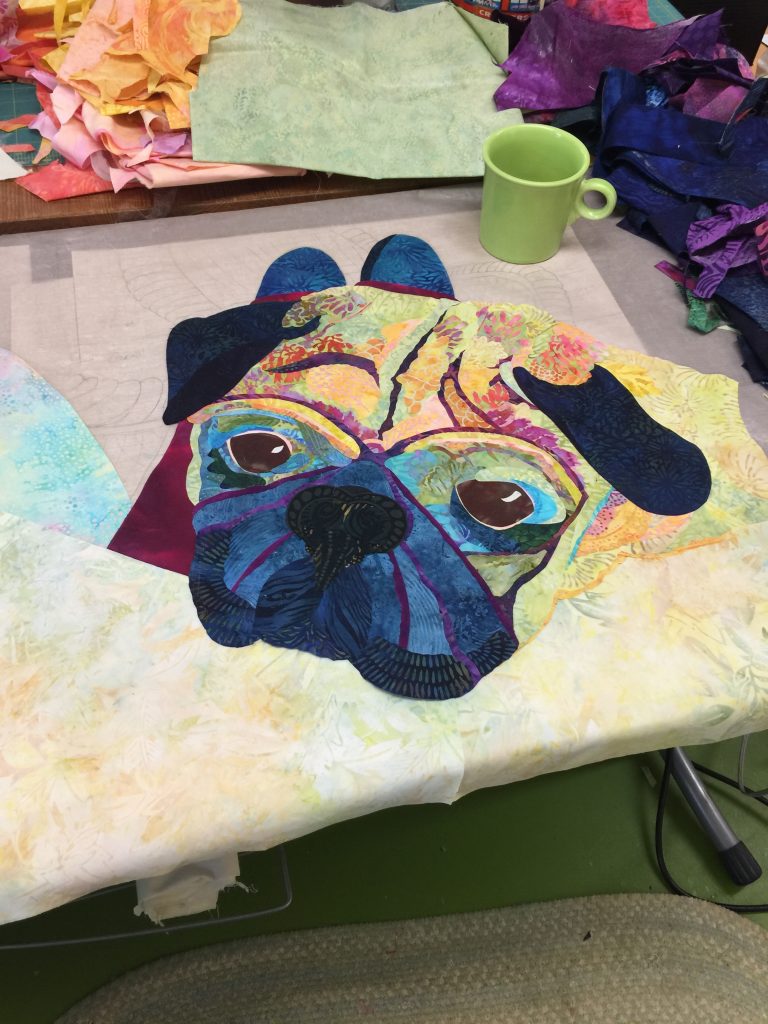
Here I’m looking at what to use for the background. I used pale yellow (on which I used a pale gray pen) for the book in my lap. The pale aqua for the pillow on the left got changed for a darker value.

Now it’s time for that mini tutorial on couching yarn for quilts with facings.

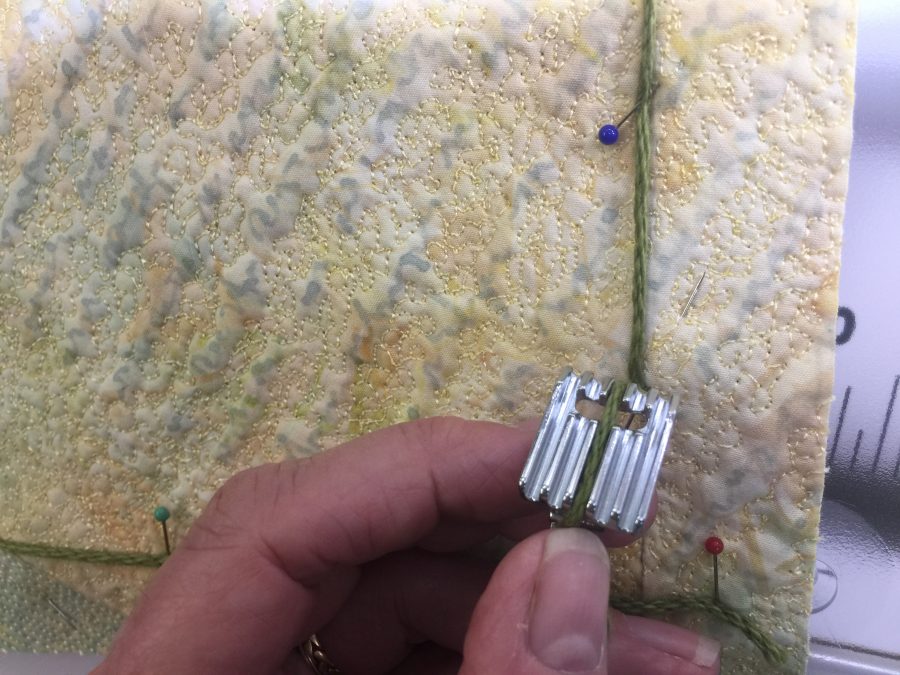
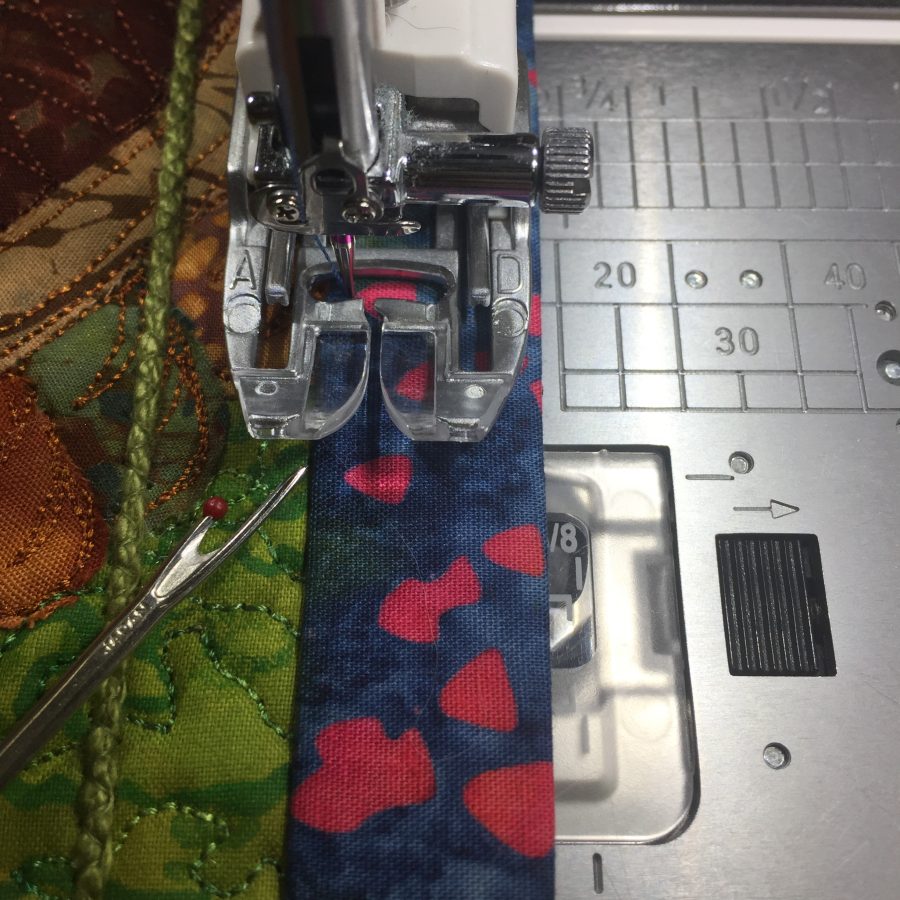
Most of the time, my quilts have facings, and some of the time they *also* have yarn couched on the edges. This makes the edges more crisp and makes it WAY easier to turn the edges in a perfect straight line (provided the yarn is sewn ON in a perfect straight line). This is what the bottom of the pin tuck foot looks like. Mine is a five-groove. There are other sizes (seven I think, and maybe three), which I prefer to the usual “couching” foot because I can fit the yarn to the groove that will best control placement. See how the yarn fills the groove…not too big, not too little, but just right.
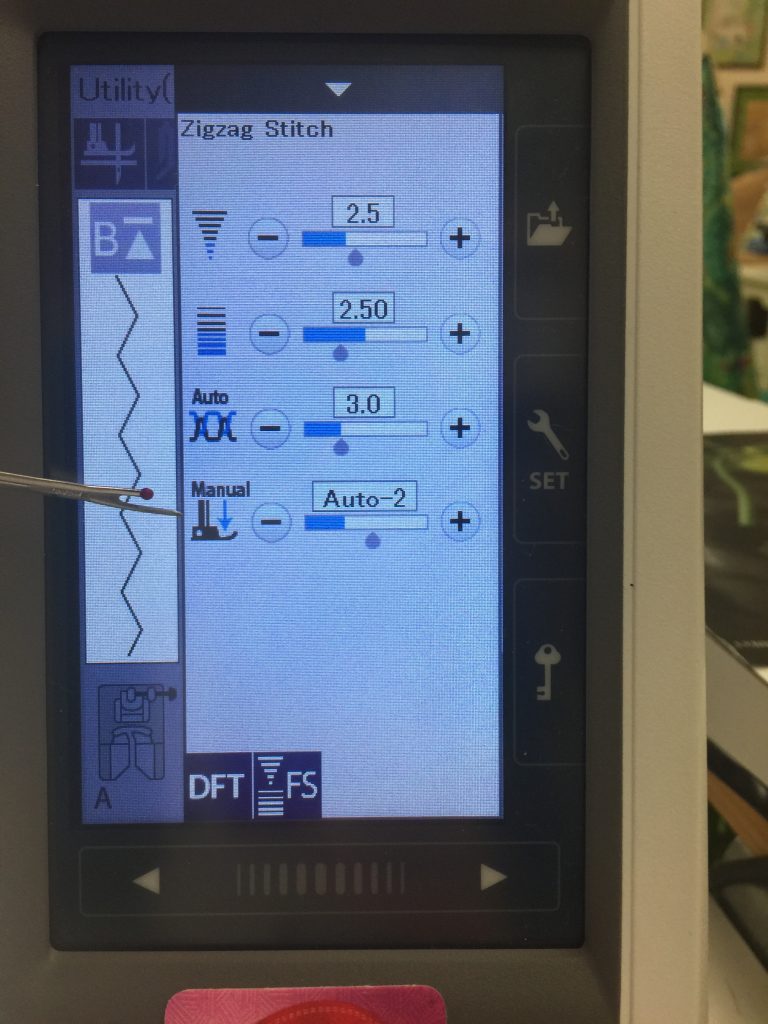
I used 2.5 stitch width and length, then reduced the presser foot pressure (how much it pushes down on what is going under the needle) to couch the yarn that ends up on the edge of the quilt.
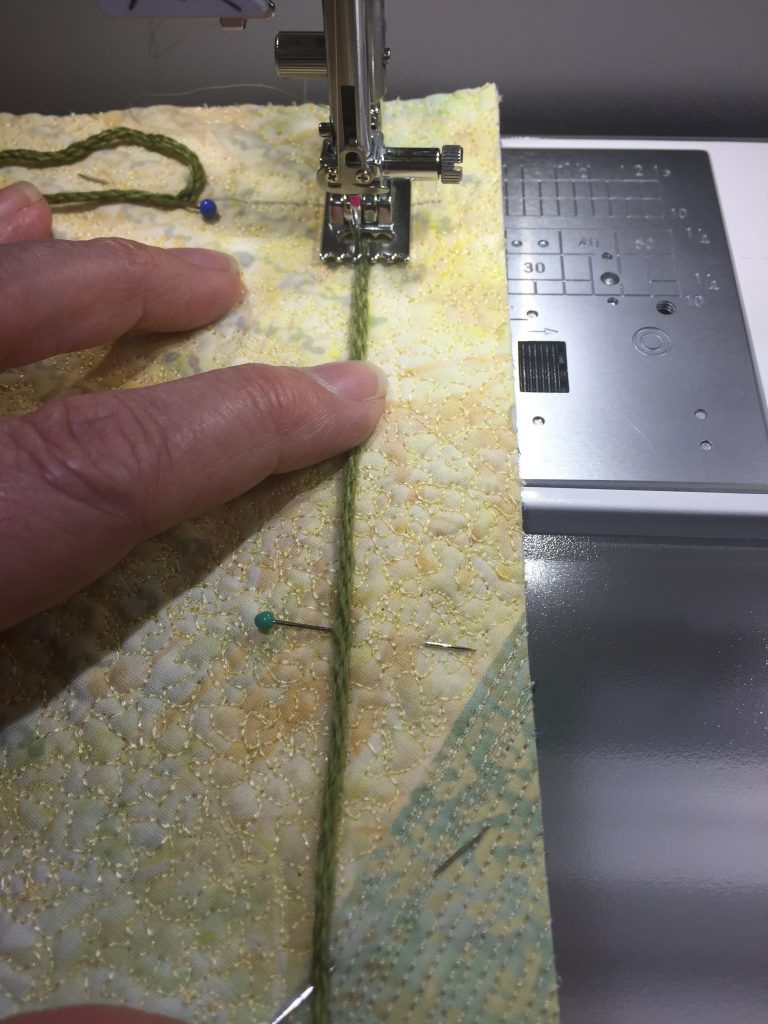
You can see the yarn is in the center groove of the 5-groove pin tuck foot. It is the perfect sized groove for the cotton yarn I favor for sharp edges on quilts with facings. I always used to chalk-mark where I wanted the yarn to go and then hold it in place with pins and my finger. But even then it would sometimes wobble, requiring picking out the stitching and fixing. Then I discovered a much better way on this quilt!
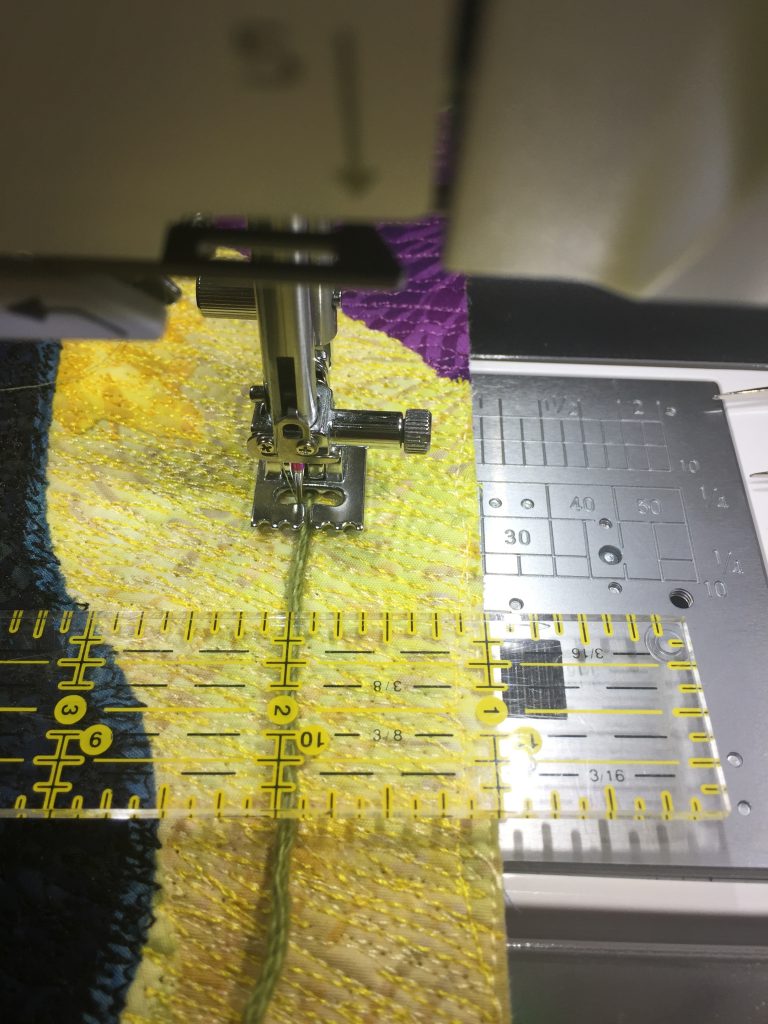
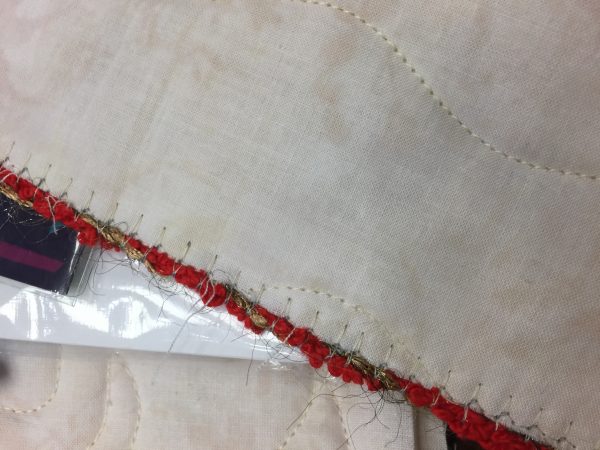
Drum Roll! Sound the Trumpets! A Better Way!!!! Using a ruler, Janome’s pin tuck foot, and a narrow open zigzag makes couching yarn on what will be the edge of the quilt easy! It worked best for me if I let the ruler hang over the edge and use the 1″ line. If I used the end of the ruler it was actually harder to see if it was perfectly aligned with the trimmed edge. And yeah, lookit all that threadwork!
Gotta love Janome’s great presser feet and plate markings, which make it possible to create a perfect facing. In my class I explain some of the extra stuff I do that makes my facings behave so well.
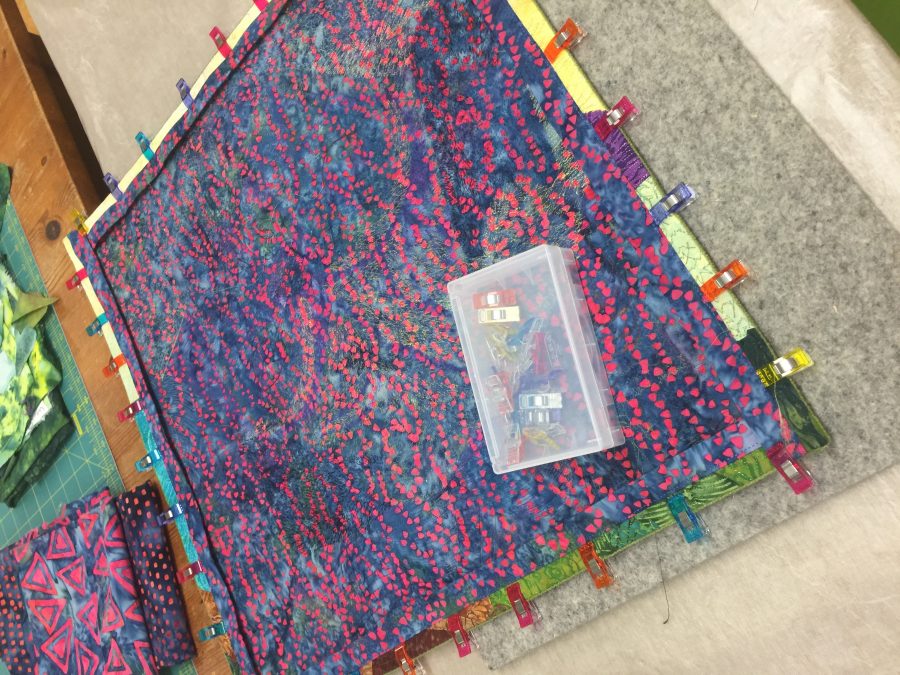
Wonder Clips by Clover. Buy them. Buy a whole lot of them. SO MUCH BETTER than being skewered by pins. If you buy the big set from Clover, they come in a well made reusable box.
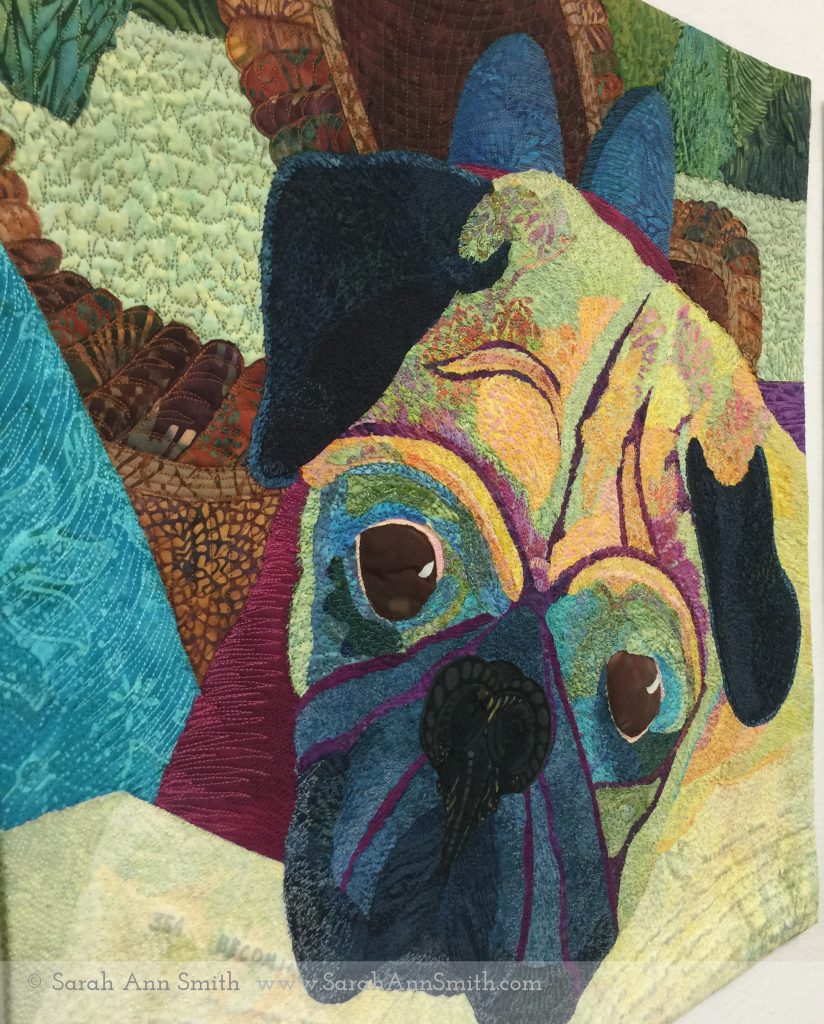
I Love, Therefore I am. A view of the quilting from an angle which shows the stitching better.
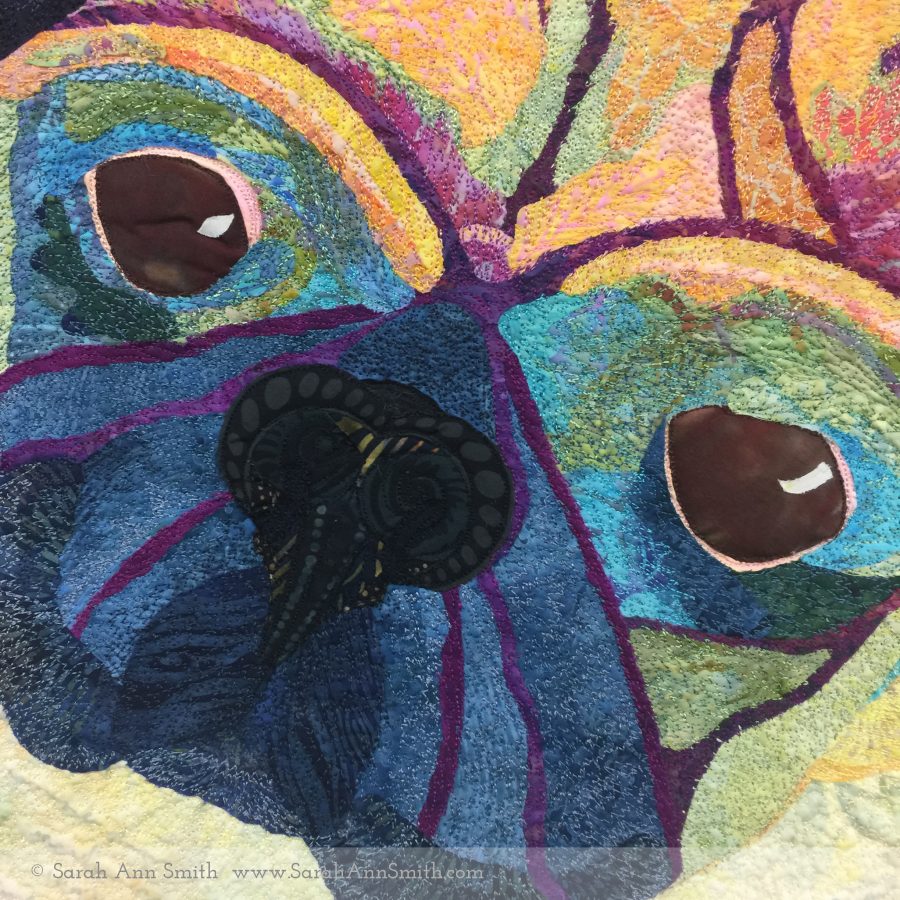
And a close up of the Beloved.

To see Yoda’s quilt, go to this post. Next, I’ll share Boo’s. He is the Usurper. The Delinquent. Chirpy.

International Quilt Festival #4: Fine Finishes (to be retitled to Bindings and Piping and Facings, Oh My!)

Saturday, November 24th, 2018

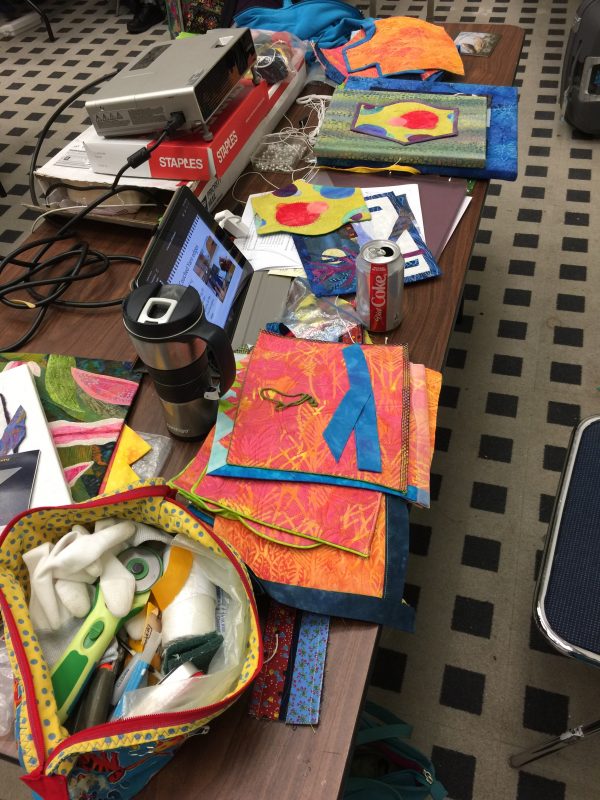
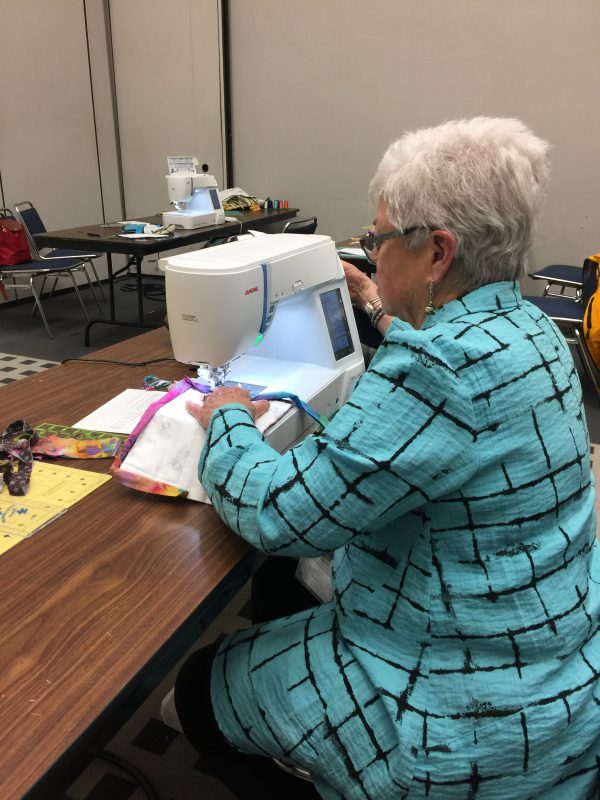
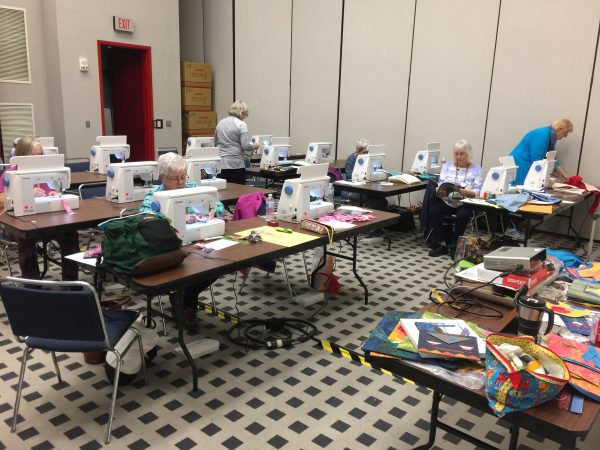
Bindings and Pipings and Facings, Oh My! class in Houston 2018:  Truth in teaching: this is usually what my teacher’s table looks like: a hot mess!

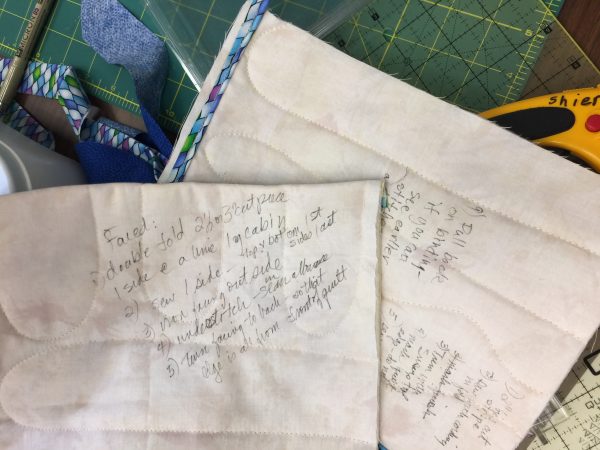
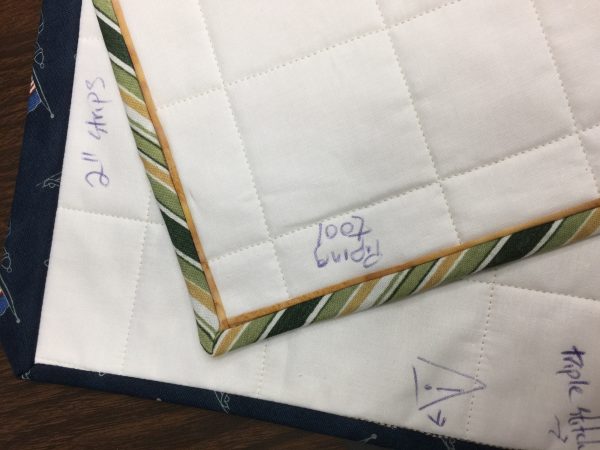
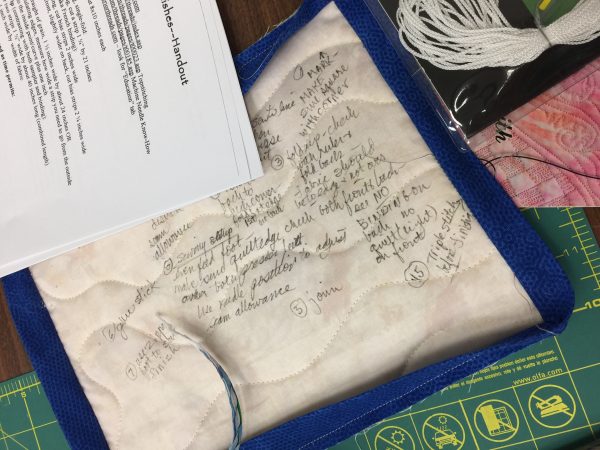
I LOVE teaching this class!  I LOVE that EVERYONE gets how to achieve a perfect mitered corner no matter what width your binding!  I LOVE showing students how to use Susan K. Cleveland’s Piping Hot Binding tool–students come into class thinking “I’ll try it but don’t think I’ll ever use it” and leave with the tool in hand planning how they CAN use it because it rocks!   Then I teach my perfect facings for art quilts which by the way is also how you can do perfect prairie point “bindings” etc.   I LOVE that this class has something for everyone:  traditional, modern, art, contemporary, whatever you do, it works.   I also LOVED that this class more than any I have ever taught immediately embraced the idea of taking notes ON their class samples:  that way the notes don’t get lost, what you need to remember about how YOU sew and what to do to improve is right there on the sample.

YES! They got it! Put the notes ON the sample to remember how to get is JUST right!

One older quilter in the class was BEAMING when she left–she was so delighted as she had never done a corner, let alone a piped corner, this good. I think I will remember her smile forever–THIS is why I teach this class!

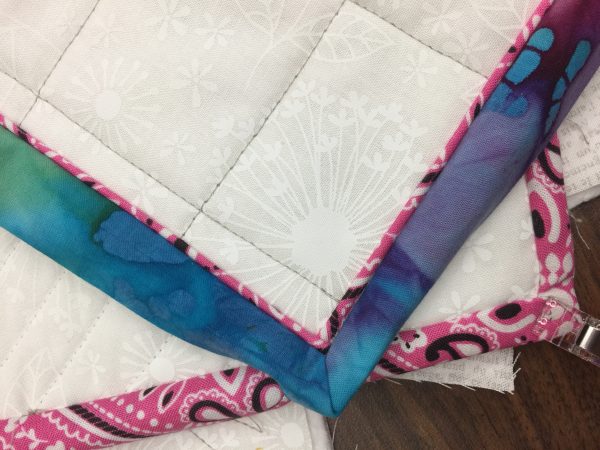
Doesn’t the pink bandana fabric look great as piping?

More notes, during the “perfect corners” part of the class in the morning

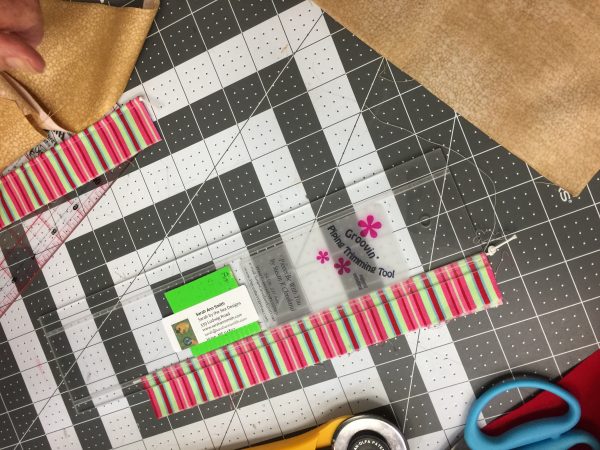
Midday/right after lunch we get to the piping (do the precise and time-consuming stuff first). LOVE Susan K. Cleveland’s Piping Hot Bindings tool. Available here.  It may be available at larger online sites, but I like buying things direct from the creator–Susan’s website is Pieces be With You (in the link).  I wrote my own instructions for the class handouts (without looking at Susan’s), but her more in depth instructions are worth every penny!   

The best part of Festival is FRIENDS–Linda Cooper

The absolute BEST PART of International Quilt Festival is FRIENDS!   Over the summer I learned that Linda, a BFF from my life on San Juan Island, would have a quilt in a special exhibit and was coming to Festival.  On Tuesday she showed up at my classroom door at lunch break with her friend from SJI.   They decided on the spot to take my Bindings class on Friday, their last full day at Festival (pitter patter, tear in my eye)!   It was like the intervening 14 years since I left the island evaporated.

She and Barbara managed to get the stuff to make the quilt sandwiches (class prep) and amongst the three of us came up with the requisite thread, scissors, rotary cutters, etc. to use.

Class….the lunchtime lull.  Thank you Kathy Spier for being my “Teacher’s Pet”—so much fun, met Suzy Webster when she took one of my classes a couple years ago.  This year her mom took Bindings, and we all had lunch together!   Like I said, the BEST PART of Festival is friends, old ones and making new ones!

Time permitting, we even get into some fun alternative edge treatments…couched yarn is perfect for postcards and small works

And miraculously, I remembered Linda and I needed to get a photo before she packed up for the day!

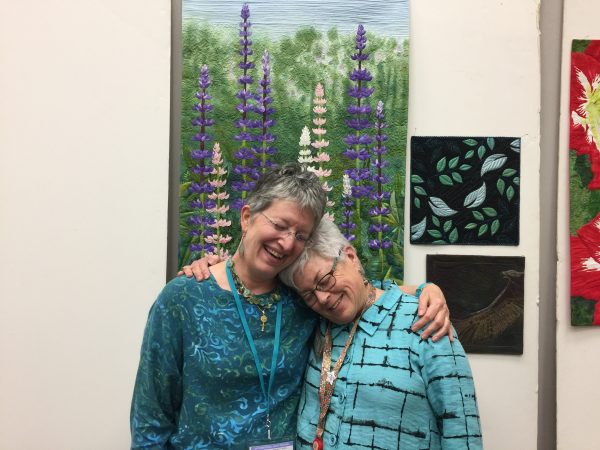
Old friends reunited!


Call me a Shannon Cuddle fan!

Sunday, October 14th, 2018

A heavenly combination: my studio, my Janome 9400 and Shannon Fabrics cuddle fabric–I’m ready for winter!  This fabric is so soft you just want to pet it, snuggle under it, and not give it away as a gift!

Last May, Janome America had its first ever Janome Education Summit, and one of the presenters was Shannon Fabrics.  From the kit they provided, I made the lovely summery top in this blogpost.  But they also shared samples of their fabrics, including these two.  True confession:  I have this Elmer Fudd-esque love affair with red and black buffalo check.  When I got home from the Janome event, I searched for the cuddle buffalo check on the internet wanting to buy multiple yards of it it but couldn’t find it anywhere, so contacted the presenter from Shannon Fabrics, who told me it wasn’t available until summer for the new fall season.  I ordered some other Shannon Cuddle and Luxe Fur from Fabric.com (still waiting to make that up, stay tuned in December).  Mid summer I still couldn’t find it, so I wrote to her again, and she SENT ME a big box to make not one but TWO projects.   This throw is SO fast and easy and it would make an awesome holiday gift. Literally, I made it in a short afternoon!
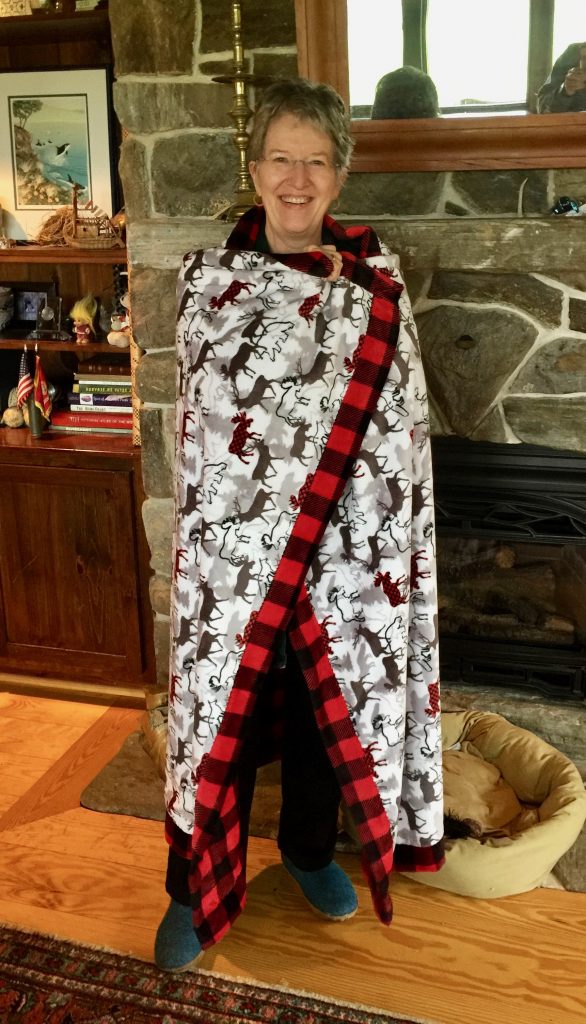
Me by the fireplace, wrapped in my jumbo throw. This is big enough for two people on a sofa. Or one person a cat and a pug in a chair. Ahem (photo below).

 Here’s what and how:

The two fabrics pictured are available at Fabric.com here/minky buffalo check and here/Studio minky forest park, both in the scarlet color way.  It is also available in a blue version, and there is a lovely silvery gray and white buffalo check too.  I used two yards of each, but had a little of the print leftover–gonna make a hat out of that!  You’ll also need some thread–color doesn’t really matter as it disappears into the pile, but I did use red. If I had found the Shannon free pattern and video (keep reading) I would have ordered 2 1/3 yards of the check since you need a little extra to wrap.  Instead, I trimmed down my white print to work.
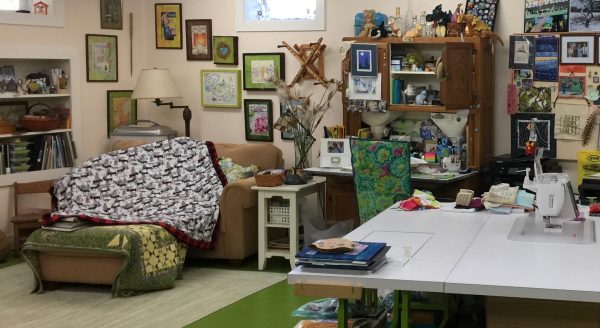
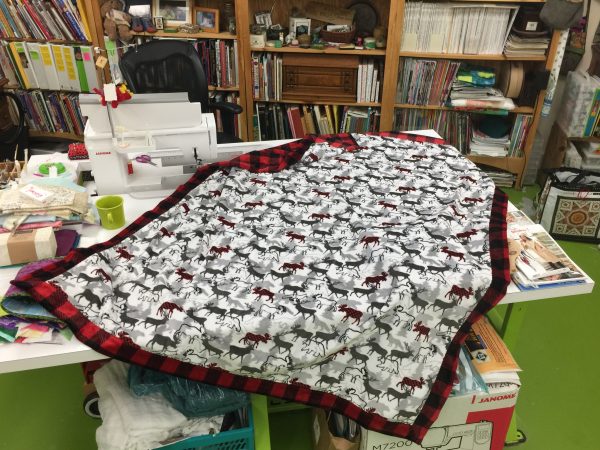
A blogpost with lots of pictures is better. Here is the throw on the love seat / reading zone in my basement studio. You can see how large it is!

TIPS and HINTS for working with Cuddle, Minky and Luxe Fur:

  1.  The BEST tip for minimizing lint came from Ellen of Shannon Fabrics in May:  you know you when you cut Minky and similar fabrics you end up with little bits of fluff EVERYwhere forever?  Not any more!   First, especially with the long fur-like fabrics (in my upcoming December project), cut your fleece from the back cutting only through the knit backing.  This minimizes the snipped bits of fluff.  You can also do as I did with the regular pile cuddle (what I used here) and use a rotary cutter.  Then scoop up ALL the pieces (including leftovers if you keep them for small projects later), perhaps into a basket or large plastic bag, and take them to your DRYER.  Yes, the clothes dryer.  Tumble on no-heat for about ten minutes, then CLEAN THE LINT FILTER. About 80+ percent of that fluff will end up in the lint filter and not all over your sewing space and house.  OMG it really worked!
  2. There is no stretch on the lengthwise grain.  At all.  If you make a garment (my next project) make sure you keep grainline in mind when fitting the garment.
  3. The fabric DOES NOT RAVEL.  At ALL.  That means you don’t have to turn under edges!!!!!!  That means these projects are FAST!
  4. Stitch length:  The fleece will hide your stitches.  That means it will be challenging if you decide you need to remove any of the stitches, so pin carefully to avoid ripping out!   Also, it is good to use a slightly longer stitch length.  I used a 3.0.
  5. Best stitch for seams on knits: For garments, using a zigzag or “lightning” zigzag will at a 1.0 width will look like a straight stitch seam from the outside, but adds a little bit of flexibility and therefore helps avoid popping stitches in the seam.

Shannon Fabrics has many free patterns available.  I used this one for my throw, a youTube video called Cuddle Self-Binding Blanket from Shannon and FleeceFun.com.  I hadn’t found this video when I requested my fabric.  If I had, I would have ordered 2 1/3 yard of the buffalo check and 2 yards of the forest park print and had a slightly larger (better!) throw.  WATCH the video before you order fabric…it is only 7 minutes long and will help you.
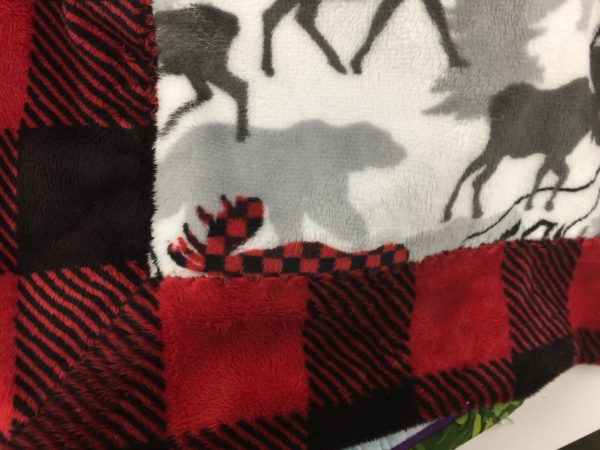
I used a serpentine stitch on my Janome 9400, an “S” shaped stitch to sew down the edges. You could also use a blanket stitch or a 3-step zigzag (the one that takes three stitches in one direction, then three stitches the other way).  I mean, you can’t even SEE the stitches.
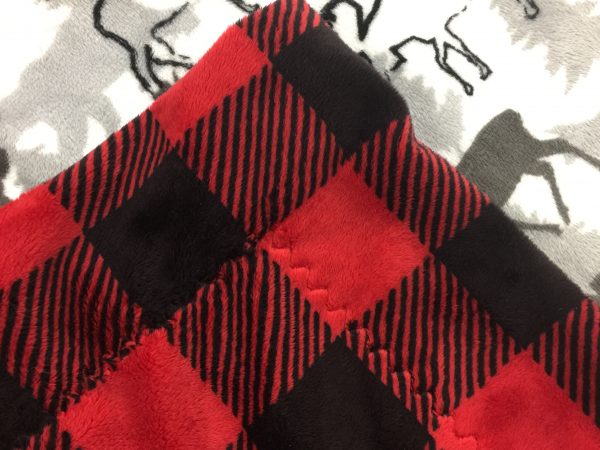
Here’s what the serpentine stitch looks like from the back. I used red thread and you can’t even SEE the red on the black square!

I have been a Janome Fan-Girl for 15+years now.  I am now a Shannon Fan-Girl too! I’m finishing up a winter jacket with more of the buffalo check and a cream cuddle fleece lining, and will share something else that will be a gift for Christmas–perhaps in late November which is plenty of time for you to whip up a few of them in time for holiday giving.  Or keeping.  Ahem!
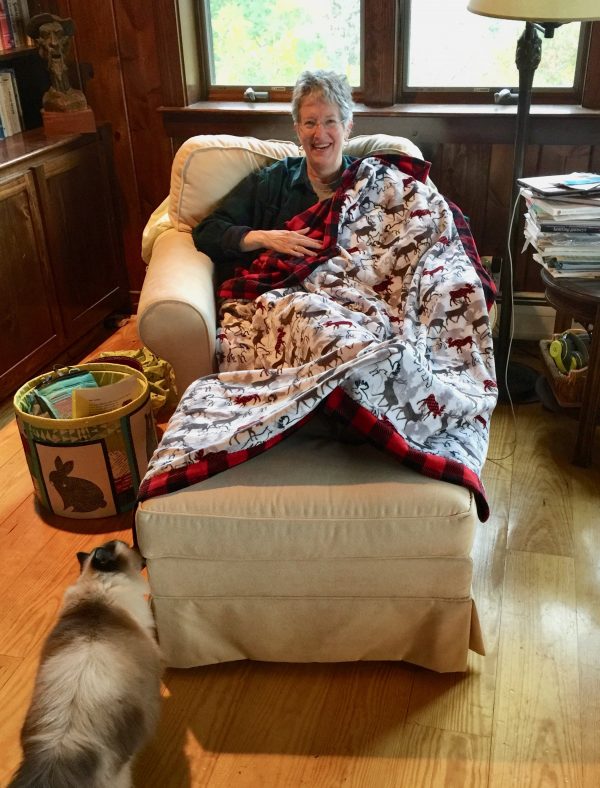
This is what I expect to look like most evenings in winter: in my chair in the living room, me and pug under the throw, cat checking things out, ready to make a dent in my pile of reading!

And because it is boring, this photo is last, but it shows the throw out flat.

THANK YOU SHANNON FABRICS for this fabric which I was totally prepared to order!   I have purchased more of their fabrics own my own and know I will be using it again.  If they ever make their “Spa” line in some bold colors (not pastel, not purple) I am so gonna make a bathrobe…..in the meantime, I have more snuggle quilts and gifts to make to keep me plenty busy.  And as always, Thank You Janome America for making the best machines EVER!
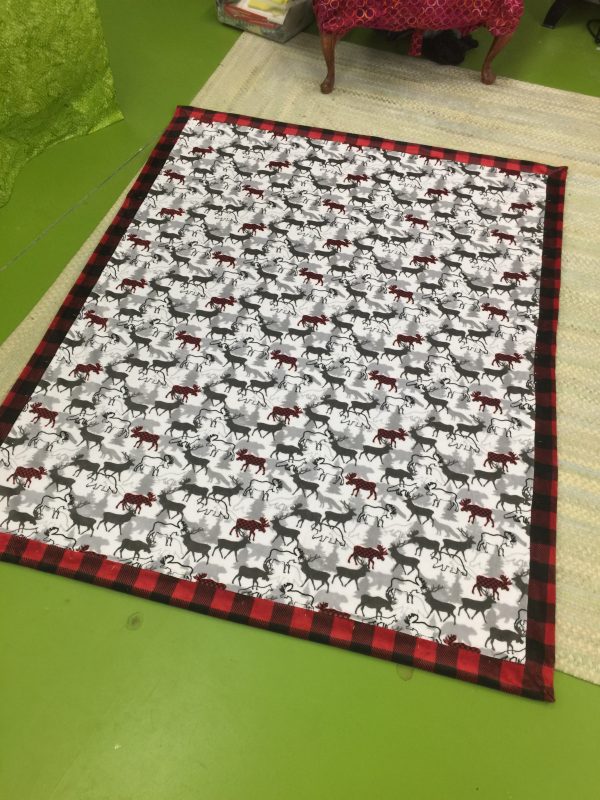
laid out flat on my studio floor (cement painted green!)…big, warm, SOFT. And did I mention, SOFT!
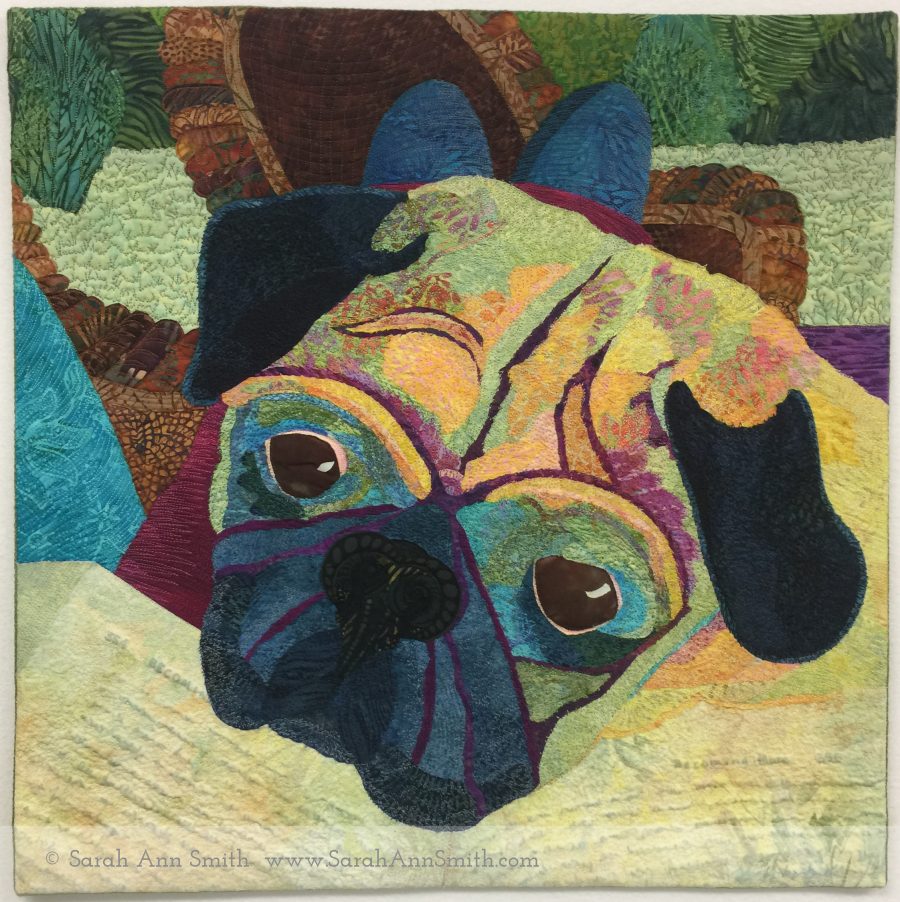
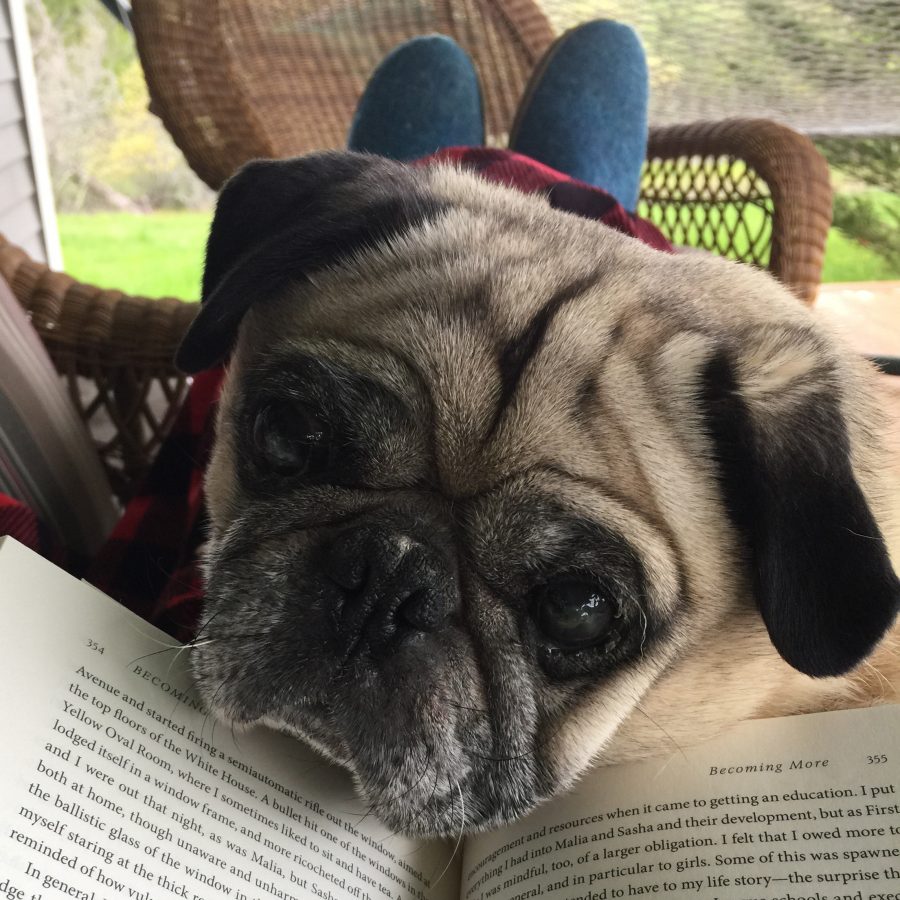
 

Teaching at IQF Houston — Fine Finishes, an Album of Techniques, MQForum

Tuesday, August 7th, 2018

YES, I’ll teach you how to get perfect miters that match your seam measurement, no matter what it is, without having to measure! Today I’ll talk about my Fine Finishes workshop, #525 from 9-5 on Friday, November 9th, at International Quilt Festival Houston.  Link to register is here and at the bottom of this post.
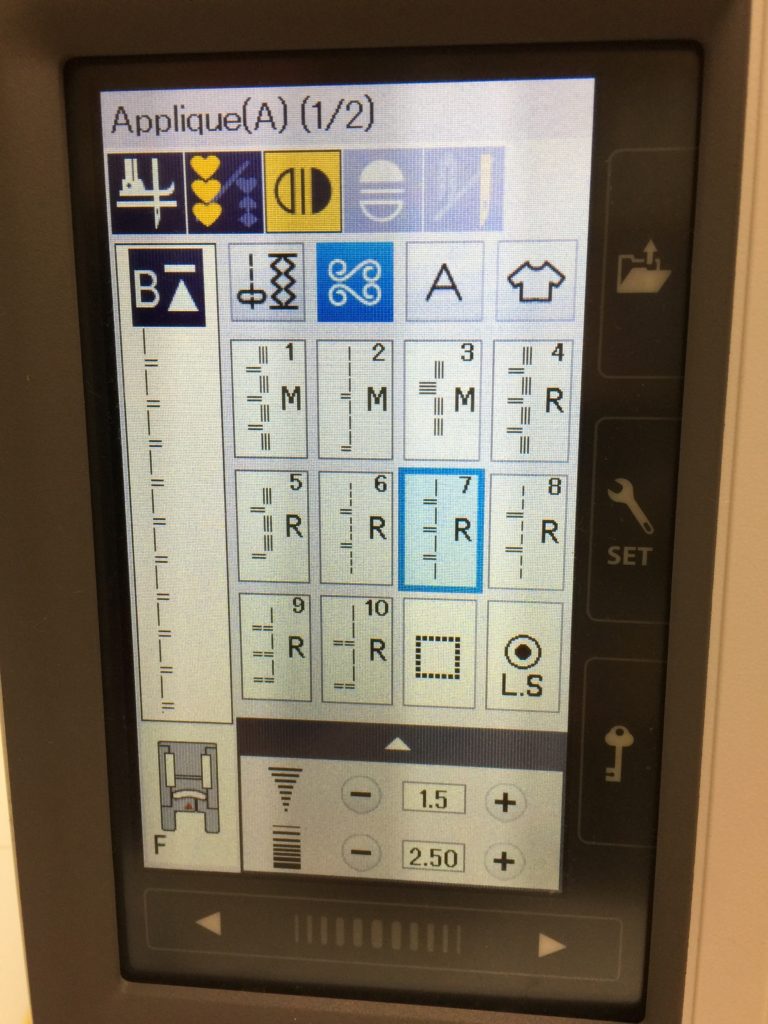
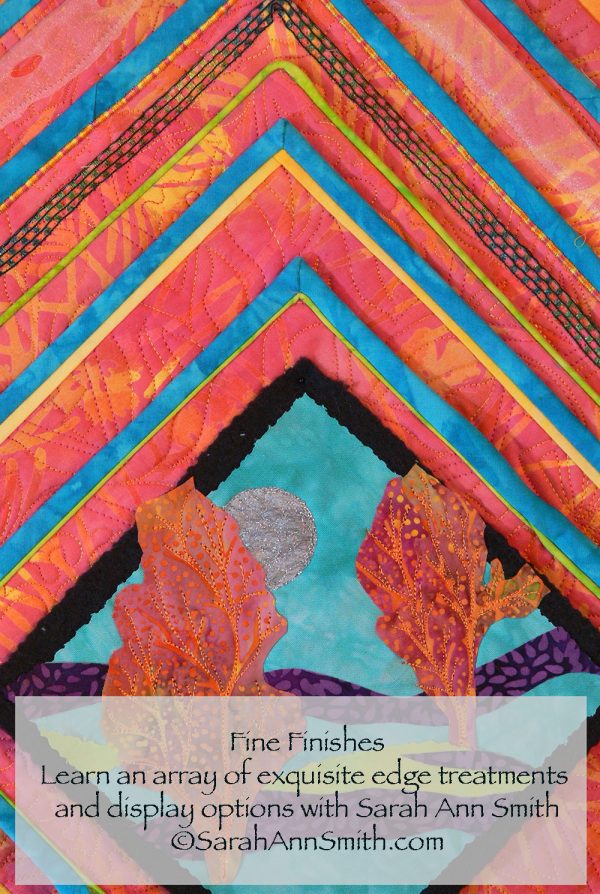
This class is all about what to do with the edges of your quilt…and not just straight edges:  curves, inside points, sharp angles, facings not just bindings.  Using techniques adapted from high end garment construction, you’ll achieve precise results, perfect corners, perfect miters, without measuring your seam allowance!

You’ll learn about all of these and, depending on how fast you work, make at least four samples, maybe more. In Houston, it is class #525 on Friday.


Fine Finishes has proved a perennial favorite –sign up soon!  If the PERFECT bias binding hasn’t happened for you, or the PERFECT facing for an art quilt, one that doesn’t roll and bulge, you need this class.  Have you ever considered piping?  Time consuming, but OH MY what a wonder!  So worth it … try these and more as time permits.

Last but not least–and it usually fills up fast–is the Machine Quilting Forum on Thursday morning.   Think of it as not-so-speedy dating for machine quilters.  We meet in one of the large “ballrooms” at the convention center. The first hour is an introduction to the presenters (I think there are six of us, or maybe seven, this year):  each teacher gets a few minutes to share about 7 slides representing who they are as quilters.  Then the participants break up into six (or seven) groups.  Each group goes to a certain teacher, then after 20 minutes (15 presentation, 5 Q&A) a bell rings and the participants move to the next teacher.  This is a fabulous way to learn a lot in a short time, get a great idea of a teacher’s style teaching, see if you want to take a class with them or have them come teach for your guild.

Registration is OPEN for classes for International Quilt Festival Houston 2018, including my four classes.  For more info on the other workshops, my first class, Birch Pond Season,  is covered here.  Collage the Garden, one of my newest classes and proving to be one of the most popular, is covered here.

Modern Winter Placemats and TableRunner

Wednesday, December 7th, 2016

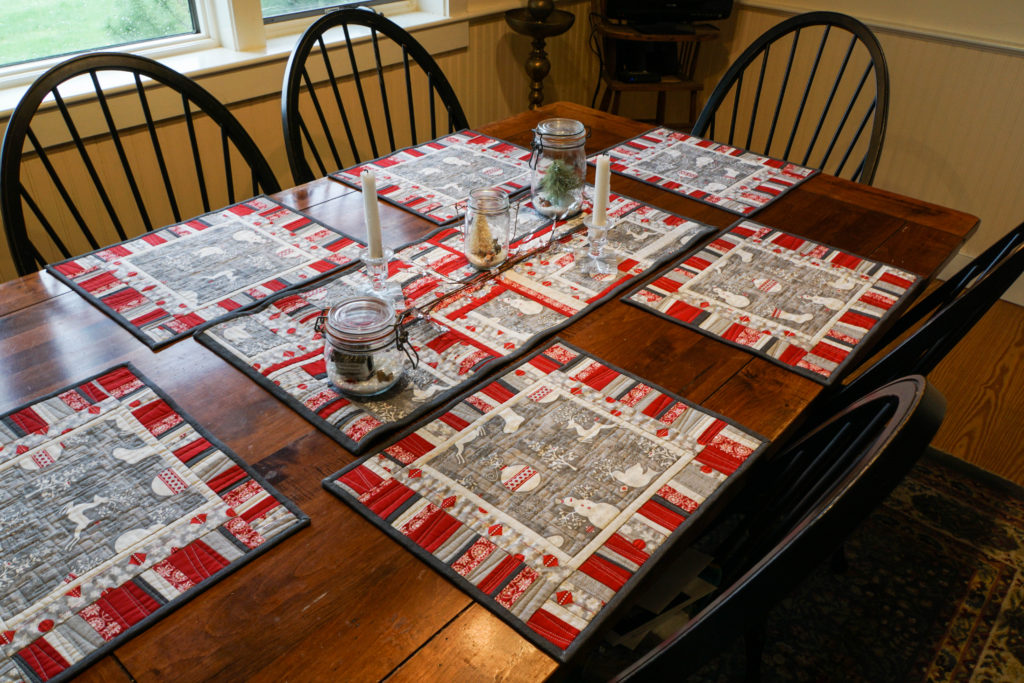
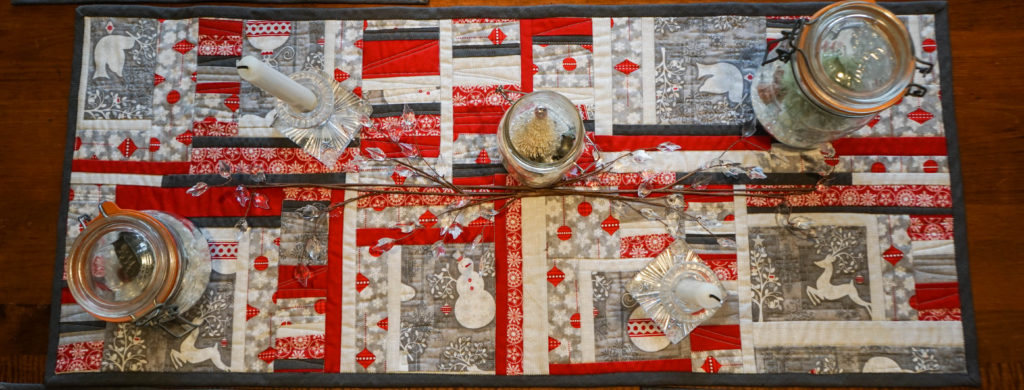
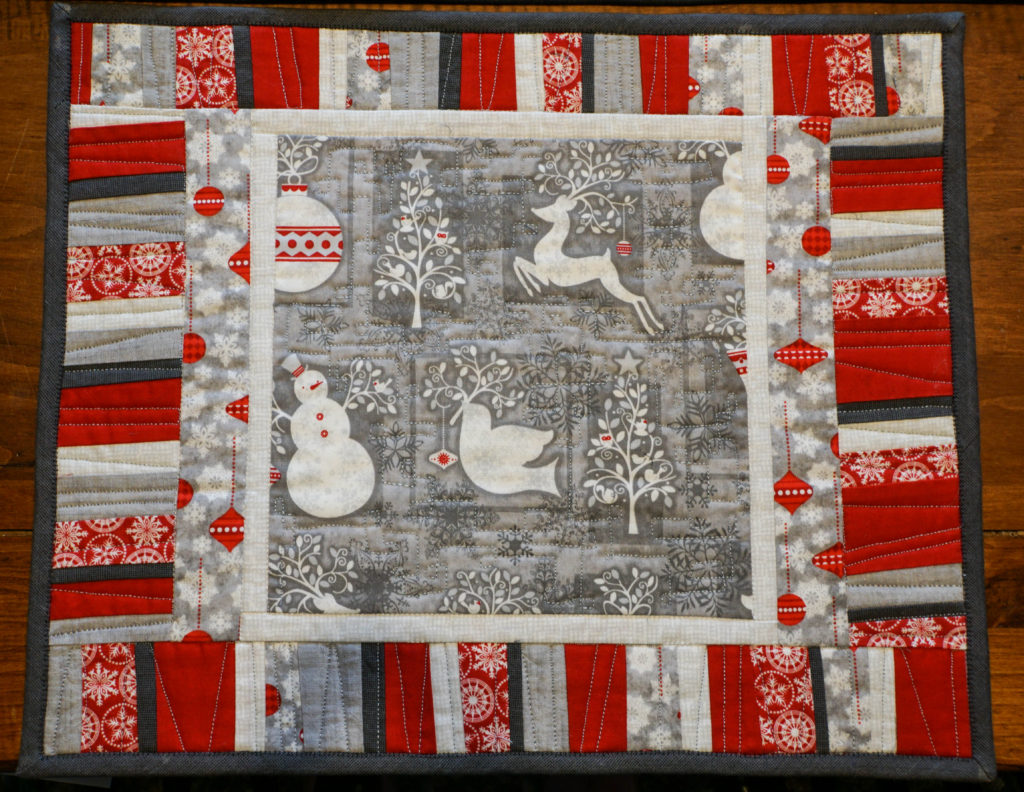
Last December at our local Coastal Quilters Christmas/Holiday meeting, we had a little game where you each bring a giftie, and end up with a different giftie.  I ended up with a lovely set of fat quarters in very “Quilt Modern” colors:  the red, white and gray winter themed ones.  I decided to add some new winter placemats and table runner made from the theme fabric using improvisational piecing. You can find the pattern at Janome America’s blog, here.

Modern Winter placemats and table runner.

Modern Winter placemats and table runner.

I added the solid red and dark gray fabrics.  I will advise you:  MEASURE YOUR TABLE FIRST.  I made the placemats first, rather oversized.  I had two of them bound.  Then I discovered they were too big, had to pick off the binding, cut them down (the instructions on the Janome site are for my final size), and re-do.  Erk.

Depending on the fabric you select as a feature fabric for the centers, you can adjust the size of the inner borders (or omit them entirely).  I had just a half yard of the feature print, so I needed to use smaller cuts and build them out.  If you buy a little more, then you can omit the inner border and strips.

An overhead

An overhead view of the table runner; I used the few remaining bits of the feature print and built them out with strips, then fit them together.  Can you say “liberal use of partial seams?”

Overhead view of placemat

Overhead view of placemat

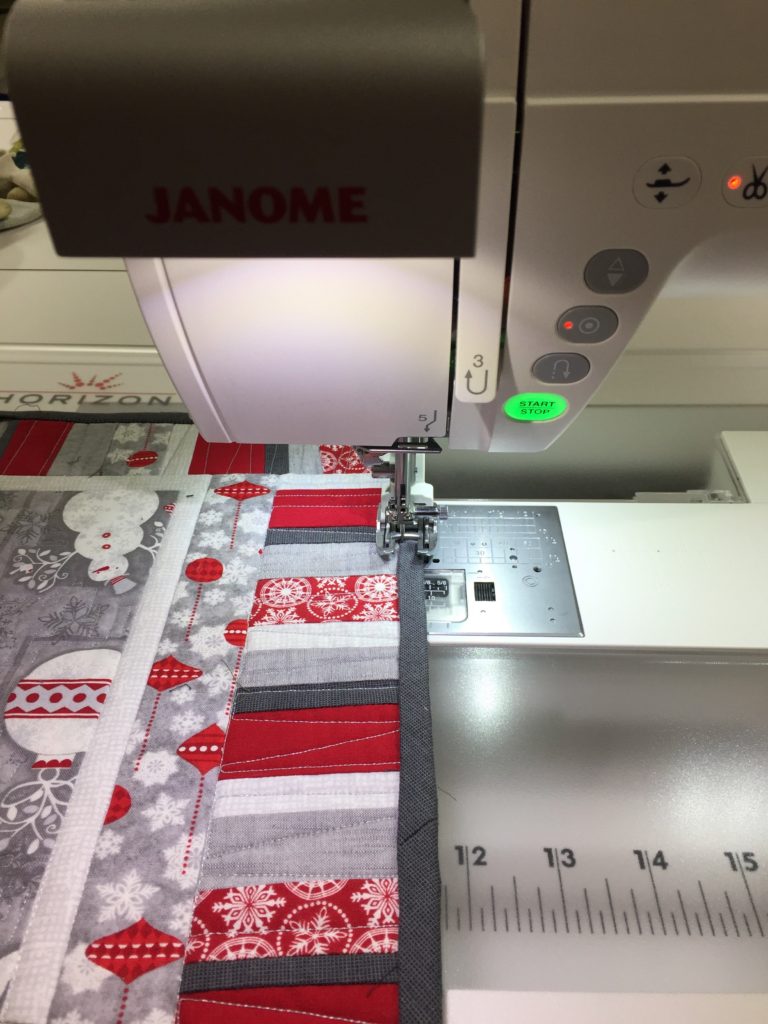
My favorite way to do bindings is by machine.  My secret:  glue stick!   I only use the glue stick on things that will be washed (probably often), so I wouldn’t do this on a high-end art quilt, but for a baby or bed quilt or table linens?  You betcha!

stitching down the bindings on the Janome 9400

Stitching down the bindings on the Janome 9400.  Love that pull-out light!  I sew the binding to the back, wrap it to the front, then at the ironing board use glue stick on the seam allowance.  I press the binding down and it stays put–no pins!  no bumps!  no wiggling out of place! 

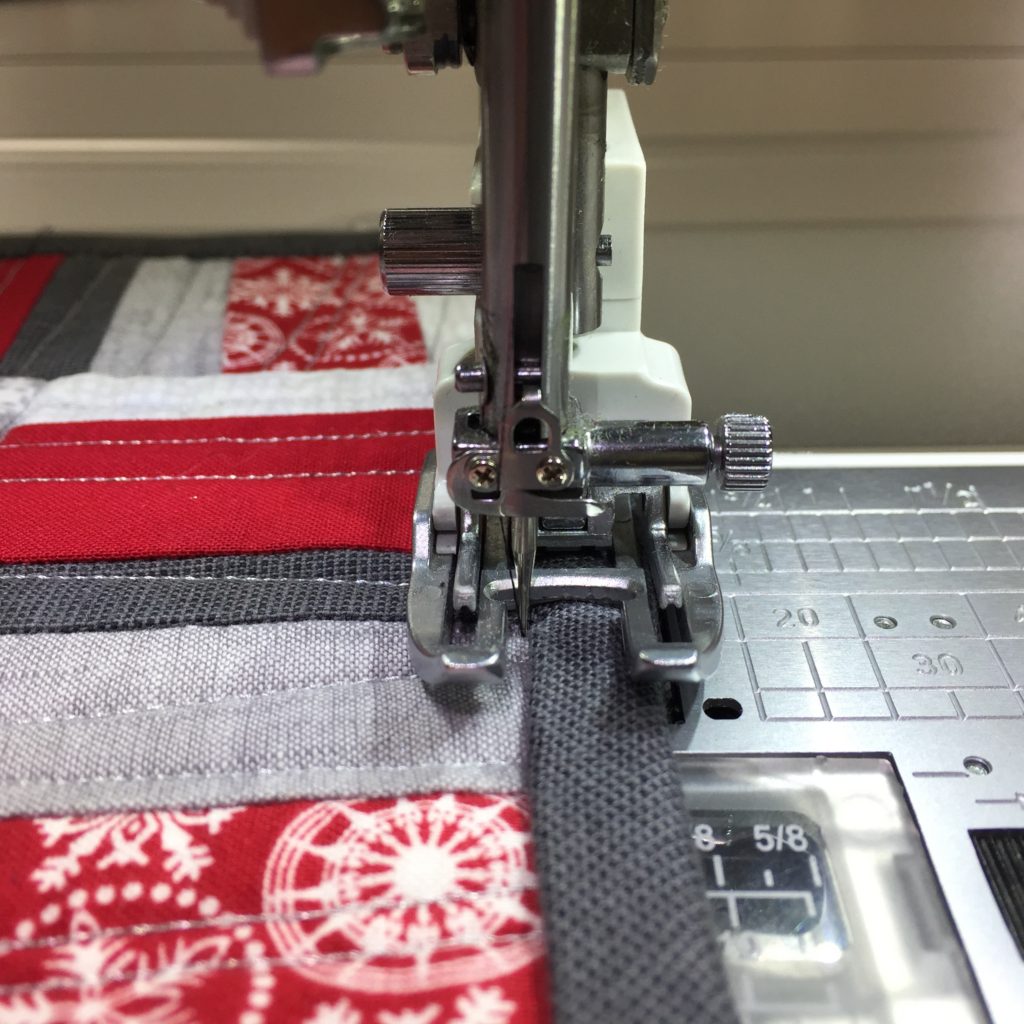
I used a blanket stitch, with the straight part in the “ditch” (just to the left of the dark gray binding), and the “zig” going onto the binding.

I used this stitch to finish the bindings, and used the mirror image button (above in yellow) so that the swing of the stitch goes to the right of the straight line (see the stitch as displayed at the left of the screen).

I used this stitch to finish the bindings, and used the mirror image button (above in yellow) so that the swing of the stitch goes to the right of the straight line (see the stitch as displayed at the left of the screen).

A closer view. The needle just barely misses the binding when going straight, then swings over onto the binding to hold it in place.

A closer view. The needle just barely misses the binding when going straight, then swings over onto the binding to hold it in place.

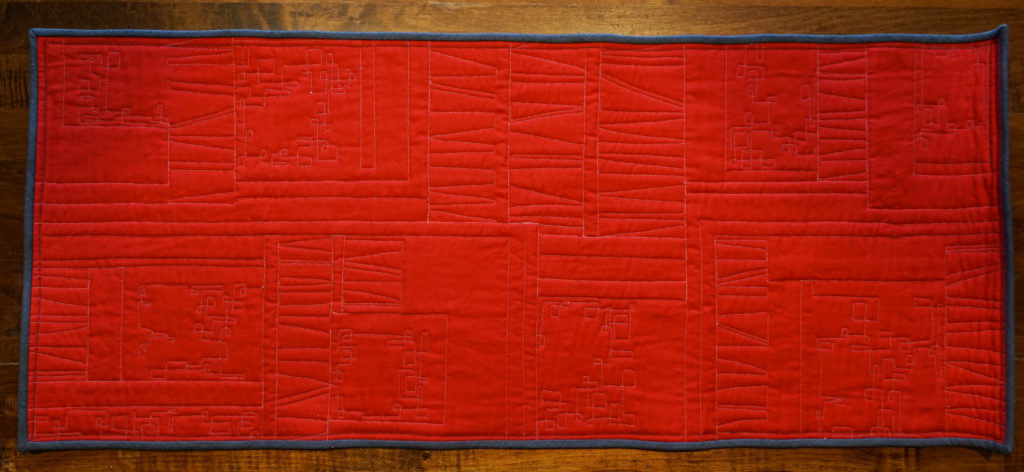
Back view of my quilting. I used a FMQ ruler (thicker than a cutting ruler) with the QO foot (this is not necessarily recommended, you really should use a proper "Ruler Foot" but I was extra careful)

Back view of my quilting. I used a FMQ ruler (thicker than a cutting ruler) with the QO foot (this is not necessarily recommended, you really should use a proper “Ruler Foot” but I was extra careful) to do the straight line quilting across the strip sets, then used a squared off loop in the background of the feature fabric bits.

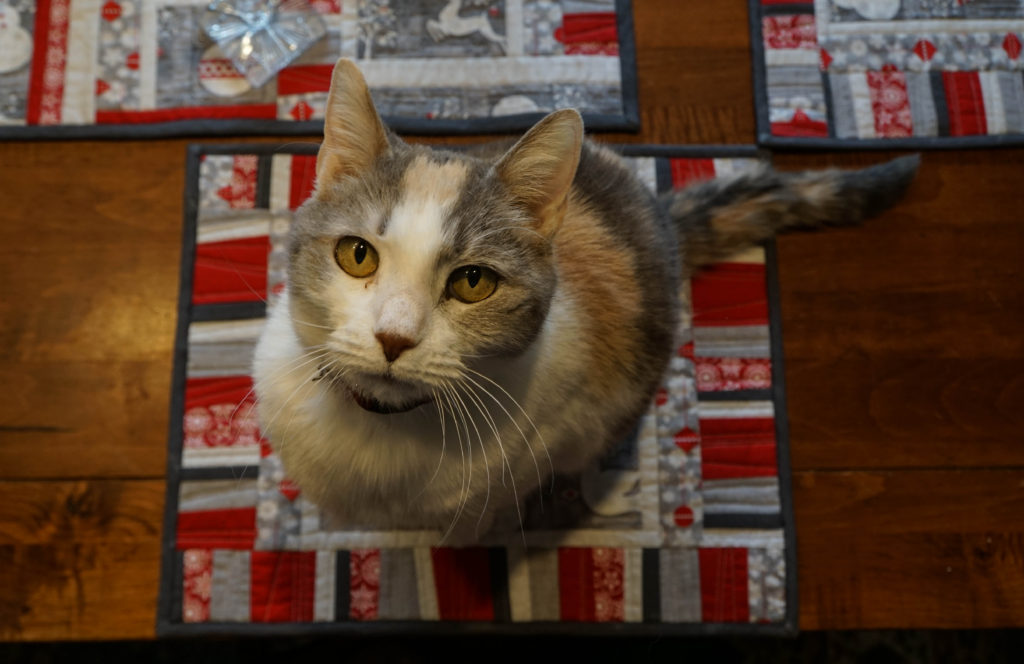
It must be good: it has passed the cat-sitting-on-it seal of approval!

It must be good: it has passed the cat-sitting-on-it seal of approval!