email Youtube

Home
Galleries
Blog
Workshops & Calendar
Store
Resources
About
Contact

Archive for the ‘Quilt Shows’ Category

Dyeing for Living Colour

Thursday, February 6th, 2014

Woooohoooo!   I got IN!  Yep, I am thrilled that I will soon be spending a small fortune to send a 40 x 100 cm quilt to Australia to be in the Living Colour Textiles exhibit! The bad news is that I can’t share a full picture until the exhibit opens at the Australasian Quilt Show in Melbourne in mid-April!  But I can share some of the “early” pics…..
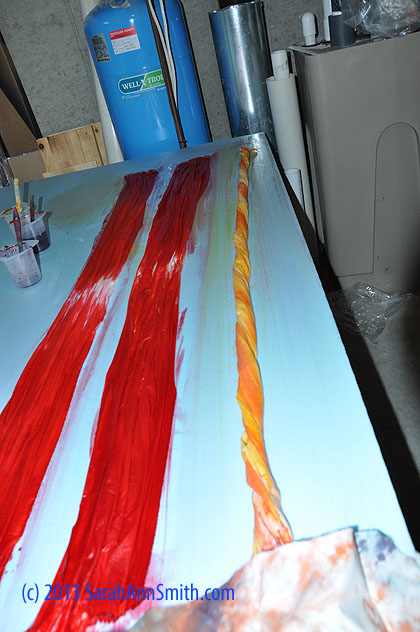
Fabric stretched out on some rigid foam core, manually pleated/folded, dye applied, ready to be covered and batched!

Fabric stretched out on some rigid foam core, manually pleated/folded, dye applied, ready to be covered and batched!

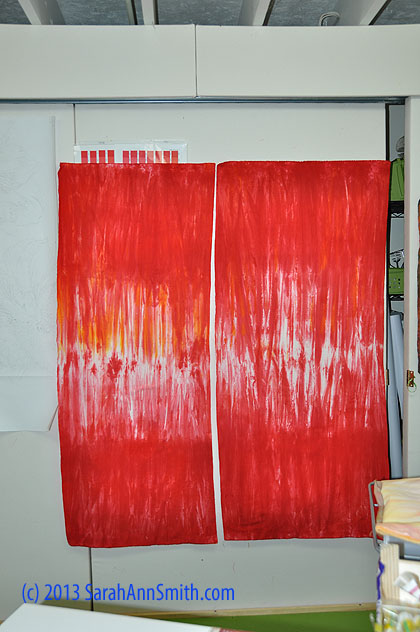
The exhibit is called Living Colour, and as the curator Brenda Gael Smith reminded folks, there are two parts to that title!   I have been noodling around with an idea for a week-long workshop around the theme Quilting the Good Life (c), and Quilting the Garden as a part of that.  The workshop would involve learning my collage and thread-coloring techniques with a small project (similar for all), then moving on to develop a quilt based on one’s own photography or imagery, then quilting it.  (If anyone wants to hire me to do this, please write!)  This quilt will fit in that rubric!  Although I usually use lots of batiks, this quilt was mostly my own hand-dyes with a few batiks.  And of course I left it to the last minute to make the quilt!  About 10 days before it was due, I dug out the dye pots (above) to make the red fabric in exactly the color and texture I needed, which I did by manually “pleating” the wet fabric and applying dye with a sponge paintbrush.

The resulting red fabrics used on the front (and back) of the quilt.

The resulting red fabrics used on the front (and back) of the quilt.

As long as I had dyes mixed up,

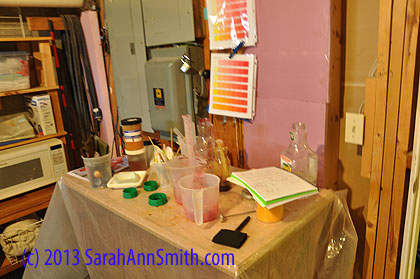
Last year's $$ investment in the business was to put a sink into the basement.  It is in the room with the water pump, oil tank, water heater, etc., but I have just (barely) enough room to put the 4x8 rigid foam core on top of a folding table and have this re-purposed kitchen cart on the side for mixing.  Those of you who have take Carol Soderlund's fabulous classes will recognize some of my color pages clipped above the mixing station.  And I have learned to keep notes in my spiral notebook of what primaries I've used so I can replicate--like the green in a photo below.

Last year’s $$ investment in the business was to put a sink into the basement. It is in the room with the water pump, oil tank, water heater, etc., but I have just (barely) enough room to put the 4×8 rigid foam core on top of a folding table and have this re-purposed kitchen cart on the side for mixing. Those of you who have take Carol Soderlund’s fabulous classes will recognize some of my color pages clipped above the mixing station. And I have learned to keep notes in my spiral notebook of what primaries I’ve used so I can replicate–like the green in a photo below.

I overdyed some hideously ugly fabric I had made, some in a workshop, some on my own.  The beauty of cotton hand-dyes is that if they turn out vile, you can just keep throwing on dye.  Either they turn good, or you add more dye and get some great deep browns and mottled forest colors!  These are clearly the before shots:
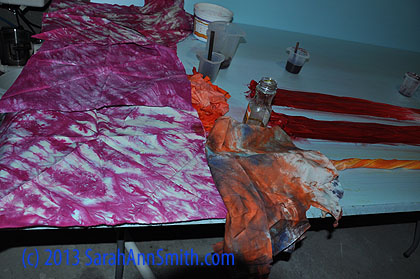
The plum fabrics on the left were from a workshop exercise.  I cut a small bit off each to remind myself, then over dyed.  The teacher won't tell you the purpose of the exercise, she wants you to learn by doing.  That's fine, but if I had known the exercise was to force splitting of the dyes I would NEVER have selected the final plum color because the blue-yellow make that nasty mint green!  Thankfully I did not follow her suggestion to use a yard each, but instead only wasted a fat quarter each.  Which are still hideous enough!

The plum fabrics on the left were from a workshop exercise. I cut a small bit off each to remind myself, then over dyed. The teacher won’t tell you the purpose of the exercise, she wants you to learn by doing. That’s fine, but if I had known the exercise was to force splitting of the dyes I would NEVER have selected the final plum color because the blue-yellow make that nasty mint green! Thankfully I did not follow her suggestion to use a yard each, but instead only wasted a fat quarter each. Which are still hideous enough!

This ugliness was a mopping up cloth.  UGLY.

This ugliness was a mopping up cloth. UGLY.

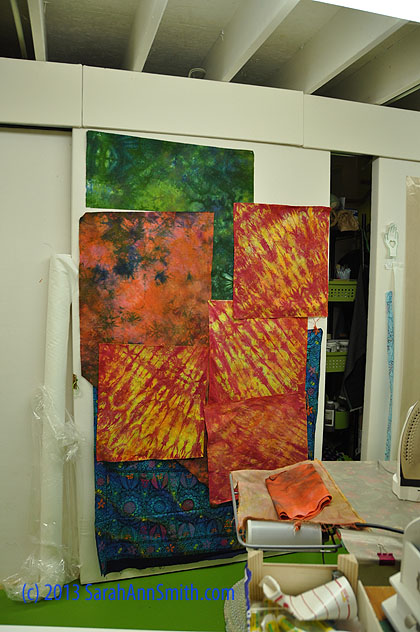
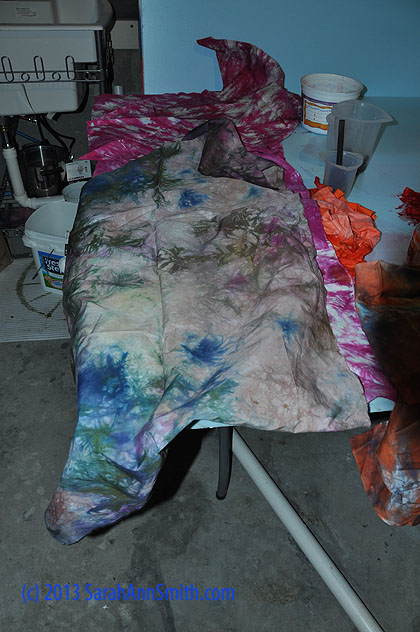
These are the after:

The green on the top is a hand-dye I like and want to reproduce.  The blue on the bottom is a purchased batik.  The pink-coral with blue splotches is the fugly piece just above.  The orange-fuchsia-yellow are that plum-mint ugliness.  The uglies are going back for more color.  Ugh.  They will make good browns eventually!

The green on the top is a hand-dye I like and want to reproduce. The blue on the bottom is a purchased batik. The pink-coral with blue splotches is the fugly piece just above. The orange-fuchsia-yellow are that plum-mint ugliness. The fuglies are going back for more color. Ugh. They will make good browns eventually!

Result:  less awful than before, but back in the over-dye (again) pile!

SNEAK PEEK:  and finally, here you can see a pile of red off-cuts from my quilt for Living Colour Textiles.  I fused the reds with Mistyfuse, cut my shapes, and had leftover bits.  Those will go into the next project, a quilt of Eli during cross-country season in his red team uniform of tank and shorts.   That one is already in the sketched out, fabrics selected, fusing happening stage!  I WILL make more than two quilts this year!
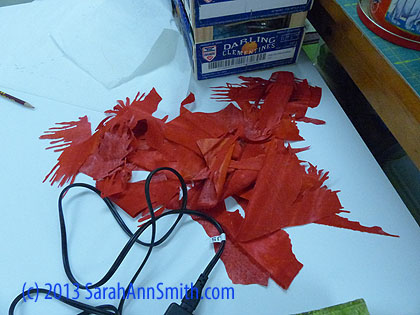
Off-cuts from my Living Colour piece, all Mistyfused.  They were SO fiddly to cut I figure I will use these somehow...

Off-cuts from my Living Colour piece, all Mistyfused. They were SO fiddly to cut I figure I will use these somehow…

And I had to add Tyger, who decided to help warm some of the fabric by sitting on top (thankfully the plastic extended well beyond the edges of the pan) of the fabrics batching by the woodstove!
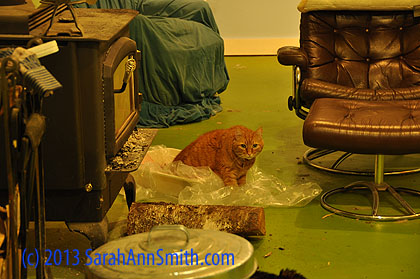
What a silly cat!  Tyger has his back half sitting on the fabric, his front half going paw-paw on the plastic on the floor.

What a silly cat! Tyger has his back half sitting on the fabric, his front half going paw-paw on the plastic on the floor.
 

International Quilt Festival 2013, Houston, #6, Decorative Stitching!

Friday, January 31st, 2014

Time for another catch-up post, about my Decorative Stitch Applique class on Friday at Quilt Festival.   I’m on a yahoo group for Janome 6600-7700-8900 owners, and a discussion cropped up about using the decorative stitches and I realized I had yet to post this information, so here goes!

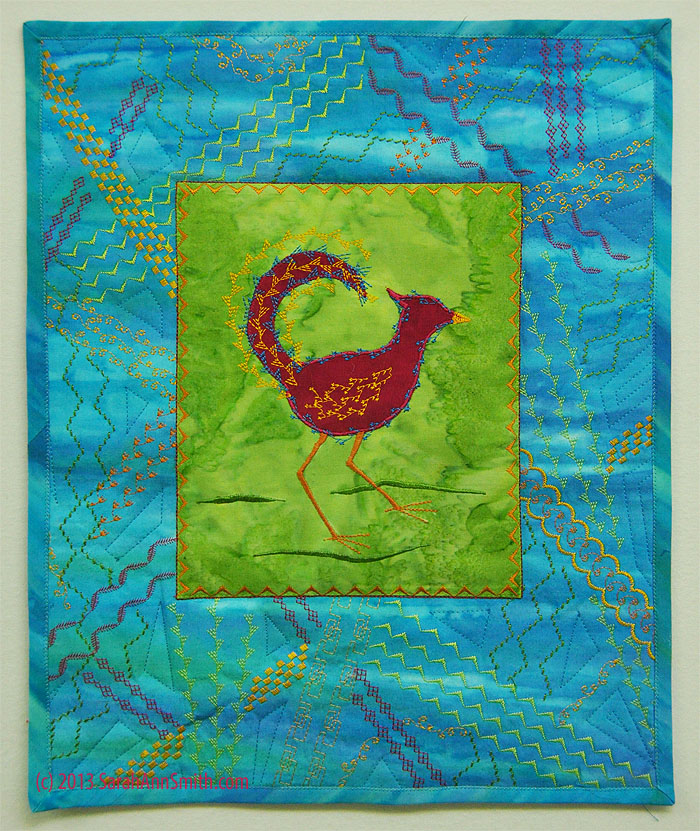
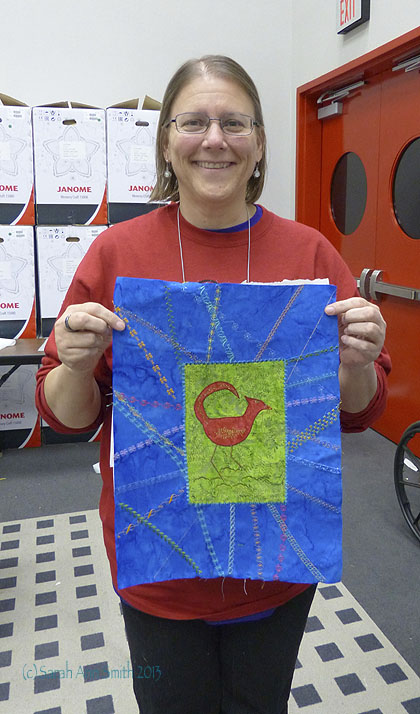
The Funky Chicken, from Sarah's Decorative Stitch Applique class in Houston

The Funky Chicken, from Sarah’s Decorative Stitch Applique class in Houston.  Right click to enlarge image.  I’ve stacked (grouped) stitches on this one.  For example, the checkerboard (in yellow upper left) is two passes of a satin stitch that has two columns of small alternating squares.  To the lower right of the green square, a scroll stitch is bracketed with scallops.  The center square is appliqued, stitched with the “V” stapes, then outlined with a bold straight stitch.  Done on a Janome 8900.

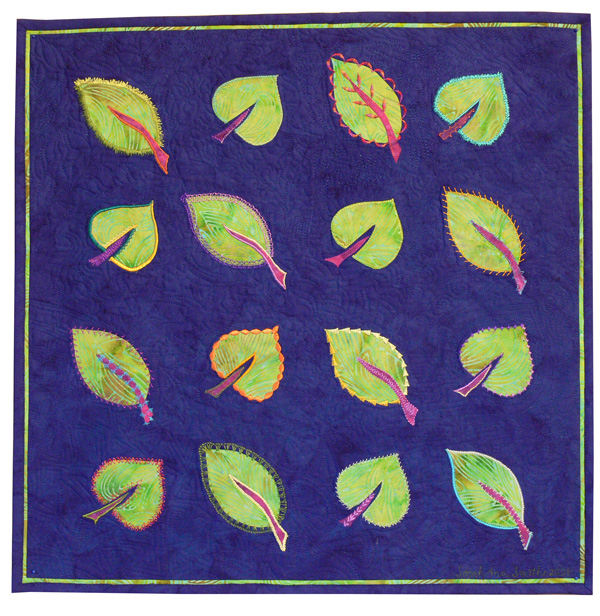
Ya know how we all have these fancy machines that do a bazillion things, and pretty much 98 percent of the time (or more) all we do is use the straight stitch and sometimes the zigzag?   Well, when I wrote my book, Threadwork Unraveled, I included a section to teach folks how to play with their fancy stitches. This is the project in the book and the regular class project.

Decorative Stitch sampler for my Decorative Stitch Class.

Decorative Stitch sampler for my Decorative Stitch Class.

I teach that section as a class which was offered this year at Quilt Festival.  This year I came up with a couple new projects as class options for students. Most of the students did the usual tossed leaves project for this class, but one loved my Funky Chicken.   Here she is early in the day, filling the background with fun stitch combinations in fun colors:

This student used the same colors as my sample.  We were luckily in the Janome classroom with the FABULOUS 15000 machines.  I've never been a fan of computer-screen sewing machine models, as I prefer visual knobs and buttons.  Well, let me tell that has changed!  I have severe sewing machine lust for one of these babies!  And they have even more (!!!) stitches than the already fabulous 8900!

This student used the same colors as my sample. We were luckily in the Janome classroom with the FABULOUS 15000 machines. I’ve never been a fan of computer-screen sewing machine models, as I prefer visual knobs and buttons. Well, let me tell that has changed! I have severe sewing machine lust for one of these babies! And they have even more (!!!) stitches than the already fabulous 8900!

Other students put their own spin on the leaves:

A student is making sample blocks with decorative stitches

A student is making sample blocks with decorative stitches.  This is a great way to test out pattern combinations–here she has a practice square to toss out and her “real” piece on the left.  If you have a practice square, that means you don’t have to pick out the stitches if you don’t like them!

Close up of decorative stitching on an aspen leaf.

Close up of decorative stitching on an aspen leaf.

This student tried a very bold, wide multi-stitch zigzag.

This student tried a very bold, wide multi-stitch zigzag.  You can see this is her practice bit–see how she has tested the appearance of various stitches in the strip on the right?

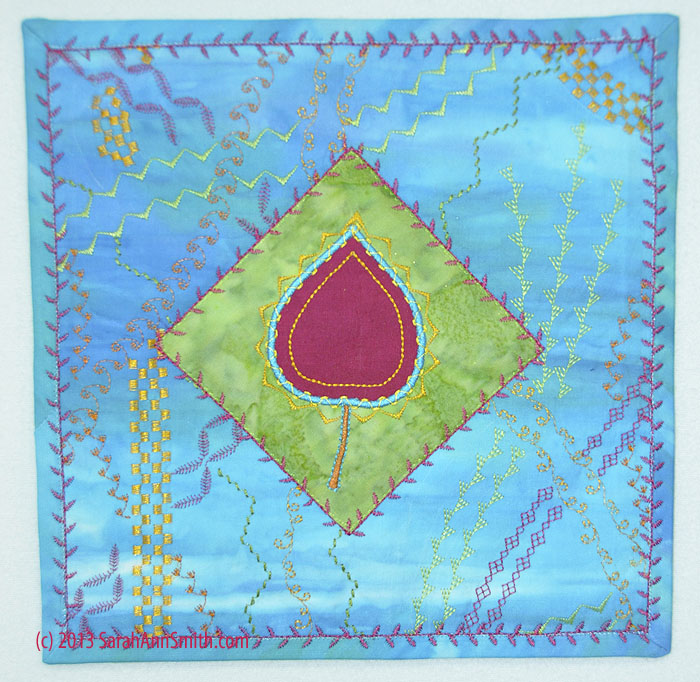
I made a smaller (about 9 inches square) quiltlet with the sampler leaf and the background stitching.  If you right click on this image, you can see more detail.  Notice how I layered up stitches to applique the green patch and how I used a decorative stitch on the binding.  On the latter, I used matching thread to machine stitch down the binding, then went over that with a decorative stitch.

I made a smaller (about 9 inches square) quiltlet with the sampler leaf and the background stitching. If you right click on this image, you can see more detail. Notice how I layered up stitches to applique the green patch and how I used a decorative stitch on the binding. On the latter, I used matching thread to machine stitch down the binding, then went over that with a decorative stitch.

And a happy student with her nearly-done funky chicken:

Thank you, Barb Brown of Colorado, for taking my class!   I love your chicken!

Thank you, Barb Brown of Colorado, for taking my class! I love your chicken!

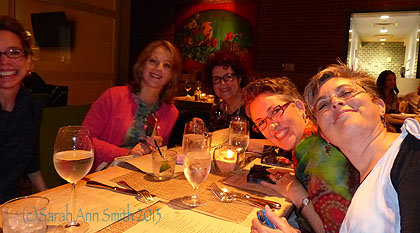
The day ended with one of my favorite things at Festival:  FRIENDS!  This evening was the Dinner@8 artists.  Jamie Fingal and Leslie Tucker Jenison curate an exhibit each year for several years now, and I am thrilled to have been both invited to submit pieces and accepted in the exhibit!   My orca quilt, seen in earlier blogposts on Festival 2013, was in this year’s Exquisite Moment exhibit.  Here a bunch of us who were at Festival enjoy dinner and friendship and art!

One of the two tables of folks in the Dinner@8 exhibit.  Leslie is at the head of the table, next to Diane Rusin Doran (in pink), Susan Brubaker Knapp (glasses) and Lyric Kindard (only partly in the photo--sorry Lyric!)

One of the two tables of folks in the Dinner@8 exhibit. Leslie is at the head of the table, next to Diane Rusin Doran (in pink), Susan Brubaker Knapp (glasses) and Lyric Kinard

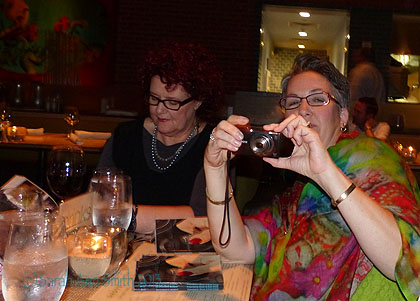
And too much fun not to include, Susan and I taking pictures of each other taking pictures!

And too much fun not to include, Susan and I taking pictures of each other taking pictures!


International Quilt Festival 2013, Houston, #2

Thursday, November 21st, 2013
If it was Tuesday, that meant I was teaching Tame Fussy, Fiddly Threads!  As always, the students were brilliant!

If it was Tuesday, that meant I was teaching Tame Fussy, Fiddly Threads! As always, the students were brilliant!

Tuesday is the “down” day between Market (the trade show, which is only open to industry professionals, not the general public, ends on Monday) and Festival (which opens with a Preview night on Wednesday evening, then is open Thursday-Sunday).  Folks who attend Market often stay to take a class, and folks who attend Festival come early so they can take classes, then be free to enjoy the show and vendors on Thursday.  This year, I got to teach one of my favorite classes, Tame Fussy, Fiddly Threads, which is all about using metallics, holographics, and heavy threads (the kind that go through the needle, not bobbin work).

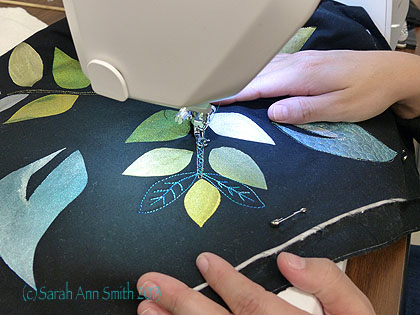
A student plays with heavy 30-wt So Fine thread from Superior Threads early in the day.

A student plays with heavy 30-wt So Fine thread from Superior Threads early in the day.

Since so many of my classes are fusing, I thought I’d mix it up when I formulated this class.  Instead, we make a stencil out of freezer paper and paint with Lumiere and ProFab textile paints.  Students can use my model or do their own thing (which I LOVE when they do that!).

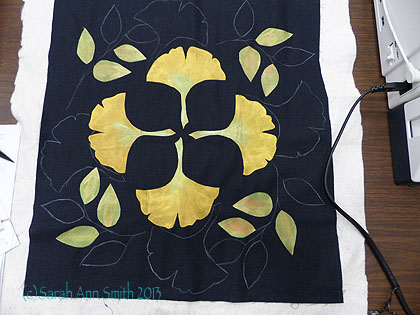
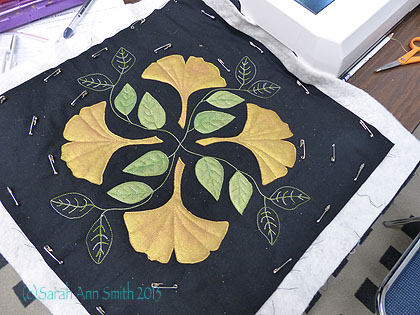
This student chose gingko leaves pointing away from the center on the north-south/east-west axes. She then penciled in quilting guidelines on the black background.

This student chose gingko leaves pointing away from the center on the north-south/east-west axes. She then penciled in quilting guidelines on the black background.

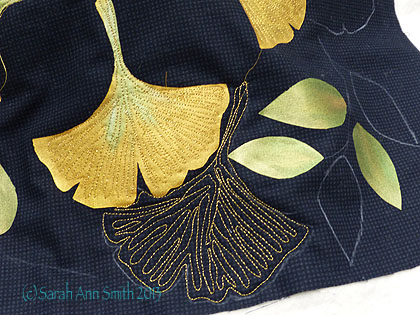
In the supply list, I suggest a black background fabric.  I love this small black and charcoal check!  Her quilting is great…love the nestled-in quilted-only leaf next to the stenciled leaf, as well as the shading on her leaves, and how she alternated painted and not in the spray of leaves on the right.

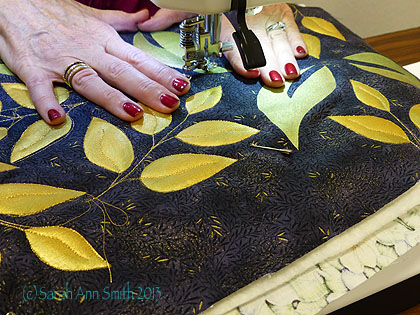
This student was having fun!

This student was having fun!  Her background of black and gold fabric is somewhat visually busy, so she is wise to concentrate her stitching on the painted leaves as the print could obscure the lovely stitching.

Then in mid-morning a fun surprise!  The best thing about Festival is seeing folks you know from (mostly) the internet…the quilts are great too, but the quilters are the bestest!

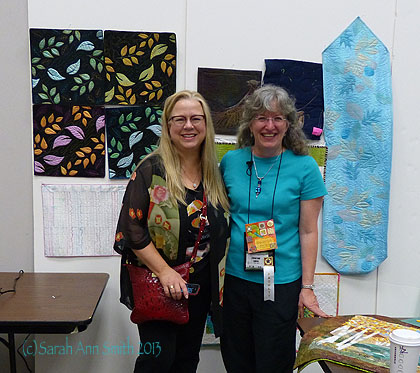
Luana Rubin, founder with her  husband Paul of eQuilter, was at Festival and popped in to say hi!  We are both members of a small online group--there are not so many of us and we are VERY tight!  We respect everyone's privacy closely, so we can share and be sure that we will support each other and keep mum.  I also got to see Luana AND her daughter Sophie later on the show floor (photo in a future post).

Luana Rubin, founder with her husband Paul of eQuilter, was at Festival and popped in to the classroom to say hi! We are both members of a small online group–there are not so many of us and we are VERY tight! We respect everyone’s privacy closely, so we can share and be sure that we will support each other and keep mum. I also got to see Luana AND her daughter Sophie later on the show floor (photo in a future post).

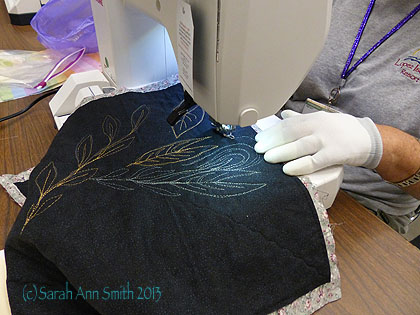
Practicing on a sample sandwich before working on the stenciled piece.

Practicing on a sample sandwich before working on the stenciled piece. (Note her shirt, from Lopez Island Resort; Lopez is the island next door to San Juan Island where I used to live.  I swear everyone on the planet has either been to the islands or knows someone who lives or lived there!)

Another set of gingko leaves, this time on the diagonals, partially quilted.

Another set of gingko leaves, this time on the diagonals, partially quilted.

And the same leaves at the end of class.  Fabulous!

And the same leaves at the end of class. Fabulous!

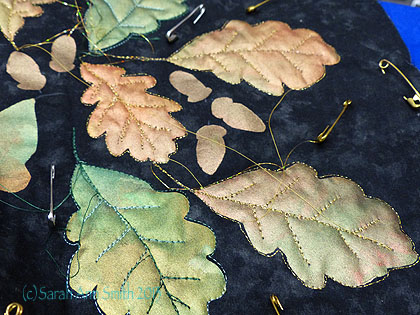
Oak leaves are popular, too, and easy to draw!

Oak leaves are popular, too, and easy to draw! notice how she varied the thread for the leaves.  Would love to see how she quilts the acorns; we talked about doing a dense zigzaggy thing for the caps!

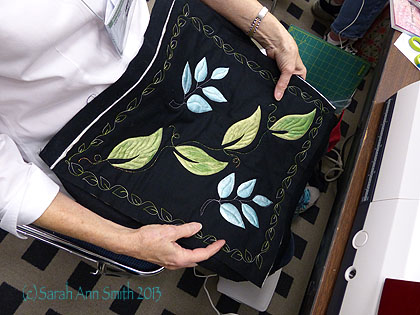
Love the quilted border!

Love the quilted border!

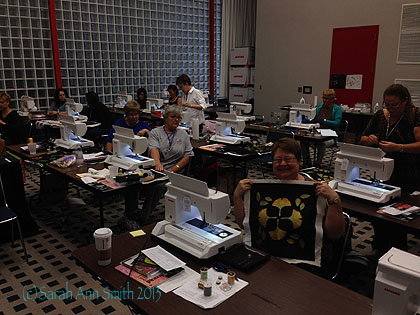
A happy student in a happy and talented classroom.  We got to use the Janome 9900s in class, which is similar to the machine I use at home.  FAB!

A happy student–the maker of those wonderful gingkos– in a happy and talented classroom. We got to use the Janome 9900s in class, which is similar to the machine I use at home. FAB!

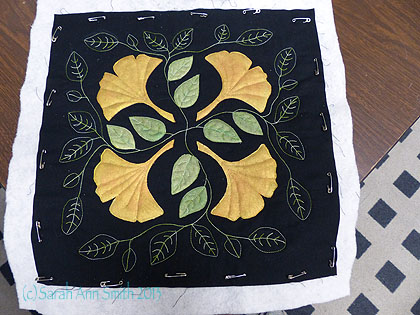
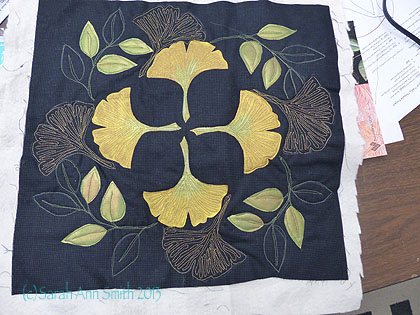
And those glorious gingkos from above at the end of the day.  LOVE THIS!

And those glorious gingkos from above at the end of the day. LOVE THIS!

My next Houston post will share quilt pics, then I’ll do more on classes I taught, then more quilts, then even MORE quilts!


Houston here I come!

Wednesday, July 17th, 2013

I’m thrilled to report that I will be teaching in Houston at International Quilt Festival, Fall 2013!  I’ve sent off my contract, and will be teaching or presenting Tuesday through Saturday.  On Sunday, I get to play and shop!   Here’s my schedule:

Tuesday, October 29:  Tame Fussy, Fiddly Threads, an all day class on how to use successfully those beautiful sparkly, holographic and variegated threads on your stencilled tossed leaves.  See blogposts from previous classes here/1, here/2, here/3 and here/4.

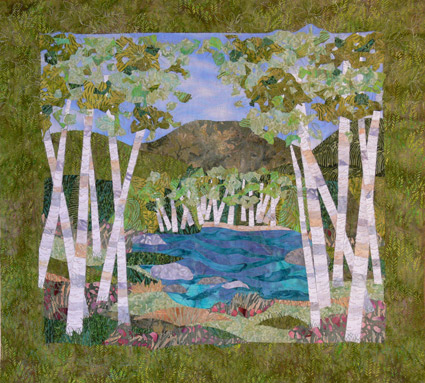
Wednesday, October 30:  Birch Pond Seasons, an all-day class in fused collage.  You can see the pattern here and a blogpost from a local class here.

Thursday, October 31:  I’ll be one of 7 teachers presenting at the Machine Quilting Forum.  My subject will be Find Quilting Design Inspiration Everywhere.  The forum is like speed-dating for quilters:  each of the teachers gives an overview of their work (in 10 slides or less), then groups move from station to station listening to the teachers’ presentations.  It was a lot of fun, and I wish that in addition to hearing the teachers’ overview at the beginning that I had been able to sit in with the students.  It’s a great way to decide if you’d like to save up for a big class with a teacher or have them come to your guild.

Friday, November 1:  Decorative Stitch Sampler, all day class that teaches you to use all those fun stitches and threads.  We had a blast in this class in 2012!

Saturday, November 2:  Quilts, Inc., has a whole new fun thing on Saturday!  The Christmas Delights Forum.  I’ll be presenting the Stenciled Snowflake Ornament.  Each teacher will have a project suitable for quick gift giving and holiday celebrations.  I’m currently working on the samples, but hope to share with you before too long.  I discovered when teaching surface design technqiues a while back that it is fun to make a paper snowflake or mini Hawaiian-style design out of freezer paper, then stencil the image on cloth.  Then you can quilt it and turn it into a holiday ornament or decoration.

Looking forward to my students, friends, and quilts, quilts, quilts!   See you there!


Teaching at Quilt Festival in Houston, 2012!

Wednesday, September 12th, 2012

Just wanted to dash off a quick note to tell you how happy I am to be teaching again at International Quilt Festival in Houston this coming fall!  I hope to see some of you there…perhaps in my classes!  To learn more about the classes, click here to go to the Quilts, Inc. website.  From there you can download the PDF class catalog, register (online–easy peasy) for classes and/or events.

I’ll be very busy; my schedule begins on the Monday of Quilt Market (a to-the-trade only wholesale show) and continues through the week of Festival!

October 29-November 2, 2012 – International Quilt Festival, Houston, Texas (click on images to view larger):

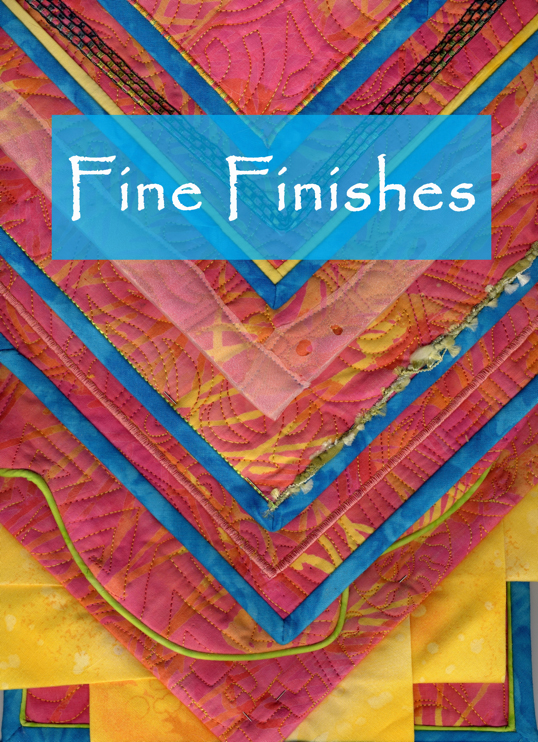
  • Monday: Fine Finishes(edge finishes including perfect mitered corners!)
    • Learn to make a perfect mitered binding straight grain bindings, double-fold bias bindings, piping, and couched yarns.  Time permitting Sarah will share how-to’s for  fabric accents, curved bindings, fused bindings, wacky raw-edge squares, and couched-yarn finishes! By the end of this class you’ll have a “swatchbook” of samples and notes including a wide assortment of styles and techniques to finish your quilts and quilted garments.  See a previous blogpost about this class here.


  • TuesdayBirch Pond Seasons(fusible applique)
    • Learn fusible applique, several techniques for “piecing” with fused fabrics, and how to make your own Birch Pond art quilt.  I’ll also cover facings as an edge finish and a range of fun ideas that will let you branch out on your own after class.  Kit fee ($20) covers the cost of the pattern and one package of white MistyFuse (except when taught in stores; then, please purchase these items from the store). See a previous blogpost about this class here.


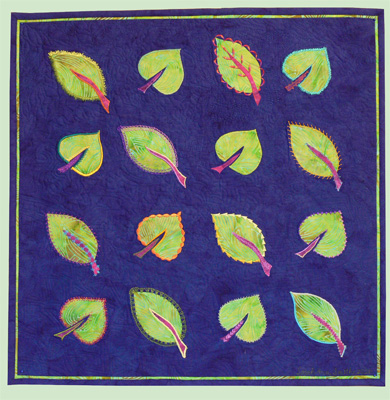
  • WednesdayDecorative Stitch Applique(use those fancy stitches on your machine!)
    • Make a small wallhanging or a selection of small blocks which take full advantage of all those decorative stitches on your sewing machine. Using fusible appliqué and an assortment of as many threads as you care to bring and use, you’ll see how versatile a single leaf pattern can be! The embroidery / decorative stitches you use in this class can be adapted to your choice of other appliqué methods; we will use fusibles in class so that you can make a wide selection of appliquéd leaves during the class. The project samples can be used for a quilt, a garment or home dec items. See a previous blogpost about this class here.


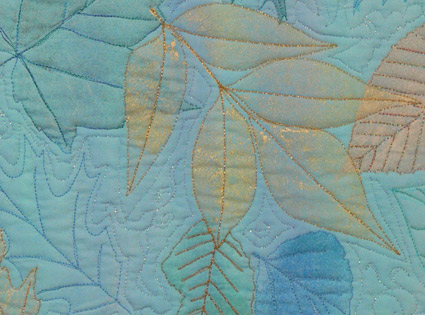
  • Thursday Morning Machine Quilting ForumFun with Fancy Threads
    • I’ll share some tips about using fussy, fiddly threads and how to master them with the right needle, the right bobbin thread, and a fun little project/demonstration.  This Forum starts with an overview and introduction to six machine quilting experts.  Each of us will give a 9 minutes (not one second longer!) presentation. Then we break out into 6 stations…think of it as speed-dating for machine quilters!  We’ll do a 20 minute presentation, then the bell rings and off you go to the next station/teacher.  A great way to see if you want to learn more or book a teacher for your group.


  • Thursday AfternoonMeet the Teacher,a free 30 minute demo on the show floor:  Collaged and Fused Art Quilts
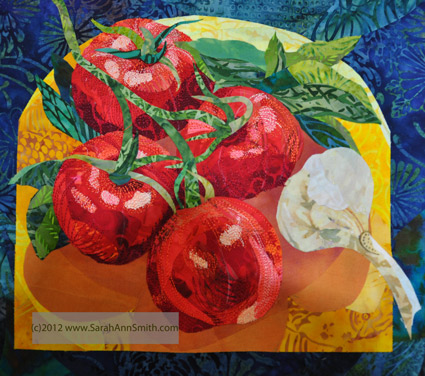
    • I’ll show you my process for creating fuse-collaged quilts, with step-by-step examples of this small tomato-garlic-and-basil quiltlet.


  • Friday Morning: Friday Sampler–QuiltColoring with Thread
    • Think of your sewing machine and thread as a big box of crayons… more colors than you’ve ever had in a box of crayons!  Then learn to use your machine and thread to color your art quilts and bring them to life.  This Sampler is a ginormous room with 20 or more teachers giving quick demos.  Participants can move from station to station as they choose.  It’s a great way to see if you’d like to take a class with a teacher or even book them for your guild.
  • Saturday:  Sarah gets to relax and play today… I’m going on the bus tour to the Texas Quilt Museum in LaGrange.  Anyone want to go on the same bus?
  • Sunday:  I’ll be visiting the booths and quilts today…including one of mine that has been juried into the show (more on that later, after the judging is done and it’s safe to post pictures to the internet).

I’m so looking forward to Houston this year…hope you get to come play, too!