email Youtube

Home
Galleries
Blog
Workshops & Calendar
Store
Resources
About
Contact

Archive for the ‘Applique’ Category

Balinese Garden Table Runner

Wednesday, August 4th, 2010

In early May, I did a quick trip to Hingham, Massachusetts, to do a lecture and day workshop for the Herring Run Quilt Guild.  They selected one of my few project classes, the Balinese Garden pattern.

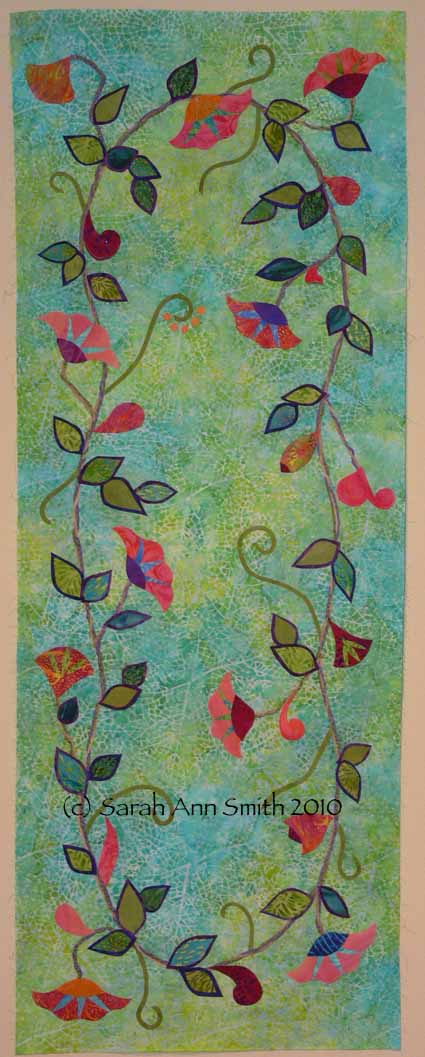
It has been quite some time since I taught that class, so I decided I had better refresh my memory and re-make the project.  Since I wrote the pattern (true confessions here) for both pillow and table runner, but had only made the pillow, I opted to make a table runner. Here it is before the applique stitching:

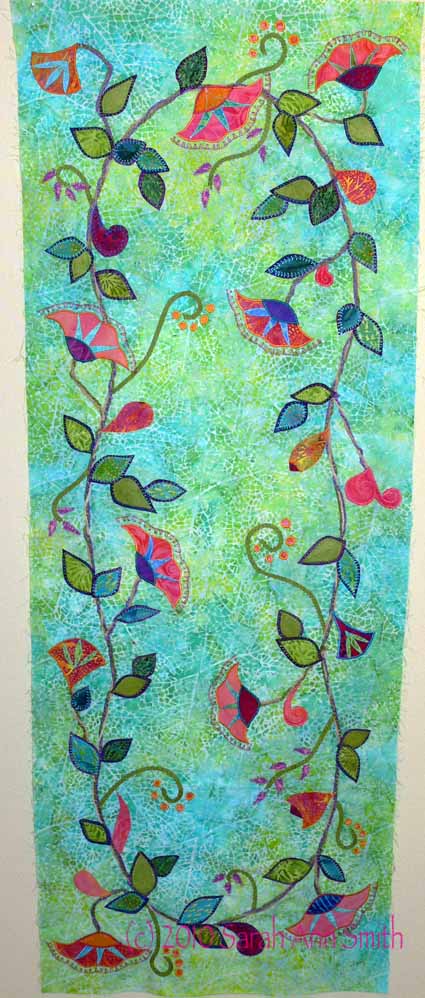
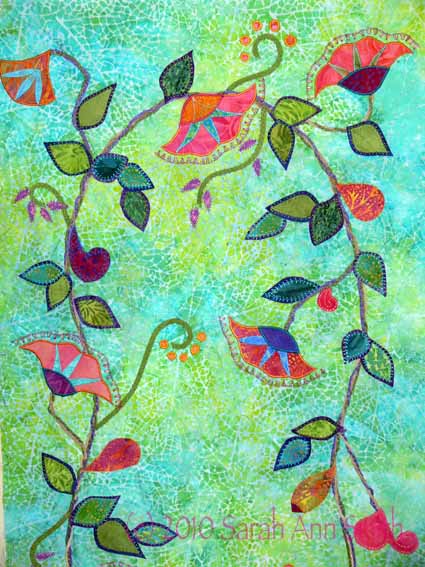
I wanted to use something interesting for the background since there is a fair amount of blank space in the center (useful so that dishes don’t wobble), but that means that achieving a good contrast with the applique pieces can be a challenge.  I TOTALLY LOVE the way this turned out.  I came up with a two-layer method for using medium-value fabric for the background AND the leaves, but having them “pop” by using a highly contrasting “under-leaf,” in this case one that is darker.  (In my Blue Applique Vest, I used a lighter under-leaf layer; check that out in my post dated July  14.)

And here it is with the applique stitching done (it is still in the “top” stage…ahem):

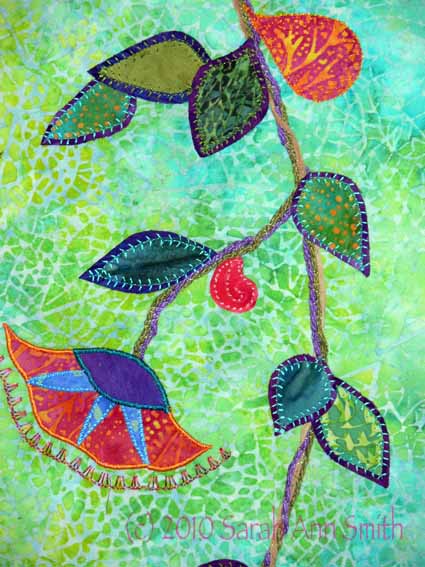
And some detail shots so you can see how I used the utility and decorative stitches on my machine, and a lot of great colors of cloth and thread, to pop the applique:

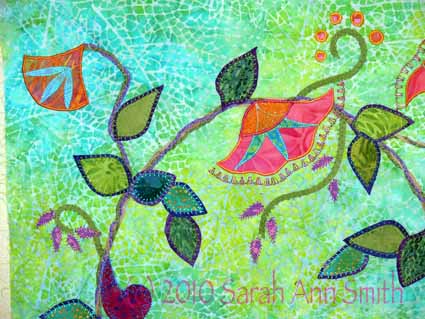
In the next photo, you can see how I layered the purples and deep blues under the leaf greens.  This pops the batiks on the busy aqua-lime background fabric and means I don’t have to satin stitch to achieve good   contrast and sharp edges.  I used a feather stitch in aqua or leaf-green to secure both the main leaf shape and the under-leaf to the background.  After there many washings, there may be some fraying at the outer edges of these fused leaves, but I am OK with that.

And it is my favorite “Caribbean” colors!

NQA-Decorative Stitch Applique

Thursday, July 22nd, 2010

A student's class sample... compare this to the unstitched version in the top-left of the four-squares (below)

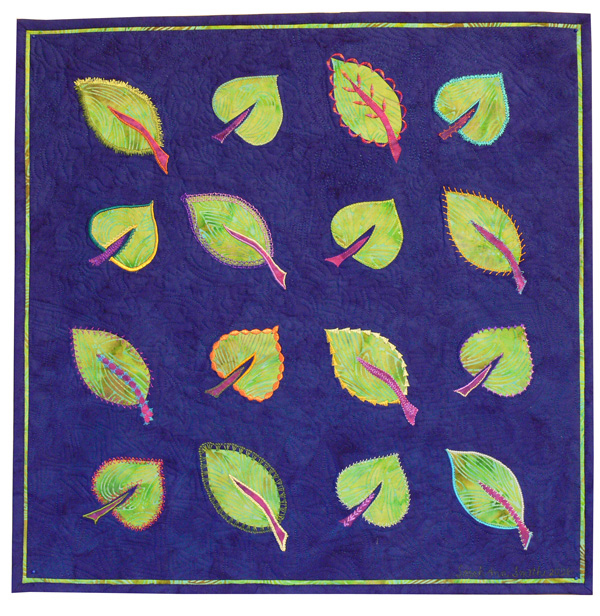
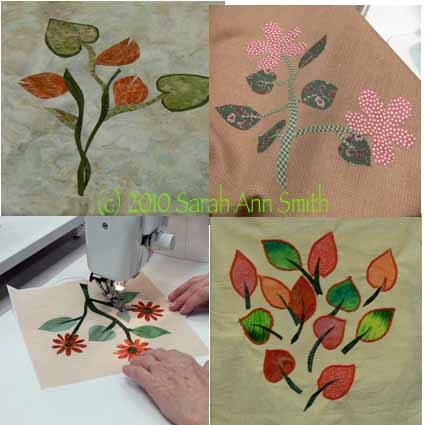
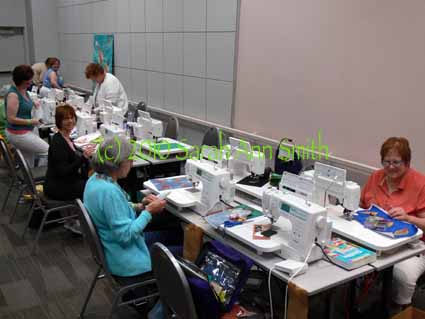
We had an absolute GAS in this class!  I was so thrilled at how the students took my basic design and simply took off with it, experimenting and discovering, and the wide range of results….  Because I actually took a TON of photos, I’ve made some “four-patch” photos to squeeze them all in!   This is the sampler that I share with the students (it’s also in my book–click the photo to view larger):

Sarah's Tossed Leaves Sampler

Well….here are some samplings of leaves the students made.  They were given the choice to make a larger composition or smaller blocks (which is what I used in my blue vest…I promise that post will be up before too long!):

I knew that Deb in KY from the Janome 6500/6600/7700 yahoo group would be in the class, and was pretty sure that Kathy Schmidt (author of Rule-Breaking Quilts from AQS and also in the group, and her blog is here) would be there, but so was Marie!  What an unexpected surprise and fun!!!!!  Kathy and I have been writing to each other for about a year and half or more as she worked on her book proposal, then manuscript, now marketing the book, and it was such a joy to finally meet her!  She is teaching at NQA next year, so sign up, folks!  And I PROMISE, a review of her book is coming, too!

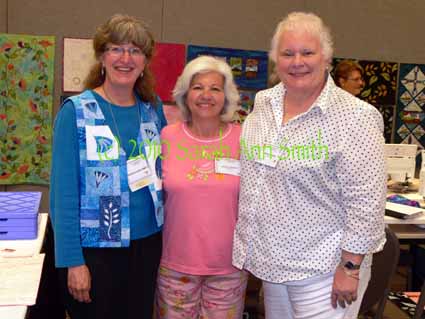
L to R: Sarah, Deb in KY and Marie from the Janome 6600 yahoo group

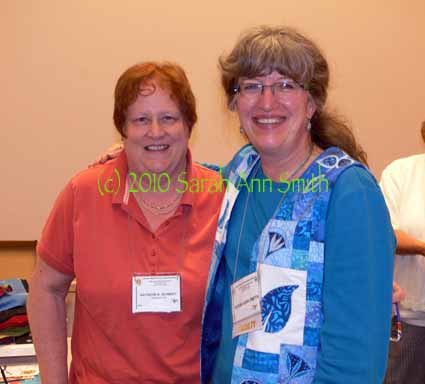
Kathryn Schmidt, author of the fun Rule-Breaking Quilts, and me (Sarah!)

I think we all look a bit WARM!  After class, Kathy and I then went to a local brew pub and had a wonderful dinner…it felt SO GOOD to (a) get off my feet and (b) have such fun company for supper before she drove the several hour drive home.  I’m thrilled they could all attend my class—THANK YOU!

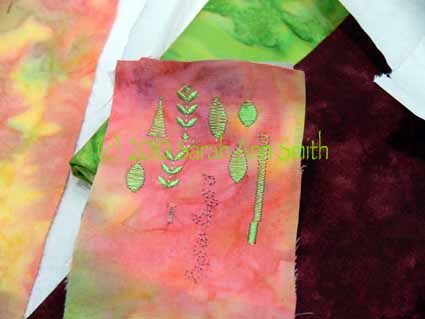
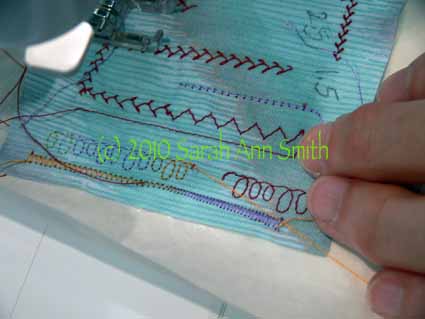
I encourage students to do stitch-outs. Here is her test-sample

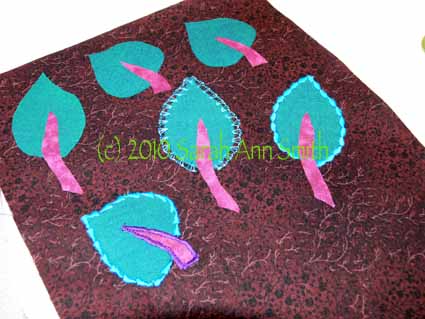
And some stitched leaves. She wanted to control the variables to just one thread, so it gives a really good comparison of what the different stitches can do for your applique.

Then


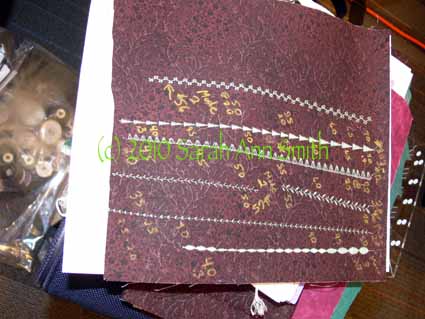
Another stitch out, again with notes made on the sample; that green thread is great on this peach!

Another good stitch sample, with notes on stitch length and width

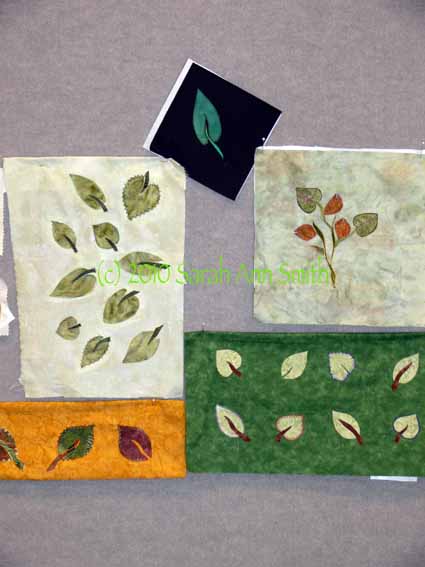
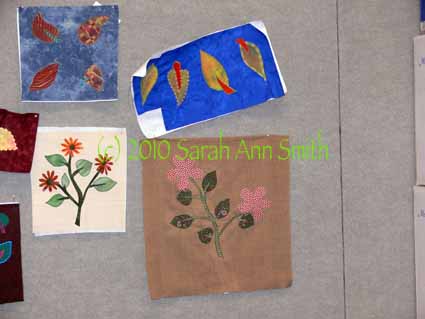
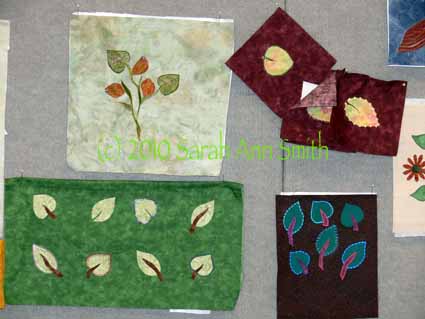
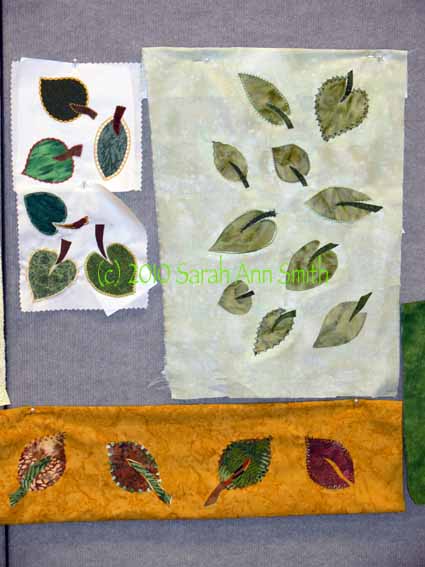
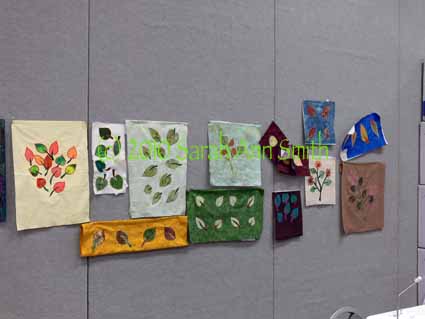
At the end of the class, we pinned the samples up on the wall and all took photos so we could go home and be inspired by everyone’s work and try out more:

Student samplers and compositions

More student samplers

and more

even more tossed leaves

and the last one....

Thanks to the ladies of the class….. I had a ball, and I think they did, too!   Here’s to hoping I get to return to teach at NQA again!

The blue applique vest

Saturday, July 17th, 2010

Since there is SO much that has happened in the past two months, I’m going to alternate between the April trip and vacation and other events.   For about two years now, I have wanted to make a vest to wear while teaching applique to show the various types of machine applique and decorative stitching that I teach (two different classes), and how the samples can be used in various projects including clothing, not just quilts.

Here’s me in the just completed vest, frizzy hair, no makeup (and therefore disappearing eyes…I SO envy people with dark eyelashes!) and all:
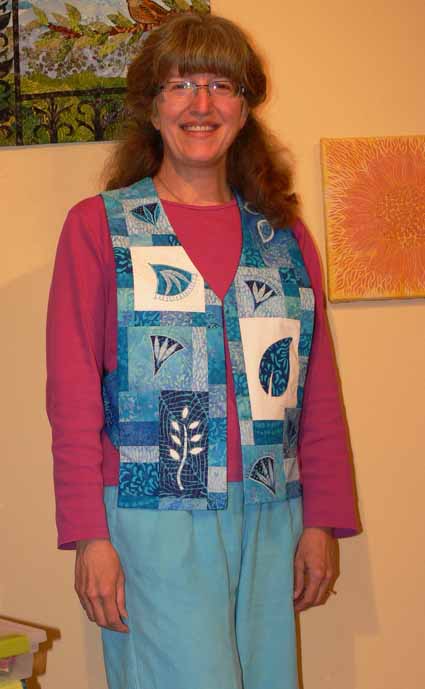
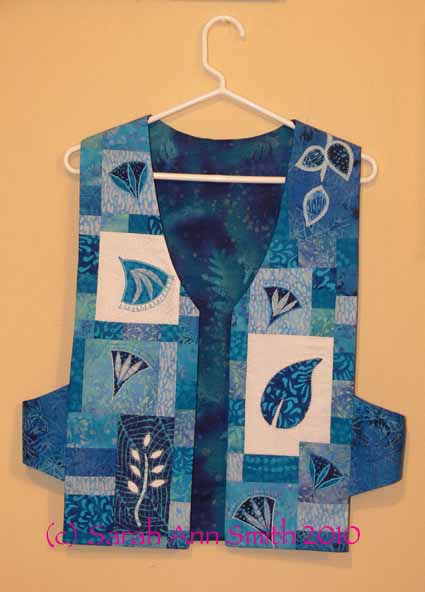
I thought pictures of the vest pinned to the design wall would make it easier to see–this is the front:
and the back:
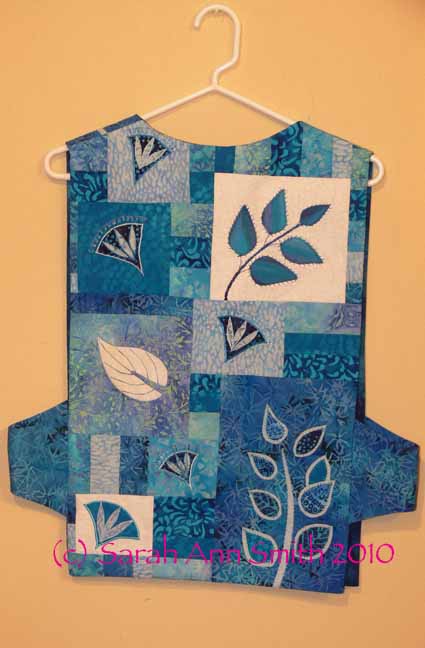
At least 12-14 years ago, I bought Make Your Own Japanese Clothing by John Marshall (yes, THE John Marshall who teaches katazome and shibori, makes amazing silk, etc…..  his website is guaranteed to keep you looking for a long time!).  Amazingly, the book is STILL in print (tells you  how good it is); you can find it at Amazon, here.  The Japanese use 14″ wide lengths of cloth to construct their clothing without cutting into the cloth from the sides, so garments are based on rectangles, which makes for easy sewing.  I developed this pattern when I made my Frayed Edges vest (seen in the second photo in this post).

In a nutshell, take your measurements or measure a vest with a fit that you like.  To make the math easy, let’s say 42 inches around.  Divide by 3 and by 6:  1/3 of 42 is 14.  1/6 of 42 is 7.  The front of your vest needs to be, therefore, 14 inches or 1/3 of your circumference (finished…remember to add seam allowances!), the back is the same.  The sides are 1/6 of the distance around you or 7 inches.  It’s that simple!

When I first made the vest, I used rectangles for the sides.  The bottom of the rectangle hit my hit and bent, making me look decidedly hippy and wide.  So I changed the shape to arch on the bottom, with the same curve on the top.  It turns out to be easy AND flattering!

Since I had weird shapes and samples for my applique blocks, I decided to draw out the shape of the vest (used an existing vest to copy the angles for the shoulders and neckline, but modified the front “v” to be slightly curved, again, a flattering line) on RinsAway, a lightweight wash-out stabilizer which I used as a temporary base for construction and decorative stitching.  I placed the applique blocks in a pleasing arrangement, then figured out what I needed to use to fill in the gaps.  I selected about 6-8 prints and cut strips 1 1/2, 2 and 2 1/2 inches, then sewed them together.  I cross-cut sections to create the pieced inserts….I just used a ruler to measure the size I needed, added 1/2 inch (a quarter inch seam allowance for all sides) and cut.
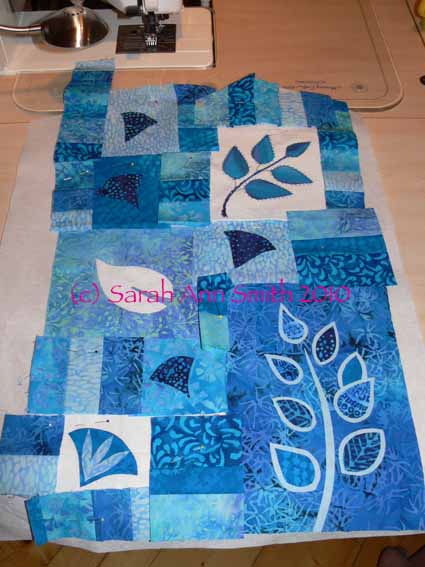
In the photo of the back, the cut pieces and trimmed applique samples (not yet stitched for the fused ones), are pinned to the stabilizer.  In the photo of the front, below, I have pieced together the random shapes and cleaned up the edges.  The pieced fronts are now spray basted to the RinsAway stabilizer in preparation for the decorative stitching.
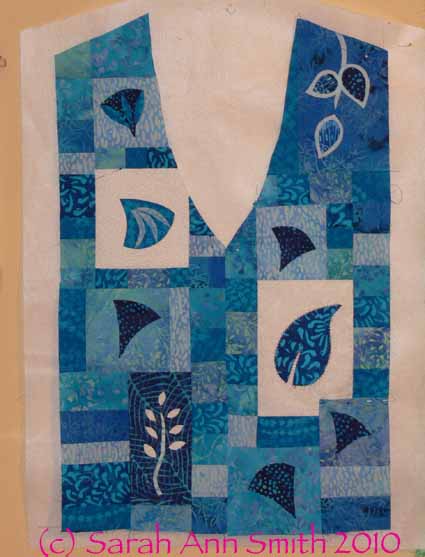
After stitching, I removed as much of the stabilizer as I could, and sewed up the garment using the usual way of making a vest (it’s a bit of a mind-wrap…you sew the outside to the lining except at the side seams, then turn it right side out  through an opening left in the lining shoulder seam—it seems impossible until you’ve done it!).  Because I tend to get warm walking around the classroom all day (yes, my feet ACHE and THROB by the end of the day), I did not add batting or quilt this one.

I used both turned edge and raw-edge / fused applique, with various sorts of decorative stitches.  I particularly like the vine coming down over the left shoulder onto the front and the blue background / white sprigged stem (reverse fused applique) on the front.  For the turned-edge pieces, I’ve discovered this new product that I love…. C&T’s washaway applique sheets (click on previous link to see the product).  It has as much body as Ricky Tims’ Stable Stuff (which I still love), but it  is IRON ON!   You can run the sheets through your printer if you want (for example, to print off a zillion identical leaves or to produce templates for a design), cut out the shape in the C&T sheets, iron lightly to the wrong side of the applique fabric, and press the edges.  You can use either a washable glue stick, starch, or just heat to turn the edges before stitching down.  Way cool!

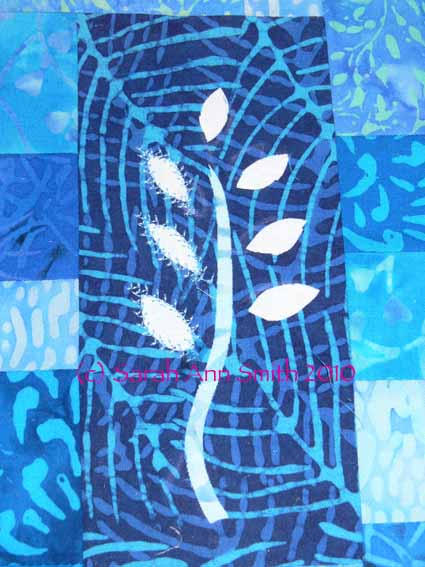
Here are some detail photos of some of the blocks–see what a difference the stitching makes between the buds on the left and the un-sewn ones on the right?:
And my two-layer leaves, which I developed for my Balinese Garden table runner (more on that in an upcoming post!):
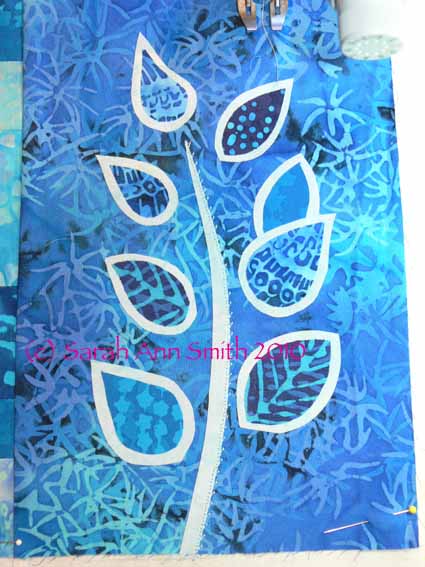
In the photo above, I’ve used a blind hem stitch, available on the most basic machines, to stitch the right side of the stem. In the next photo, you can perhaps see better.  I subsesquently used a 2-sided feather stitch to outline the dark inner leaf and stitch down the lighter outline:
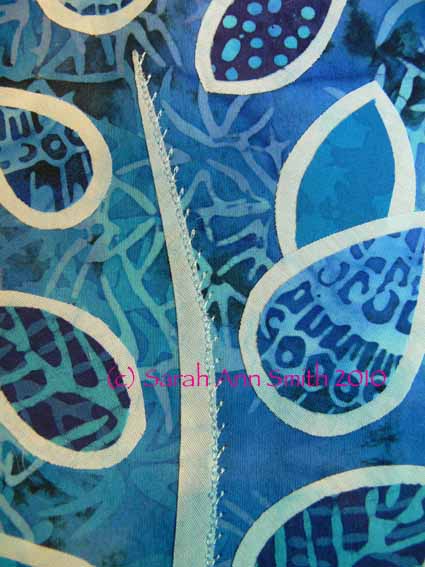
I came up with this 2-layer leaf because on a different project I wanted to use a busy, medium-value (not light, not dark) fabric for the background, and still use medium-value fabrics for the leaves.  Set directly onto the background, there would have been almost NO contrast and the leaves would have been visually lost.  By layering up the leaves like this, you get a nice contrast and outline without having to satin stitch (which while lovely is VERY time consuming, uses LOTS of thread, and may not be the look you want).  Hope you like the vest!

Machine Applique in San Manuel, Arizona

Friday, June 18th, 2010

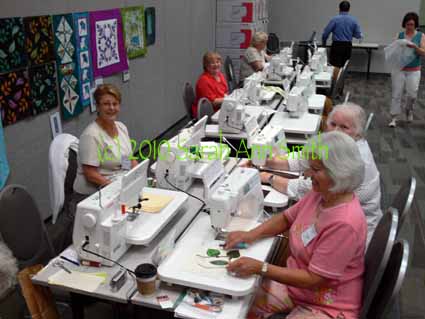
At long, LONG last, I am able to share the fun time I had teaching for the Arizona Quilt Guild in mid-April.   As a matter of fact, the day I took these photos was the day my old laptop gave its last blink and died!   I have to tell you it was SO MUCH FUN!

To back up a couple days, I flew in to Phoenix, and taught in the greater Phoenix area the first day, my Fine Finishes class.  Alas, I was SO busy, that I utterly forgot to take photos.  My host was also the program Chair, Tari H., who signed up for all three of my classes, which were scattered about the state. So, she ended up also being my driver!  We loaded up the back of her car with her machine, suitcase, and stuff (for all the classes) and then all of MY suitcases and stuff!   The second day of teaching was sponsored by the guild(s) (both with Copper in their names) in San Manuel, a former small copper-mining-town which is roughly in a line between Phoenix and Tucson to the southeast.

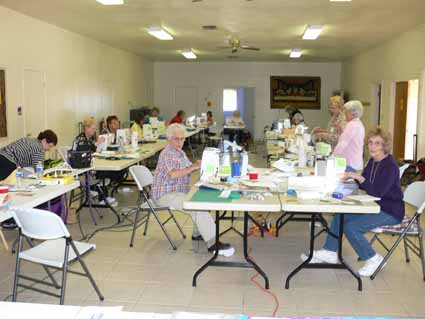
I have to tell you walking into the church hall felt like going home….. the folding tables, the happy ladies, the hum of sewing machines, potluck (YUM) for lunch….   it was such a wonderful day!    One of the best things about quilters is that they are friendly and welcoming, and it really did feel  like going home.

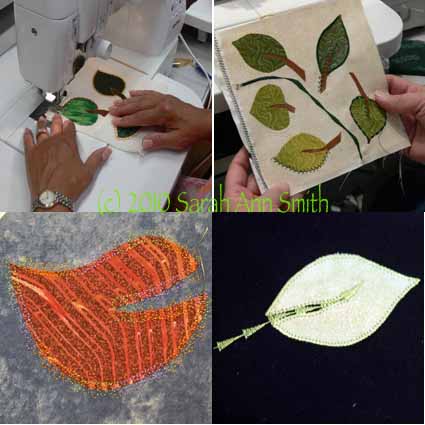
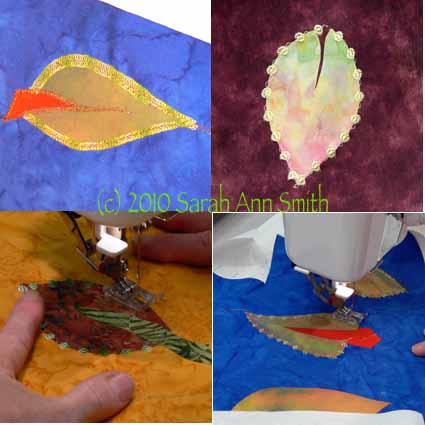
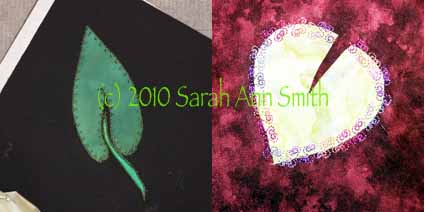
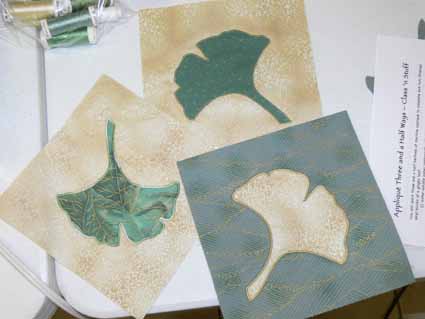
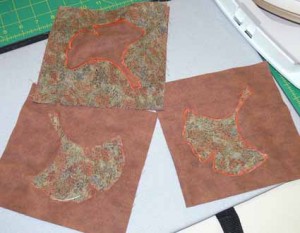
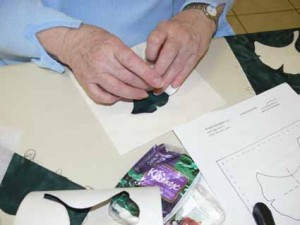
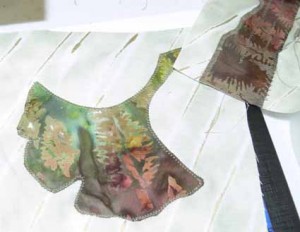
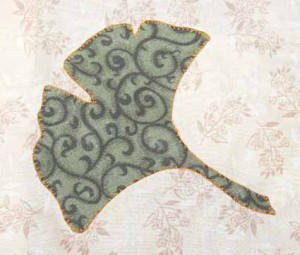
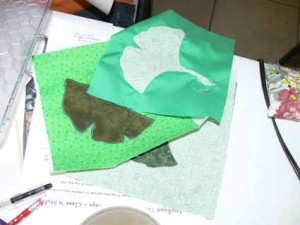
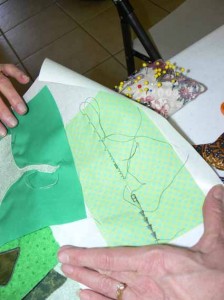
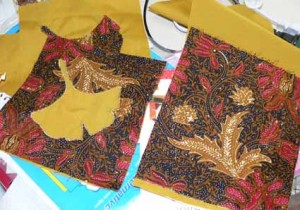
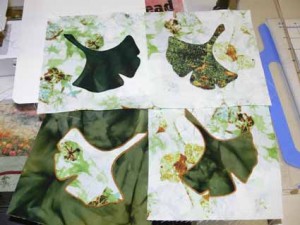
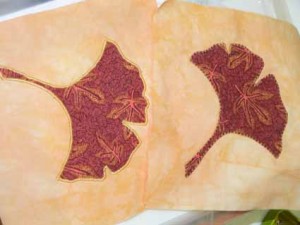
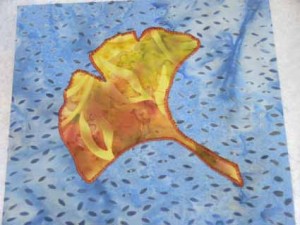
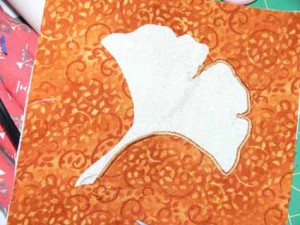
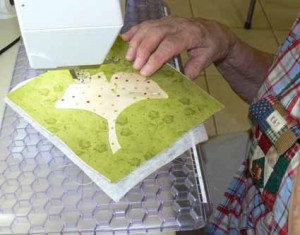
The class in San Manuel was my Applique three (and a half) ways class:  Turned edge (over freezer paper or water soluble paper), Turned edge over interfacing (left in), fusible, and (the half part) reverse applique for those three techniques.   I use a Gingko leaf because it has every shape you will encounter:   inside and outside curves, inside and outside points, and a straight line.  I’ll admit that skinny stem is challenging as are the skinny inside points, but I figure if students to something hard in class, they’ll be more likely to tackle it at home.  If we only do easy stuff, they might not!   Anyway, we had a GREAT assortment of fabrics and looks.
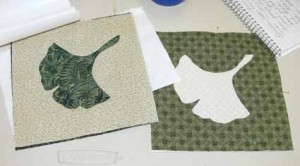
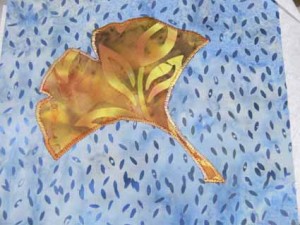
As you browse through the photos (sorry about the odd placement…there is only so much I can manage in the format!), notice the thread choices, how the stitch and thread selection change the appearance of the threads.  In the black Indonesian batik, the gold thread just sings!  In the last photo, notice how different the leaf looks on the stitched side compared to the not-yet-sewn side!  In the photo at the top of this blogpost, compare the look of the different appliques.   Trying out different techniques an threads and stitches will help you decide which combination gives you the look YOU want!   And also notice in a few shots how the students have tested out stitches on scraps.  Don’t imagine what the thread and stitch would look like–try it out!
That evening we had a looooonnnnggggg drive (poor Tari!   drive 90 minutes to San Manuel in the morning, all day class, then about 5 hours back past Phoenix and up to Flagstaff for Friday’s class and Saturday’s lecture at the semi-annual guild meeting).  However, we did drive through quintessential southern Arizona territory and what was effectively a sajuaro cactus forest.  Because it was late, we were both tired, and had a long trip, I didn’t ask Tari to stop so I could snap pics, so this will have to do:

MANY thanks to the ladies of San Manuel for such a great day, and especially to Tari for being such a trooper and shuttling me across the state from south to north!  Coming soon:  Fussy threads and Flagstaff!

Better satin stitching

Tuesday, January 9th, 2007


This post is mostly for Janome 6600 owners because of my “fix” to the dual-feed open-toe foot, but maybe others will be able to glean something from it about satin stitching.

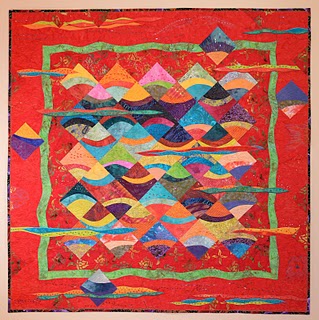
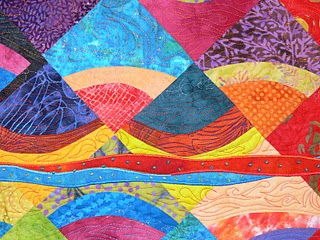
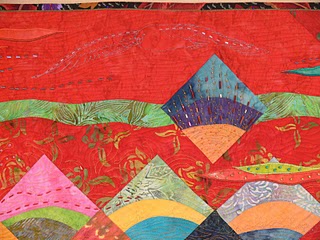
I LOVE the line created by bold satin stitching (a very dense, tight zig-zag stitch)–to me it is an additional design element. Some people may think it is tacky (think cheezy sweatshirts with cheezy appliques), but used in the right way in the right place, satin stitching creates a beautiful, bold line. I used it a lot in my quilt, The Tide is Hire (above). Here are two close-ups:

I outlined the satin stitching to “crisp it up”–I imagined a light source above the “waves”, so I used a lighter shade of the thread above and a darker shade of the same color below the satin stitching. This outlining is very time consuming and tedious, but it creates such a subtle yet dramatic difference that it is, to me and in the right place, worth the significant investment in time. On The Tide is Hire, I think it took eight hours of stitching just to outline the satin stitching on the waves. Yeowza!

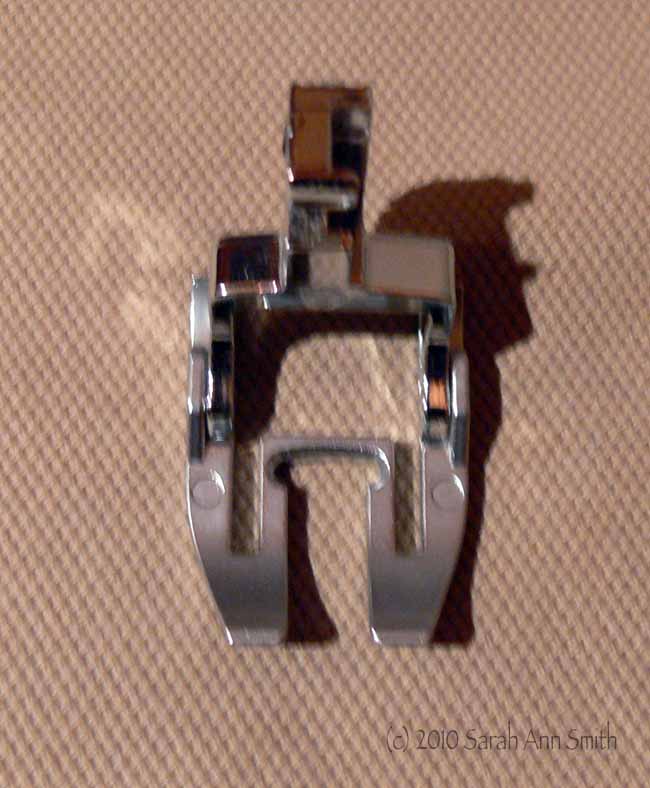
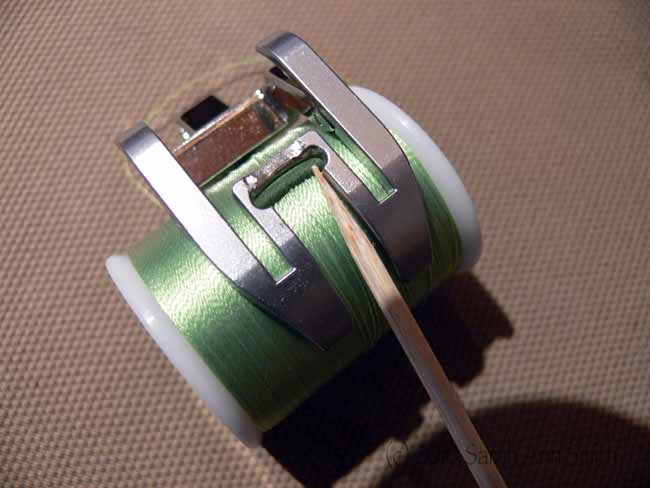
When Janome came out with the dual-feed open-toe presser foot I thought that it would be the bee’s knees (in other words, really cool). Here is the foot (not attached):

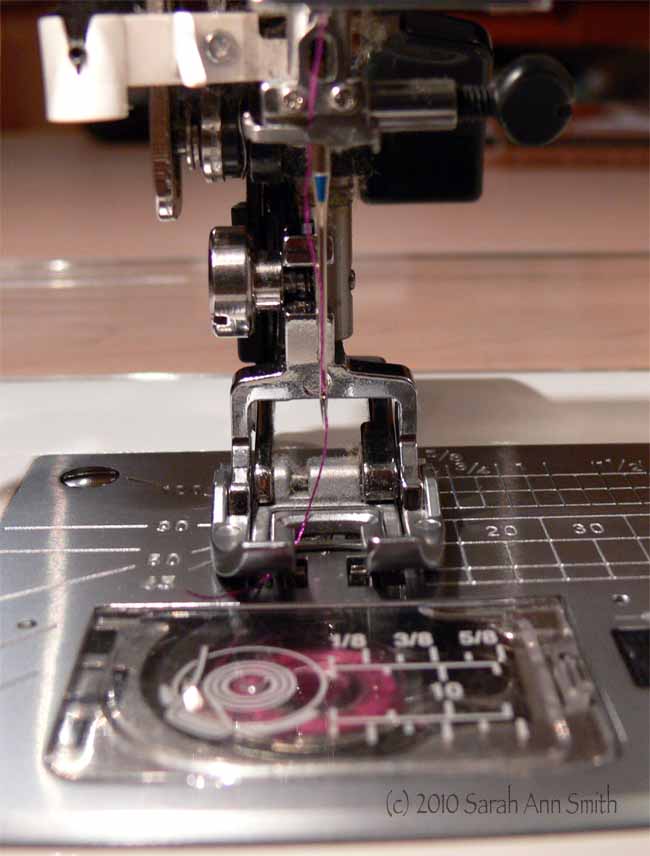
And here it is in place on the machine:

Well, not quite. A regular open-toe embroidery foot has a “scooped out” portion on the bottom, which permits thick / built up stitches (like in a satin stitch) to pass underneath it without jamming on the cross-piece. Alas, the dual-feed foot doesn’t have the scoop-y out-y part.

Enter the Dremel tool! I took out my trusty Dremel drill and attached a grinding tip. I then ground away a portion (maybe 1/32 of an inch? not a lot) of the under side of the cross piece, and then swapped the grinding tip for a polishing top to smooth any rough spots (which could snag and fray threads). BETTER!

Interestingly, when satin stitching this block, I used the dual-feed open-toe foot as made by Janome for the first two and half corners. Then I took the Dremel to it. The remaining section seemed to lie flatter than the parts first stitched (not to mention a lot less heartburn and snagging, like none, on the inside points of those leaves…ALL those blasted points!). The block (below) is blue fused onto a white background; both squares are about 19 inches. The block also was stabilized from edge to edge with freezer paper on the bottom. I’m thinking that by carving out the opening (the scoop-y out-y part, to use my highly technical term) there was less stretching of the fabric going on, as well as permitting the built-up stitches to pass underneath more smoothly. Cool!

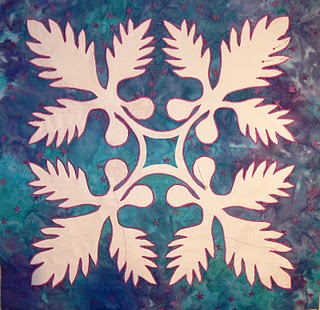
And as a reward for reading this long post, here’s a picture of what I’ve been working on…a block for a Hawaiian-style quilt that will be a pattern in my book (how’s that for a wicked tease?…can’t say more yet but I will as soon as I can).

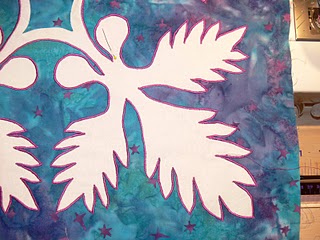
And here is a close up of the satin-stitching, with “on the fly” (as you are stitching) tapering (the spots with pins are places where I think I’m going to rip out and improve):