Piecing Curves…it is possible even for me
Monday, August 3rd, 2020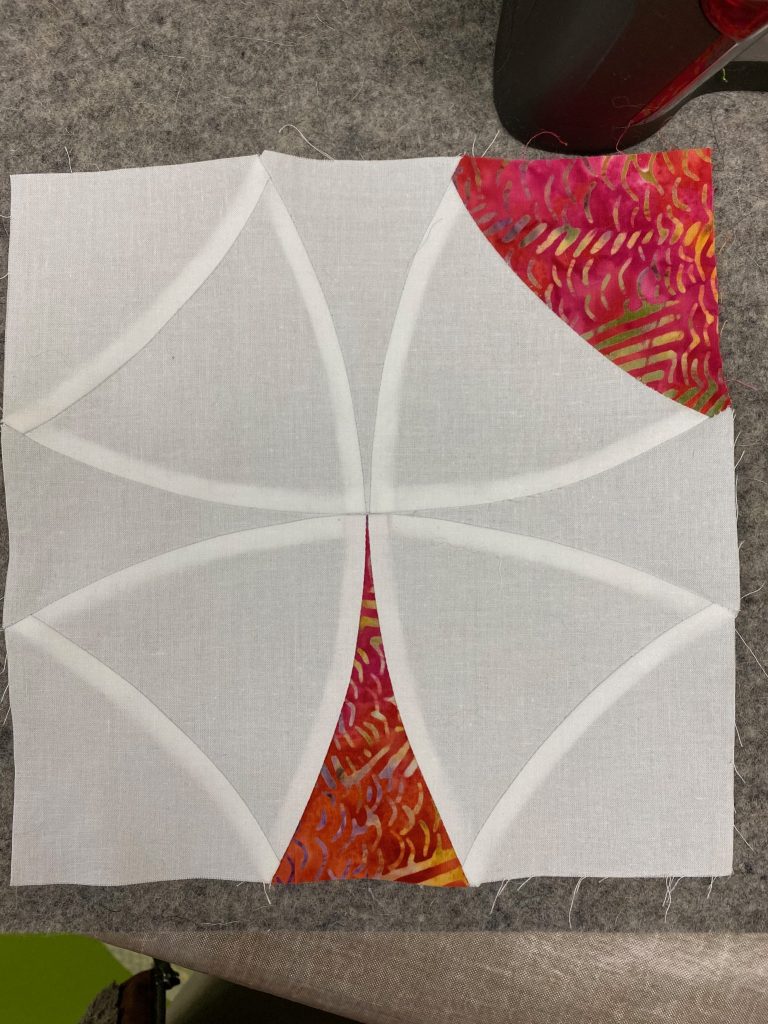
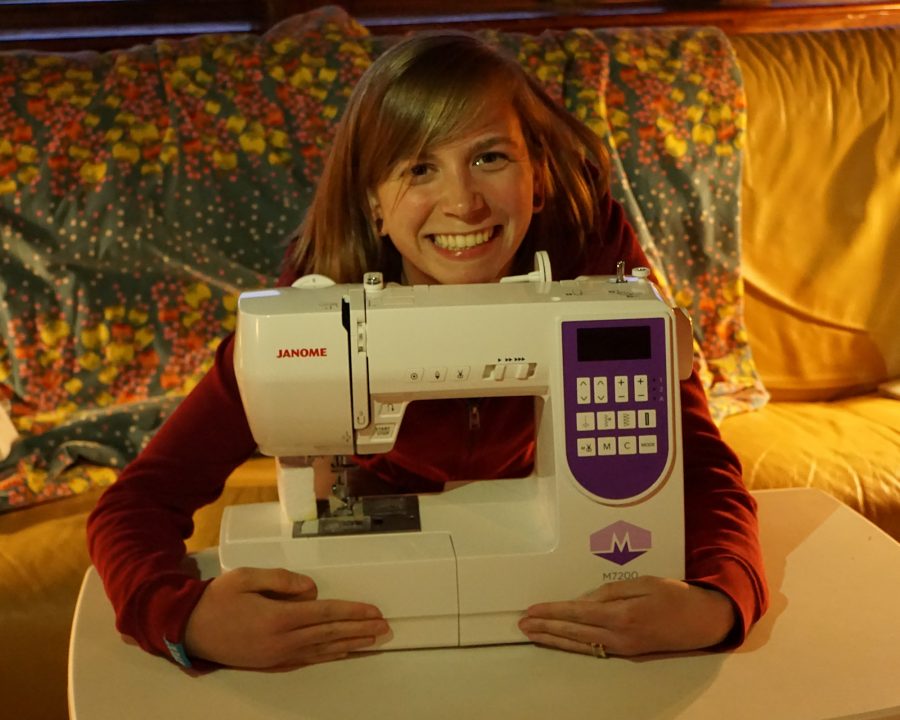
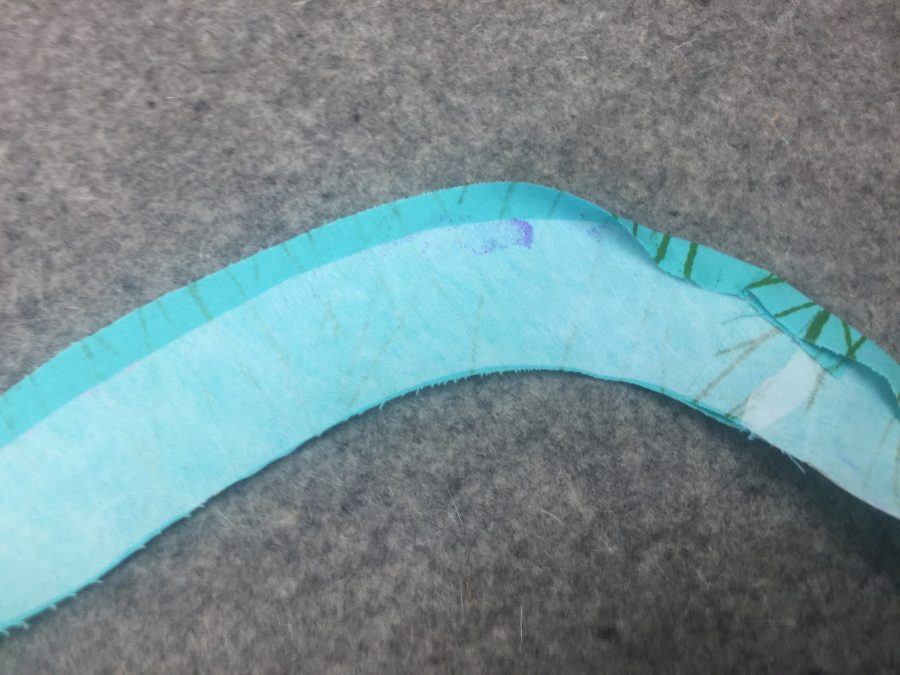
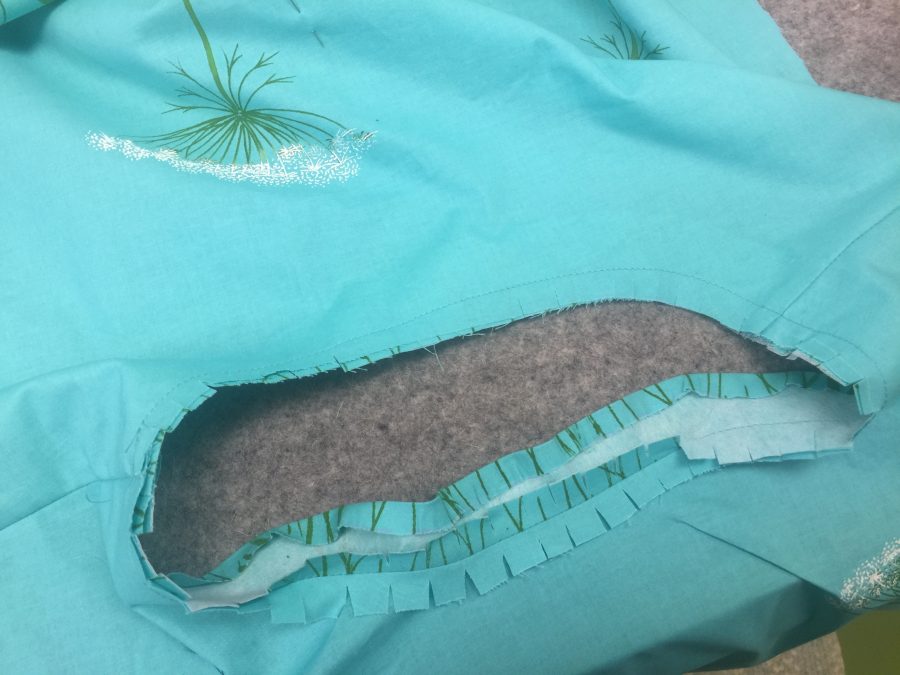
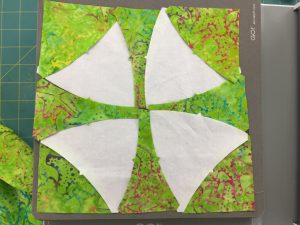
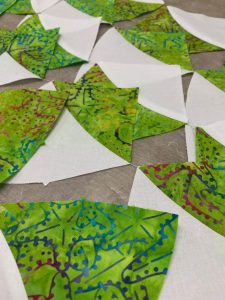
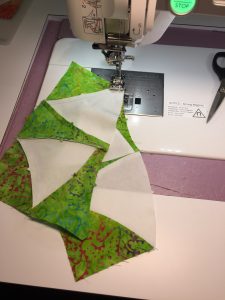
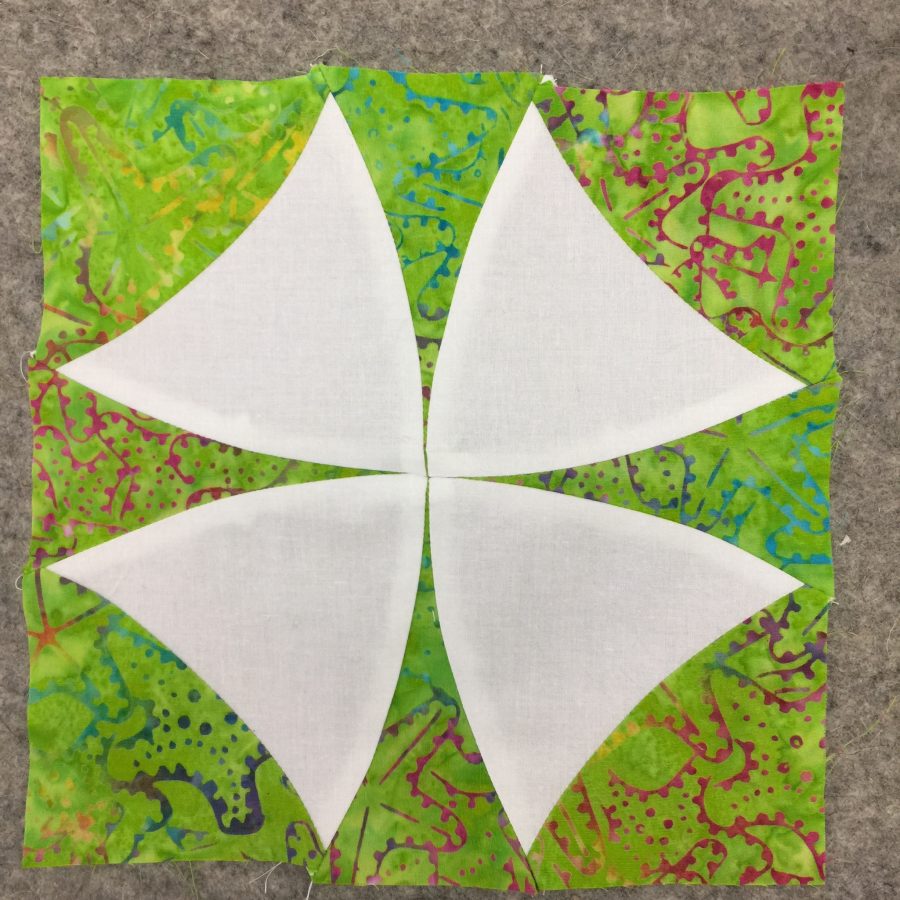
Precision piecing has never been my strong suit, but I am — like Michaelangelo at age 80 — still learning. One of the things I’ve learned is that it is OK to use specialty tools like the AccuQuiltGO! and byAnnie’s stiletto. Thank you to Michael Miller, for whom I am a Brand Ambassador this year) and Janome America for having me as an Artisan. For me, careful cutting for squares, rectangles and triangles isn’t too TOO challenging (as long as I’m paying attention which is never to be take for granted LOL). But CURVES? Not so much.
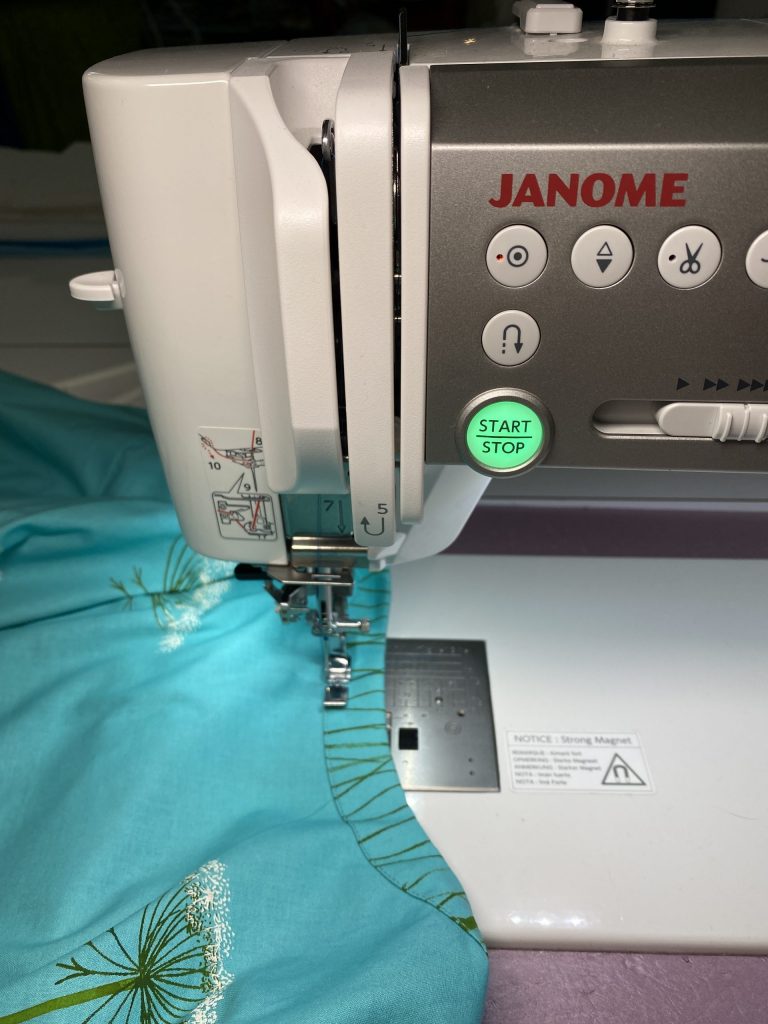
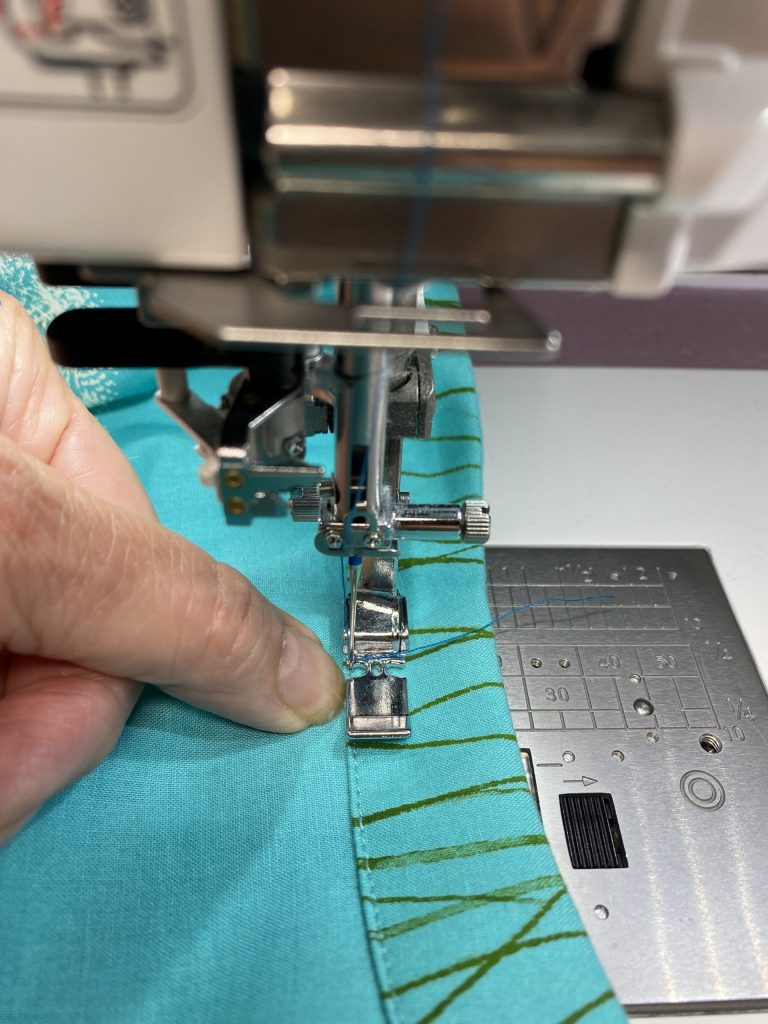
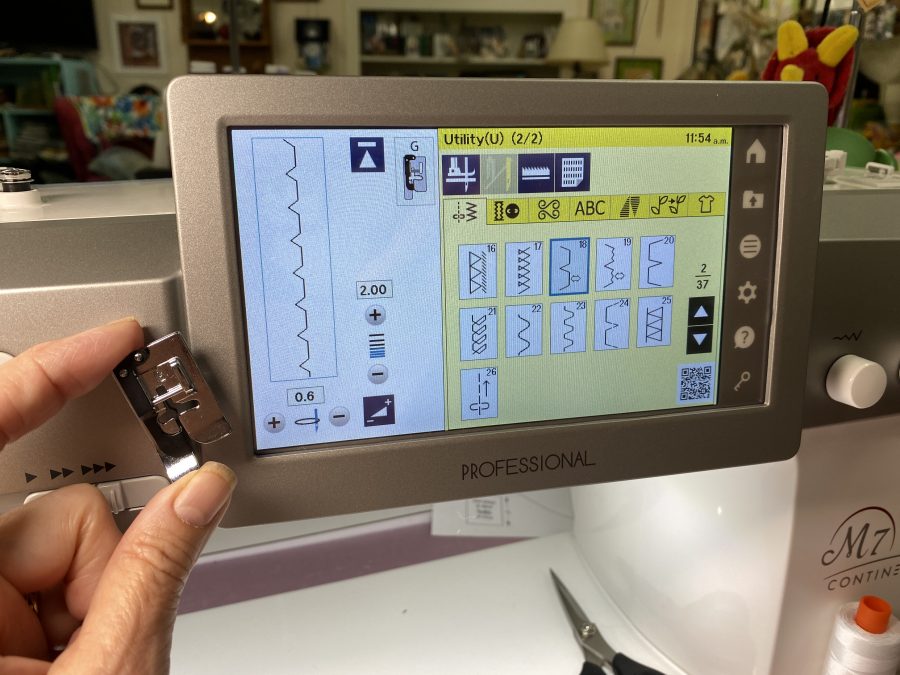
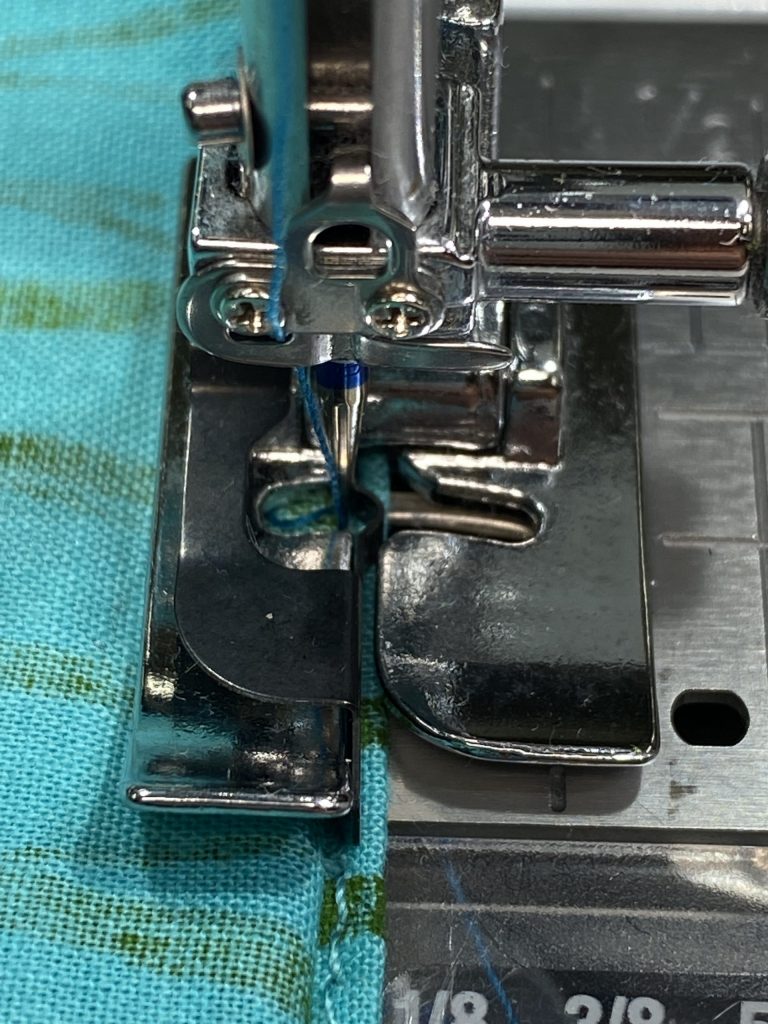
Back in May, I shared a video that tells yo about the amazing (Heavenly Perfection?) HP presser foot and throat plate, herhttps://www.sarahannsmith.com/weblog/?p=13206e. If you have a Janome with this option and haven’t tried it out, DO! Go watch the video… it’s a brief but I hope helpful mini tutorial. The video is also on my YouTube channel, here. I’ve been doing a bit more with brief videos…looks like about one a month. I’ll have another later this month about using the blind hem stitch for some slacks I made–you can subscribe to the channel.
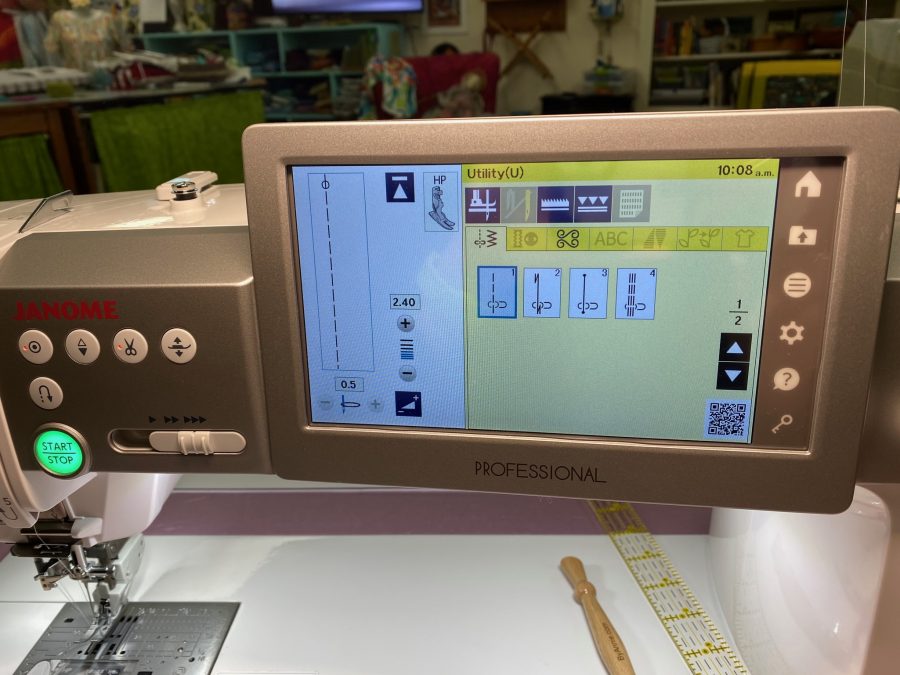
Here’s a quick video of me using the oh-so-wonderful HP accufeed foot and throat plate from Janome, on my M7. Thanks to Kimberly Einmo who shared her love of this accessory at the 2018 Janome Education Summit! Like I said…there is ALWAYS more to enjoy learning.
The stiletto from byAnnie.com is here.

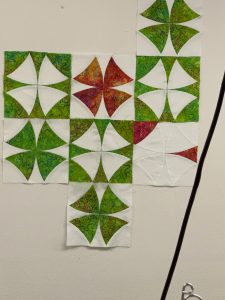
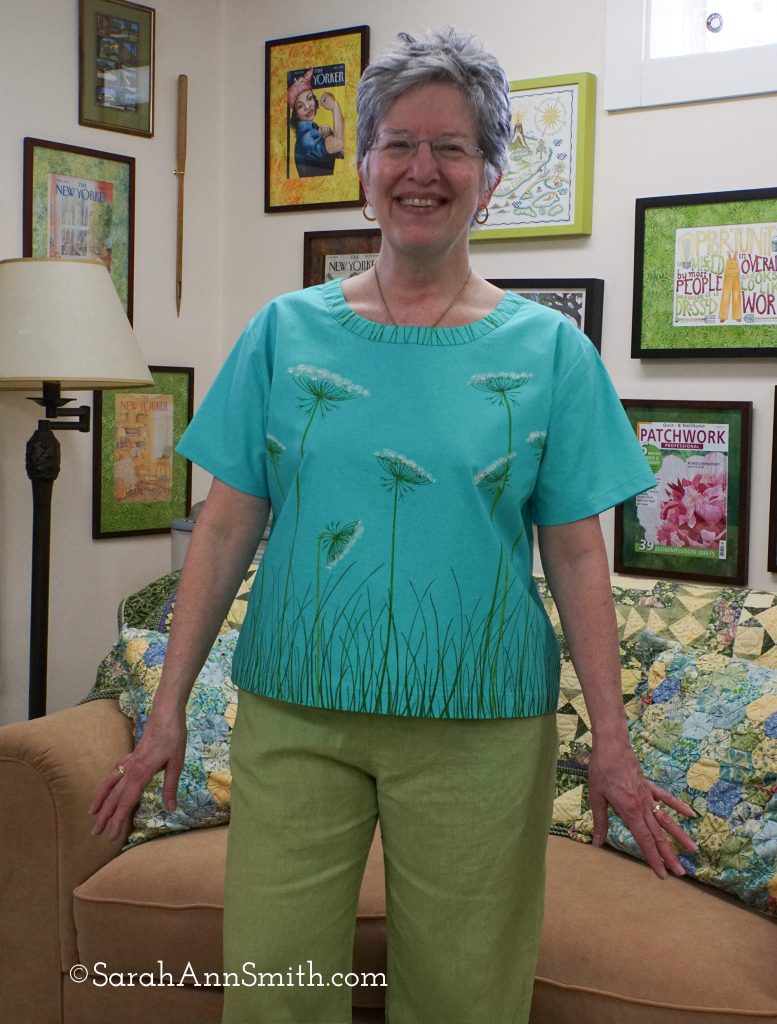
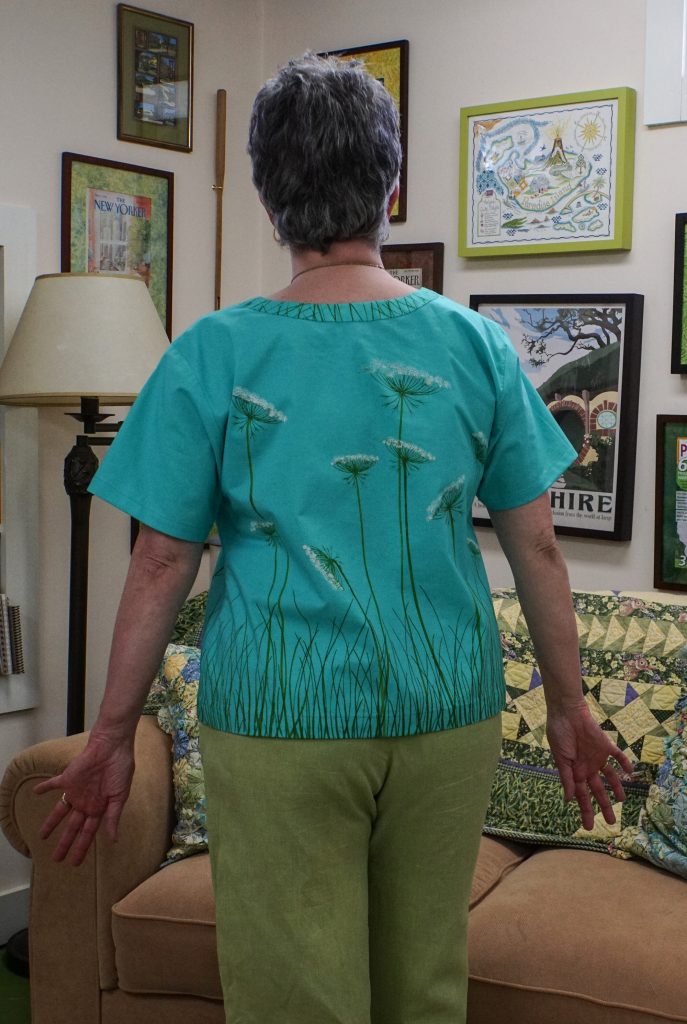
Hope you’ve enjoyed my detour from art quilting. I’ve actually needed a break to recharge myself, and this has been DELIGHTFUL. I’m thrilled with the finished quilt… will post it in about a week or so.
Full disclosure: I’ve been a Janome Artisan for 16 years, and am forever grateful for their support and machines. I’m a Michael Miller Fabrics (MMF) Brand Ambassador for 2020; the batiks and white fabric were donated as part of that ambassadorship. The AccuQuiltGO! was a GIFT (!!!!) as part of the MMF thing, and I purchased the Winding Ways die once I realized that wow, I could USE this machine! Whooda thunk it? Well, I should have. Having FUN! And lastly, thanks to byAnnie.com; their donations to the Teacher Goodie Bags in Houston one year netted me that awesome (and not expensive) Stiletto!