email Youtube

Home
Galleries
Blog
Workshops & Calendar
Store
Resources
About
Contact

Archive for the ‘Janome’ Category

Lonni Rossi Embroidery design!

Wednesday, October 21st, 2015

So besides photography, what have I been up to these past six months and more?  Well, a lot of teaching, a lot of work, and not a lot of free time.  And oh yeah, being exhausted from the thyroid stuff (which is FINALLY improving…we may finally have the right RX…will see in a month).  So I have neglected the blog plain and simple.   I’ll try to fix that!  Today just a brief tease:

Lonnie Rossi embroidery design available from Janome, included on the Janome 15000.

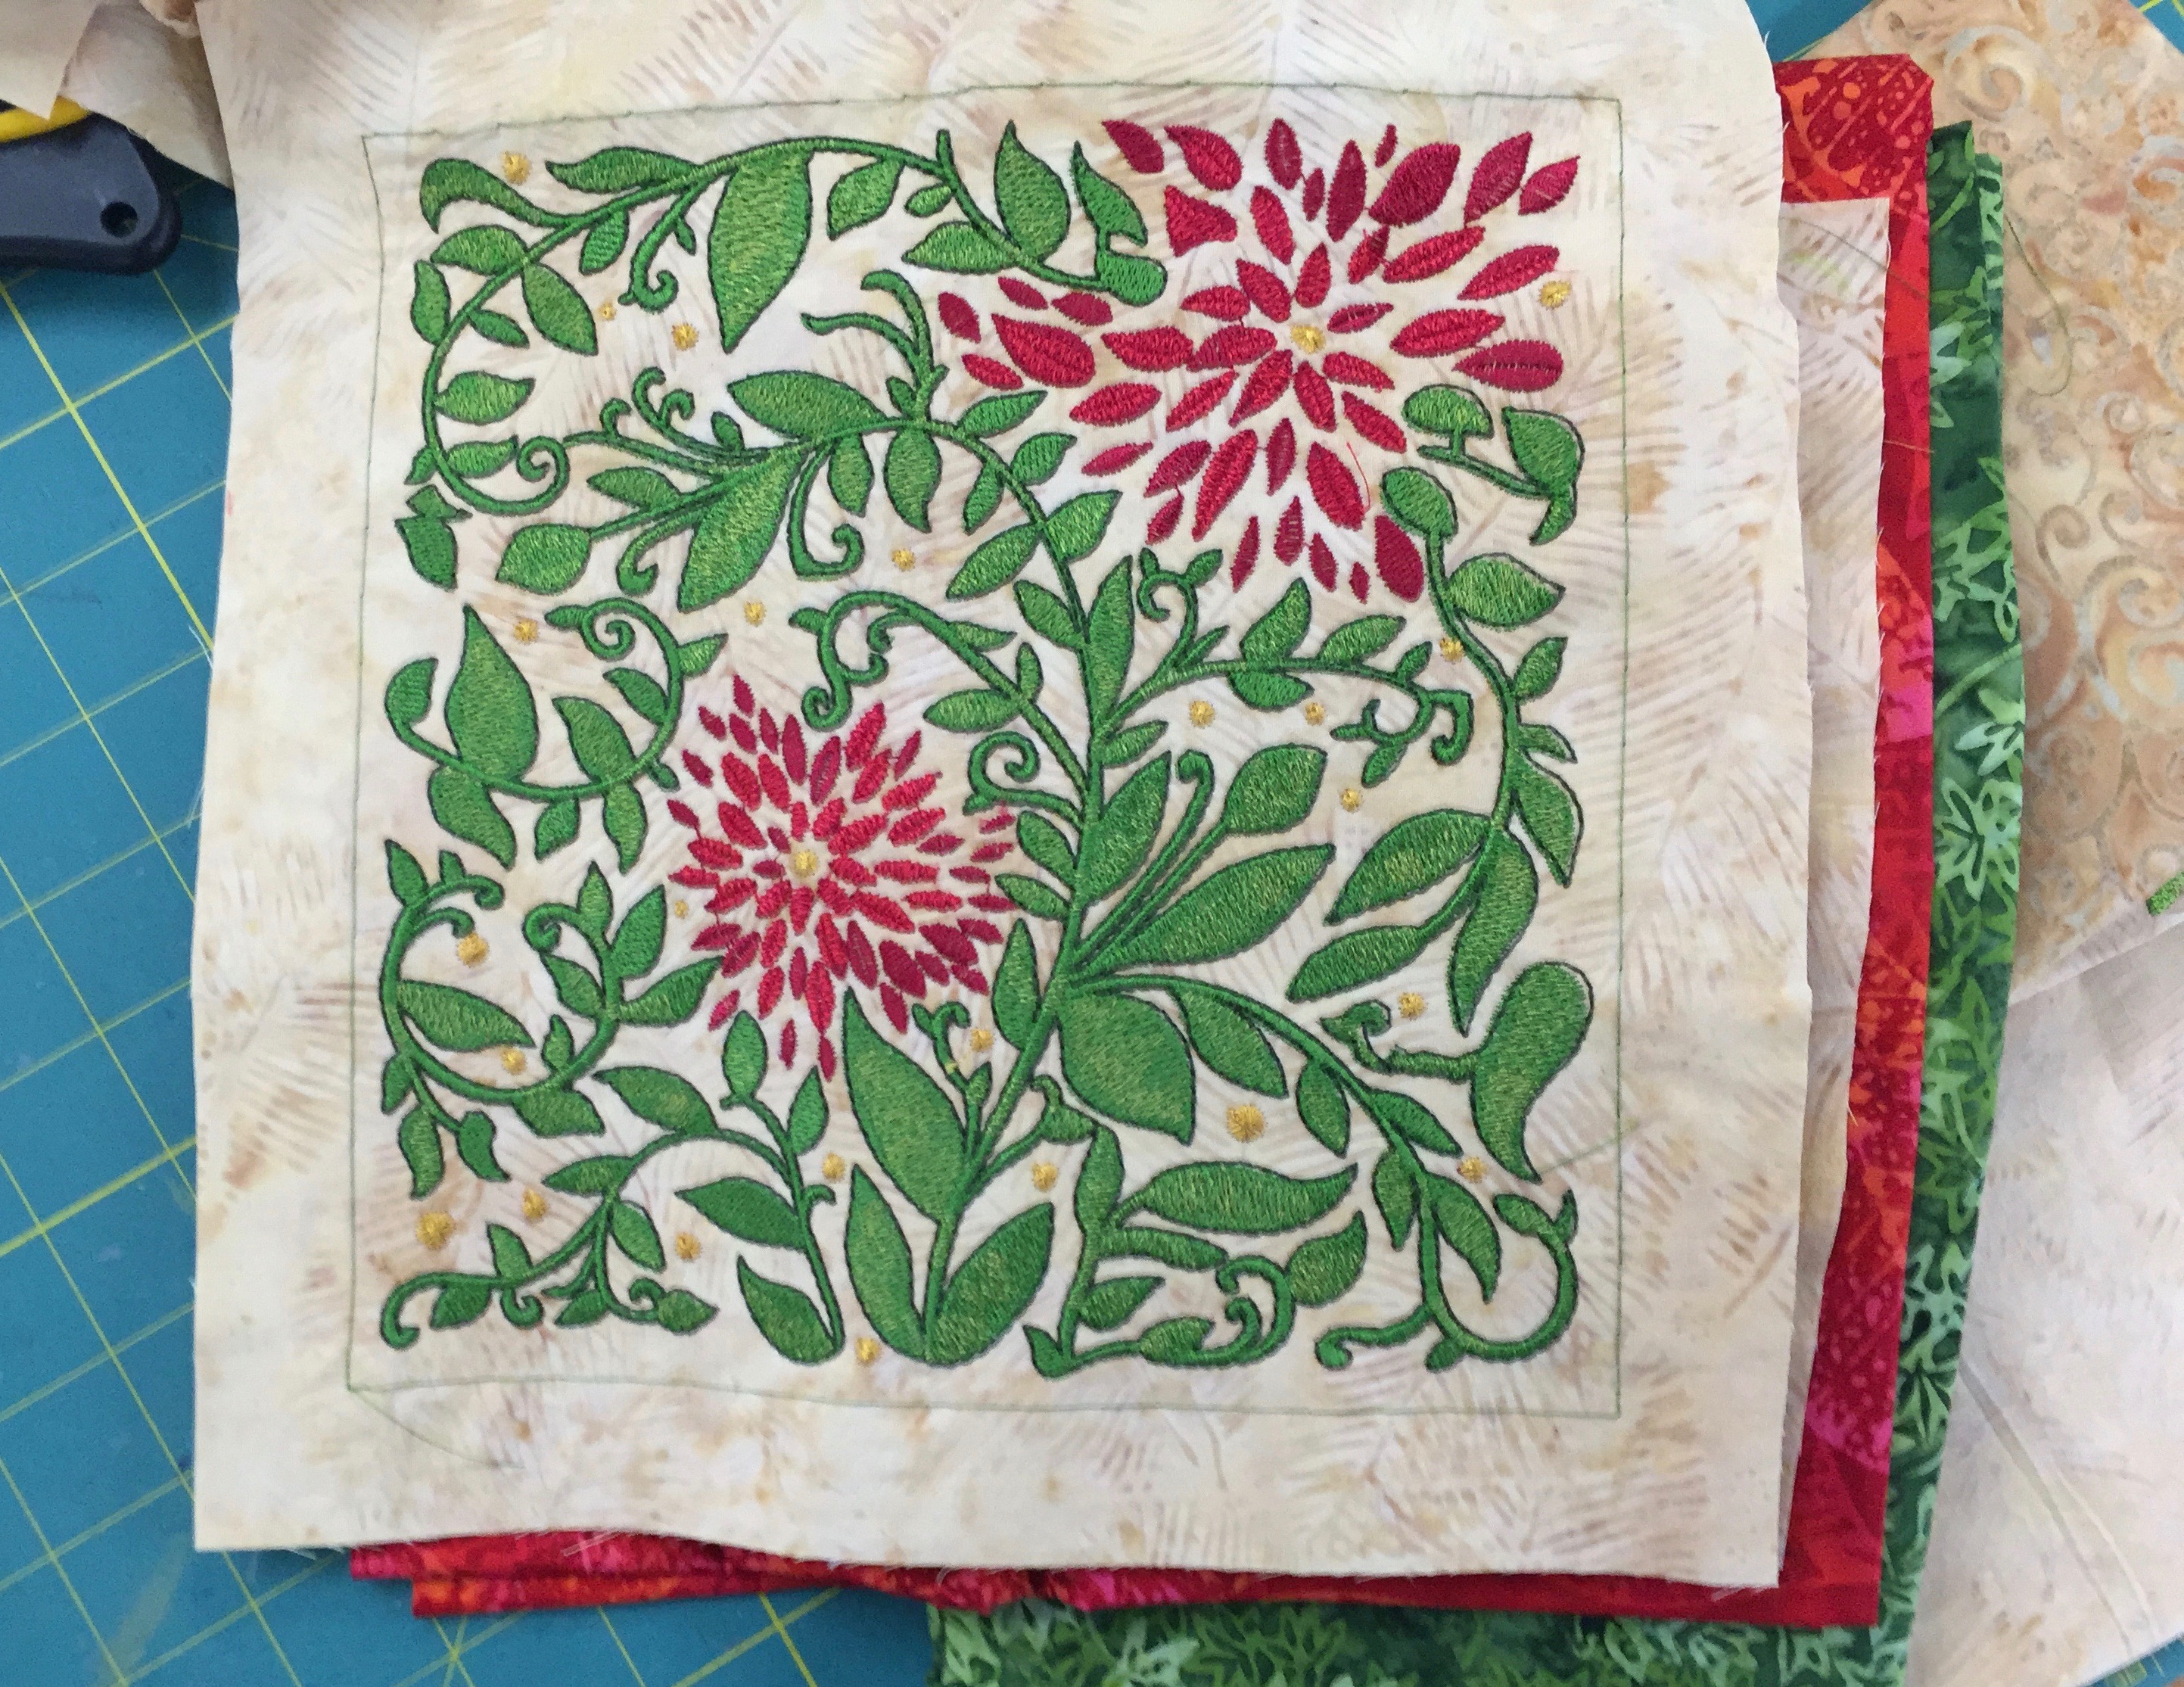
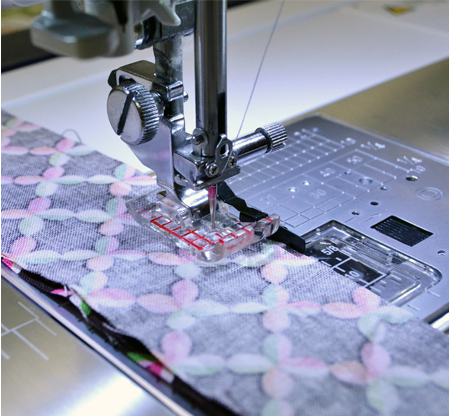
Lonnie Rossi embroidery design available from Janome, included on the Janome 15000.  The red and green will be part of what I plan to do with this block.  Sorry the photo is a little blurry–I’ll fix that by the time I get the project done! 

Can you believe that I, the “never do anyone else’s designs” person and “embroidery really isn’t me”, have enjoyed learning about embroidery on the phenomenal Janome 15000 that I currently have on loan (thank you again Janome-America).  Most of the included designs are, well, why “embroidery is not me.”  But Lonni’s designs ROCK!   The one above was done in a totally different colorway–soft greens, some peach.   Well, not me.   Has opened up a world of possibilities, including perhaps some of MY designs finally getting refined and submitted for consideration by Janome!  [Taylor, I promise, I really have stuff for you! I just need to make it good enough to send in!]

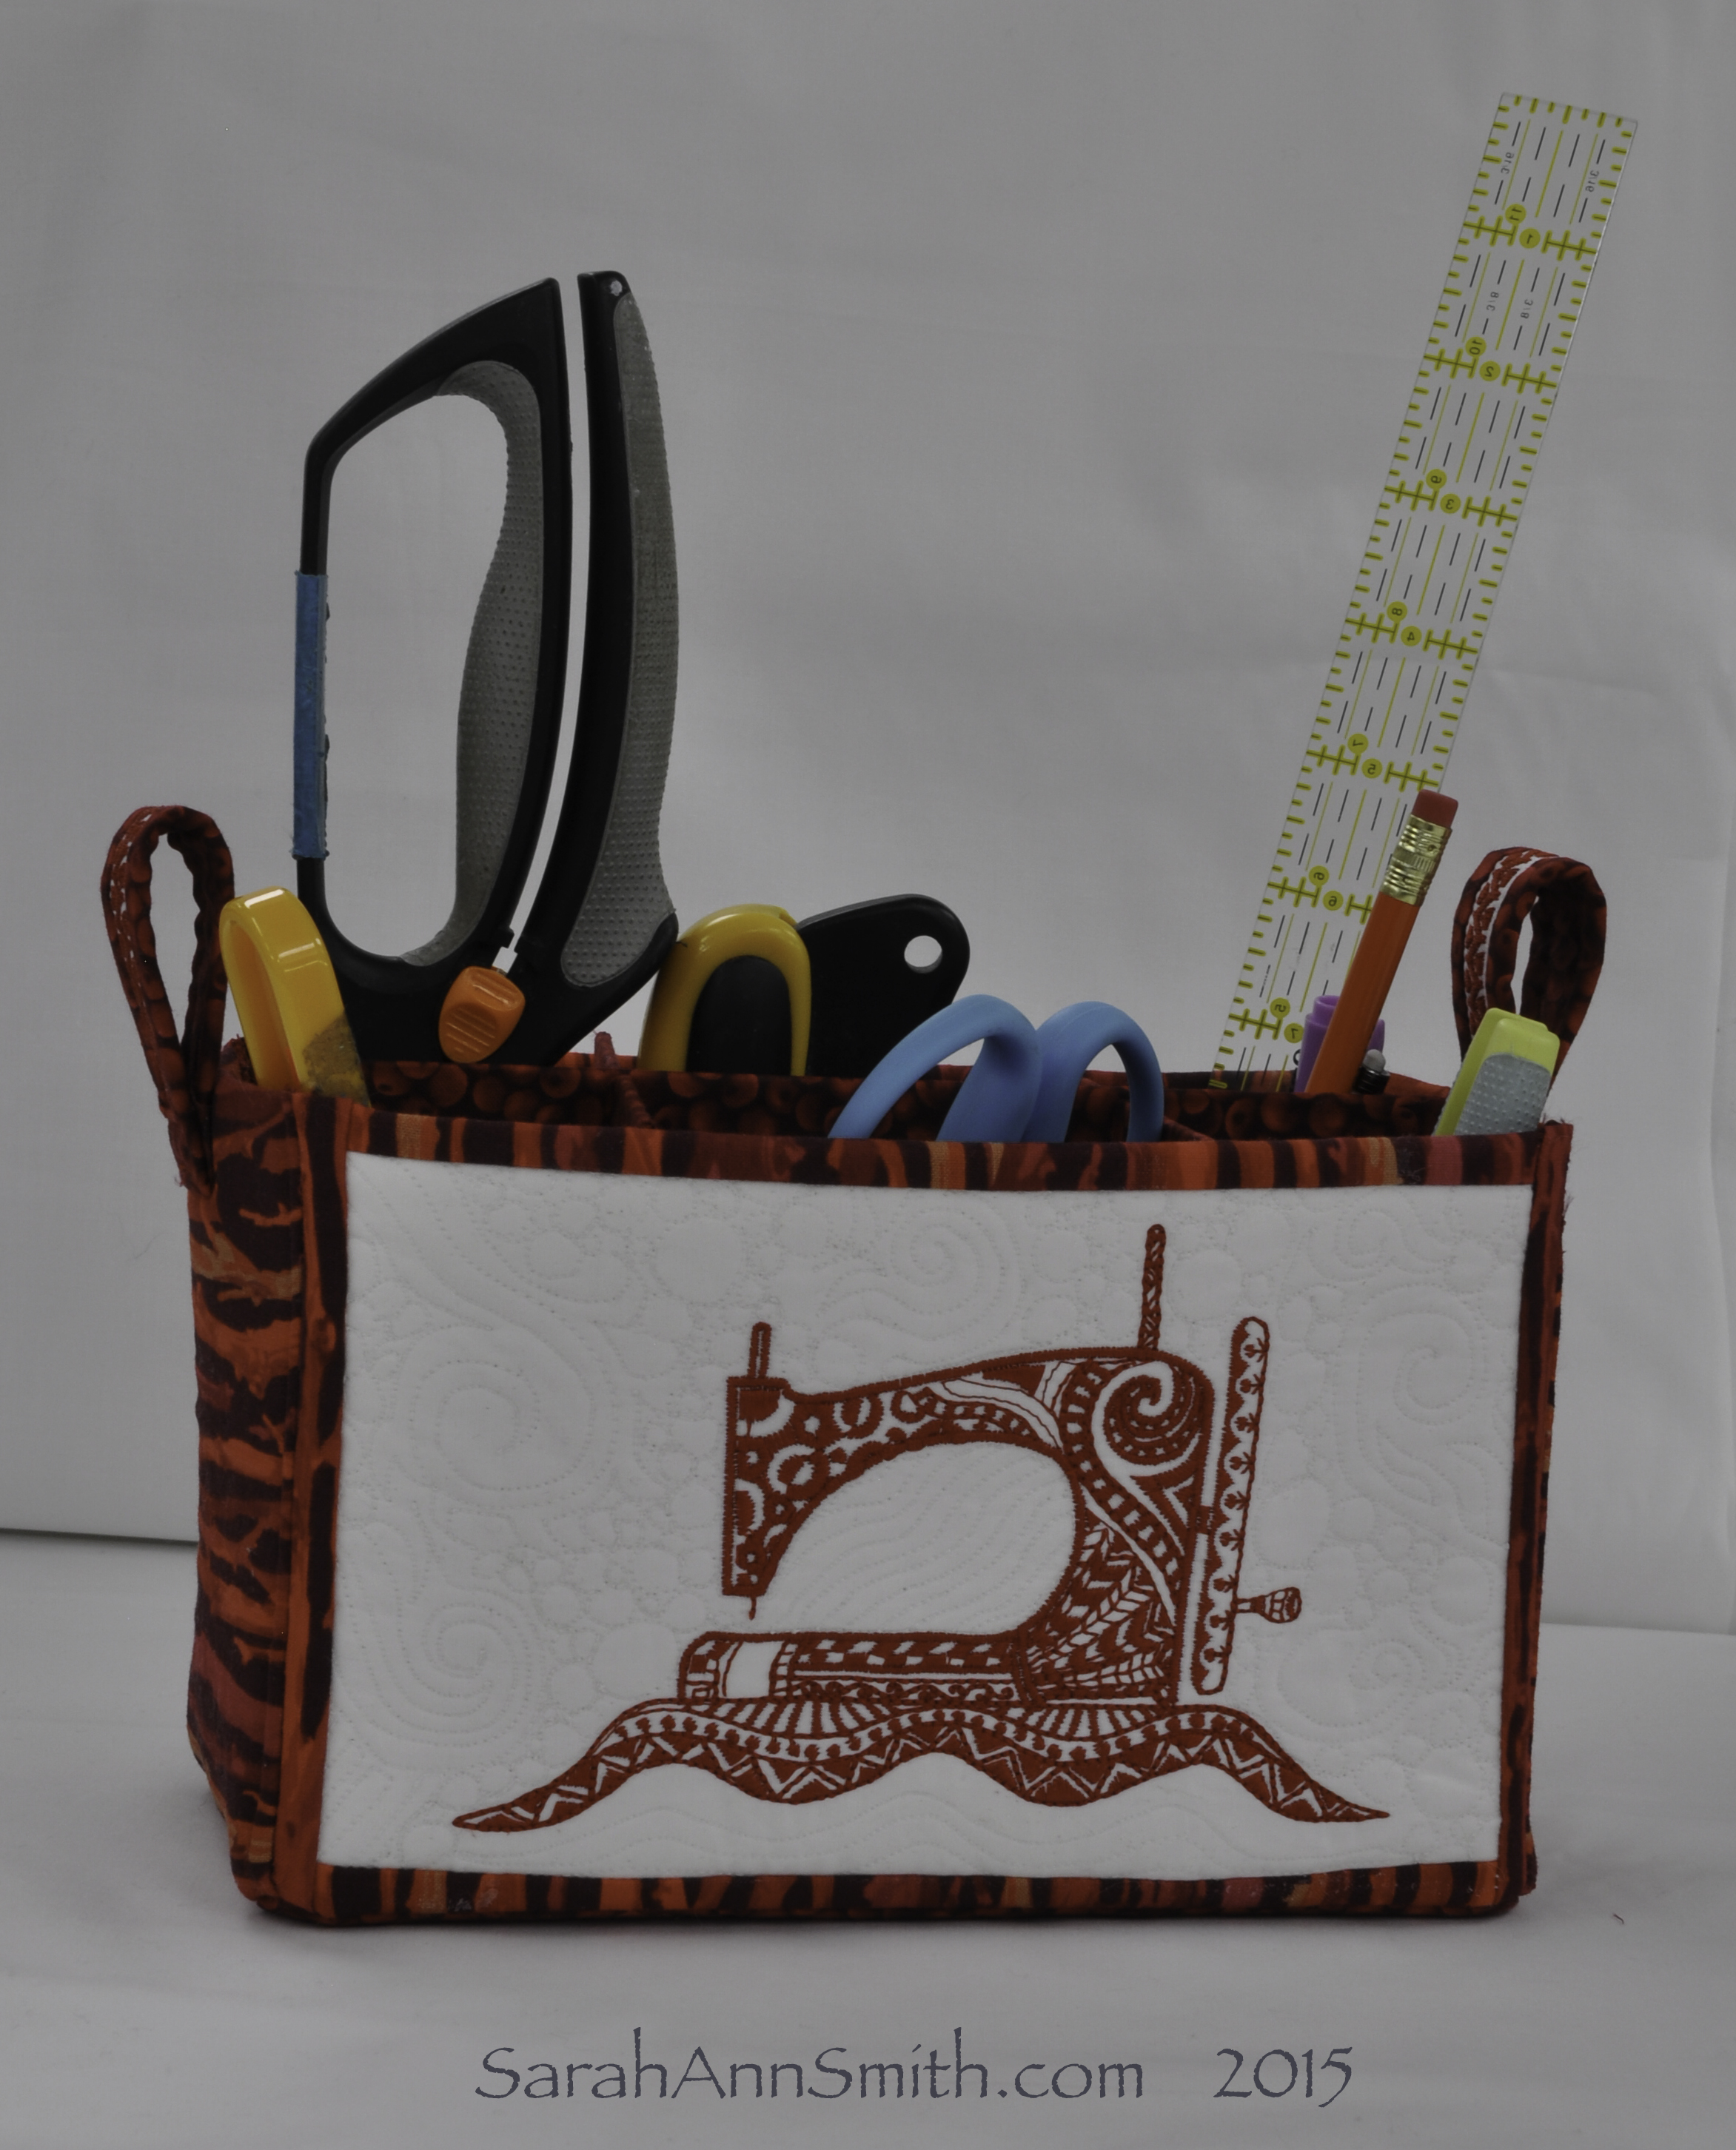
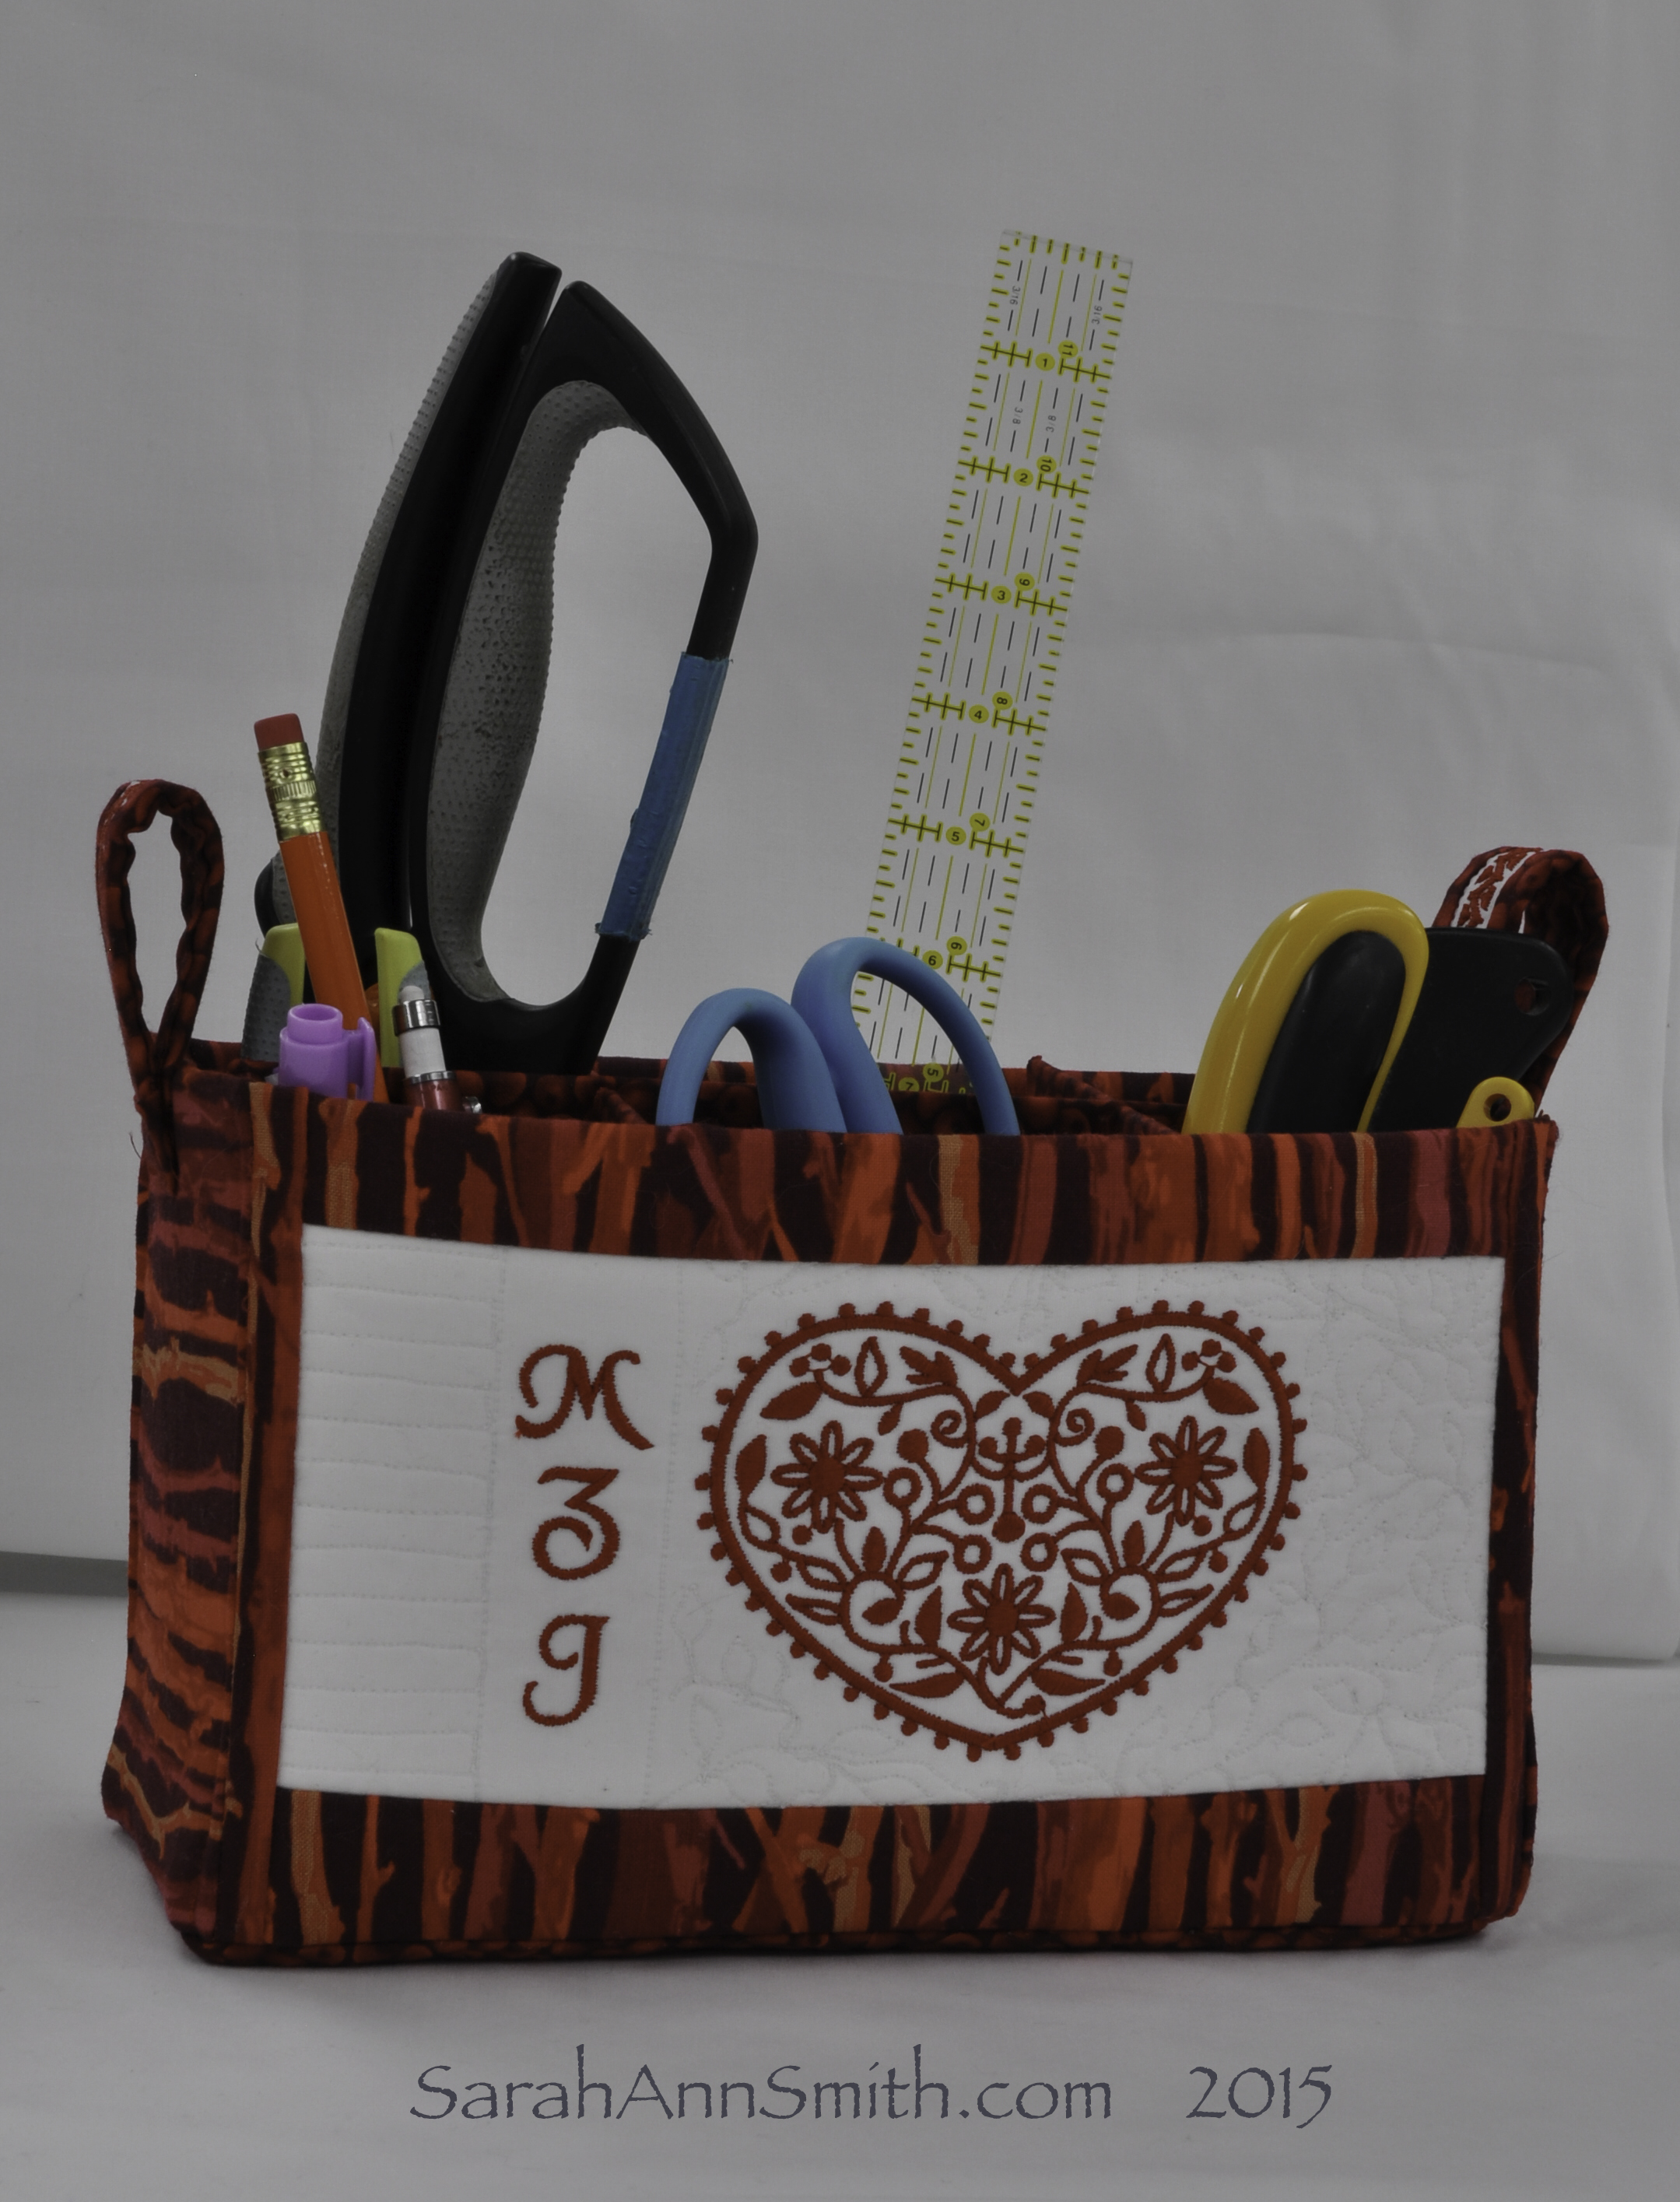
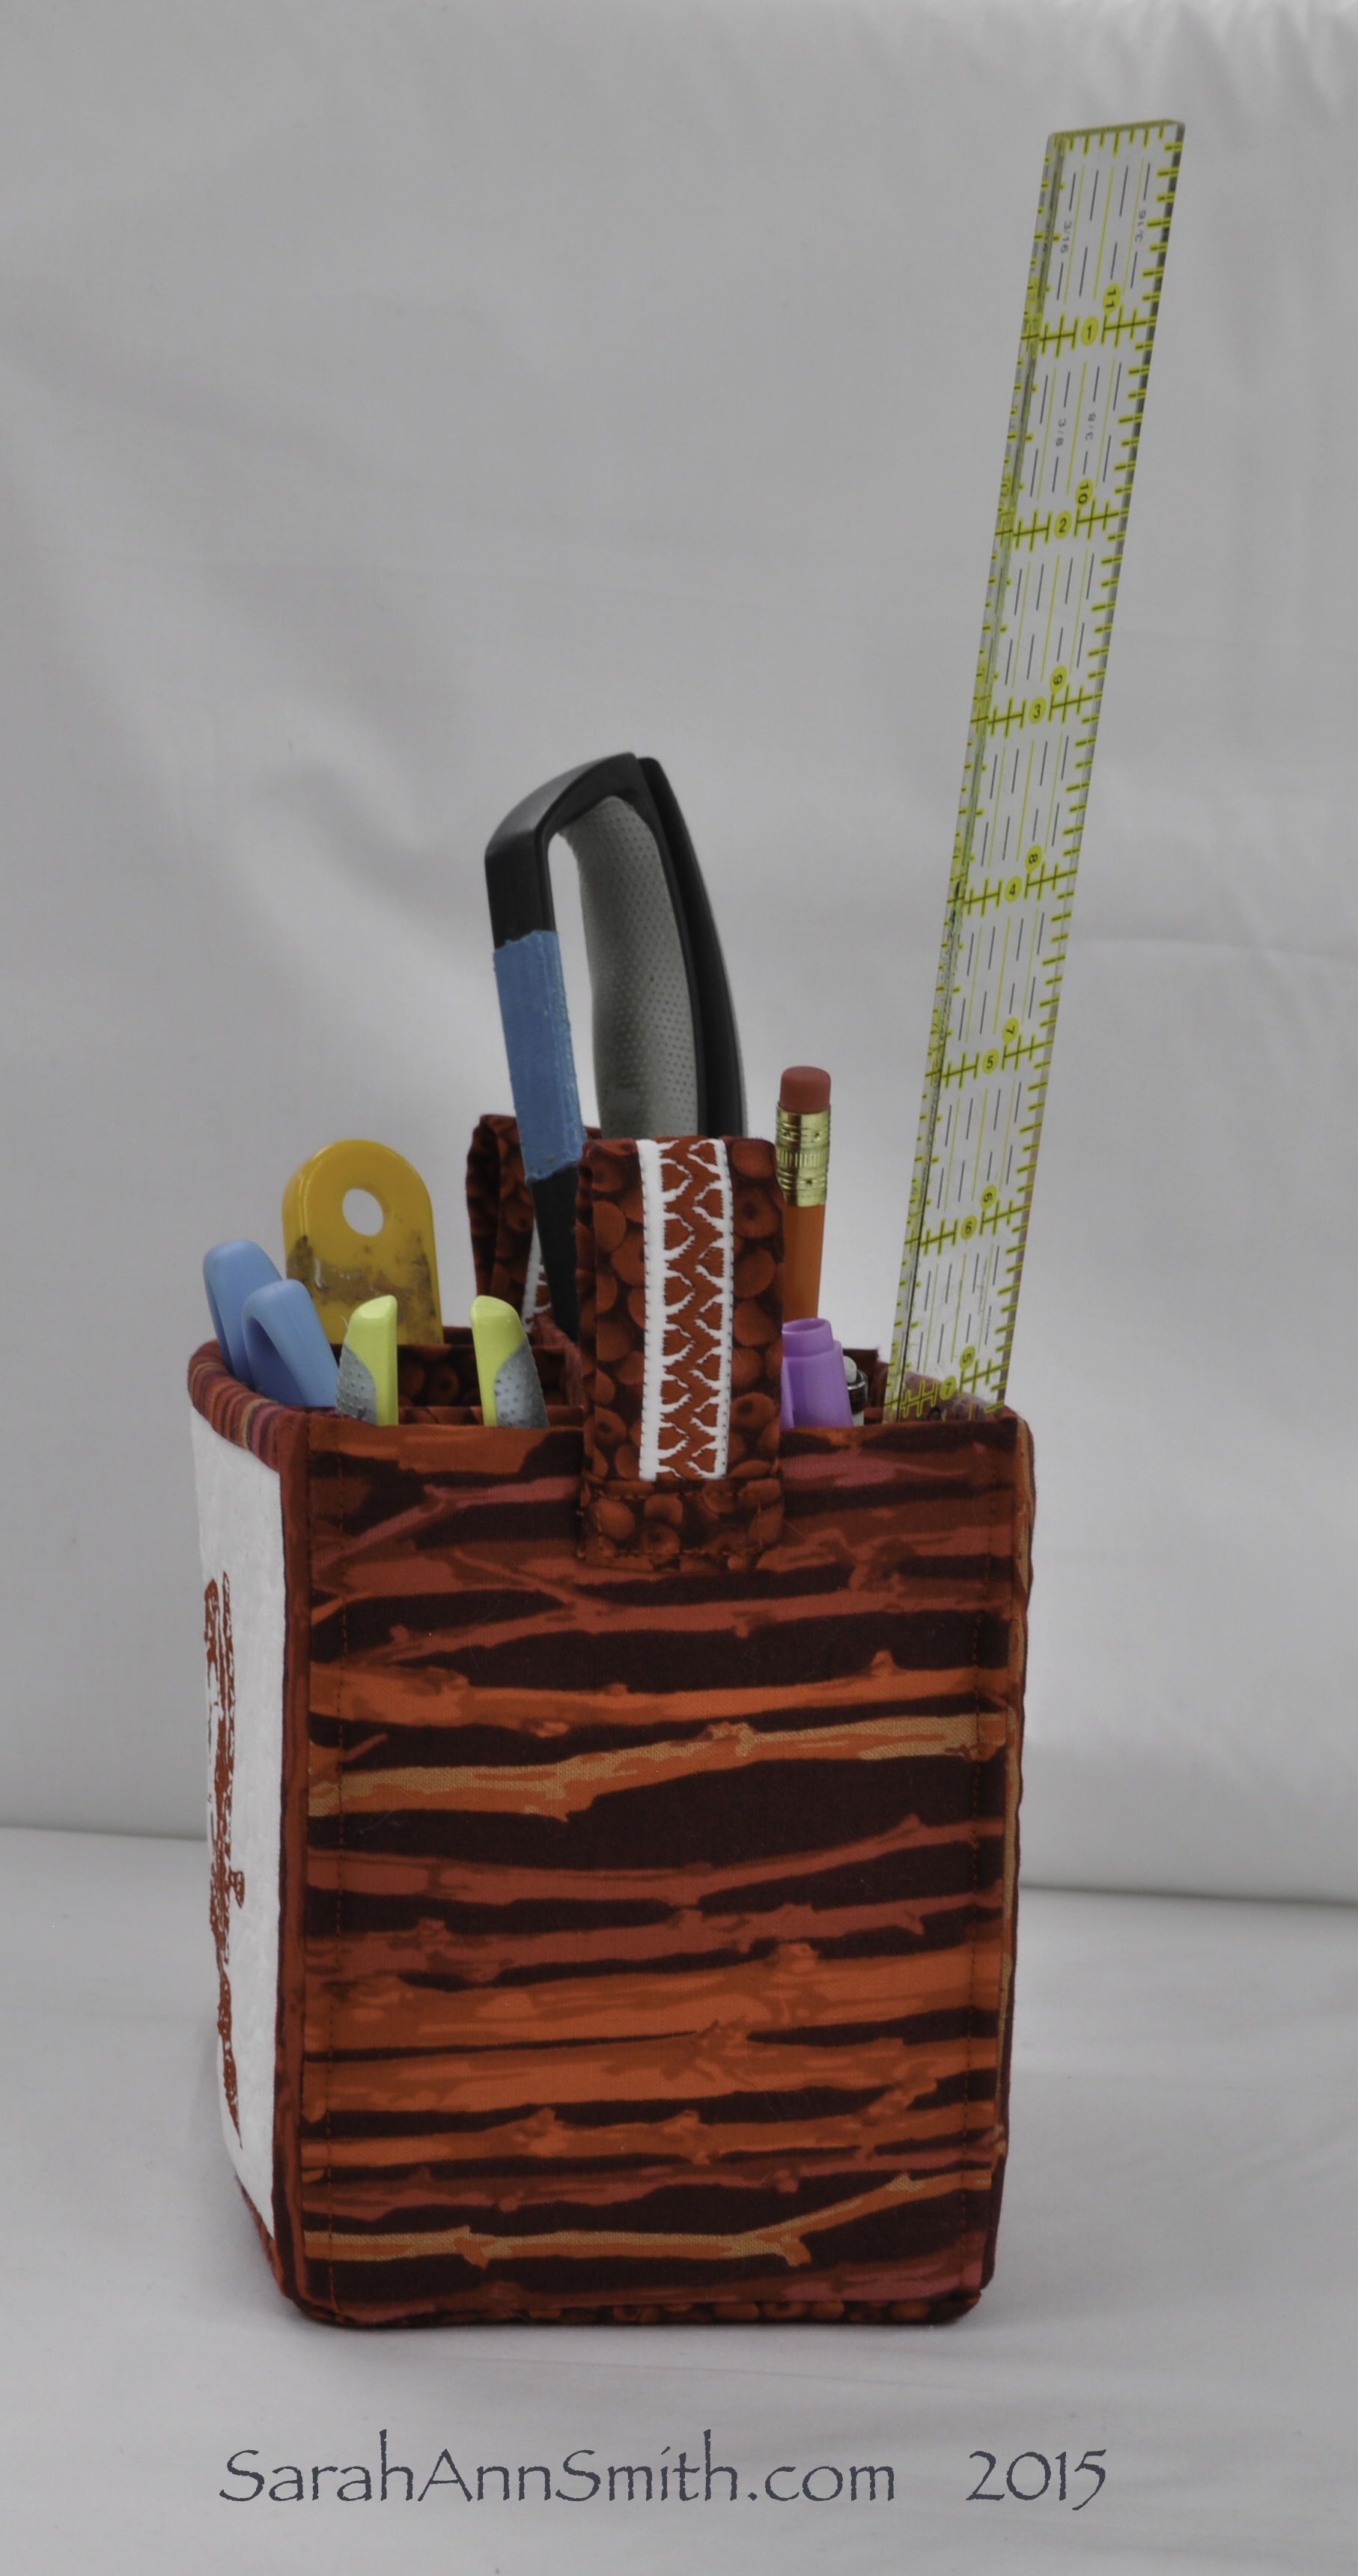
As part of the Janome Artist-Teacher loan program, I make stuff that Janome can blog about or use in their booths to show what can be done with their machines.  I thought the flowers looked like poinsettia as well as chrysanthemums, so I changed up the thread colors to reds, green and gold (not metallic).

I am also not someone that loves fiddling with computerized stuff on a machine.  I have to say, this machine has made it SO EASY.   Another thing that has helped immensely if an App from Jim and Diane Stutsman, available for iOS devices (iPad and iPhone), that teaches you everything but everything about the 15000.  I’ll review that in my next post.  It costs only $59.95 US, and all I can say is that if you have this machine, you will NOT regret spending that $60.  Totally worth it.

Anyway, when the winter Janome project is made with this design, of course I’ll share here.  The pattern will be available for free (here or on Janome or both…I’ll let you know), along with exact thread colors, yardage, etc.   Stay tuned!

Gosh it feels good to be back in touch (and have a functioning brain and body…now, to do something about the pudge and lack of fitness….)!

Spiderweb TableRunner Free Pattern for Halloween!

Sunday, October 18th, 2015

This tablerunner was featured at the Janome Institute late this past summer and it is now featured on their blog, here (scroll to October 15, 2015) and here on their projects page.  And I’m sharing the pattern with you here as a Halloween Treat!

Spiderwebs table runner (c) Sarah Ann Smith 2015.   Featured on the Janome America website/blog on October 15, and on Sarah’s blog.  Photo (c) Janome-America; used with permission and thanks!

Spiderwebs table runner (c) Sarah Ann Smith 2015. Featured on the Janome America website/blog on October 15, and on Sarah’s blog. Photo (c) Janome-America; used with permission and thanks!

For many years now I’ve been fortunate to be associated with Janome America.   I have been sewing on their machines since late 2004, moving up the product line so I’ve had a chance to test machines at all levels.  And in about a week  I will review here my test-drive of the reasonably priced Skyline S7, a brand-spanking-new machine (and to spill the beans–I can’t believe how much you get for the price!).  Anyway, I occasionally do projects for Janome.  Although this tablerunner was made on a top of the line Janome 15000, all you need is a machine that does a straight stitch.  If you have the triple-straight-stitch also, that’s good because it gives you a “bold” line on the spiderweb, but it isn’t necessary.  Even the most basic sewing machines (as long as they are not straight-stitch only) have this stitch (look for three vertical lines next to each other).

Most of my work is very involved and advanced, and the projects Janome features tend to be easier, so I drove down to one of my favorite local shops, Alewives Fabrics (here).  I found the fabulous Halloween fabric, and I’m not usually a major fan of decorating for this holiday.  But I love the ghostly dresses and the “polka dots” on the black that are really little skulls!   I also adore spiders (anything that eats mosquitoes is a friend of mine) and spiderwebs.  The green cotton-linen blend was perfect!

Detail of the spiderweb block.

Detail of the spiderweb block.

Spiderwebs for Halloween Table Runner  is the PDF for the pattern (also available on the Janome projects page, see link above).  Yep–this is a total freebie, including a full-size page of the spiderweb design which, of course, doesn’t need to be just like mine!   A friend had a great idea which I wish *I* had thought of:  to include a line of glow-in-the-dark thread with the stitching on the web!   If I were to make this again, I would feed the two threads together as if one (Thanks Lutra!)  through a large needle (size 16 or maybe even 18) to do the spiderweb stitching.

I always love the backs of things:

The quilting on the back of the tablerunner, so it is reversible if you want.

The quilting on the back of the tablerunner, so it is reversible if you want.

The fabric requirements on the pattern are SCANT–they are what I had, and I used every tiny little bit!   If you find you need to square things up a lot, buy a little more than I suggested.

Spiderwebs table runner (c) Sarah Ann Smith 2015.   Featured on the Janome America website/blog on October 15, and on Sarah’s blog.  Photo (c) Janome-America; used with permission and thanks!

Spiderwebs table runner (c) Sarah Ann Smith 2015. Featured on the Janome America website/blog on October 15, and on Sarah’s blog. Photo (c) Janome-America; used with permission and thanks!

An extra thanks to Taylor D. and Janome America for letting me use some of their photos (the nicely staged ones on the table)–I forgot to take nice photos before I sent it off to them for Institute!   And as always, thanks to Janome for having me in their Artist-Teacher program for so many years.  I truly appreciate it–and best of all, for making such great machines.  Yes, I’m affiliated, but I’d say the same things if I paid full MSRP!

MQU: The Fourth Quilt Layer

Tuesday, August 18th, 2015
The opening spread of my article on stabilizing the quilt sandwich in the July/August issue of Machine Quilting Unlimited

The opening spread of my article on stabilizing the quilt sandwich in the July/August issue of Machine Quilting Unlimited

Over the past six years, I have been fortunate to have been invited to submit a quilt and to have works accepted in the Dinner@8 Artists exhibits and in Living Colour Textiles.   For those shows, work had to be a specific size.  The problem is that when you quilt, especially when you quilt a LOT, as I do, the quilt shrinks.  And you need to have a good composition and framing once it is done–not chopped off, not too much leftover because the piece shrank less or more than you expected.

It is hard to predict how MUCH it will shrink.  So I decided I needed to tackle the problem and acquire some knowledge.   It was a lot of work to test nearly a dozen stabilizers, so I was thrilled when I proposed an article on my explorations to Machine Quilting Unlimited and they agreed it would be a useful article.

This is the cover of the current issue with my article:

The cover of the issue with my article.

The cover of the issue with my article.

and a bit more:

This page shows some of my testing in  progress--yes, there are ELEVEN samples.  All quilted the same.  Can you say TEDIOUS?

This page shows some of my testing in progress–yes, there are ELEVEN samples. All quilted the same. Can you say TEDIOUS?

The issue is still on stands, and is available for order on the MQU website here.  The article also has a link to an on-line Web Extra with all the extensive details of the testing on various stabilizers, interfacings, and canvas/cotton duck which you can print out for your own reference.

Even happier, at the end of the article I mentioned that I would be trying cotton duck, dyed by me, as the backing instead of a fourth layer.  That quilt is made and has been juried into this year’s Dinner@8 exhibit, Affinity.  And in the January 2016 issue MQU will publish my article in their “Challenge Quilts” series about Descended From the Stars.  WOOT!

The perfect 1/4″ seam, part two

Thursday, May 7th, 2015

Thanks to my contact at Janome America, I learned of a couple new things that will help owners of the Janome machines that are capable of the 9mm wide stitches.   The top-of-the-line 15000 has a new throat plate that has THREE holes in it, including one on the right.  And there is a quarter inch “Clear View” foot that will work with that throat plate.  First, the presser foot:Screen Shot 2015-05-07 at 12.50.27 PM

janomeknowhow clear view quarter inch

My contact wrote:

” I wanted to pass along this information sheet on a foot that we released for 9mm stitch width models last fall. Maybe this will help her. I’m also going to include this small excerpt from my contact in Tokyo too, as it applies directly to your machine –

*This foot can also be used with the MC15000, but by using the right needle position of the MC15000’s straight stitch needle plate with the 1/4″ Seam Foot O (a standard accessory), or the Clear View Quilting Foot and Guide Set (Optional Accessory No.: 202-089-005),  the same results can be achieved.

The above note is because the MC15000 has that three hole straight stitch plate, based on needle position. Previous models only have one or two holes in the straight stitch plate.

Just passing this along since I saw it!

Here’s a link to information on the Janome website, and another link for the PDF which has more information than on the Janome website  janomeknowhow clear view quarter inch .

The throat Plate is called the Straight Stitch Plate for the 15000, but can be used on Janome machines with a 9mm stitch-width capability (but check with your dealer FIRST to be positive it is compatible with your machine).  This is a not-so-great photo of the one from my machine.  Notice there are THREE holes.  The left and right holes are slightly not-round, which permits one to fine-tune the needle position to get your perfect seam allowance (see previous post).

Straight Stitch Plate for Janome 15000

Straight Stitch Plate for Janome 15000; if I can get my hands on the part number, I’ll update this caption.

My contact added that

“Yes, this foot will work with the 8900 as it is a 9mm model also. If you
wanted, you could ask your dealer to order the Mc15000 straight stitch
needle plate (with the third hole) and that would fit all the 9mm models
also. You just have to watch your drop position. Like you mention in your
post, because of the feed dogs and purpose of different sewing machines,
the needle drop is not always the same from machine to machine. This
happens when you are switching from quilting models, like an 8900 to
embroidery/quilting models like the MC15000. The “standard” positions are
changing based on the model.

This will definitely solve her problem then, allowing her to use a straight
stitch and set needle position with the straight stitch plate included
with her machine, and achieve a 1/4″ seam.”

I have to say, Janome is incredibly responsive to its customers.  I was THRILLED my contact read my previous post and wrote to suggest these new offerings.   Another great thing developed for the 15000 (which I sew on now) is the AMAZING extension table.  I don’t know what they did to the surface, but it is absolutely the “slippy-est” extension table I’ve ever felt.  Even though it doesn’t look as slippery as the clear plexi (perspex in the UK I think) tables, it is vastly superior.  When I saw the US VP for Janome at a show after I got this machine, I told him they needed to make ALL their extension tables out of this stuff.  It totally rocks!


An Embroidered Tote for Janome

Friday, April 3rd, 2015

As many of my loyal readers know, I sew on a Janome.  I have been incredibly fortunate to be a part of their artists and teachers loan program for an embarrassingly, blissfully long time.  THANK YOU, JANOME AMERICA (and yes, I’m shouting!)  As part of this program, I gladly and happily make things which they can use, whether it is a banner for their booth (and also used in their adverts!), a project used online, asking to teach in Janome classrooms at big shows, you  name it.  This season, I have been using a (gasp, gulp!) top of the line 15000 embroidery and quilting machine.  Links for a free tutorial on this caddy are at the end of this post.

Embroidered Caddy for Janome America.  The sewing machine is a built-in design on the top of the line Janome 15000.

Embroidered Caddy for Janome America. The sewing machine is a built-in design on the top of the line Janome 15000.  Right Click to see larger.  Thanks to Jean S.  I know now this design was created by Jill Buckley, who has fun stuff on her blog here.  Nice to meet you Jill!

Embroidery you say?   Well, I never would have thought that *I* would fall in love with machine embroidery–the pre-programmed kind, but I have.   I’ve got a project for fall that will be awesome using one of Lonni Rossi’s designs built into the machine.  But for spring, I have made that lovely little tote!  It is 4×8 inches (footprint), 5 inches tall.   I used two embroidery designs that are included on the machine along with the initials that are one of several included alphabets (see photo below for the other side).

One of the things that most surprised me is how easy the interface is with the software.  I’m not very patient with that sort of computer-ish stuff (and after all, these machines are really computers that sew).  This was SO EASY to size, position, all of it.  Even *I* could do it using the manual–no classes needed!  And utterly cool:  there is an iPad app that allows you to do stuff elsewhere in the house. With the iPad and your 15000 sharing your wifi network, you can view the progress of the stitch-out so you know if you need to go to your sewing machine and change thread colors or insert a full bobbin.  Totally cool!

FREE TUTORIAL!

Best of all, this project has just been featured on Janome’s blog where you can find a link to free instructions!   Today you can see my project here as a featured project.  Scroll down their blog to April 1 for a blogpost  on it.  Or go straight to the project, here.  At the bottom of that post is a link to download a PDF of my full instructions.

Here’s a view of the other side and the end:

Side two:  the Heart is also an included design, the font is called "Galant" and is also included on the machine.  It was surprisingly easy to create the design on the machine.  And if you happen to be my BFF living on SJI with the initials MZJ, yep--this is a sneak peek at part of your birthday present!  Red is the theme this year.....

Side two: the Heart is also an included design, the font is called “Galant” and is also included on the machine. It was surprisingly easy to create the design on the machine. And if you happen to be my BFF living on SJI with the initials MZJ, yep–this is a sneak peek at part of your birthday present! Red is the theme this year…..Right click to see larger.

End view of the caddy.  I used one of the built-in decorative stitches on the handle.

End view of the caddy. I used one of the built-in decorative stitches on the handle.

Thank you again, Janome, for years of support.  Your fabulous machines make it possible for me to do what I do!