Sometimes you need to do something else. You totally love your main “thing” (in my case it is clearly art quilting), but you need a break. And sometimes, that makes your main “thing” even better. I’ve learned over the years that good design is good design, whether it is landscape, interiors, architecture, photography, painting, sculpture, apparel, the principles are the same. So I have taken online classes in drawing and photography and been enriched.
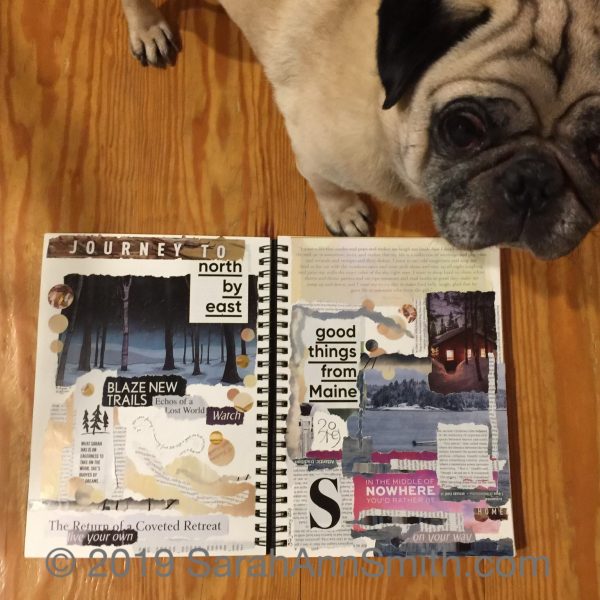
At least ten years ago, I sat down between Christmas and New Year’s desperate to do something creative. The boys were still pretty young so time was scarce. I grabbed a pile of magazines and started tearing out words and pictures and glued them into my sketchbook. That has become an annual tradition…at least most years. This year Widgeon decided he needed to see if the collage passed inspection. Happily, it merited a wag.
I don’t know if I’ve done it every single year, and some years — like this one — it was done in (late) January instead. But I like reading what words have called me to use them and seeing where my head was in a given moment.
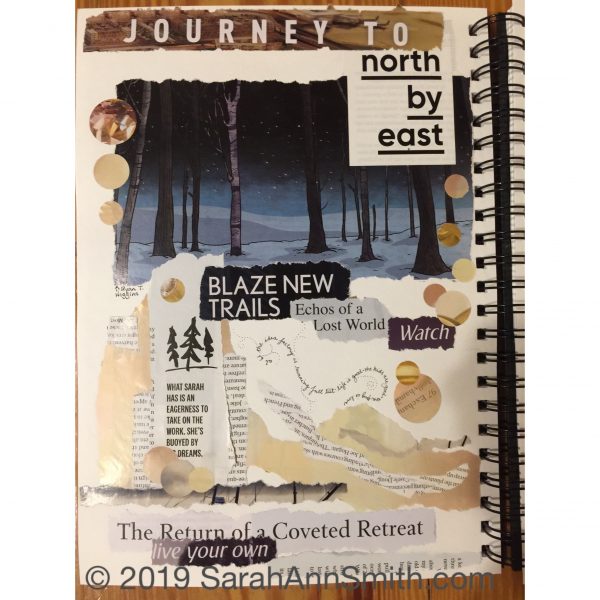
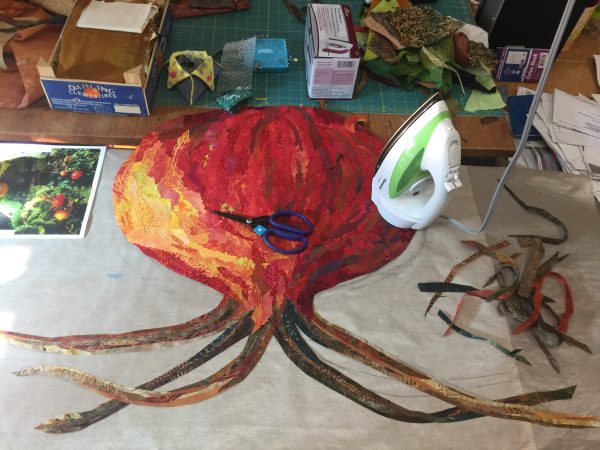
This year, I made sure to add information about whose artwork or photo. As with most years, a lot of my fodder comes from Down East magazine. North by East is a monthly column, and in December they featured work by Ryan T Higgins, a Maine Children’s book author. I must now go to the Library and see what they have of his. I was also stunned to see the “Sarah” quote, obviously about another Sarah. I covered up the “big” before dreams, but otherwise I really liked it.
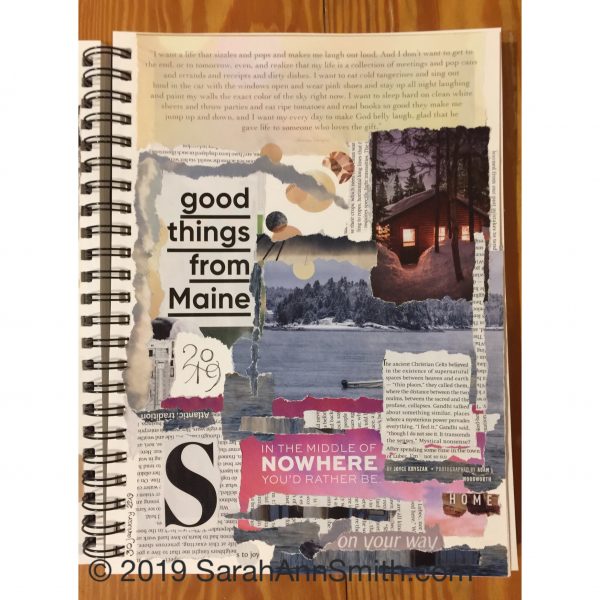
This page got pretty dense…but I liked the quote at the top (from an ad for something). I also liked the bit on the pink, but it was too much pink, so I covered it up. Using blocks of text upside down or sideways works. And I LOVE torn edges…LOVE LOVE LOVE…that exposed white framing the image or words. I also dug out my circle punches. Have some circles and a few squares.
I’ve also taken a number of outstanding art classes from Val Webb over the years, ranging from birds to children to faeries to animals, using pencil, ink, watercolor, colored pencil…I learn so much, both about materials and tools but more importantly about SEEING. Observing. I’ll never want to be a colored pencil artist, but taking birds in colored pencil with Val taught me about patience and layering. I found I now do that with dyes, with paints on cloth, with thread, in my art quilts. And this year I also took a brilliant course at Sketchbook Skool, Watercolor. I always want more watercolor!
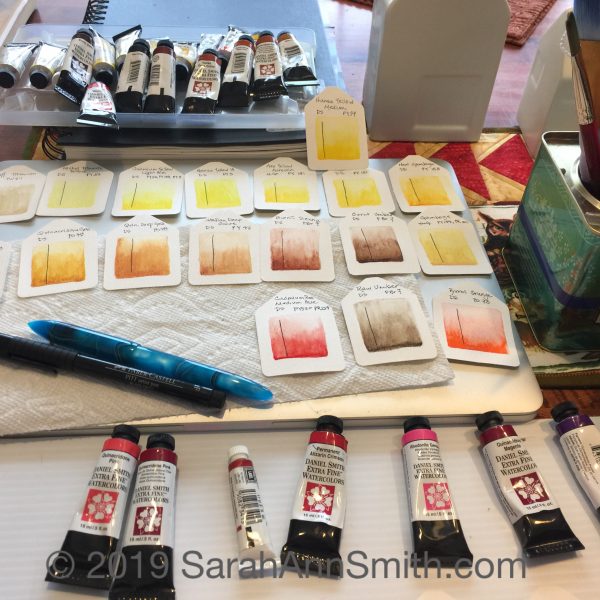
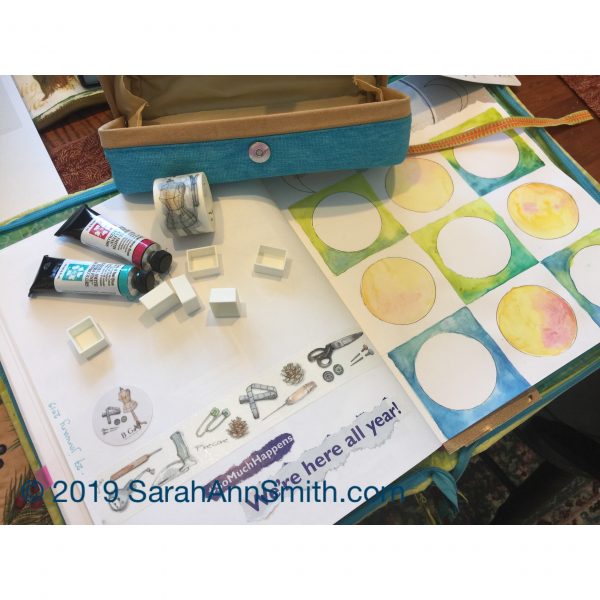
Over the past 8 years or so I have learned about the difference between student grade and artist pigments, that using quality paper makes all the difference in the world, and using pure pigments and mixing your own (just like dyeing fabric!). I decided I needed to get a bit organized and SEE the actual colors painted out from each tube. I had bought some icky (Bienfang) cheap watercolor paper that I will never use for a finished anything, not even a class practice piece. So got out my “tag” punch and did a paint out of every tube I have. Then ordered two more tubes! In search of the perfect pink…..and replacing one teeny tiny tube that is almost done. Each tag has the name, code for the manufacturer, and the universal pigment code (PV 42 for example is Permanent Violet 42). Yes, you can go wwwwwaaaaayyyyyy down the rabbit hole with this stuff!
A good mail and watercolor day. Turns out quilting templates and rulers have lots of uses, of course we all know that! I saw the clamshell cases at Jetpens.com and couldn’t resist. When I went to order, I discovered I had left that awesome washi tape in my cart, so it had to come to me also. And then there are those two tubes of watercolor and some empty half pans. That’s another thing I learned: make your OWN palettes with your favorite colors, use magnetic tape that sticks to the bottom of the pan, put inside a palette or metal tin. And then I used my quilting rulers and circles to mark a grid in my notebook/sketchbook.
I used to have both my to-do-etc notebook and a sketchbook. I never had the one I wanted handy. So I said to heck with the cost, and bought a GOOD sketchbook and use that as my “everything” journal. I write lists, take notes at SAQA (Studio Art Quilt Associates) meetings, suss out ideas for quilts, and sometimes even sketch or paint in it! Now I will start filling in the circles with words, quotes, ideas, images/sketches, may fill the white backgrounds with ink textures…we shall see!
So that’s what I’ve been doing…along with quilting. What about you? And here’s an end of the day/blogpost dog walks photo from yesterday:
Not quite done yet, but improved and much closer to done and basting
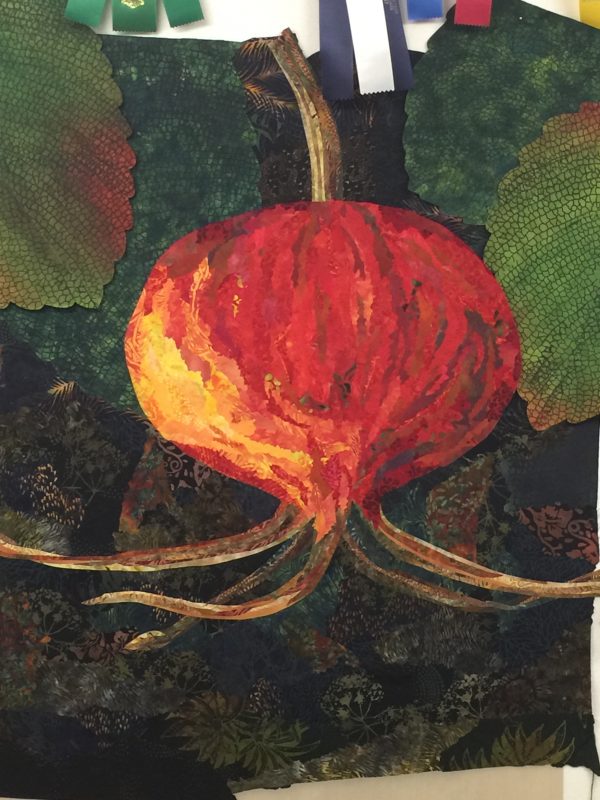
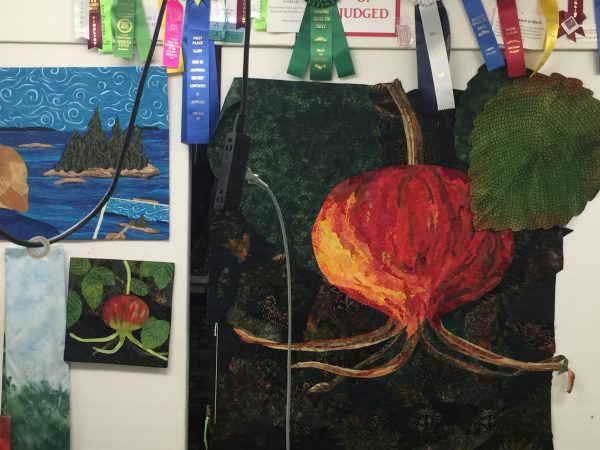
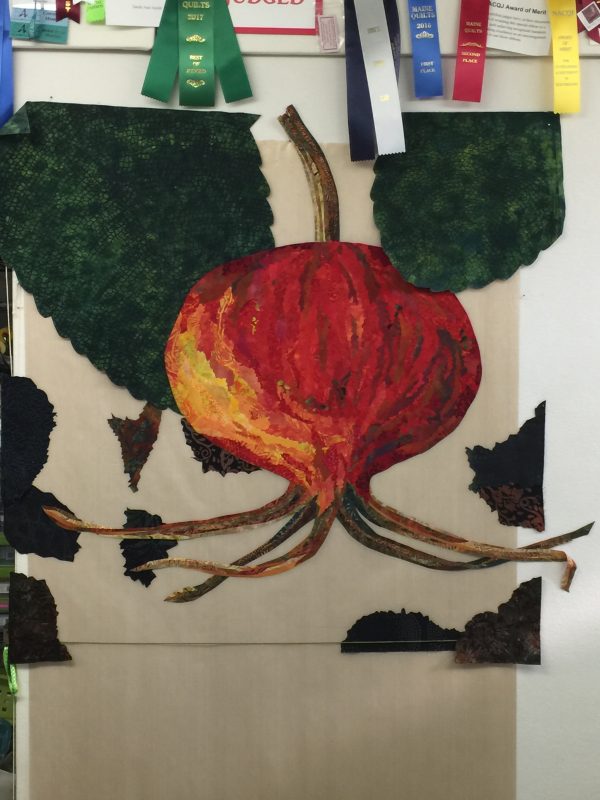
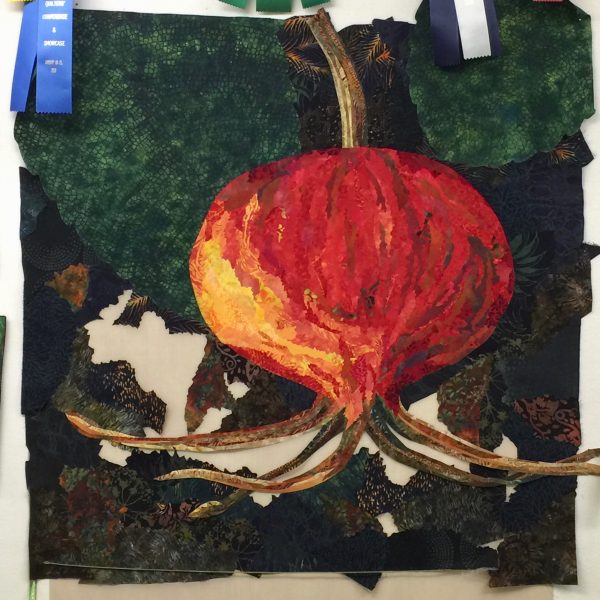
Better. I finally got a little time in the studio (and the hammering on the roof is more muffled down there–we are having a new, metal roof put on–who knew they could do that in Maine in January?). I had thought the Rosehip top was done when I left it on Sunday evening but, I’m learning I need to let things set a spell, after I looked at it with fresh eyes realized it needed some help. I made a small rose hip quilt (below), and when I saw it next to the big one, I realized the large one looked a bit dead.
My Cherrywood “Vincent” challenge quilt just returned home. Just beneath it, on the left, is the 12″ version. See how cheerful those leaves are? The large one was crying out for some life.I thought I was going to have to dye more fabric as what I had was either too dark OR too light. Then I looked in my stash and found some fabric Lisa Walton of Australia gave me about ten years (!!!!) ago. I had used a bit of it in a quilt that won my only (so far) ribbon at International Quilt Festival, Houston, but otherwise it was safe. So today I pulled out my Rugosa Rose leaf texture thermofax screen, the paints, and Lisa’s fabric. PERFECT! I also needed to extend the bottom of the quilt–it will end up square, but I decided it needed more breathing room on the bottom and the stem at the top will just be shorter. Since it is the foreground, a larger motif was suitable. The original colors were plum and caramel…too bright and wrong! So I used ProSilk textile paints to fix. If you’ve ever wondered what to do with a cutting mat that has vastly exceeded its life expectancy, it makes a good surface for painting!
Off and on for the past couple of weeks I have been dyeing fabric, drawing or photoshopping images to make thermofax screens, and finally working on collaging the background for the rose hip, the large (36″ square) version. To those of you have landed here from my new newsletter, thank you! To those of you who don’t know about my new newsletter, please go here to the home page and sign up! I will write about mid-month and will never share your info!
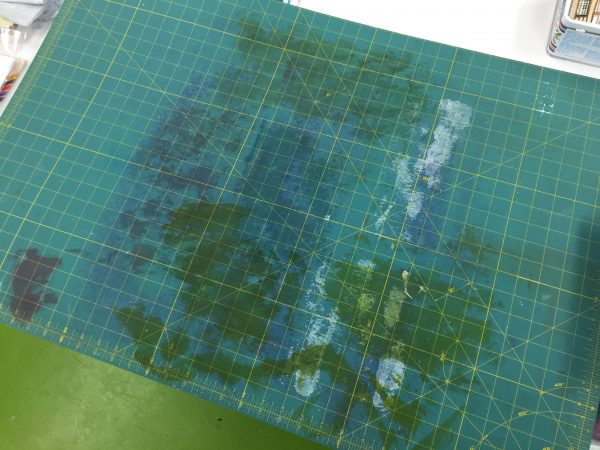
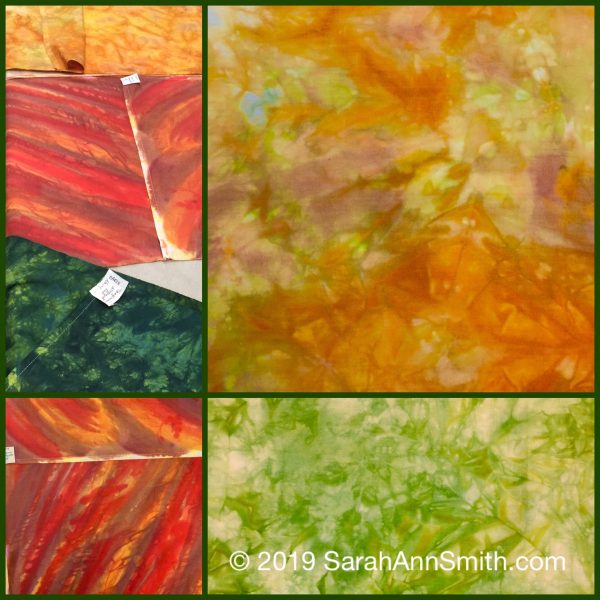
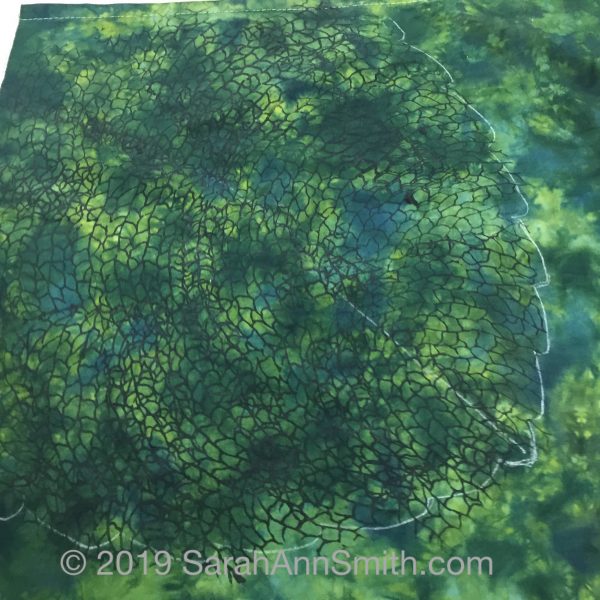
When I last checked in with you, I was just getting to this stage–finishing the rose hip on a flat surface. The next step was dyeing some greens. Kinda looks like pond scum, eh?
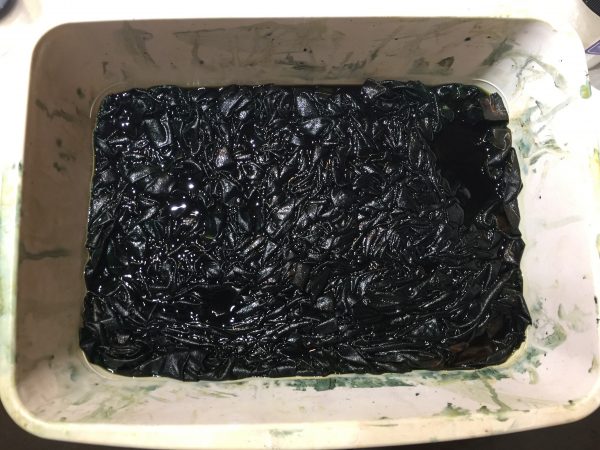
While I was at it, I used up the leftover dye for some autumn-y leaf colors for a future project.Some of the fabrics turned out great–alas, most of these didn’t work for this piece. AND I got smart…I am now adding tags with the pure dyes used in each piece so I have a clue if I ever want to make them again.
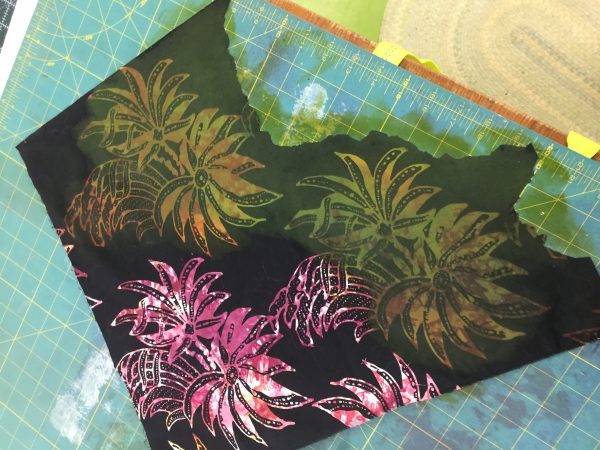
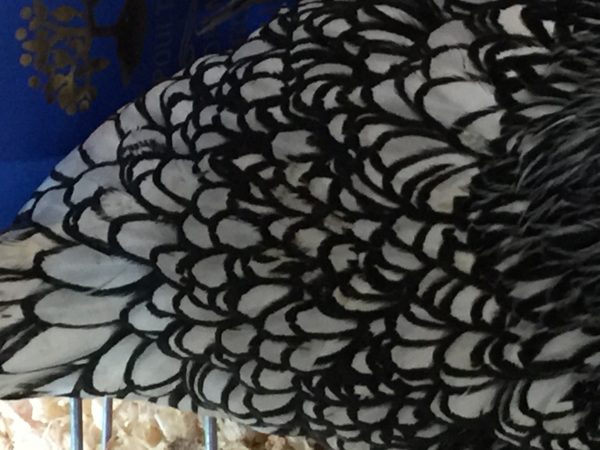
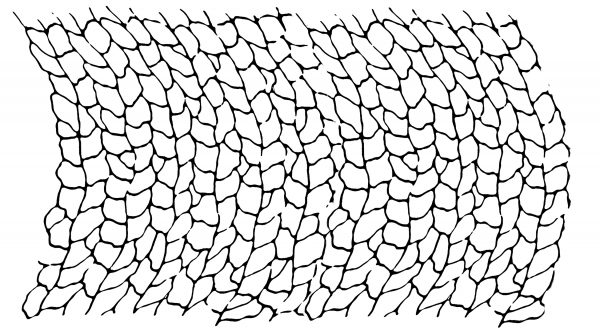
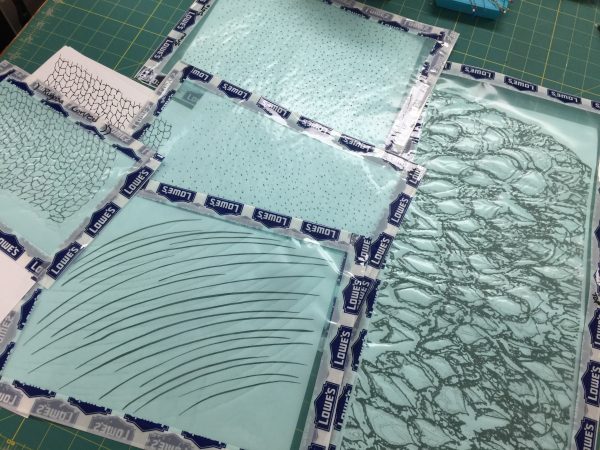
Next, working on thermofax screens. This is the photo of a chicken at the Common Ground Fair last September–as soon as I saw the strong light and dark I thought “Thermofax screen!”And here it is after photoshopping. It made a fabulous fabric, very dark tone on tone, that I’ve used in the background. Alas, I forgot tot akee pics before I cut it up!I also wanted to make a texture similar to Rugosa rose leaves, so this is my initial sketch, which became a screen.I tend to work in batches, so while I was making those screens, I made several others. That one on the right, the feathers, is about 20 inches long! The snow is for another future quilt.
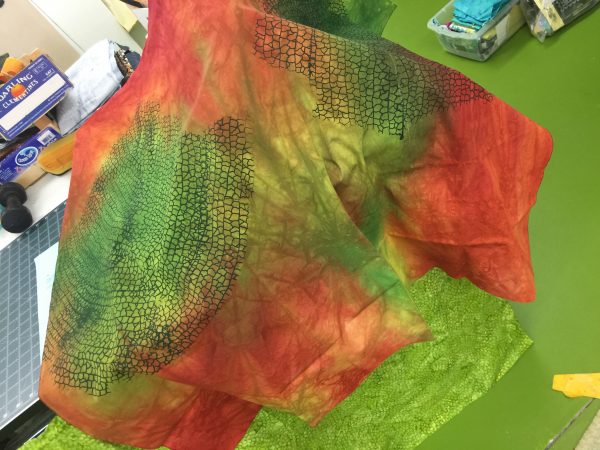
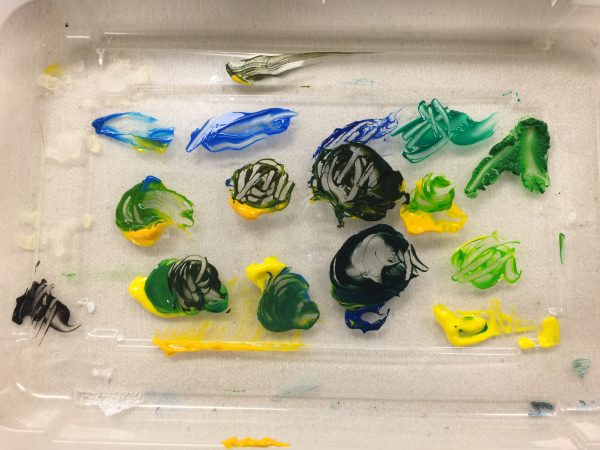
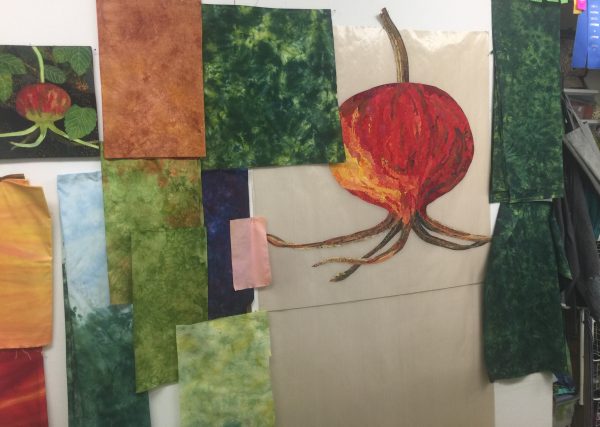
These are the transparent paints I mixed, with a little black, to use for the rugosa texture on the rose leaves.Here’s one of the leaves…..And the two large leaves, in place. The long one on the left is about 18 inches long. Alas, after looking at it this morning, I have decided those two leaves are too dark and have to go. Back to the dye pots once this post and my newsletter are done! I’ll use the fabric for something else eventually. LOVED the batik but knew ordering it that it was too high contrast for my process. A little Dye-Na-Flow and ProSilk textile paints fixed that easily: overpaint in green!And where I am now. I want the quilt to be dramatic, but it feels to dark overall. The smaller version has brighter green leaves and I’ve decided I need to dye something that is midway between the medium-light hand-dyes on my shelf and the dark green used here. Or use some fabric Lisa Walton gave me years ago…I think her bits of green are just right, especially once I add some texture.
So that’s about it for now….thanks for surfing in, share the post, and let others know about the newsletter. I’d love to ramp up my teaching again, and the best way to do that is by showing my work and getting the word out there. Now, off to make cookies for the guys roofing the house in freezing weather, then down to the studio.
Do you ever have those days where you are trying to cram so much into one day you think your head will explode? Yeah. Today!
The best news is that the greens will work! This is my enormous rose hip in progress. The 12″ square “test drive” and demo sample is on the left. The big one will finish 36″ tall, probably square, possibly not.
So far today:
Rinse out hand-dyes from yesterday, hand wash
Machine wash and dry hand-dyes from yesterday, iron
View SAQA Webinar on 3-D artwork considerations
Create “artwork” for three simple thermofax screens
Add more things to the To Do list as remembered
Scan said artwork
Manipulate said artwork in Photoshop, sent to printer
Eat lunch
Send email relating to upcoming The Quilt Show appearance
Review email and reply as appropriate
Refill RX–call it in
Think about booking plane tickets for TQS trip, decide to deal with it later
Make another pot of tea — perhaps turn on Father Brown on PBS / recorded
Think about making thermofax screens today
Think about making stew for supper first instead
Decide to blog before dealing the three previous thoughts
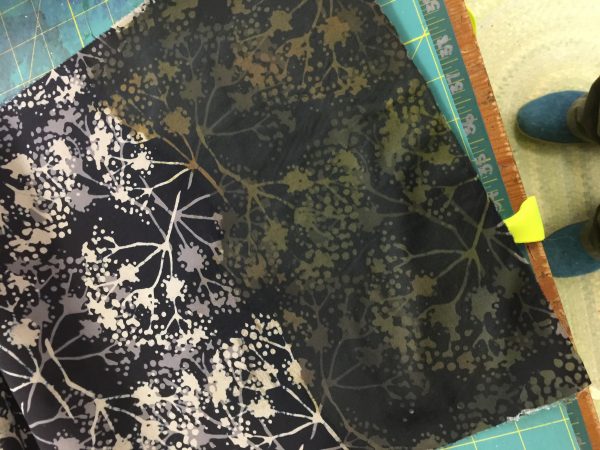
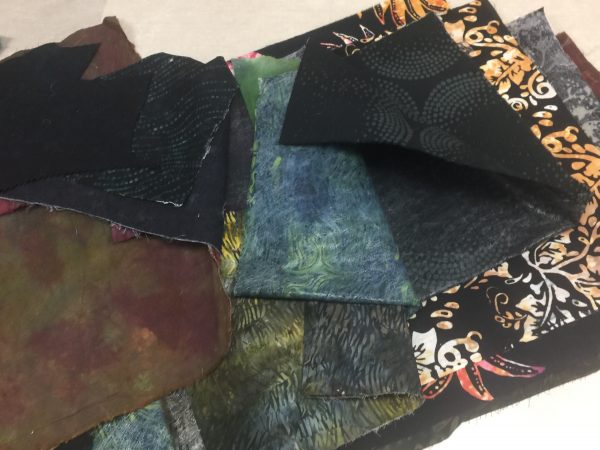
These are both the fused or the right side of fabrics I’ll possibly use as background pieces. Some clearly need some over-painting to knock down the high contrast.
So that’s my Saturday…how is yours going? I think I’d prefer a novel with that (decaf) tea right about now, and it’s only 2:12 p.m. I need to “set a spell!”
Yep, 2019 is shaping up to be a great year because I’ll be able to tick off a Bucket List item: in early April I’ll tape an episode of The Quilt Show with Ricky Tims and Alex Anderson! Here’s a preview I taped with Ricky while I was teaching at International Quilt Festival 2018 in Houston last November. I’m so psyched–gosh they made my work look SO GOOD!
Interview with Ricky Tims about my upcoming visit to TheQuiltShow.com . I’ll tape the episode in April and it will air later in 2019, I’m guessing towards late summer or fall (August to November for those not in the northern hemisphere).If you’d like to get my monthly newsletter, sign up on my home page, here.
We haven’t finalized the topics yet so can’t share what it will be, but it’s bound to be something along the lines of art quilts, painting, fusing and/or quilting. I know I can’t fit in everything, but I hope to inspire you and maybe even generate some teaching jobs. If your group or show is interested, please contact me using the contact page on my website. And if you’d like to follow this blog, please click on one of the options to subscribe in the sidebar to the left.
And OMG: SEE YOU ON THE QUILT SHOW! Yep, I’m shouting in delight! Thank you Ricky, Alex, Justin and John–can’t wait, and some quilty friends will be there for taping too…SQUEEEE!