email Youtube

Home
Galleries
Blog
Workshops & Calendar
Store
Resources
About
Contact

Archive for the ‘Art’ Category

Lino-Cut art quilts: the 12×12 block

Tuesday, February 16th, 2010

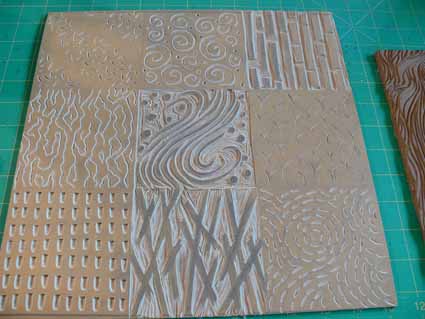
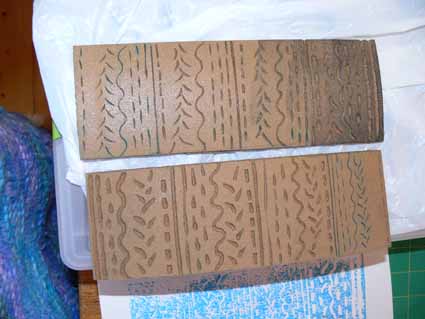
A few days (week?) ago, I shared with you some of my first attempts at lino-cuts, here.  I then did the first exercises for the class. To become familiar with the techniques, Dijanne Cevaal (our teacher, blog here and is in the links on the left) has us do a nine-patch sampler of marks.  Of course I didn’t make mine quite like the sample, but you get the idea:
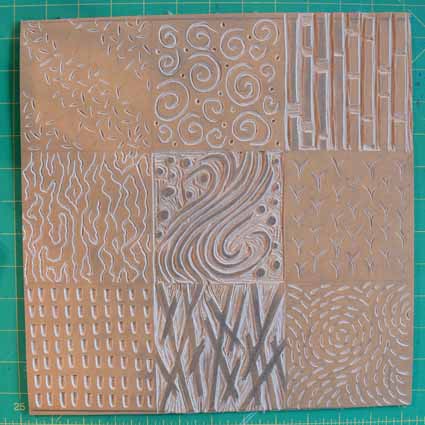
And an angled view that gives you an idea of the depth of the cuts.  For this one, I used the Golden-Cut linoleum from Dick Blick (link below).

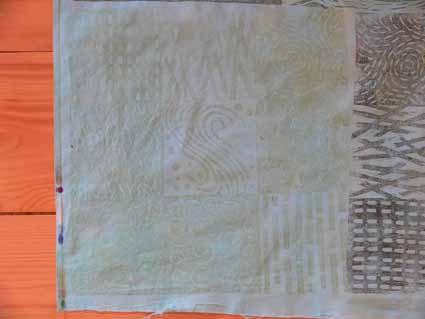
One of the best suggestions / new to me, was to use a pale color of paint/ink for printing to create good background texture, then print over it with another lino-cut.  The pale background print adds subtle but effective movement to the print.  Here is my pale print (which I will over print, at least part of it, later on):

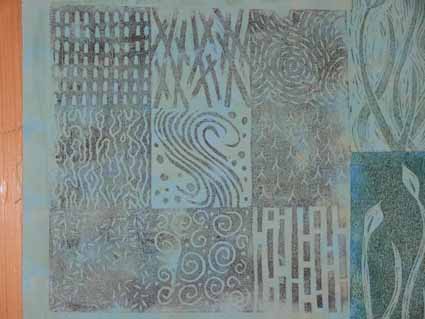
The trick with this 12 x 12 inch block is to get it all inked up without having the paint dry.  I have been using the textile paints I had on hand:  Jacquard Textile paint,  Setacolor transparents and Lumiere (a metallic).  For my second print, I used a pewter metallic Lumiere.  You can see pale spots where I didn’t get it inked up quite as well as I should have.

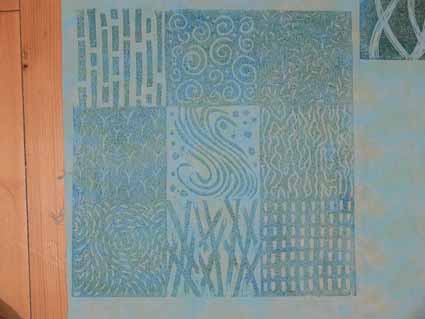
The third attempt was with some Jacquard Textile Paint.  Usually, I’m not as wild about this paint as it is thick and opaque,  so when painting or doing some stamping with it, it obscures the print of the cloth underneath (I like to shade the fabric usually, but not hide it).  However, this paint worked the best for this technique.  I REALLY like the way this one turned out.  I’ve ordered more of the Jacquard and some of the water-soluble Speedball inks that are for use on textiles to see how they handle, too.   Stay tuned for tests with those (the box should be here in a few days–ordered from Dick Blick, an online art supply store in the US).

Next, I’ll share some leaf / bud carvings and prints.

Lino Cutting with Dijanne Cevaal

Thursday, February 4th, 2010

I LOVE woodblock prints, etchings, lino-prints…. I love and am always inspired by Dijanne Cevaal’s work, which you can see on her blog, here (and then follow the links there to more eye-candy).  Well, last year when I was beyond over-busy, I learned she was teaching an online lino-cutting class.  I promptly wrote and asked her to let me know when the next one began.  She did, and on Monday we received our first lesson.  Here are my first rudimentary attempts…

I have cut easier-to-cut surfaces than linoleum, such as MasterCarve (the Rolls Royce of rubbery media) and Speedy-Cut.  But I knew I could learn from Dijanne, and just reading the first lesson was a wonderful tour of antique textiles, textile printing history (did you know that Fauve artist Raoul Dufy also designed couture textiles?  I hadn’t!), and lots of useful tips.

I also learned while working on the first exercise that my Speedball lino-cutting tools are VERY SHARP, and how deep is too deep to cut safely (thereby causing the blade to skitter out of control into my left index finger…OUCH!).  Yes, Dijanne warned us, but I –as usual– appear to have had to learn the hard way that THAT was TOO deep!

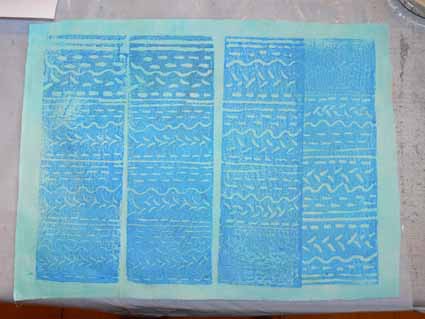
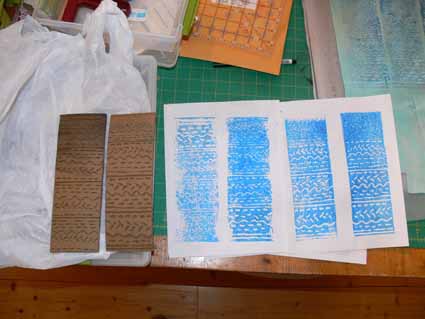
The picture at the top is four efforts at printing on cloth.  I used one of three different types of linoleum (wanting to try out each one before buying a bunch) I ordered from Dick Blick, a major discount art supply house here in the US.  I actually don’t much like the one I used here… it is like sawdust plasticized.  I hope I like the other, but harder to carve (?) lino better… the other yellowish one certainly feels smoother, and the quite hard gray even better.  Anyway, here I decided to be uncharacteristically methodical, and tried all 8 of my blades (I have two different carving tools, and luckily each one came with a slightly different assortment of blades, giving me four “V” and four “U” shapes/sizes).

I did a test-print (I used Jacquard textile paint in blue on a piece of aqua hand-dyed) on paper first.  Clearly, I need to refine how much paint I get on the lino-cut and how well.  My sponge roller is in need of a new sponge, since the last time I used it it accidentally dried with paint in it.  Ooops.

I’ve got two more exercises to do for this lesson, and I’m really looking forward to the next two lessons!  However, I’ll wait for my sliced finger to heal and also work on a MAJOR project that is due and needs massive amounts of work NOW… back in a bit with more lino-cutting!

Betcha didn’t know…

Tuesday, February 2nd, 2010

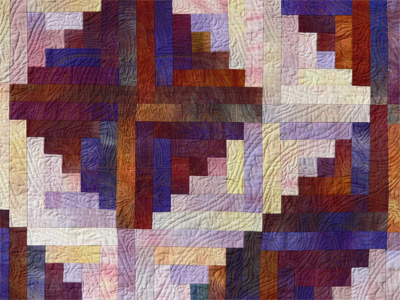
that I began my quilty life as a traditional (well, sort of) quilter.  My very first quilt…the one I began first…was a Mariner’s Compass (!!!!).  However, it was too hot in Central Africa, even sitting by the air conditioner, to sit under the quilt for more than 30 minutes so I gave up trying to quilt it by hand until we got back to the Washington, DC, area.   Pretty soon I started playing with colors, quilting designs and themes, though.  Maybe ten years later, I fell in love with Judy Robertson’s hand-dyed fabrics; I spent a small fortune buying two multi-light yards and two multi-colored dark yards and made this quilt, From Sea to Shining Sea:

The colors reminded me of the words from America, the Beautiful, so they song is machine quilted into the quilt, with an American eagle (from the US quarter dollar coin) and a sorta-traditional vine.  I tried…but just couldn’t get a truly traditional feathered vine to look  right on this quilt!  Detail:

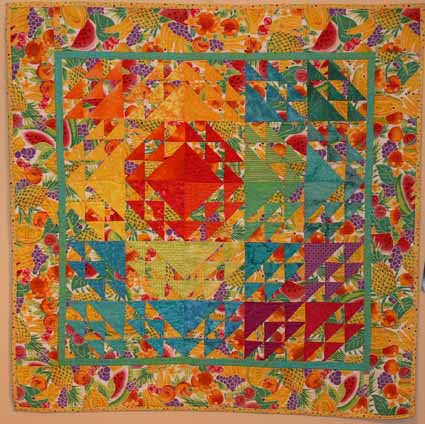
That purchase of hand-dyeds started me on learning how to hand-dye myself.  Then I started selling my hand-dyeds.  I wanted to show folks that they could combine hand-dyeds and lookalikes with print fabrics and make fun, contemporary quilts based on traditional blocks.  This quilt is, I think, North Winds, and came from the Quilts from the Quiltmaker’s Gift book (link here) or More Quilts from the Quiltmaker’s Gift (link here…forget which one).   They are both lovely books, with great illustrations to show how the quilts will look in different colorways.

Anyway, this quilt has an official title, but to me it is the Anti-January quilt.  I lived in the Pacific Northwest of the US at the time, where it is gray and dreary from late November until at least February.  I found myself yearning for bright cheery fabrics every January, and made this one at that time of year.  I set the colors to look like the blazing sun surrounded by the green islands and tropical blue waters…..:

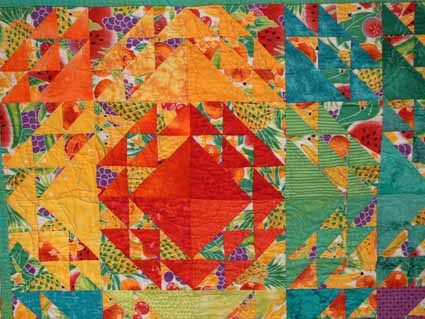
and a detail…quilted with tropical seas, palm trees with coconuts, waving beach grass, tropical fish, seagulls……..

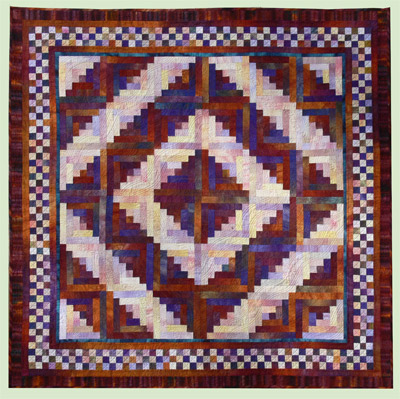
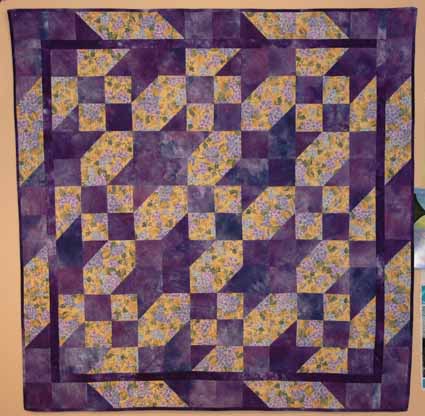
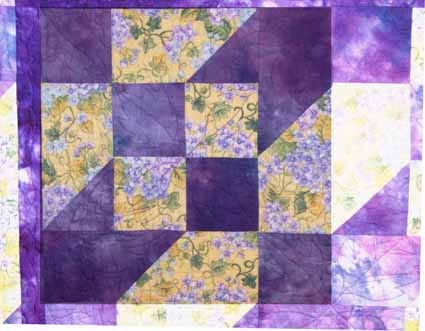
Then as a quickie quilt to help sell MY hand-dyed fabric (which I no longer do really), I grabbed some purple (four fat quarters I think) and a very girlie yellow-purple print on my shelf and made this quilt using the Road to Oklahoma block:

Since it is hard to find the block, I did up this photo.  There are nine blocks of 12 inches each in the center of the quilt, which is about 42 x 42 inches (about a metre square).

Hope you enjoyed this trip into medium-ancient quilt history!

Art for the new year: Postcards

Friday, January 1st, 2010

Happy New Year Everyone!   May the good stuff from last year continue, may the icky stuff go away…as simple as that!


Someone on the QuiltArt list asked what our “word for the year 2010” would be.  I’ve not really done that before—I tend to be NOT introspective and don’t make specific long-term goals, and quit making resolutions years ago.   [I resolved that I would no longer make New Year’s Resolutions, but instead would make them when they needed making!  I’ve done that, and it is the first New Year’s resolution I’ve managed to keep for years!]

Anyway, after thinking, de-clutter, de-stress, and a few other similar concepts, I came up with

Simplify.

I need to simplify what I do, how I do it, and reserve more time to make art and allow myself to re-charge.  Since I got back from Houston in late October, I’ve been playing a catch up game, feeling that I’m in a fallow period for art.   I need time to restore myself, so I’ve been reading novels, spending time with family, and generally trying to not kill myself with work!

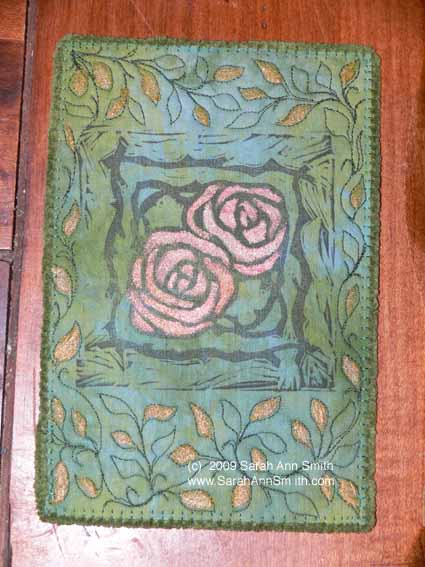
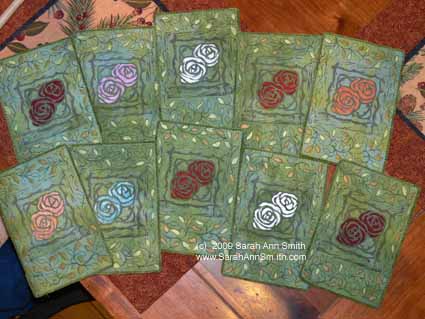
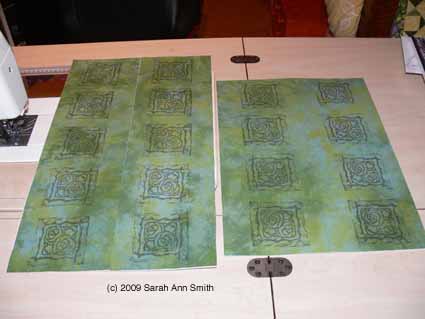
Along with the theme of simplify, I thought I’d share these fabric postcards, many of which I make for an online swap.  The theme was Art Nouveau/Art Deco, and I think the design is nice, straightforward, and fairly simplified!

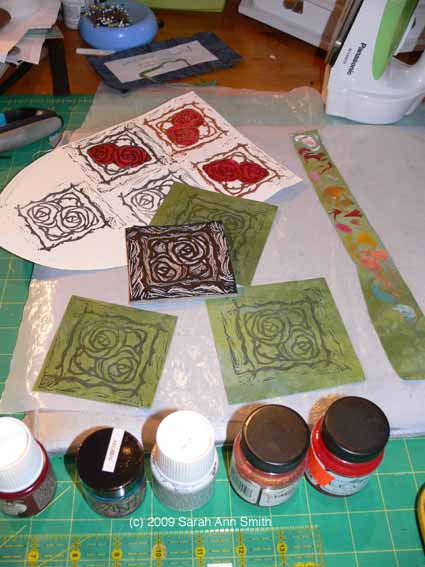
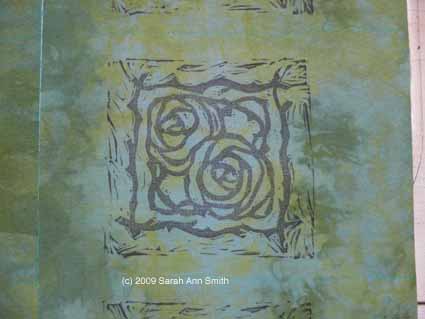
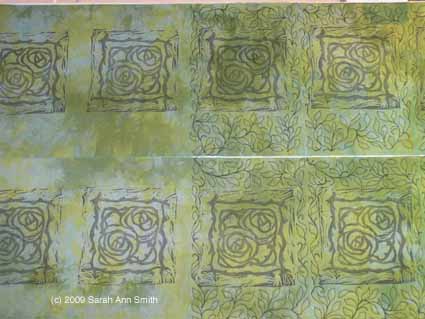
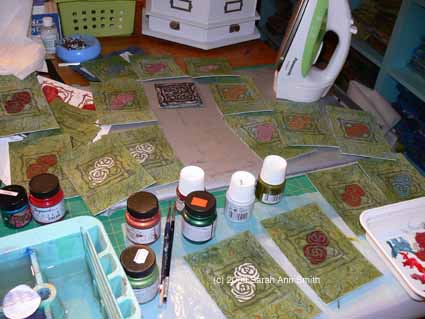
Here’s how I made them.  First I carved my own stamp, based on a design from a Dover book (copyright-use OK).  I simplified the design which was too intricate for carving in a stamp that is just under 3×3 inches, then added a frame of vine-branches. You can see some test-prints on paper, and some test-swatches of the paints…mostly Jacquard Lumiere and Setacolor Pearlescents.
I printed onto my own hand-dyed cloth with Ancient Page archival ink:

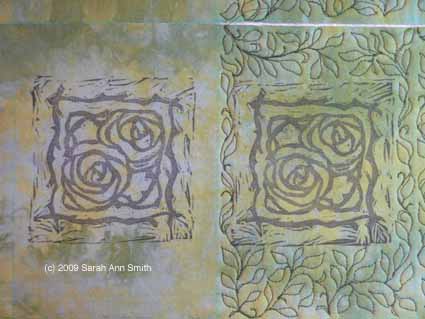
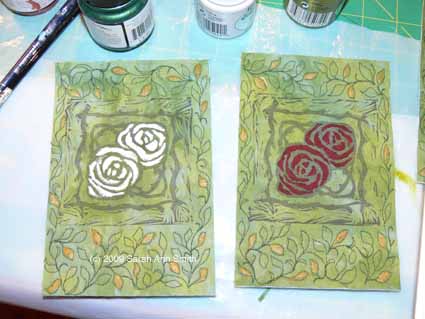
The cards were then quilted and painted:

Next, I painted some of those leaves.  It actually took longer to paint the leaves than to quilt the cards!

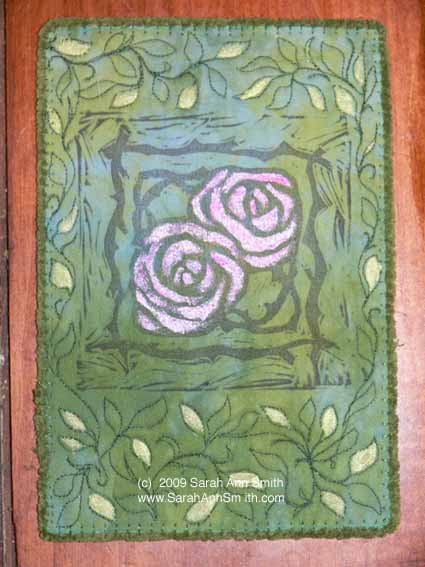
Finally, I added a couched yarn edge-finish:

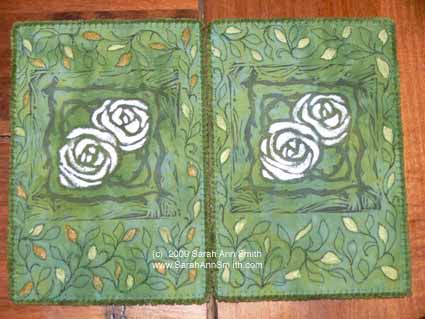
Here’s a close-up of two of the silvery-white roses, one with just the pale green-gold leaves, the other with two-tone leaves:

I have mounted three of these cards and will be offering them for sale, but need to take pictures.  Hopefully I’ll get those posted soon…in the meantime, welcome to 2010, to the snow that is falling turning the view out the window into a white and grayscape wonderland, and to making art!

The Frayed Edges, October 2009, Part 1

Saturday, November 21st, 2009

The weekend after I returned from Houston, Deborah Boschert flew up from Texas for a glorious Frayed Edges reunion.  It is SO WONDERFUL that Deborah can manage to get up here…almost every year!…since she moved to Texas.  We miss her daily presence, so appreciate her visits so much!

2009.11.Blog.FrayedPt1012Deborah visited various ones of us spending the night (tho Camden is too far flung for her to reach, alas!), but on Sunday we had a wonderful sleepover at Kathy’s house!  Thanks bazillions to her hubby, Bruce, for taking a night away with his family so we could run amok!

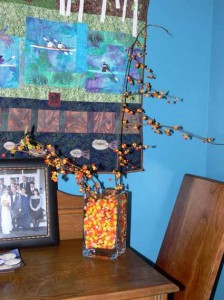
Kathy always decorates for the season, so it is lovely to visit.  Look how she used candy corn to anchor the bittersweet—lovely!

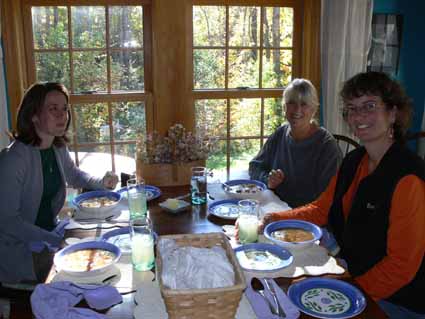
Since our sleepover was on a Sunday night, we had various family-kid obligations (well, Kate, Hannah and I did).  Hannah missed lunch, but here we are:

2009.11.Blog.FrayedPt1011

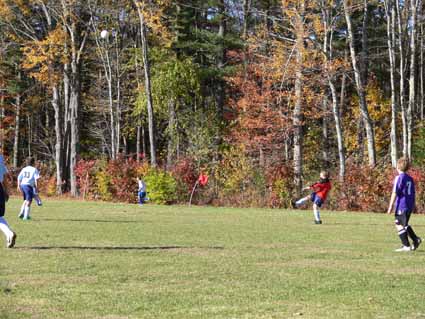
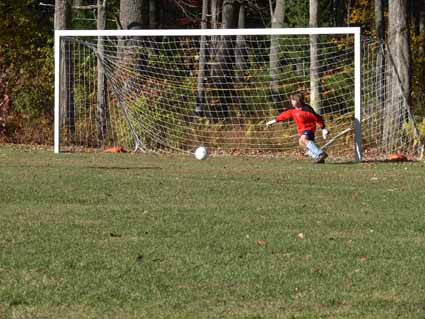
Then I had to decamp to Topsham, where Deborah used to live, for Eli’s last two soccer games of the season–and learned that her daughter used to play on the very same fields (directions:  go to the parking lot, then take the path through the woods to the fields… I kid you not, those were the actual instructions!)!  Here’s the goalie supreme (red shirt) in action:

2009.11.Blog.FrayedPt10102009.11.Blog.FrayedPt1009

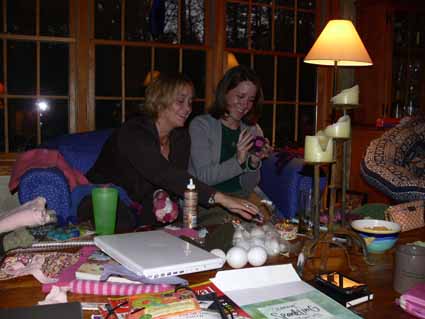
By the time I got back to Kathy’s house, Hannah was there, and Kathy’s book group at the China Village library was over.   We had a blast making ornaments… I was the poop in the group and didn’t get kits made–just too much to do and too stressed after Houston and getting the pre-ordered books out, but the others came up with such wonderful projects….Here’s Deborah working on a felted wool rose-ball (from Hannah!)

2009.11.Blog.FrayedPt1008

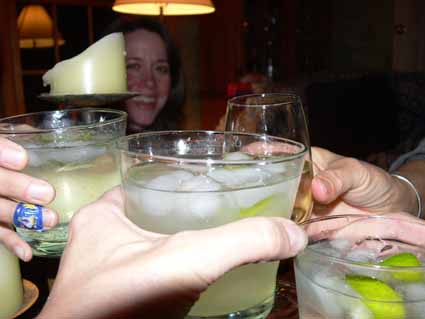
and of course we indulged in some potent potables… I don’t even remember what this drink was (Kate brought it) except that it was tasty!  I am SO not a drinker of mixed drinks, so I don’t know what ANY of them are!

2009.11.Blog.FrayedPt1007

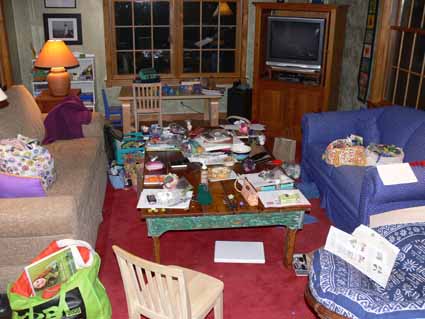
as we got up to go to dinner (we did potluck…I brought lunch, Kathy did dinner, Kate did breakfast, Hannah brought munchies) I loved this picture:  the chaos of friendship! Stuff and gifts and projects and crafts everywhere!!!!

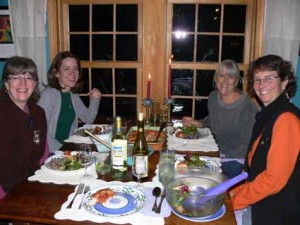
2009.11.Blog.FrayedPt1006and then two shots of us at dinner (which was delectable…but why am I the only one to have seconds????)

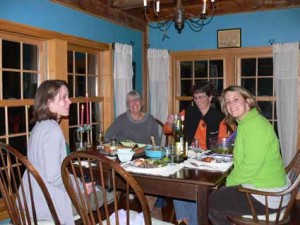
2009.11.Blog.FrayedPt1005

2009.11.Blog.FrayedPt1004

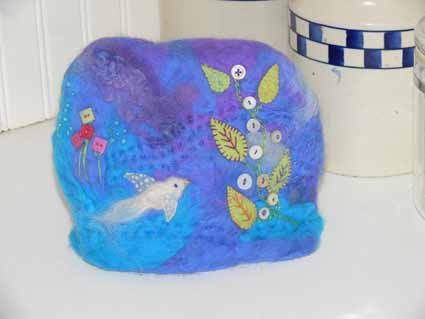
and then another of Kathy’s charming goodies…a little needle felted wool cozy, with embroidery and stitchery and beads and buttons…. sigh…. beauty on a daily basis wherever you turn in her house!  2009.11.Blog.FrayedPt1002

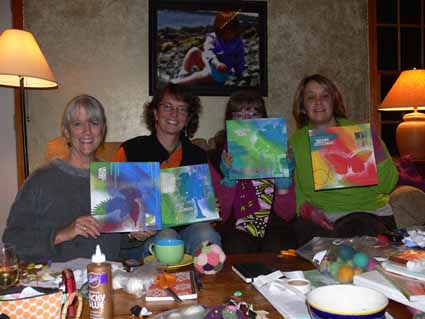
It was my birthday not too long ago, so Deborah brough prezzies to celebrate assorted birthdays over the past year…. here we all are with our lovely pieces:

2009.11.Blog.FrayedPt1001

Don’t we all look so happy?!!!!  What a wonderful day… And that was just Sunday!   I decided I’d split the visit into two posts, then started processing the photos and realized I’d best make it three!  So I’ll share the rest of the visit over the next week or two.