Milkweed No. 2 is headed to Australia
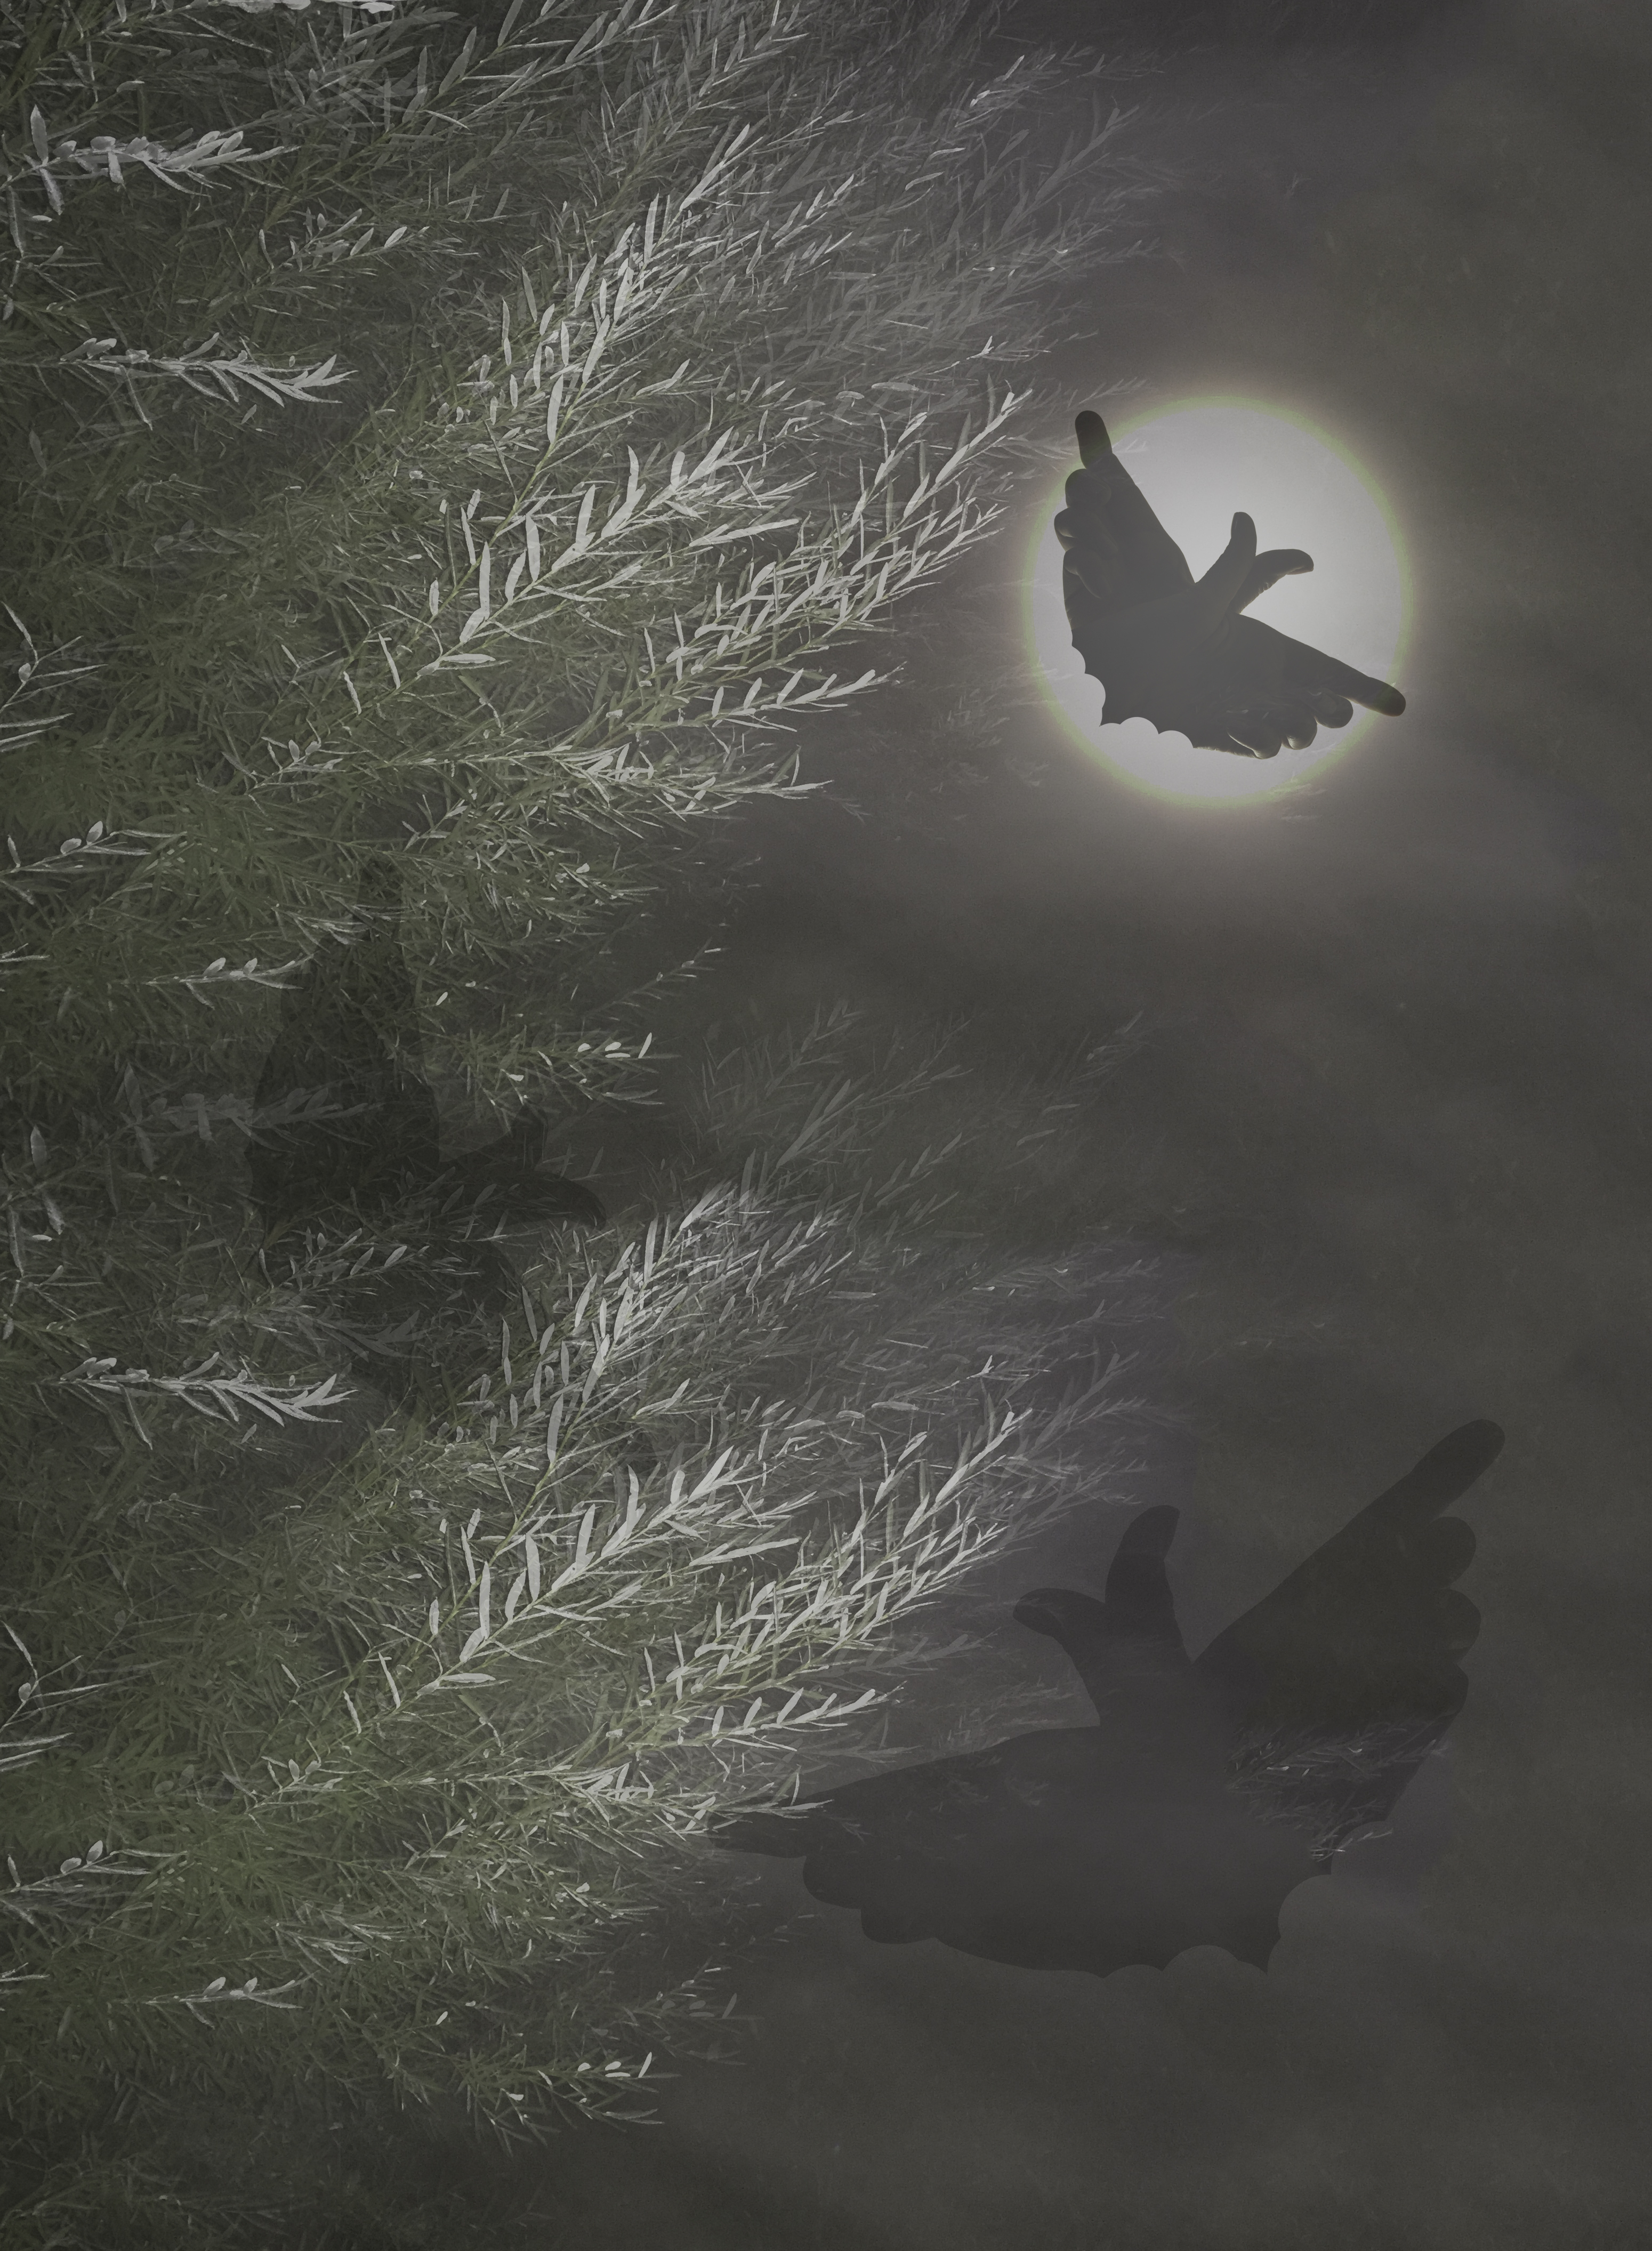
Thursday, February 4th, 2016I’m delighted to share that my most recent art quilt, Milkweed No. 2, has been selected to be in Brenda Gael Smith’s current exhibit, A Matter of Time, and is en route to Australia! Brenda is giving us all sneak peeks at the artworks in her blogpost series called “Just a Moment” here.
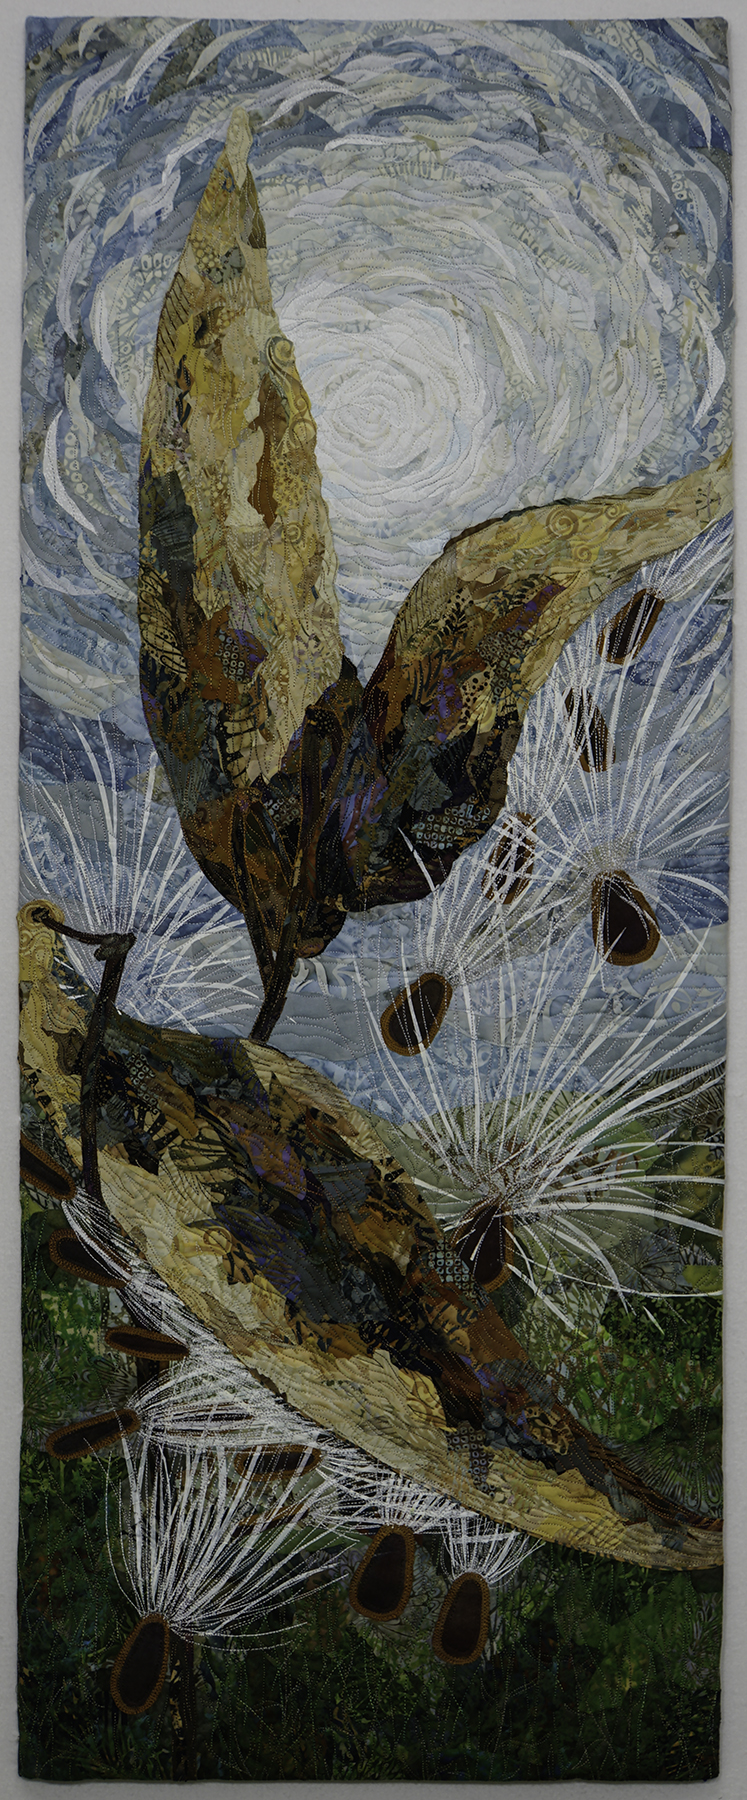
Milkweed No. 2 has been juried into A Matter of Time and will be touring in Australia, New Zealand, and possibly points beyond in the coming two years. I’m thrilled—just wish I could fit inside the envelope and travel with it! Click to view a little larger.
Apparently I mostly forgot to take in progress photos (!!!) while I was making Milkweed No. 2, so I will share one or two in progress shots from the making off Milkweed No. 1 (which I have not yet shared in public…stay tuned for that in a few weeks) in this and in a second post about my process.
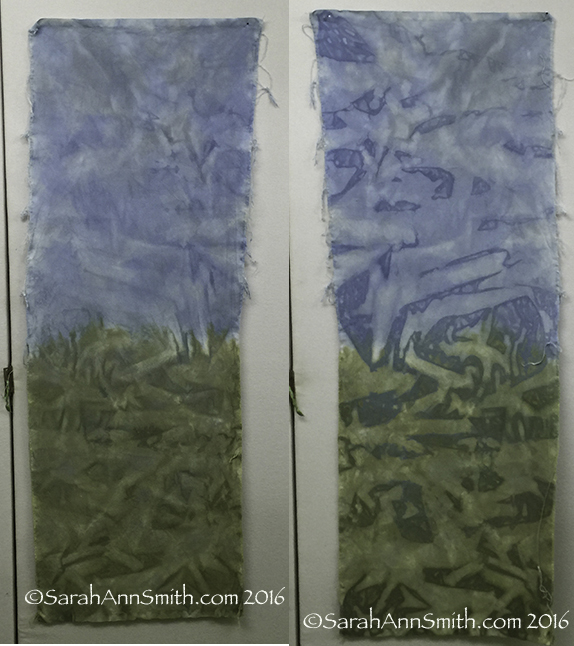
As usual, I began with an idea (more like an obsession with milkweed pods) and dyeing fabric. I had plenty of batiks and some of my own hand-dyes but needed more for the sky. I decided to dye some cotton duck for the backing, as well.
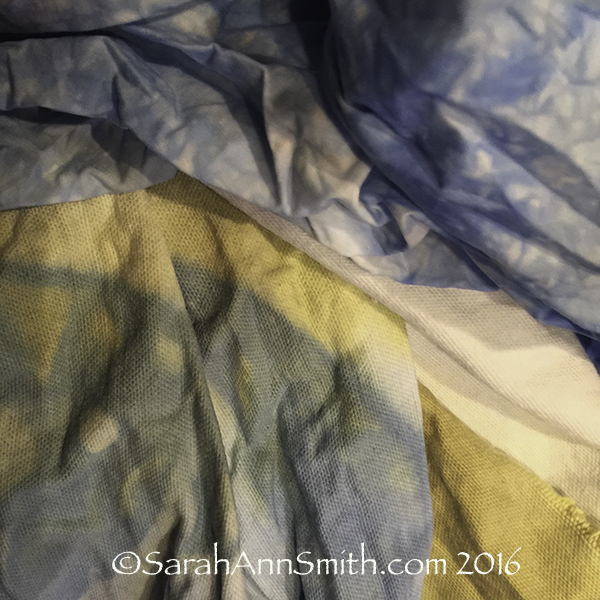
Backing and sky fabrics I dyed specifically for my two Milkweed quilts.
I use the cotton duck as a stabilizer. It helps reduce shrinkage and the artwork hangs beautifully, although it isn’t as easy to handle under the needle as a lightweight fabric. It is worth the trade-off! I wrote an article about my process for Machine Quilting Unlimited and blogged about that here.
The top side of the cotton, is on the left. The right side shows where the dye pooled on the bottom (cloth was dyed flat on a surface).
Next, using Mistyfuse (by far the softest hand, easiest to use, never “ages out”) adhesive / fusible web, I prepare my fabrics for collaging. My video workshop (here on my site and available as a download here from Interweave) shows this part of the process, plus a lot more. Anyway, I use my “stash” of fused pieces, but always end up adding more bits for a given piece.
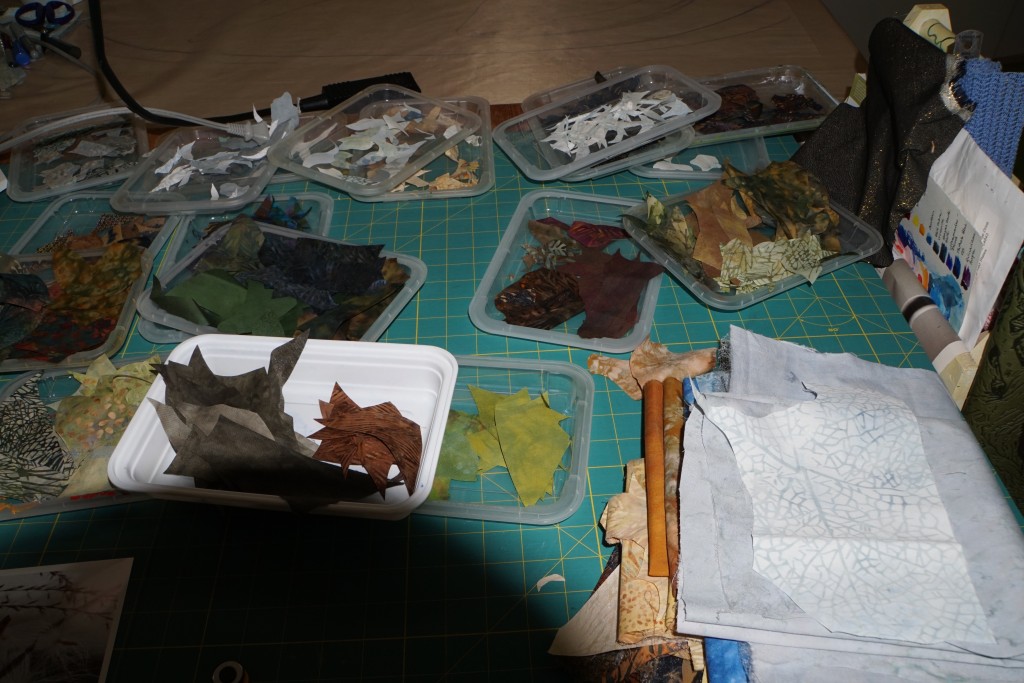
Sorry about the shadow on the left—here I’ve got fabrics out for fusing and am sorting them into colors using carry-out dish lids (that I’ve been using for at least the past 7 years! that restaurant has been out of business for eons)
Next, I start the fusing process. In this shot, I’m working on the sky for Milkweed No. 1 (larger, landscape orientation), but I used exactly the same process on this piece.
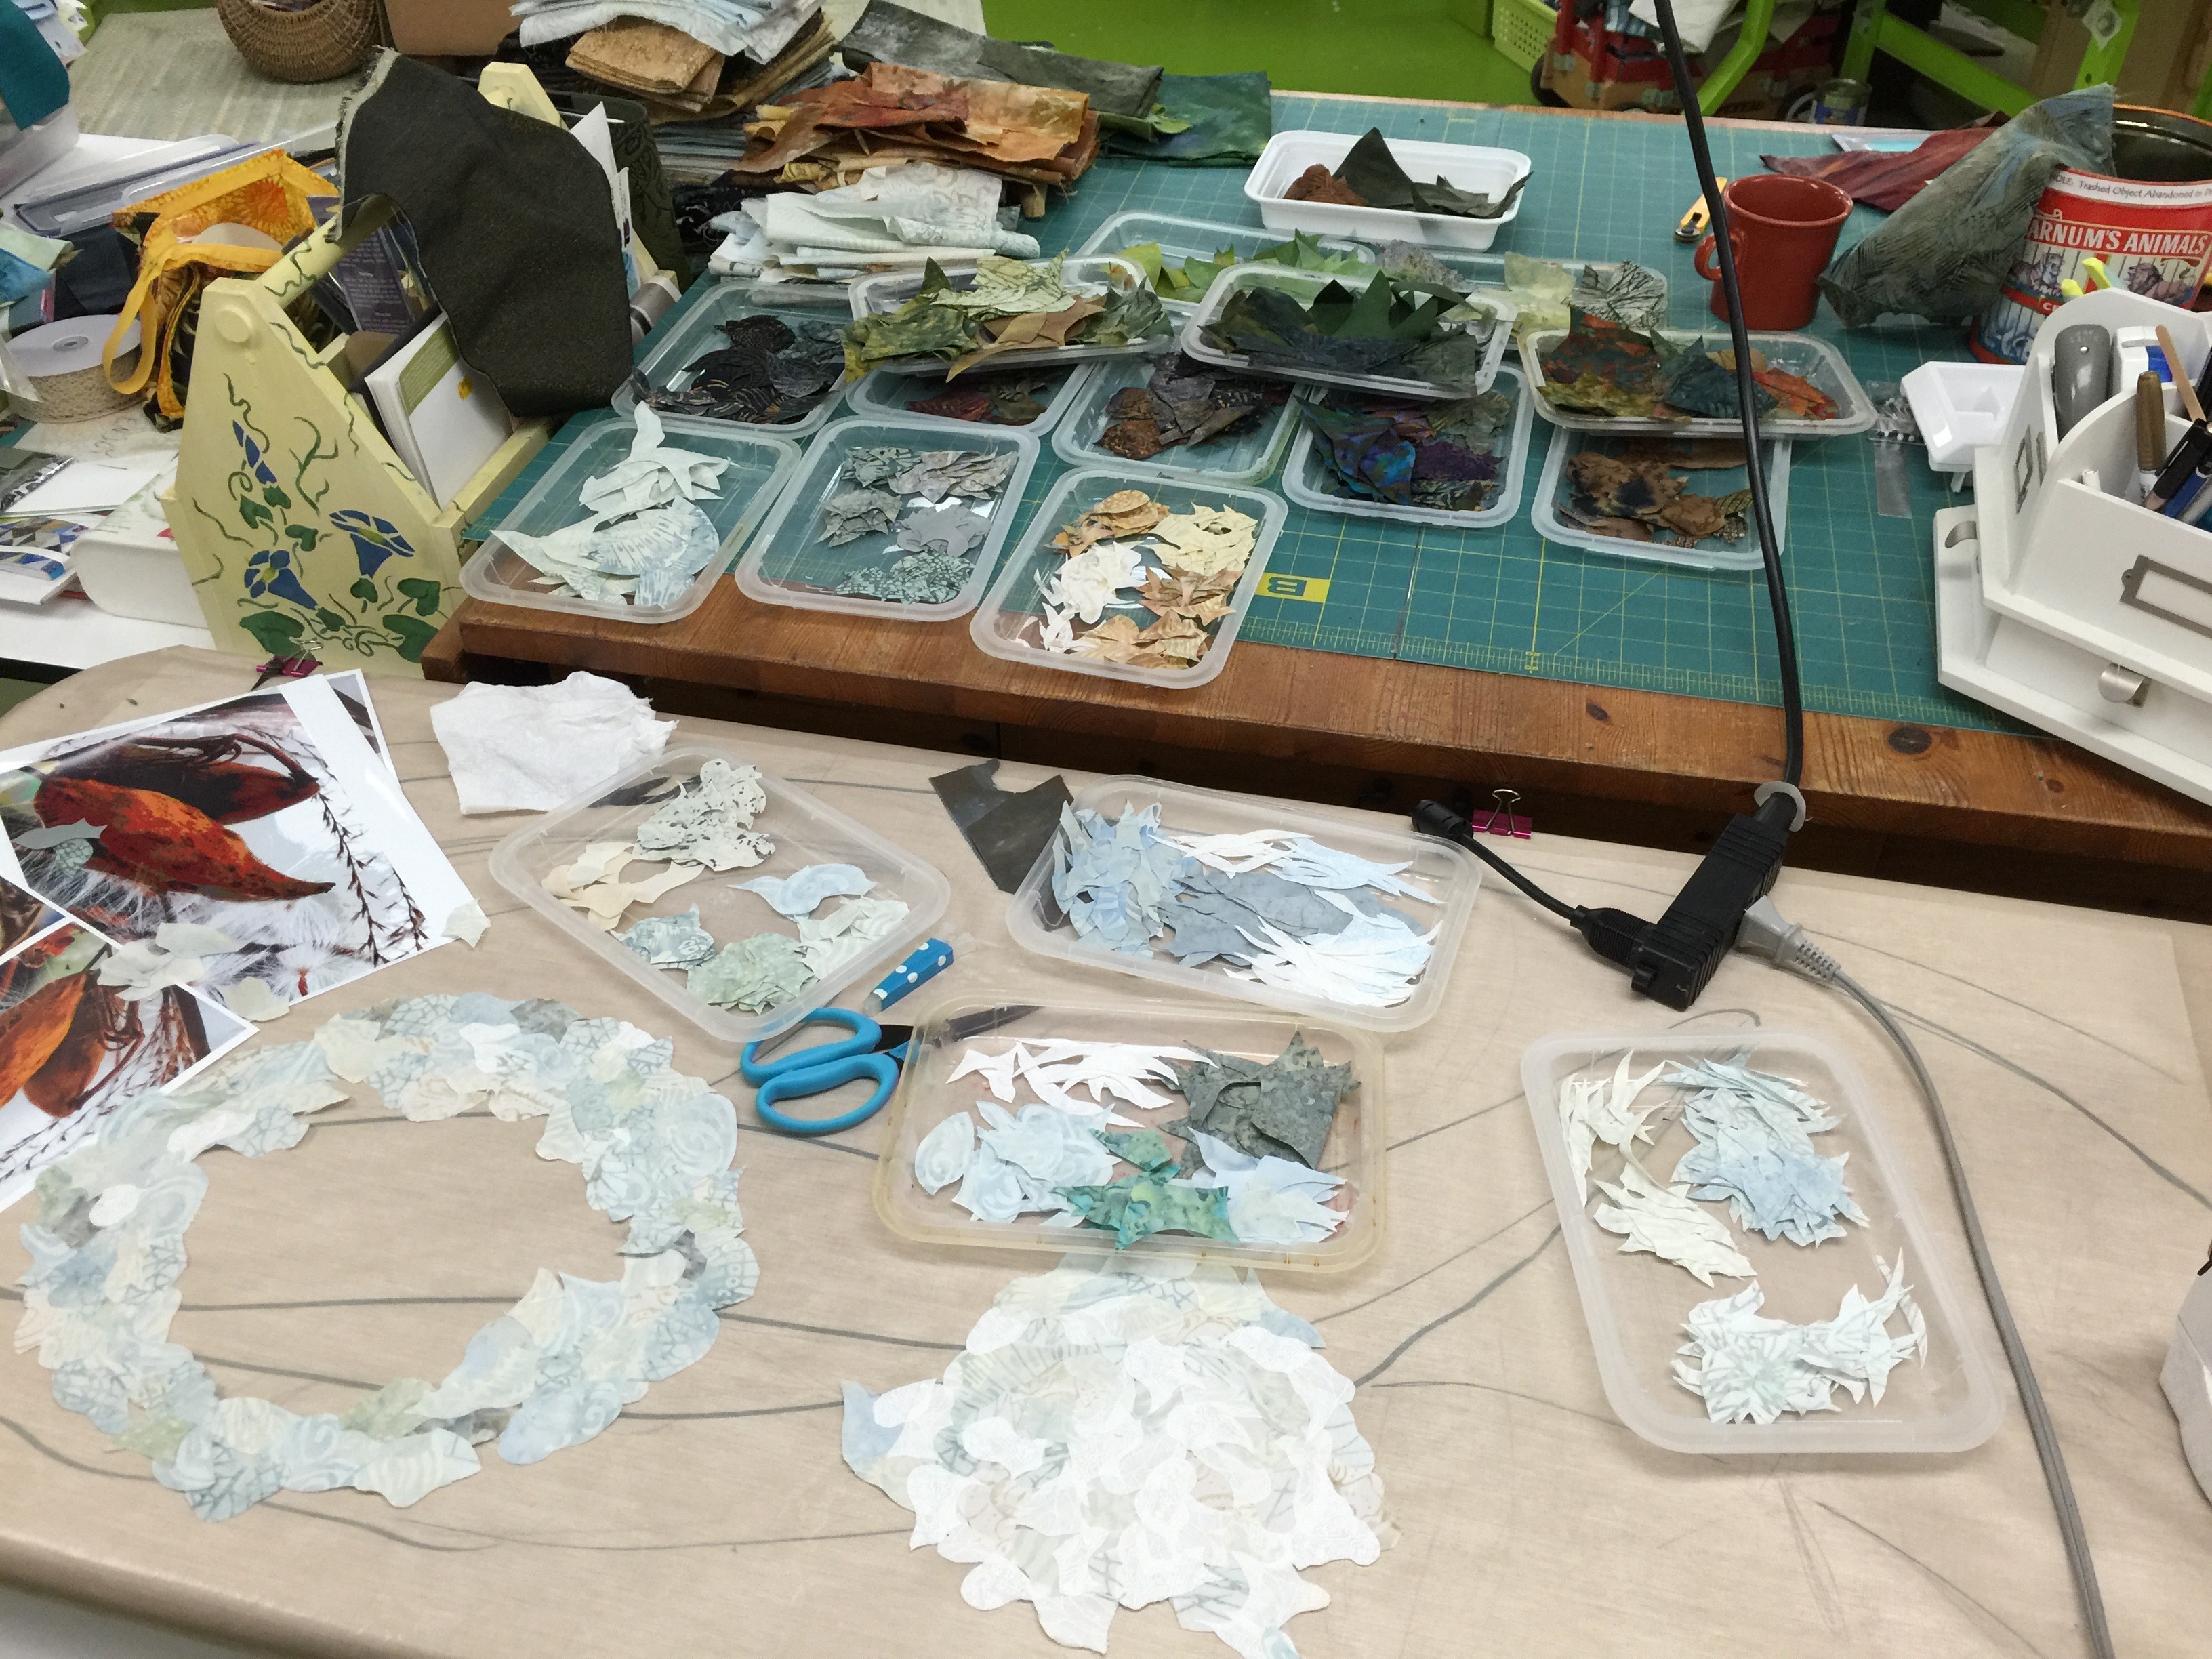
Working on the sun-glow in the sky. This is totally a collage process. I tend to cut chunks to go into the various trays, then use as is or submit while collaging. The drawing you see is a piece of paper underneath my non-stick ginormous press sheet with my sketch. I ordered this one from Valerie Hearder in Canada, but Mistyfuse now sells the Holy Cow Goddess sheet which is 36×48 inches. Really helps with my process–I just cover the entire “big board” and get to work.
I then did a bit of surface design including stenciling and screen-printing using thermofax screens (details in my next post). Finally, I quilted my piece. Aren’t the colors just glorious? And yes, bright purple works in a seed pod!
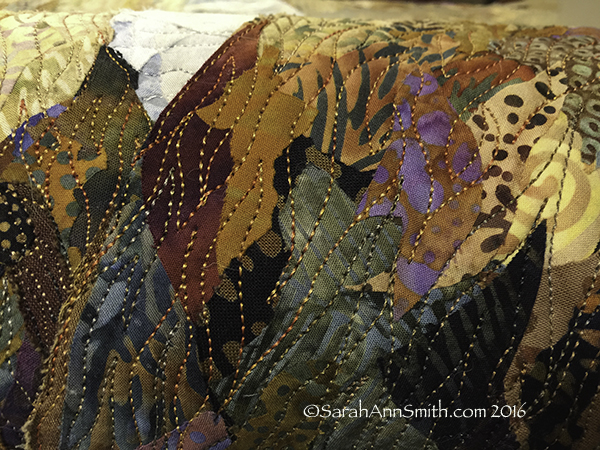
Quilting on one of the milkweed pods, using variegated thread from Superior Threads.
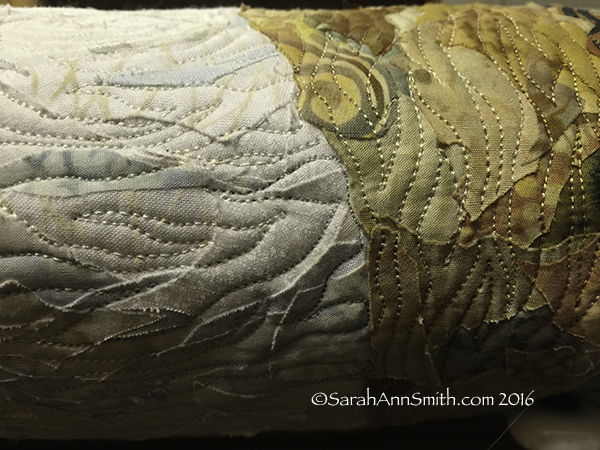
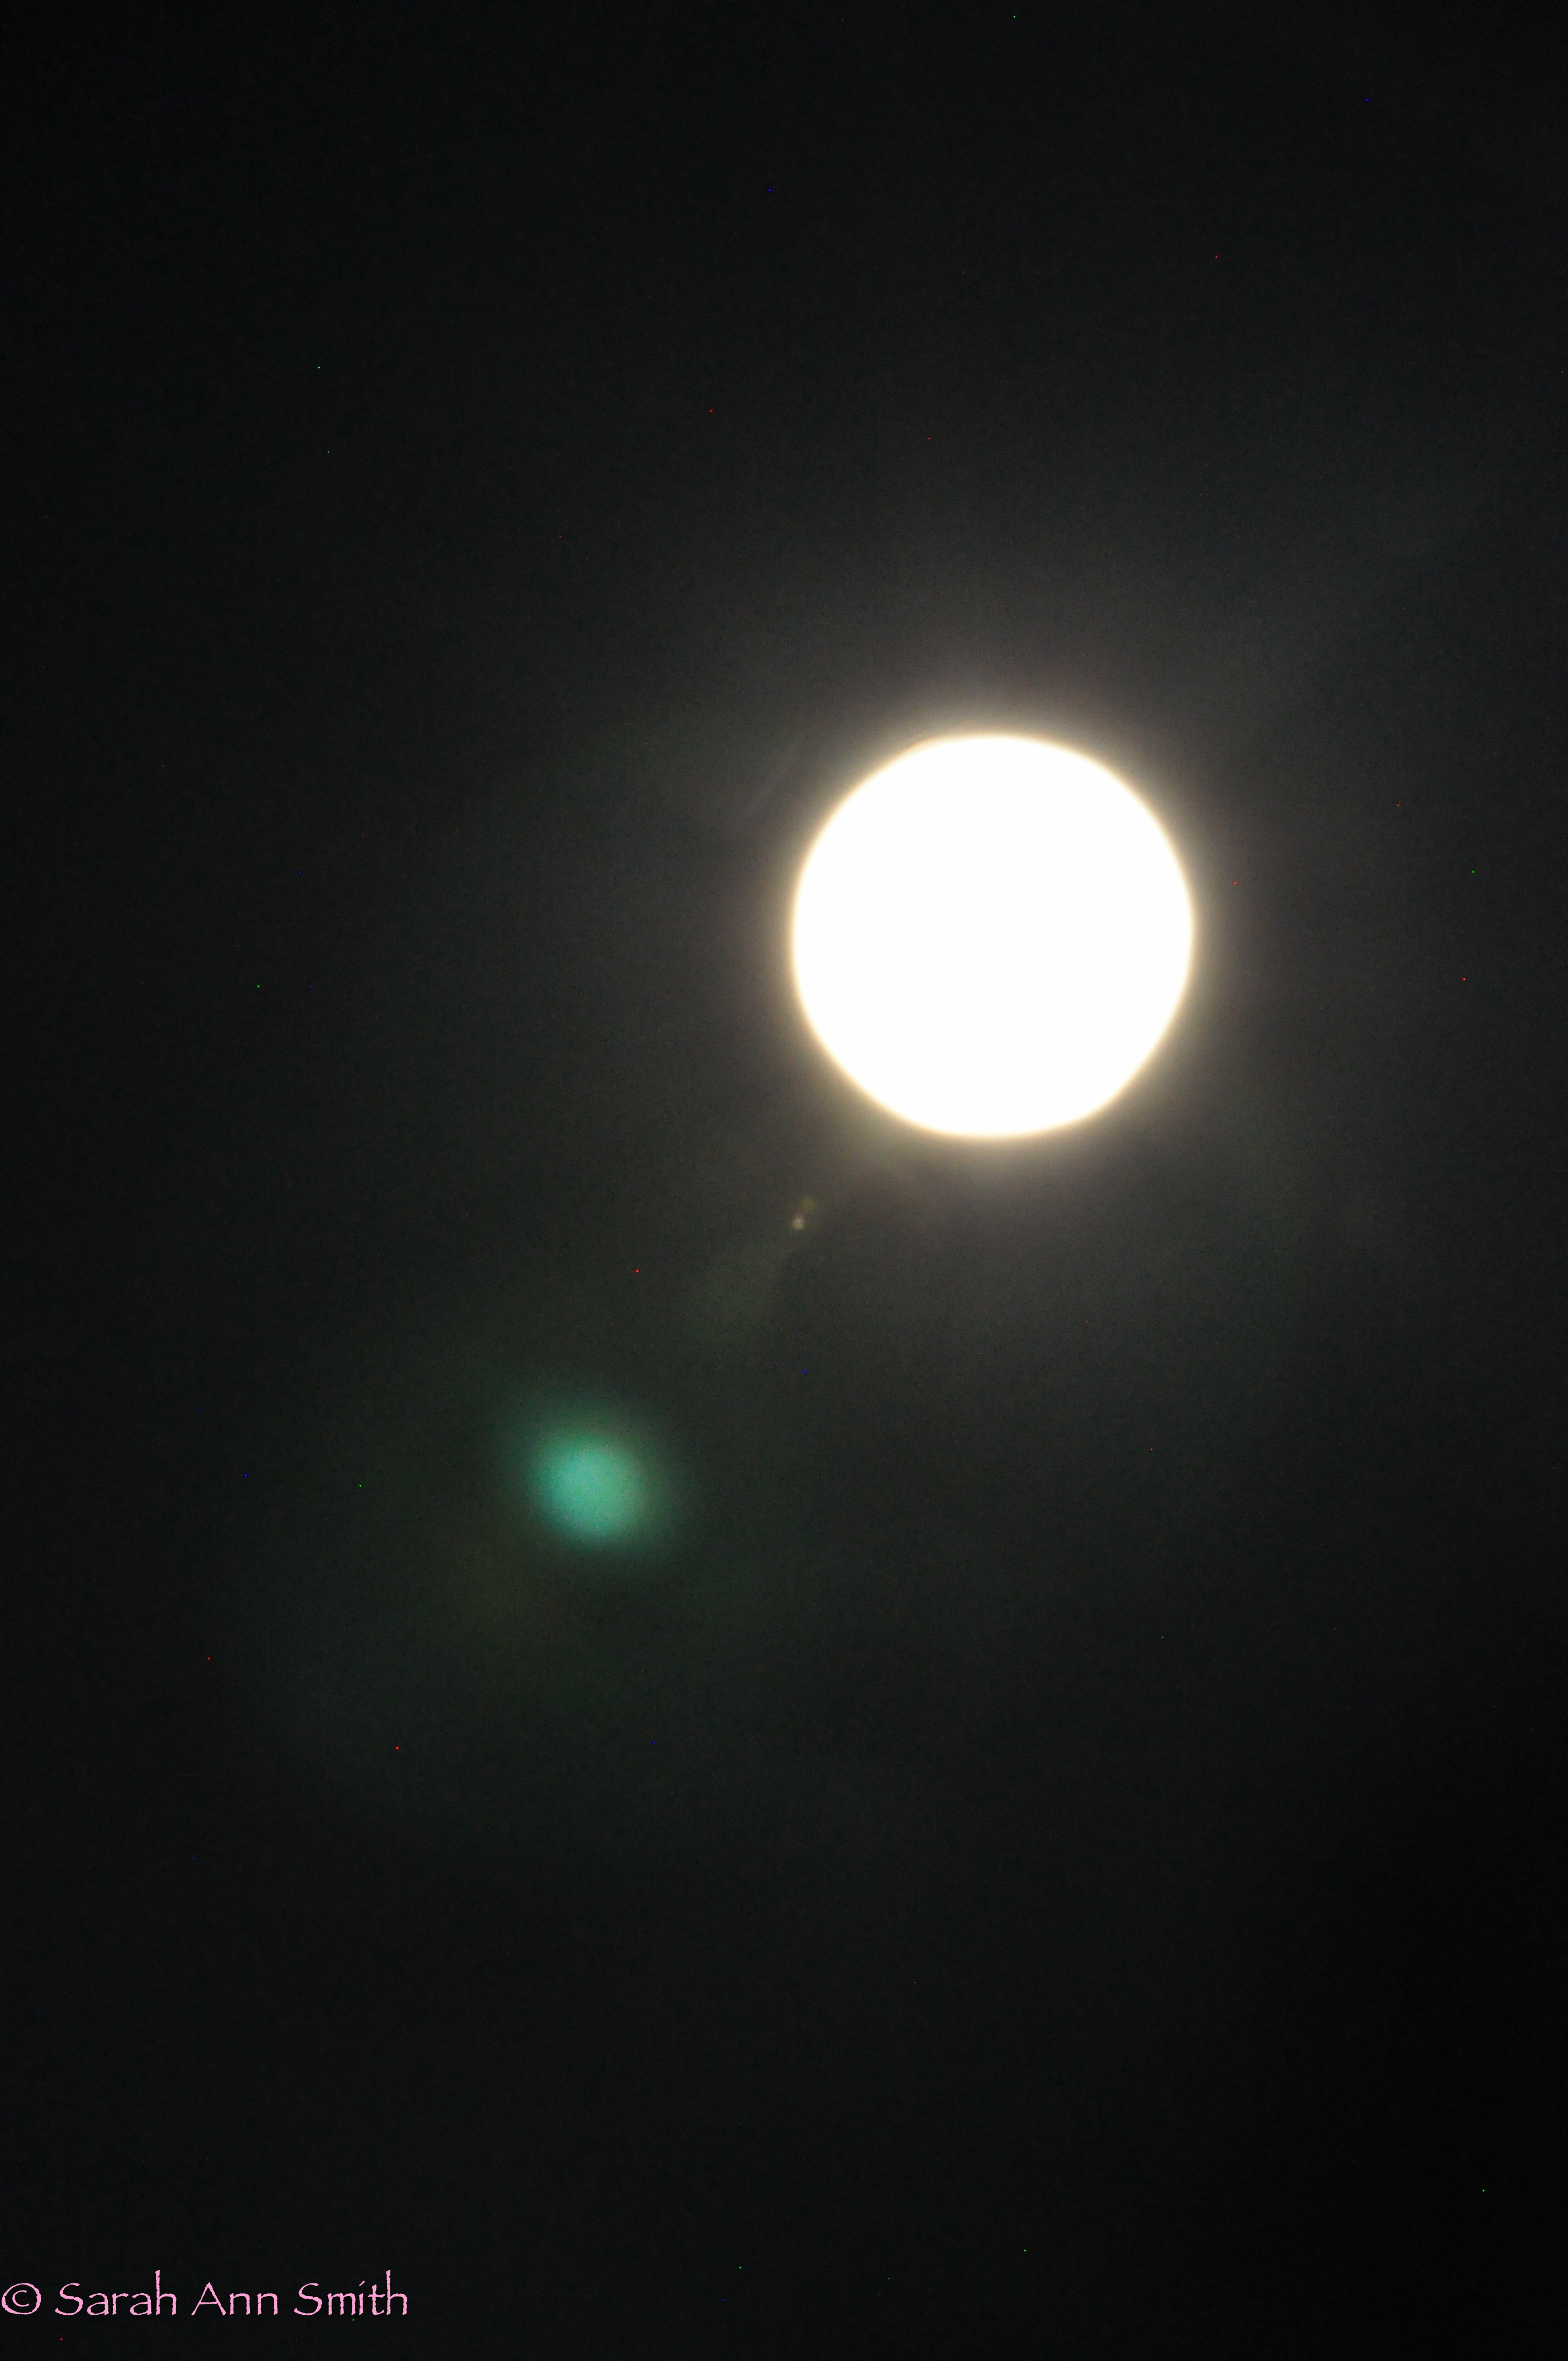
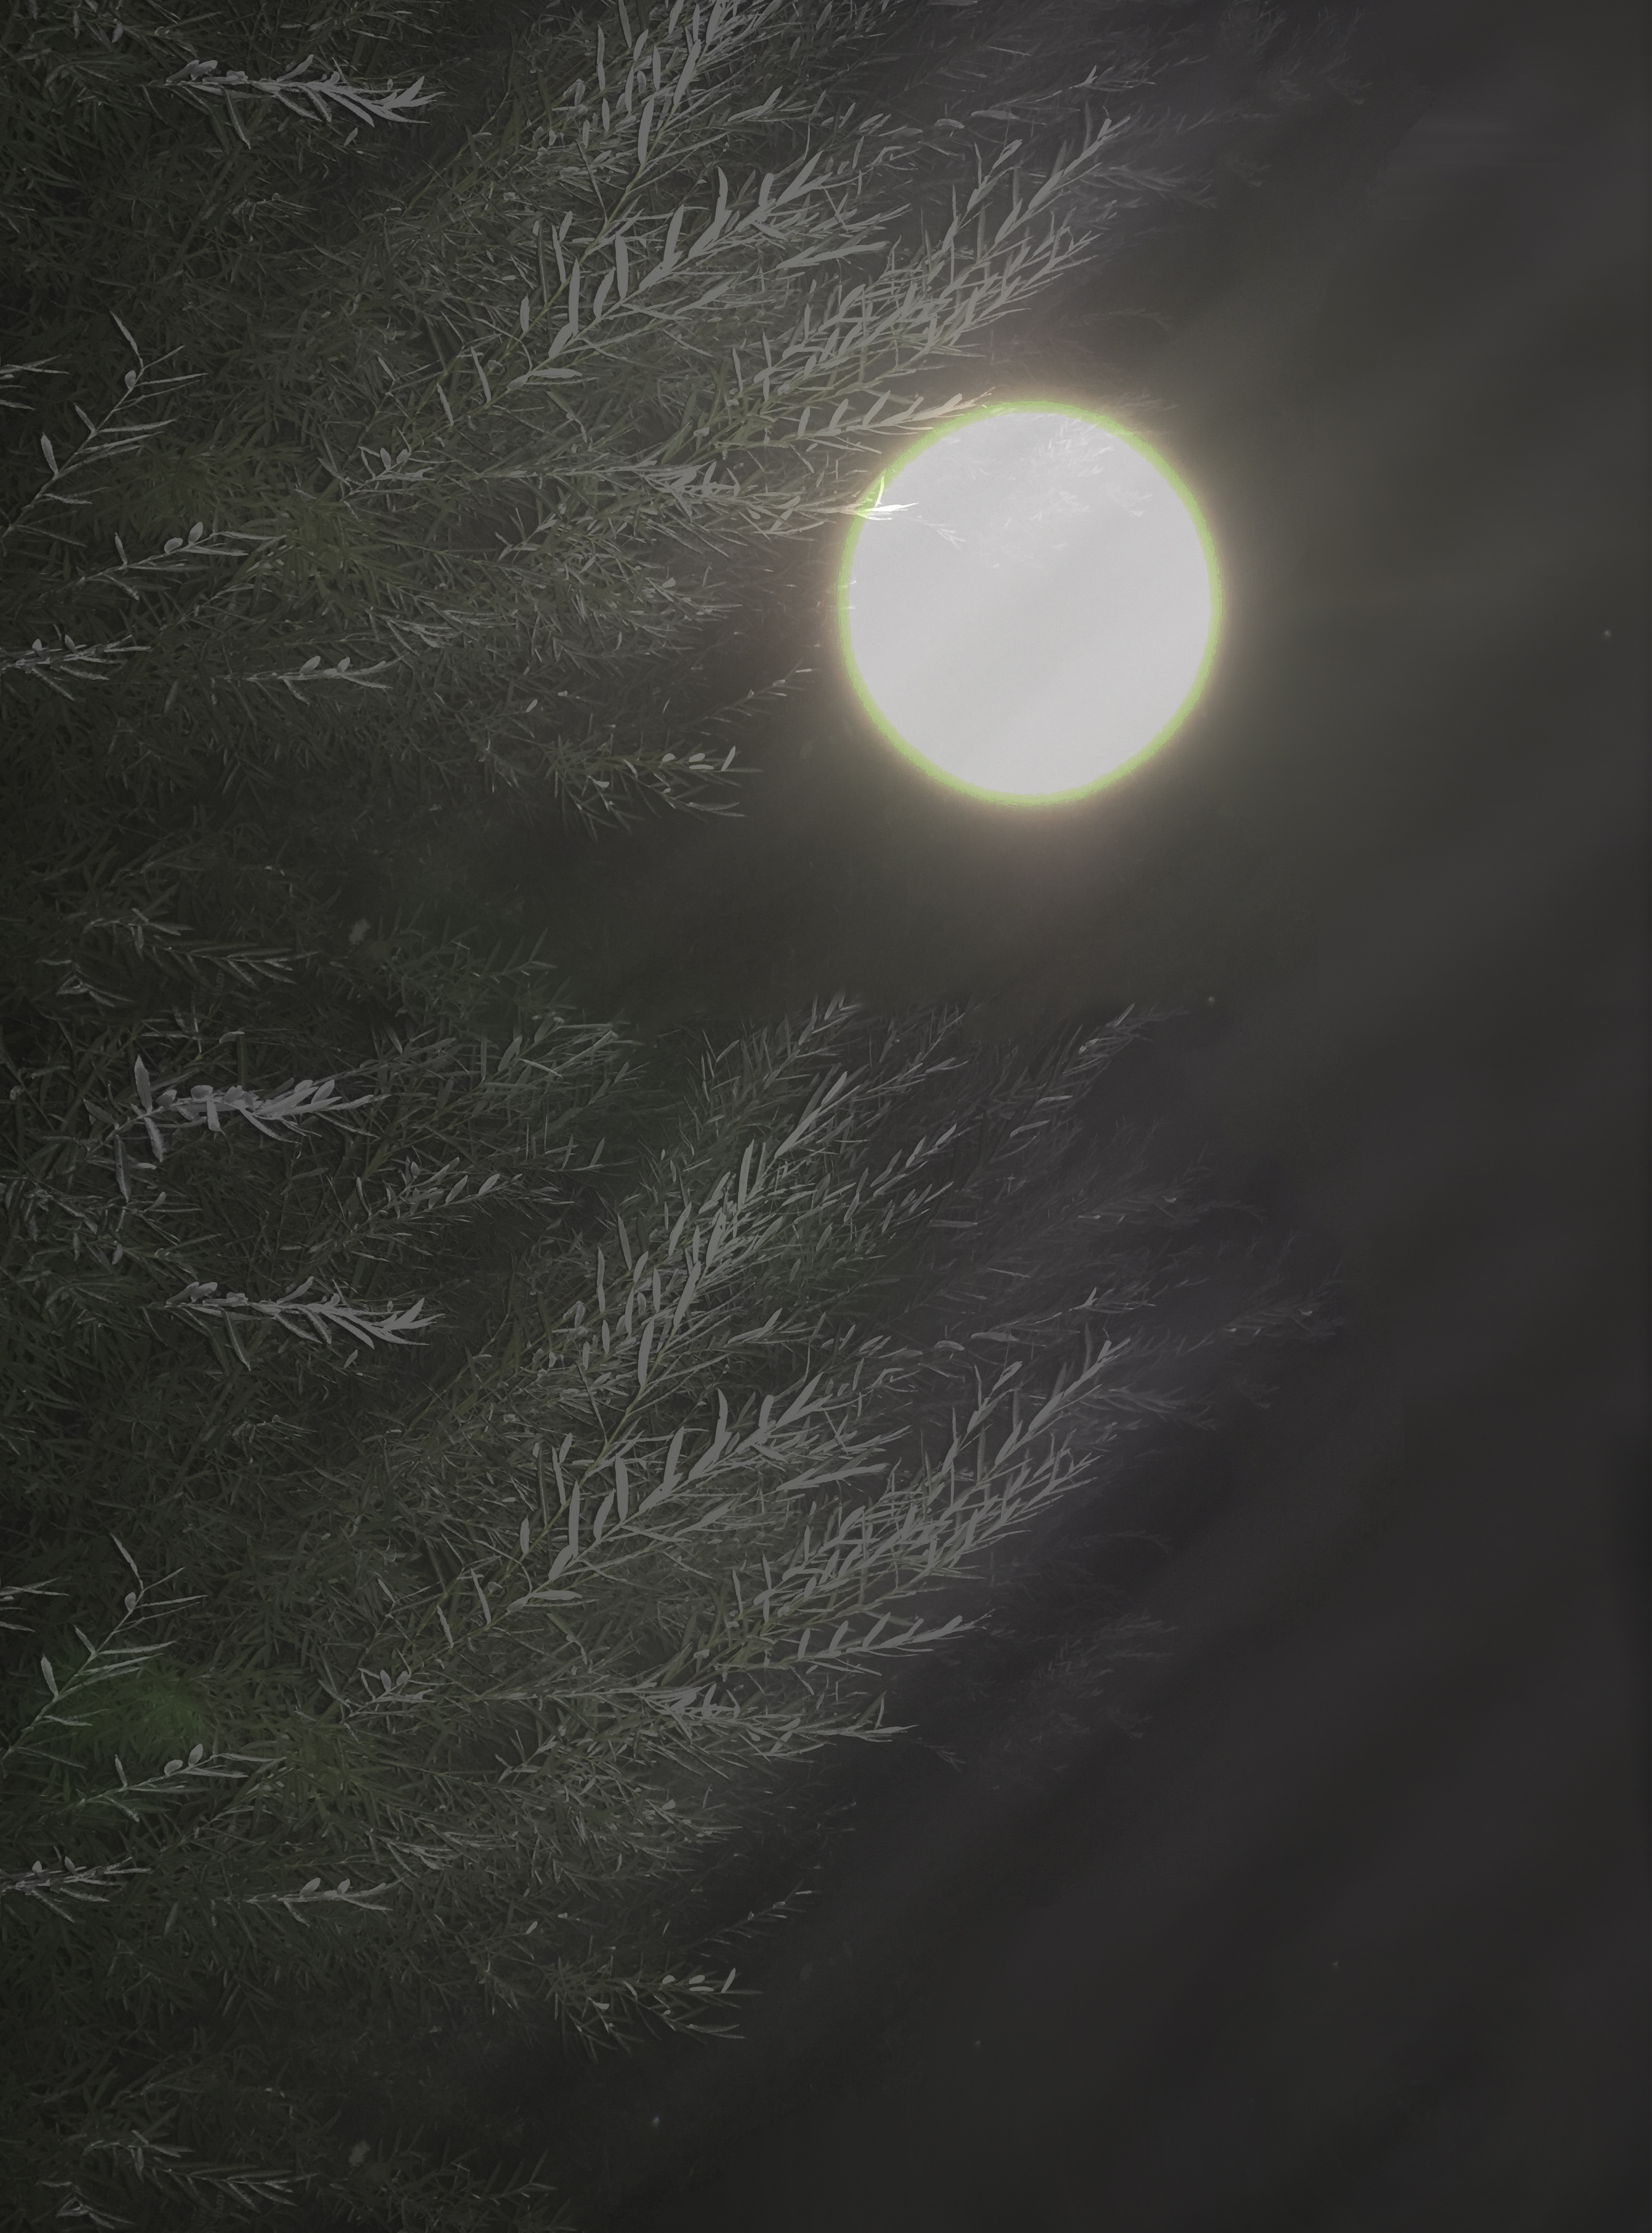
A second detail shot that shows some of the sky–I just love those days where there is a bright glowing spot in the sky where the sun is behind the clouds.
I’ll be back in a few days with more on the processes using paint! Remember, visit A Matter of Time here and the “Just a Moment” previews blogposts about the various artists and artworks here.