The Nest: a new approach to surface design
Saturday, July 30th, 2016For most folks who are in to surface design, the surface design is the goal. For me, the surface design is to create cloth to use in my collaged artwork. Rather than hunt (and hunt and hunt) for fabric that works, I make my own, using both my own hand-dyed fabrics and commercial fabrics, especially batiks. In my new class, The Nest, I teach this project as a way to learn several surface design techniques and get you started. I’ll be teaching this class for the first time (officially) at International Quilt Festival, Houston (class link here) on Thursday afternoon, Class 496.
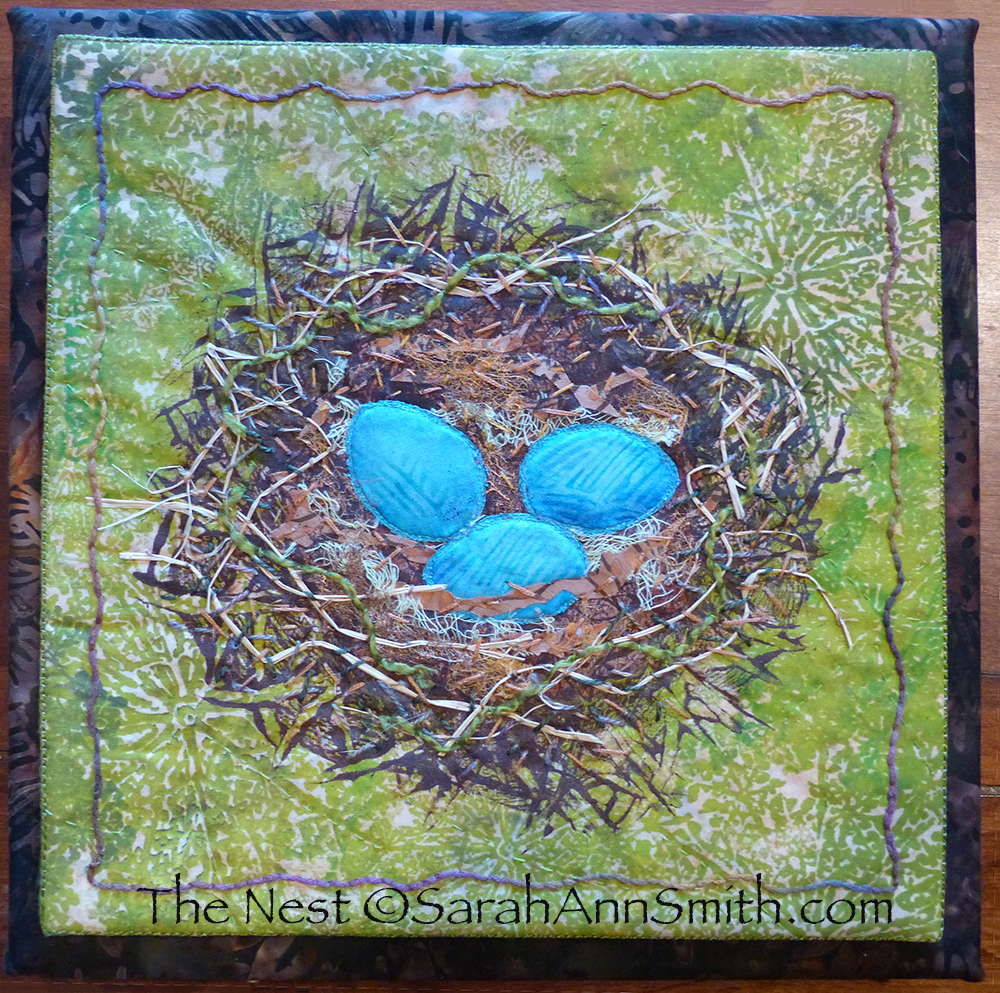
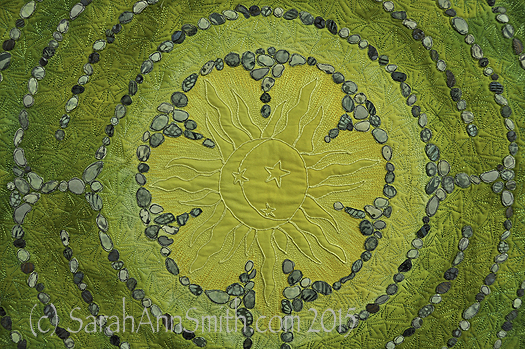
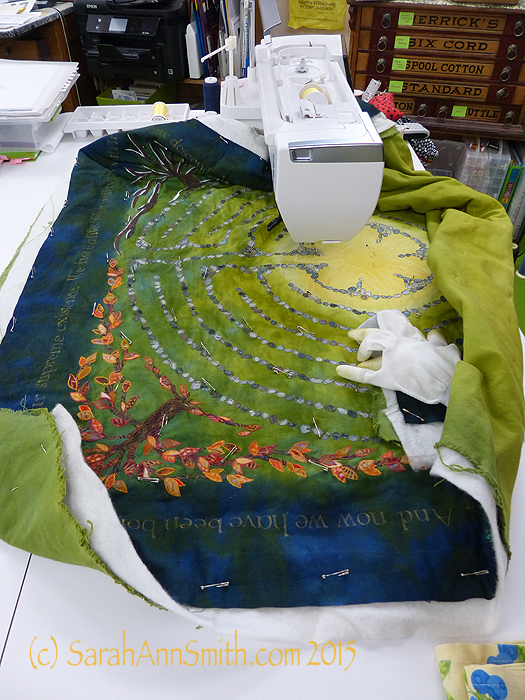
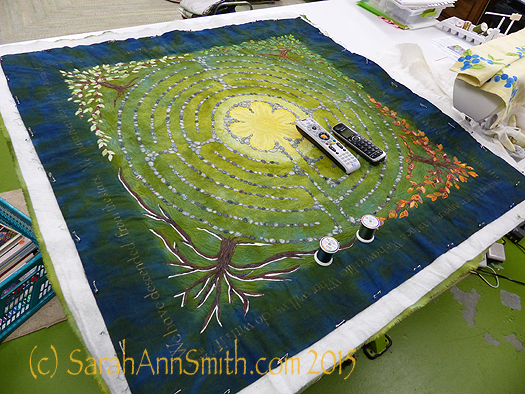
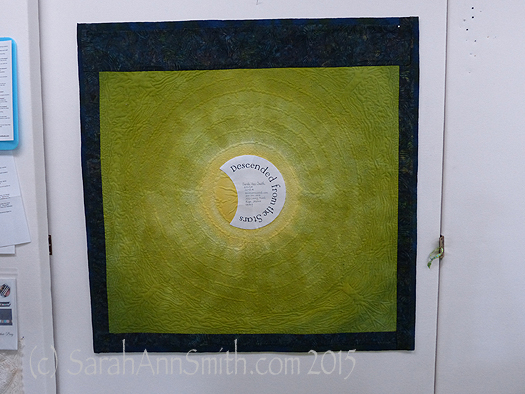
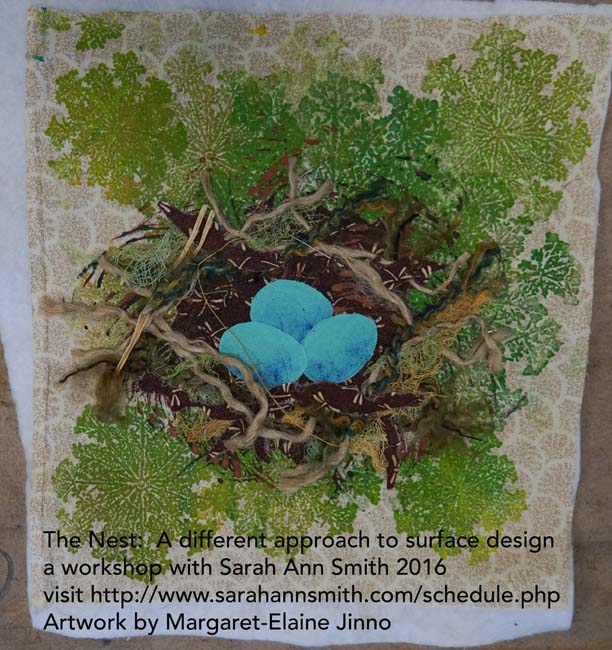
The main class project for my class The Nest: a new approach to surface design. Right click photo to view a bit larger.
I provide a kit (with a fee) with paint, brush; hand-dyed floss, perle cotton and cheesecloth; Sarah’s custom thermofax screen (yours to keep) and more. You provide the fabric and willingness to play! The class can be either half or full day; in Houston, it is a half day class.
Since Houston is THE big quilting event in the world, it pays to prepare, so thanks to my local peeps, I did a “test run” on the class to work out timing and make sure everything was clear. THANK YOU to my Coastal Quilters for helping me out…you were great, and the class helped me immensely (like I can only fit two projects, not 3, in a 3-hour class!).
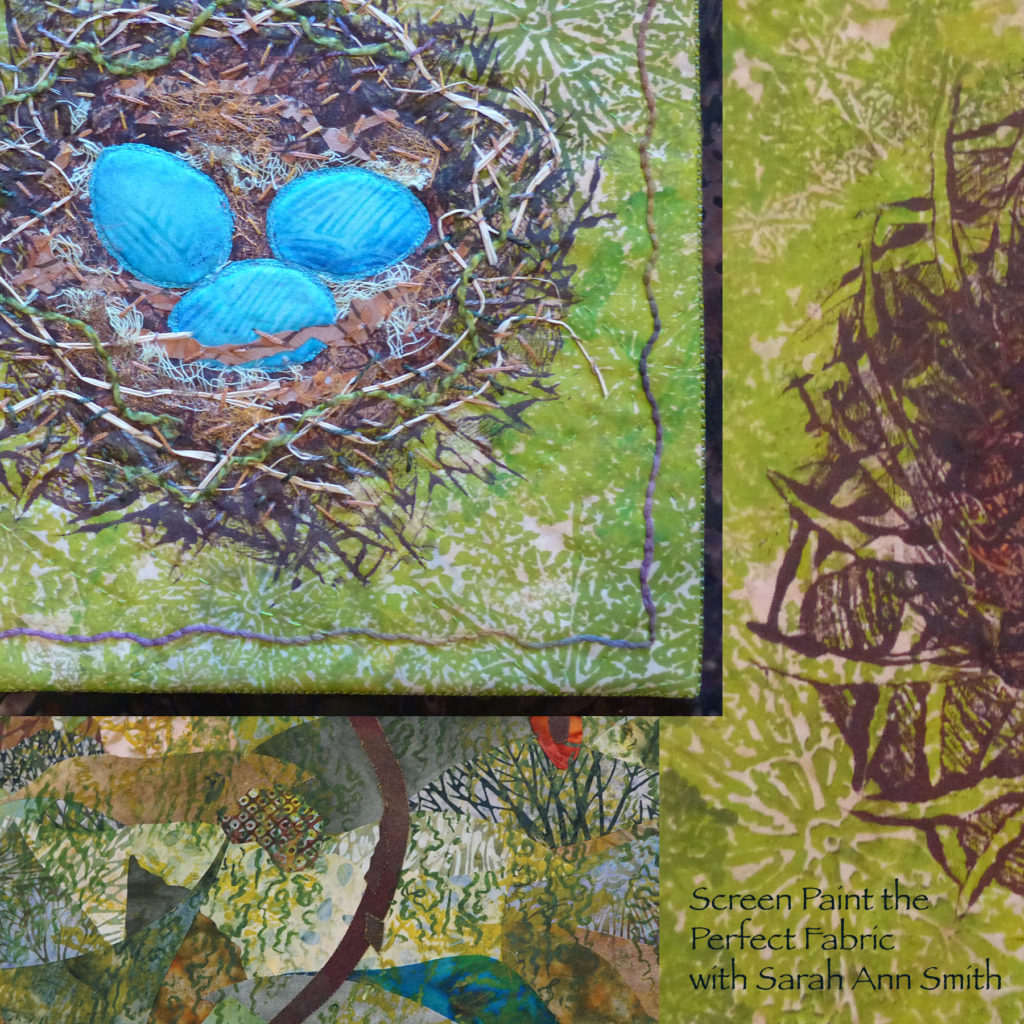
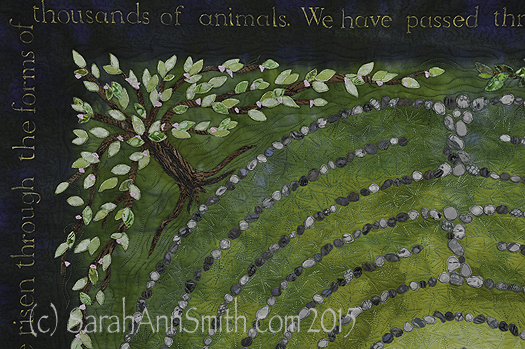
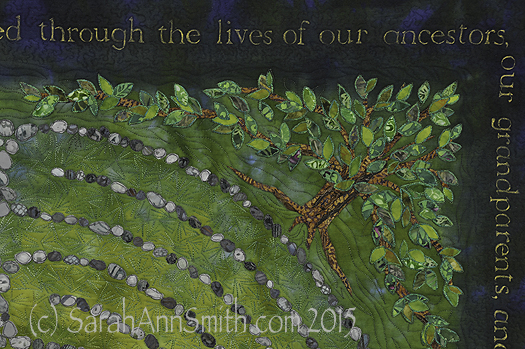
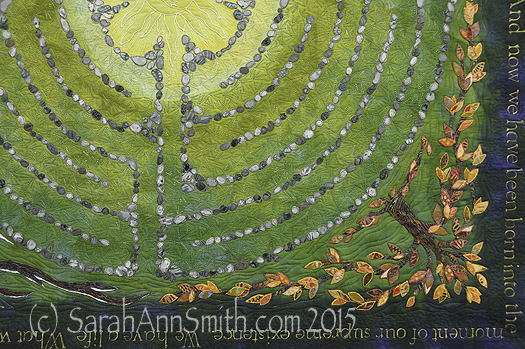
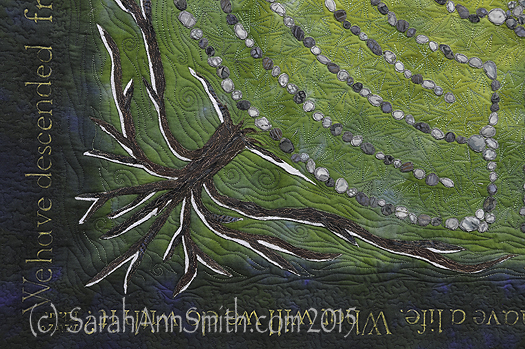
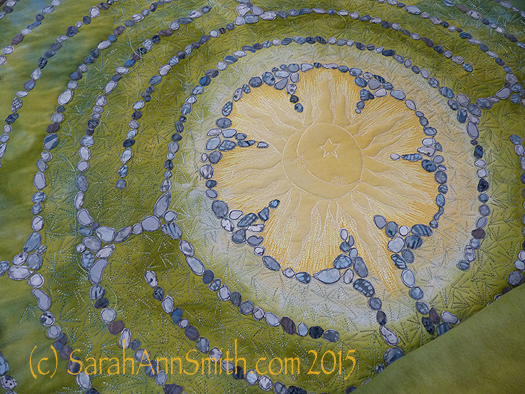
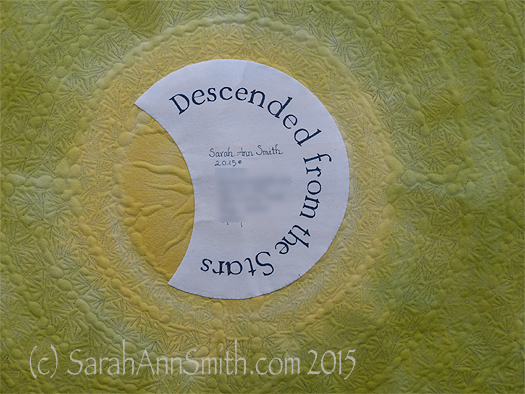
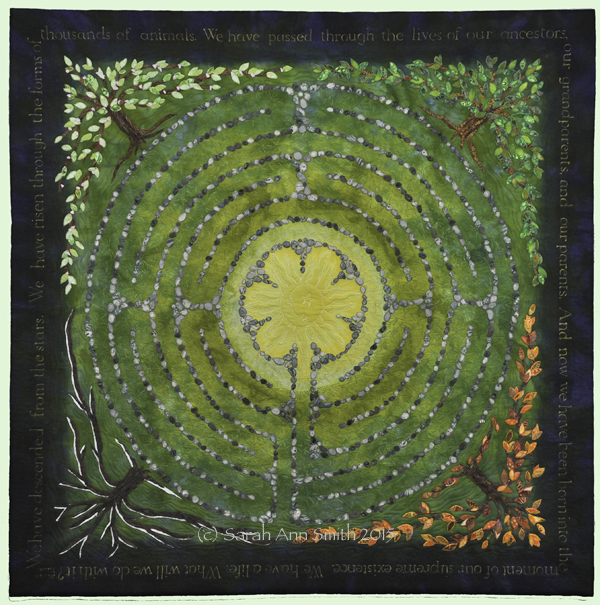
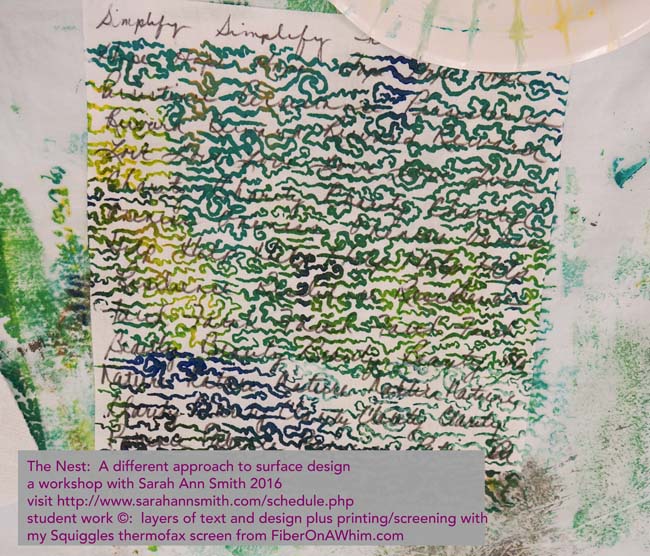
A detail of the project, and some intermediate steps
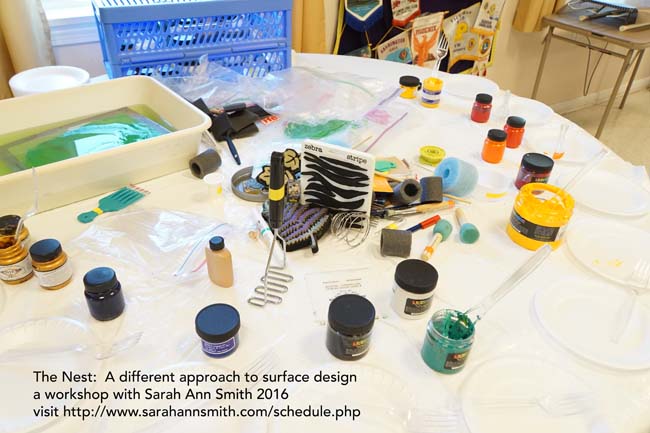
Step one in the class is to get your paint! You can see a thermofax screen soaking in the basin.
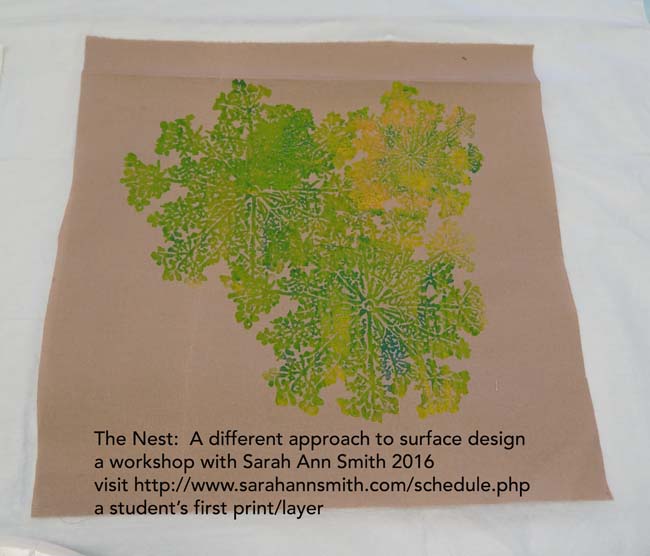
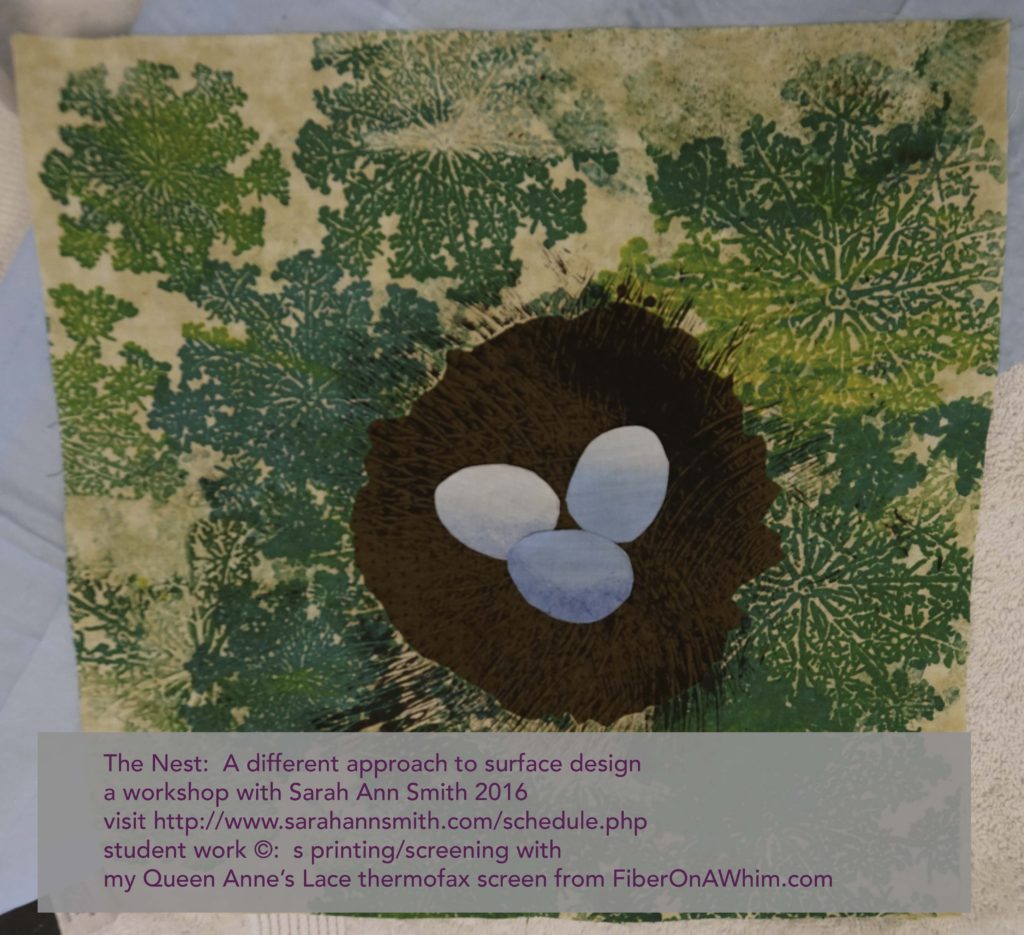
Step one is to print your plain cloth with my custom Queen Anne’s Lace screen.
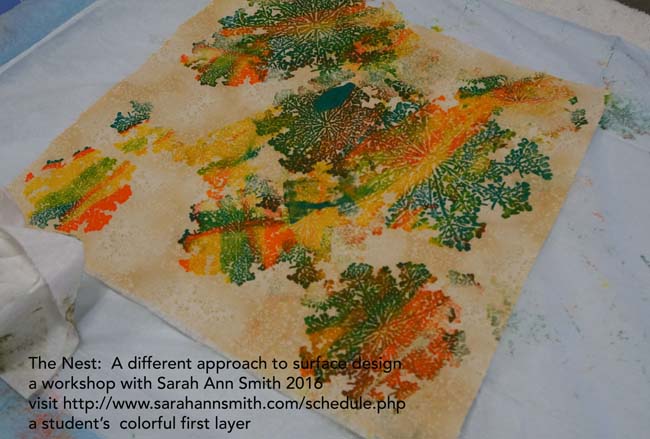
You can go wild and make this project totally your own
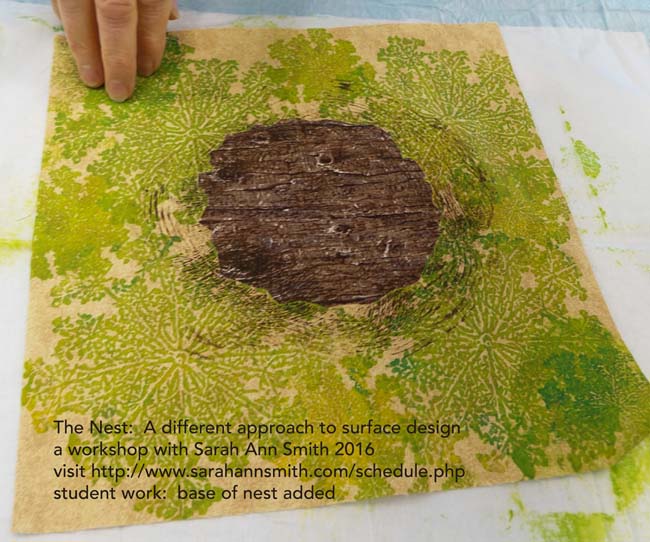
Or you can follow the project. This student is on her second layer, starting to create her nest.
While the paint dries on the Nest, you work on a “free play” exercise, then switch back and forth as the layers dry. You can make your own stamps (supplies provided), use materials I bring to share, or bring your own from home.
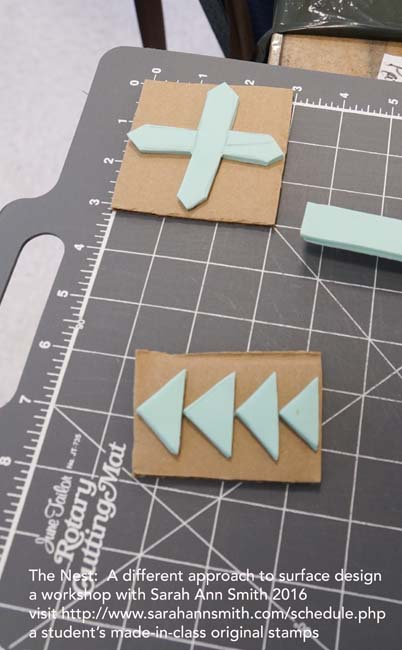
Student stamps. I think I need to make a flying geese stamp!
I LOVE this student piece. It would work perfectly as a background or cut and used in a naturescape.
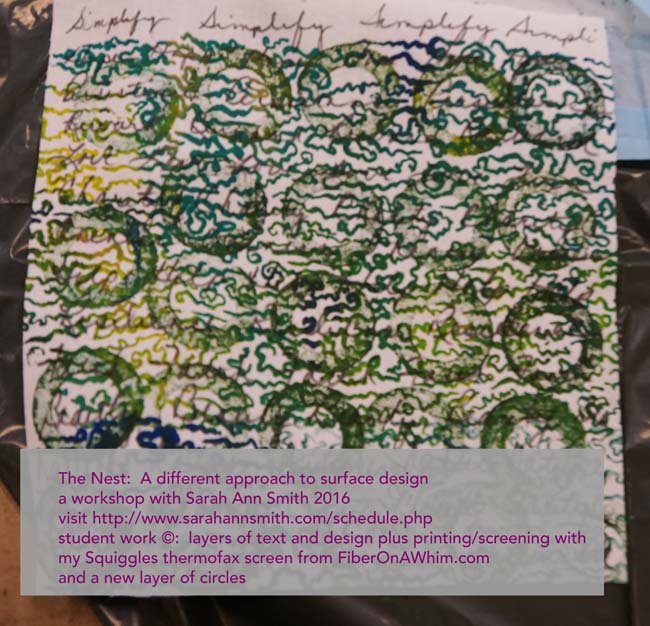
And another layer. You can go as simple or as busy as you like.
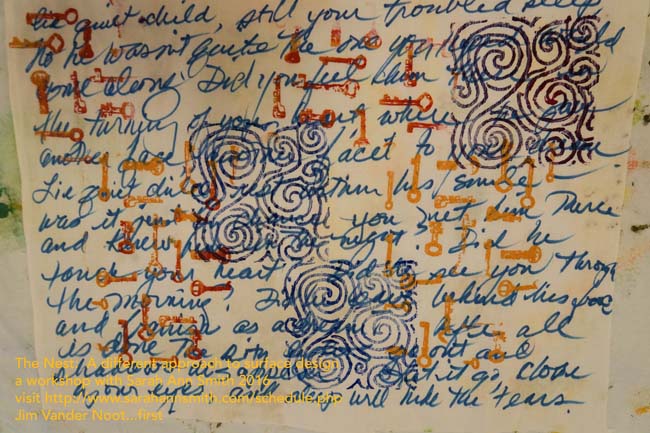
Jim Vander Noot is an experienced art quilter and I LOVE this layered piece. He began with writing, then added the thermofax screen of keys (from Lyric Kinard, LyricKinard.com, she also makes custom screens)
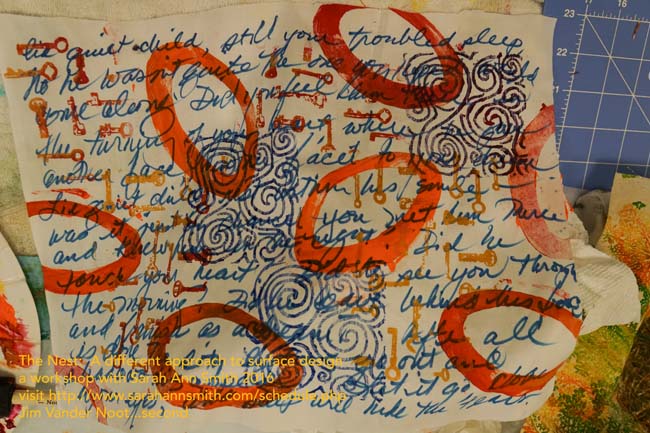
Jim added more layering, and
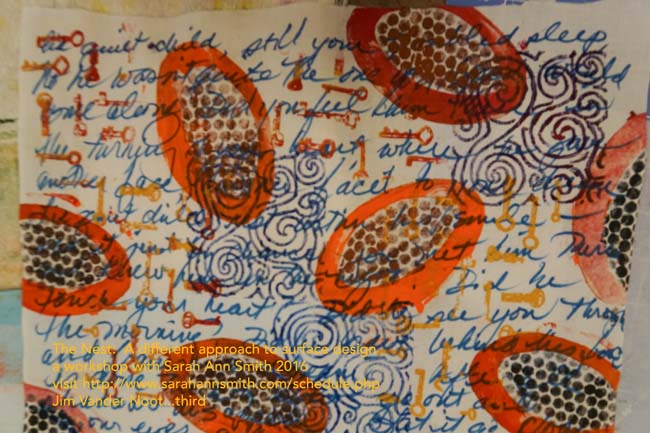
here’s the last time I saw this. LOVE IT.
My thermofax screen designs are available at Fiber on a Whim, I’ll have some for sale in class, and Jan Girod and Kristin Rodriguez (who are Fiber on a Whim) will be vending in a booth on the show floor at Houston. Artists have my complete permission to use my screens in their artwork, including works that will be sold or exhibited (but of course you can’t copy my designs and sell them…you know how it works!).
Student 1, work in progress–if any of my CQ peeps remember whose work this is, please let me know so I can attribute it!
Student 2, work in progress
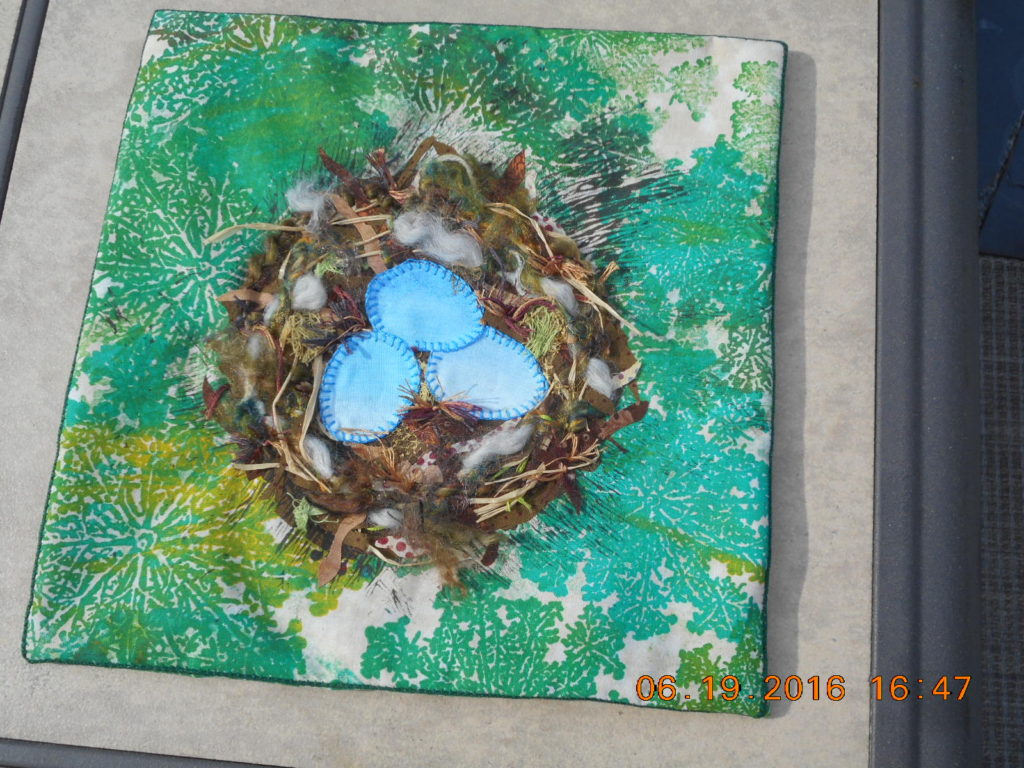
Student 3, Linda Satkowski finished her nest!I love the fluffy white wool bits that totally look like feathers. One student even suggested you can BUY feathers–they are readily available at stores that supply fly fishermen. COOL idea! Thank you so much Linda for finishing this and letting me share it. GREAT job!
So I hope you’ll be inspired by my local quilty friends–I sure am! And I hope you’ll be able to join me in Houston (or have your guild hire me to come to teach YOU at home!). See you in November!