The stockings aren’t far from the hearth, which is decked out with things that have moved with us from pillar to post. Even is our spot on the globe has changed every so often, there is continuity in Christmas. The tic-toc Santa on the shelf to the left of the hearth I’ve had (at least) since I was 6, which means he’s been around the world. The copper and brass things on the heart are from Argentina (where I lived when I was 4-5) and Peru (where mom lived before she met dad).
Gosh it has been busy! Is it as insane at your house as at mine? At long last the tree is trimmed, almost all of the gifts are wrapped, in a minute I’ll start the rum cake and stuffing for tomorrow, and then I can breathe. In the meantime, this is what I’ve been doing the past few weeks, including a FABULOUS online class with watercolorist Val Webb. If you feel the urge to try something new, she’s starting another class on painting culinary herbs in early January and I highly recommend her…details below!
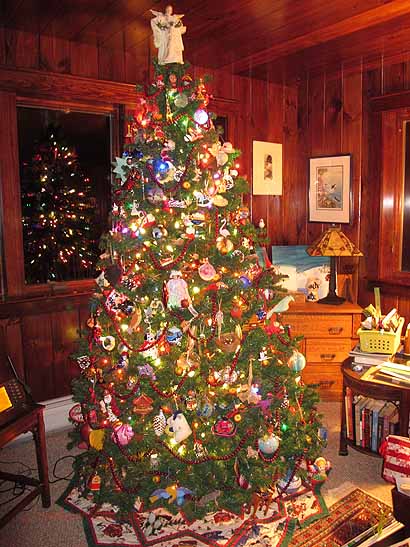
The tree is finally trimmed!
I do believe we have just about hit maximum capacity on our tree. I’ve collected ornaments since my late teens, with a set for my parents and a set for me. Now I have all of them. Even leaving off the duplicates, we’re a bit full! The good news is that I have duplicates, so both boys will eventually have a set of family memories to get them started.
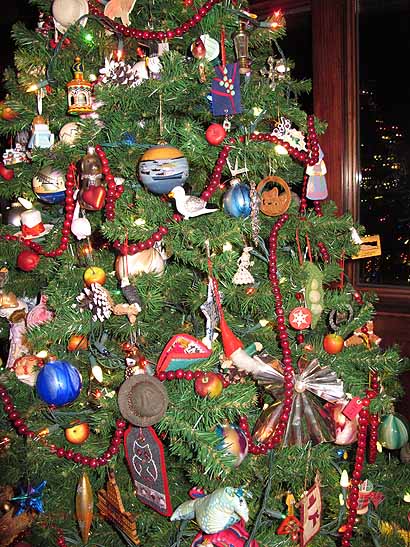
Many years of gifts from my Frayed Edges friends are in this zone of the tree. I may have enough to eventually do an entire small tree the way we are going! I can also spot ornaments from D.C., Moscow, Bolivia, the Oregon Trail, Mount Washington, Maine, and a friend in grade school!
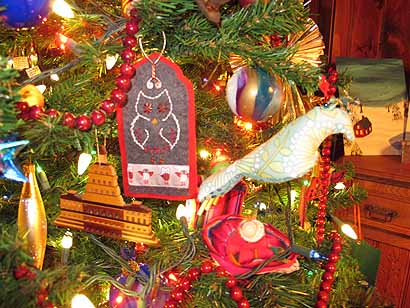
This year I used the owl ribbon from Renaissance Ribbons as my starting point. He’s hanging next to Kathy’s bird!
My foot is doing well! I got the stitches out last Friday, and on Wednesday I get to see if I can get my foot into a sneaker! That’s less than 3 weeks after surgery! This time has gone even better than the other foot, and that one went great!
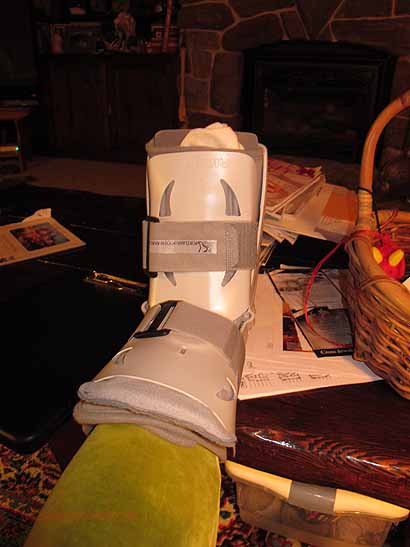
Air-cast comes off in 48 hours! And I LOVE the lime green stretch velvet leggings I found on sale at Macy’s (needed to make a quick trip to the Maine Mall when I was down for my appointment…and got sidetracked walking through Macy’s)
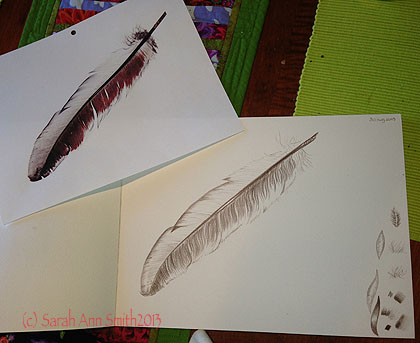
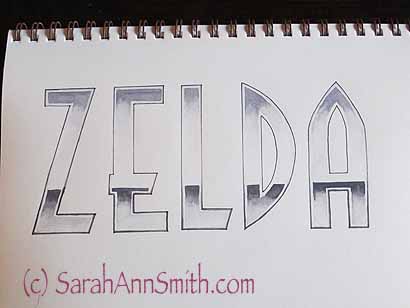
Getting downstairs in an air-boot is do-able but awkward, so I’ve not been sewing or quilting, but doing things upstairs instead: watercolors! One of the ladies in my small online sketching group found Val Webb’s website. GOOD JOB! I love calligraphy, fonts and all sorts of lettering, and this one is just up my alley: the intersection of lettering and watercolors. I have learned SO MUCH! The price of the class, $50, is unbelievably reasonable for the 10 weekly sessions. You’ve got 4 months in which to do them: there are several pages of downloads, instruction on a closed web page, and two videos (usually about 30 minutes) in each lesson! Literally I learned something not 2 minutes into the first video. Being able to see how liquid to make your paint (I’ve been working too dry) and how to hold your brush… I can’t tell you how many great tips I’ve picked up. PLUS if you wish, Val will critique your work either in a private email or on the closed online group.
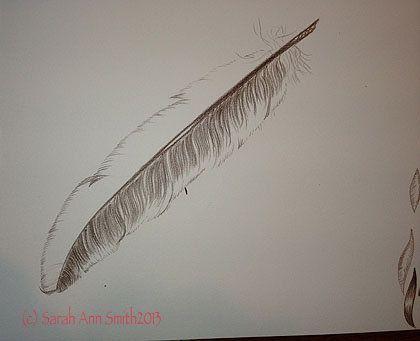
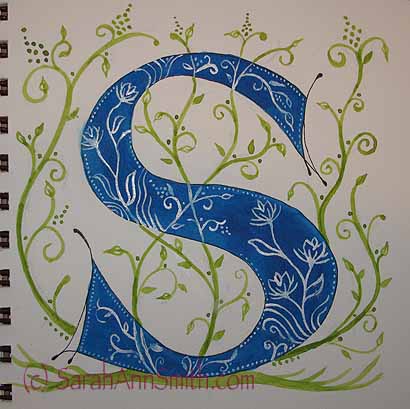
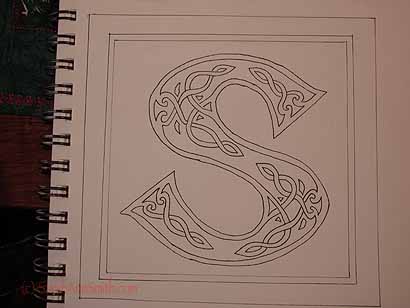
Here’s part of the third lesson, which focuses on things Celtic including Uncial letters. I made up the S, and am thrilled that I actually did it. Next: watercolor it.
Since I learn so much from critiques, I was the first to volunteer to have Val critique my pieces in the group setting. Many others have followed suit, and I am learning from each and every set of suggestions. Val’s manner of speaking (writing) is so gentle, encouraging and kind, yet she points out where you can work on things to make them even better. Students range from rank beginner to professional artist, but we are ALL learning. WONDERFUL!
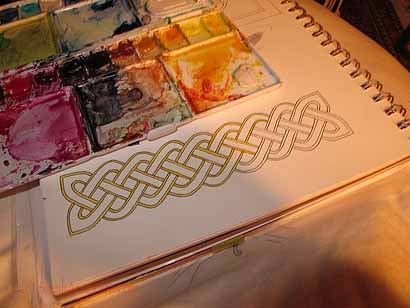
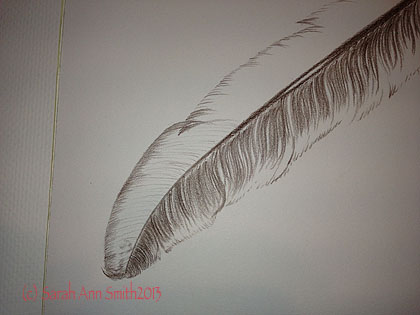
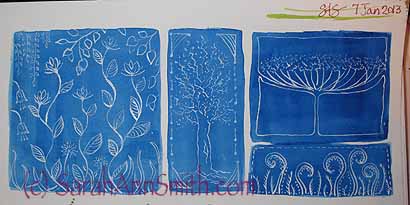
Celtic knotwork from the lesson, with just the outer edge painted in a yellow-new Gamboge color. Will finish maybe tonight?
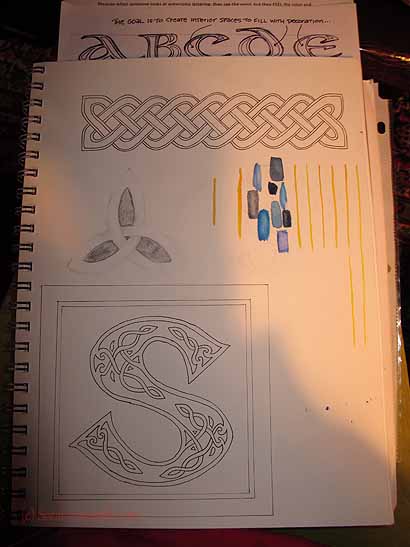
And talk about being HAPPY! I pulled out some of my celtic books for ideas, sketched out an S and some designs, listened to Val’s great video (that the outline on the letter is what creates the “cords” that feed into the design), modified slightly so that my knotwork wasn’t a free-standing design inside the wide parts of the S but instead connected to the outlining, and WOW am I happy! So happy that instead of painting this in my class sketchbook which has 90-wt mixed media paper, that I got out PROPER watercolor paper (I have 5×7 size). My drawing was a tad too big, so I reduced it on my printer/copier to fit, and now it awaits me having time to paint it well. The color swatches on the full page are me testing out colors to use. Val said it looks best if you use a light color for the outlining, so I’m trying the warm yellow with a blue for the main part of the interlace (photo above) and probably a deep reddish purple for the dark bits (the background). If I can manage the colors well on the knotwork, I’ll repeat them for the S.
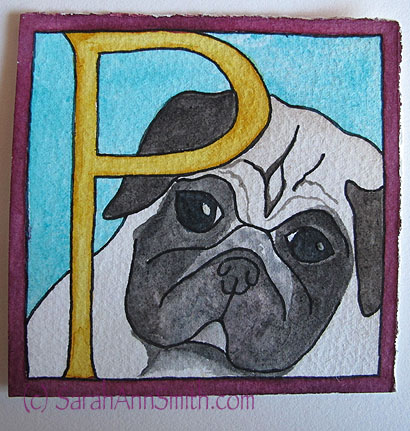
S is for Smith. Or Sarah. Or whatever. I like it!
So you ask, is Sarah leaving quilting? Heavens, NO! I like taking classes in other media just to freshen myself up–good design is good design, whether architecture, landscape, tea kettles, calligraphy, painting, quilting. It all reinforces my learning which I can then apply to my quilting and I feel more excited about the process.
Val’s next class is Culinary Herbs. If you click on this link, scroll down to the 3rd of October for details!
I’ll pop back later with a Christmas Eve update. MERRY CHRISTMAS–no matter what your faith, let us celebrate friendship, community, learning, art, all together!