Photography with Ricky Tims
Saturday, January 31st, 2015ERK! Gosh it has been a LONG TIME. I’m sorry! I didn’t realize I hadn’t been here in so long. As you might gather by my extended absence, I’ve been busy. I’ve been prepping a new workshop that will debut in full in North Carolina in April (see my Teaching/Classes page for the workshop listing)–email me if you need a link to sign up, they’ve got an awesome online system, did a test-run of the class with a local group, have been working on a bazillion samples and writing an article for MQU (Machine Quilting Unlimited), did a quick trip to California because I’m now on San Domenico School’s (my old high school) Alumni Council

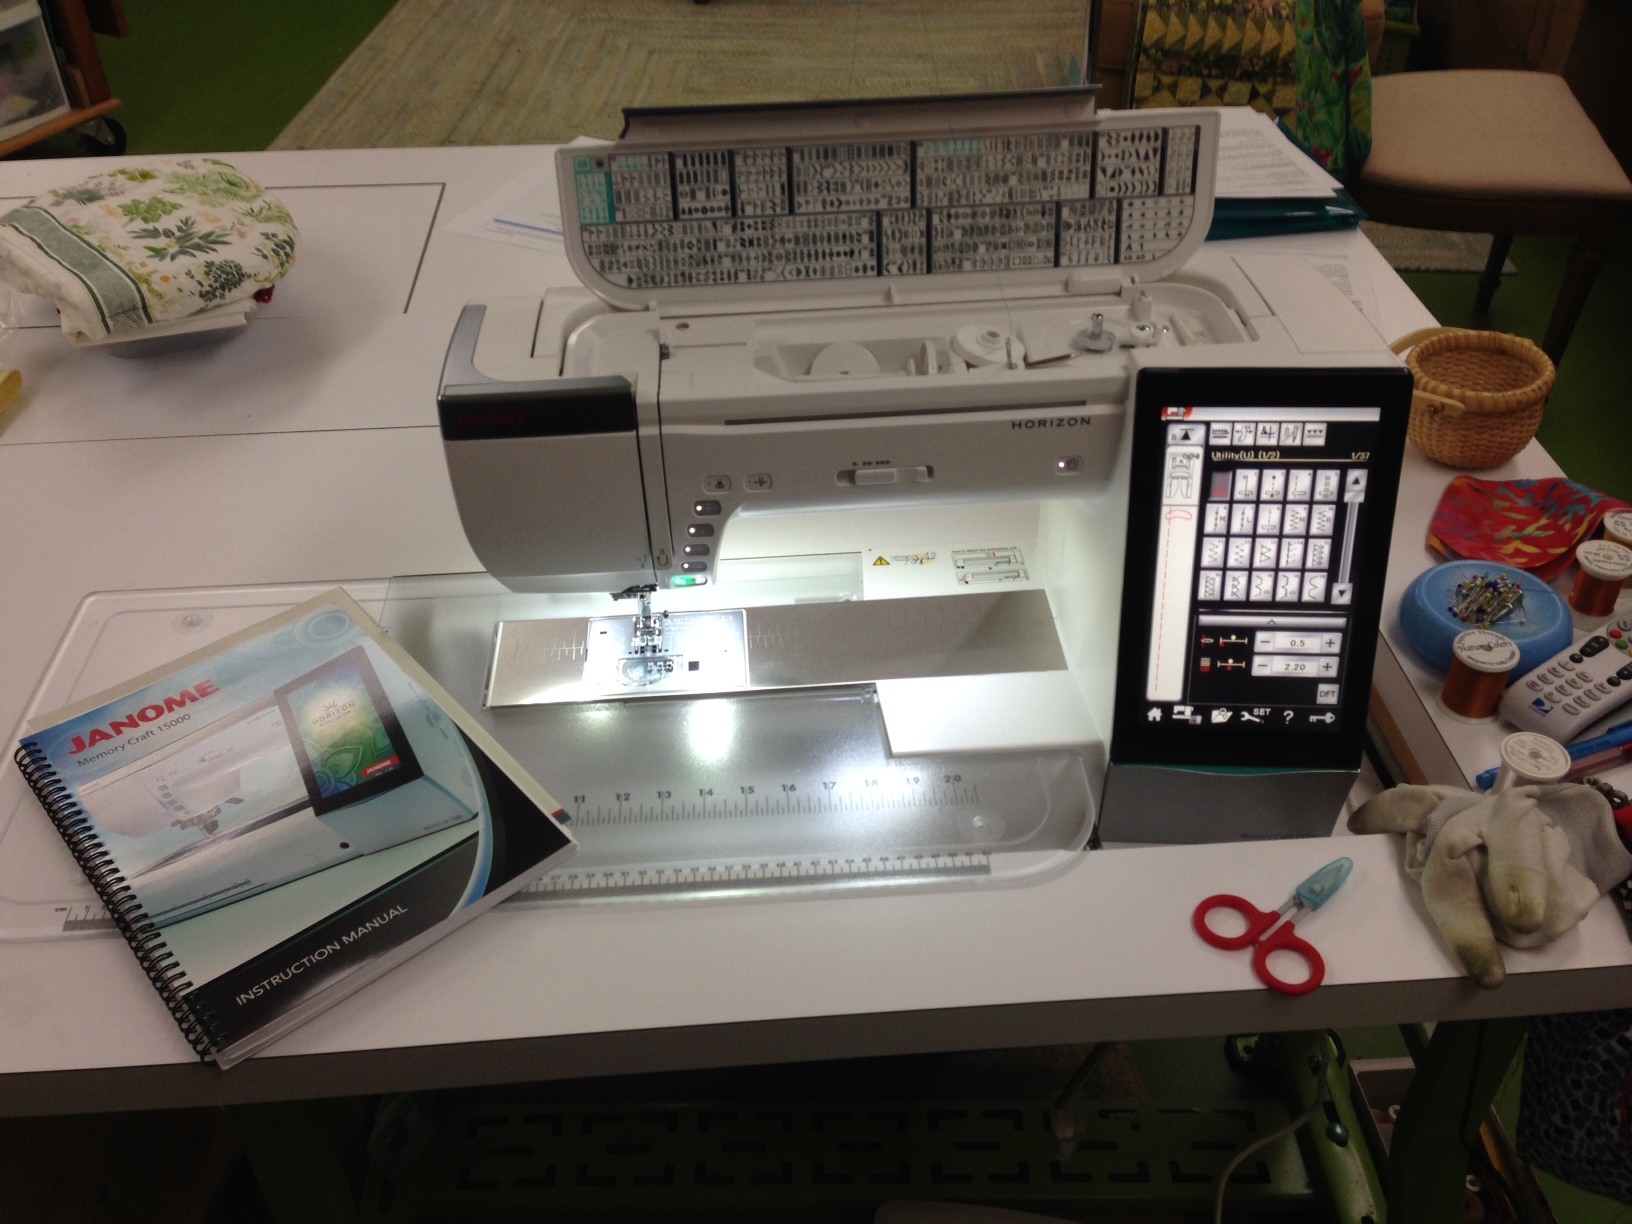
The lesson for Week 4 is to get a photo that is “sharp as a tack.”
AND …..ta daaaaaaAAAAA drum roll…. taking an online year-long workshop with Ricky Tims to improve my photography, Photoshop and Lightroom skills (the latter two were non-existent and I’ve improved to rank beginner). So today I’ll share about week 4 of Ricky’s Photography class. In the next week or two I’ll get you caught up on the rest!
Earlier weeks focused (pun intended) on Selective Focus, Find a Line, and Windows. We’ve also learned about organizing in Lightroom, using Photoshop, getting our copyright information into the metadata (basically digitally encoding it into the image so that if someone tries to remove the visible watermark, the copyright stuff is still embedded into the digital file/info..don’t ask me how, that is way above my pay grade!).
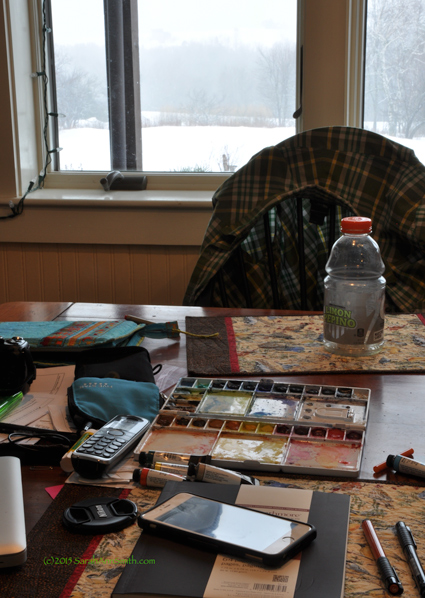
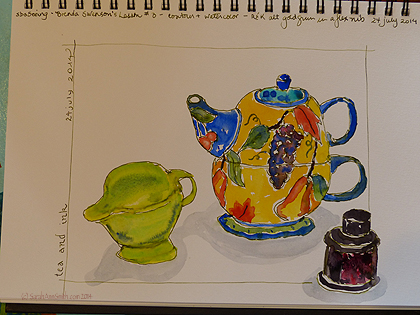
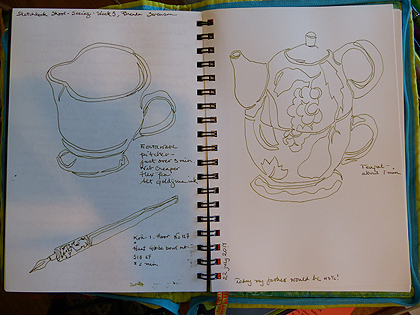
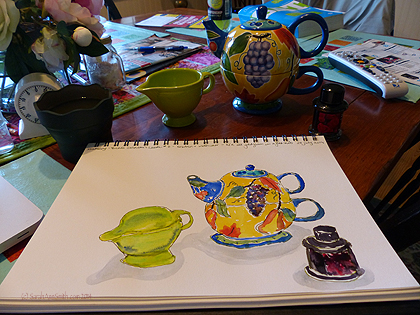
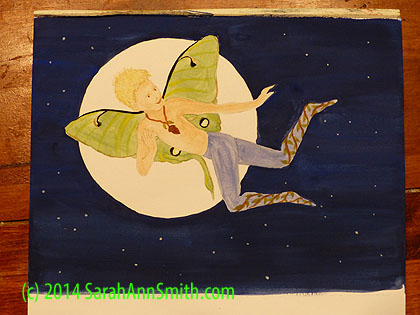
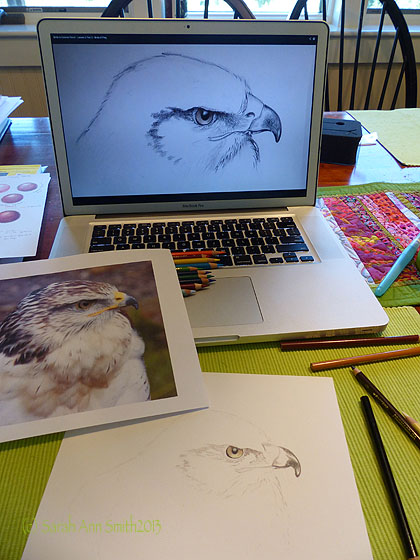
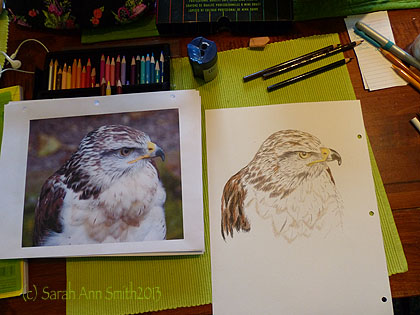
This shot was (duh) indoors, before I went out. I think of this as “chaos, clutter, artist at work.” I’ve also taken some sketchbook courses online over the past year, and am learning to work more with watercolors. I want to loosen up, have my art quilts be a bit more spontaneous (well, everything in my life pretty much could benefit from me being less of a control-freak). Anyway, this photo is “tack sharp” from the closest edge the window and even into the view. It was challenging because of the brightness outside, so I had to lighten the interior in Photoshop.
Since I’ve been crazy busy, I didn’t get out early enough this week to get the shot I wanted. I got home from California between two storms, thankfully. I got in before the “Big” Blizzard early in the week that dumped about 0-4 feet of snow—drifts around the house made it nearly impossible to figure how much we actually got. Then yesterday, Friday, it started snowing again. So I went out in the snowfall before it got too windy and thick to take pictures. And took a few indoors, as well. Eli will be pleased that I did NOT share the one of these with him trying to get out of camera range!
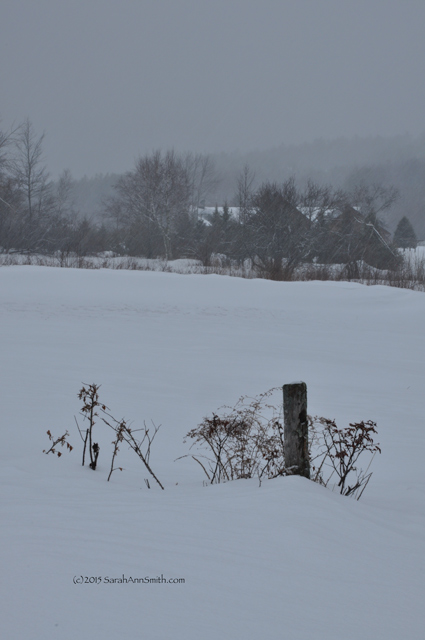
I totally love our view and took many photos. I also learned a few things (some of which I knew but had forgotten) about taking pictures in “weather.” This is standing near the top of our driveway, looking down to the neighbors. Our driveway is just this side of the line of dark green pines that partially obscure the neighbor’s house.
As for photography in weather,
- –a plastic bag around the camera keeps it from getting wet from melting snow
- –a lens hood to keep snow off the lens would have been a brilliant addition. Next time.
- –a cloth (lens or cotton or linen) to wipe off the wet-from-snow lens would be good, too. Fleece (my preferred garments in winter) don’t soak up enough water!
- –it is impossible to feel the timer button on the camera in gloves. Why a timer? Even with a tripod, if you are going to have a slow shutter speed (1/40 second or slower), using a timer helps avoid any wigging of the camera. So gloves came off.
- –even if it is relatively warm for winter and snow (28 F, or about -1/2 C), even my fingers eventually get cold!
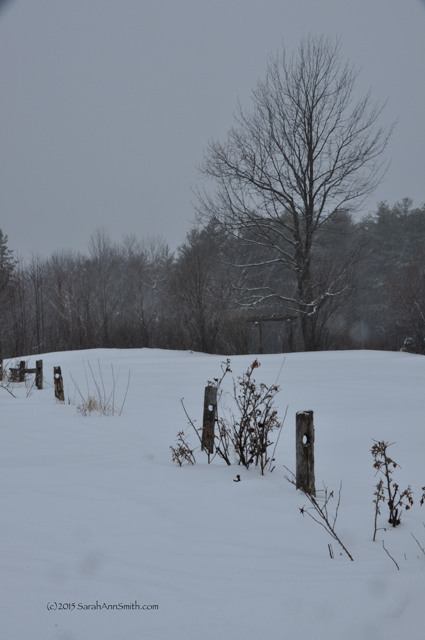
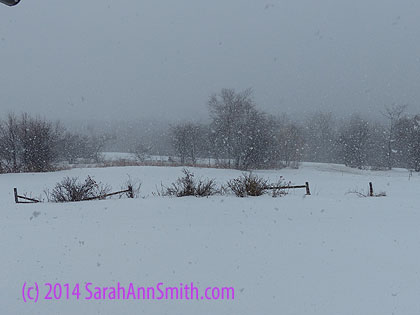
Looking West-Northwest to the pergola/walk-through to the big meadow. There was a falling down fence when we moved in 4 years ago that is now pretty much fallen, but the posts are good snow-depth markers. I LOVE how you can see the streaks of snow falling in this shot…look above the pergola infant of the big tree.
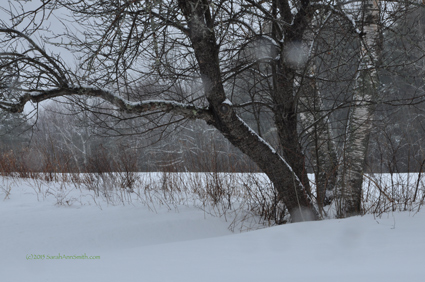
A VERY large old apple tree (apples taste like yuck, but the deer and turkeys like them) and a huge birch tree on the stone wall/hedgerow between the big meadow and the downhill meadow. Meadow is codeword for big open space that we don’t mow but once or twice a season. This is where a cloth to wipe the lens would have been really useful. But I like the photo so much even with the blots on it that I’m sharing.
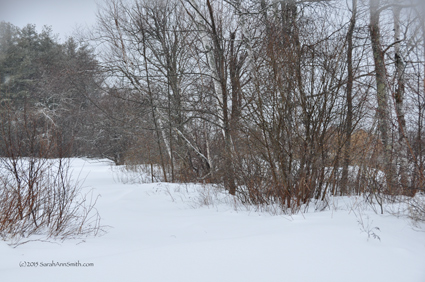
The trees and scrub at the bottom of the big meadow; the driveway is to the right of these. Again, going for sharp through the entire depth of field–at least as sharp as the atmospheric conditions allowed. Taken, as are all of these, on a tripod.
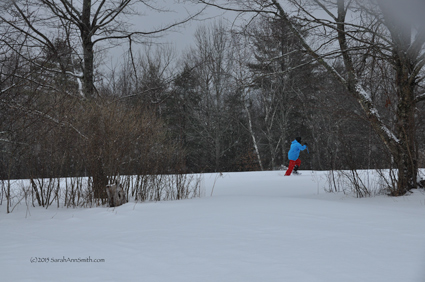
Eli is the only one (so far) to have tried out my Christmas snowshoes. Got a quick snap of him going by just on the bottom side of the driveway–pretty much along the property line.
So now I need to get to work in the studio…more samples to make for articles and classes! Hopefully I won’t be AWOL for a month (absent without leave) before I get back and blog again!