email Youtube

Home
Galleries
Blog
Workshops & Calendar
Store
Resources
About
Contact

Archive for the ‘Paint’ Category

The Frayed Edges, October 2010

Sunday, October 10th, 2010

Some days are just perfect, and this month’s Frayed Edges was just that.

Birthday cupcakes from Kathy

My birthday is around about now, and Kate and Kath were amazing!  We met at Kate’s home, a quintessential New England Cape home that is WELL over a hundred fifty years old if it is a day!  It has, of course, been updated, and the skylights and double-paned windows make is so sunny and homey! On the way down, I decided to go via route 24, which runs along the western bank of the Kennebec river, so I turned west onto Route 17 to head towards Augusta.  At that point I turned the GPS on to head to Kate’s home.  It told me to turn before I got to my usual spot, so I thought “Why not?”  OH MY GOODNESS!   The sad part is I was driving and couldn’t take pictures at the same time, but I think I drove through the most beautiful non-coastal part of Maine I have seen yet.  Autumn is just beginning, with flashes of scarlet and gold….small Maine towns, white steeples, babbling brooks, blueberry barrens glowing crimson and auburn and russet….oh my!

This was the table that greeted us:
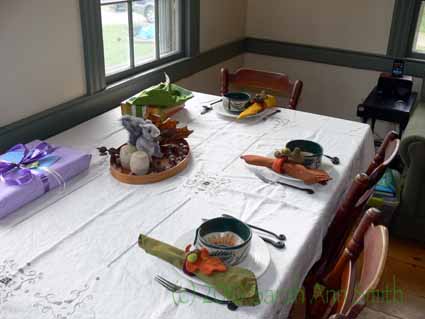
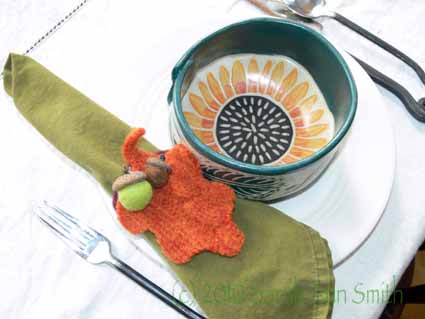
Kathy arrived before I did, and Kate’s lovely autumn setting (notice her felted-sweater napkin rings, complete with acorns made with real acorn caps and felted wool balls?) was so welcoming!

Kate has these incredible hand-made dishes and silverware that she takes out for our special days.  I just love the cheerful sunflowers:

Kate's place setting...so lovely!

Then we filled them with a new squash and sausage soup, accompanied by salad and some awesome sourdough bread I bought at the Market Basket in Rockport (I really did NOT need to learn that their breads are SO good):
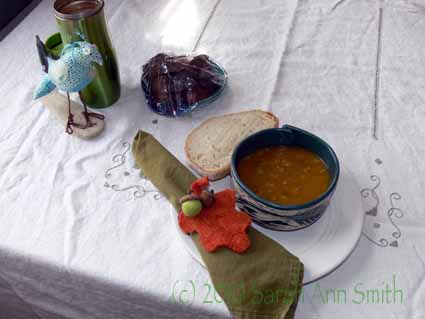
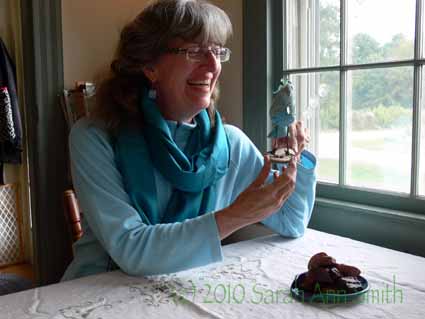
Those goodies you see on the left are birthday prezzies….  Kate UTTERLY indulged me with a Pashmina scarf/shawl in my all-time favorite turquoise/teal/aqua, and Kath bought hand-made chocolates given on a one-of-a-kind pottery spoon rest, accompanied by the adorable Egbert (  made by Kathy and christened on the spot).  What a perfect funny bird!

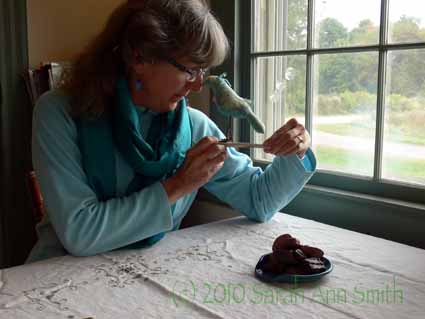
And here we are, beak-to-beak:

Sarah and Egbert, getting acquainted

He just makes me smile!  He is now on my dining table where I work at my laptop and keeps me in good humor!

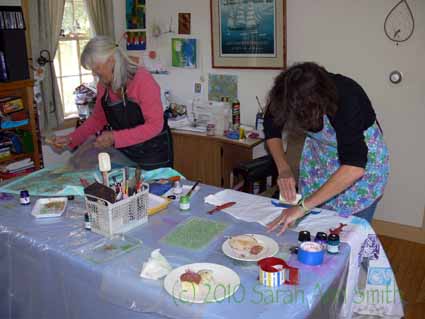
We ate lunch a bit early so we could play with paint; a couple weekends earlier Kath and I had attended the SAQA-Maine weekend (more on that in a future post), and I shared a couple techniques I learned.

Playing with paint

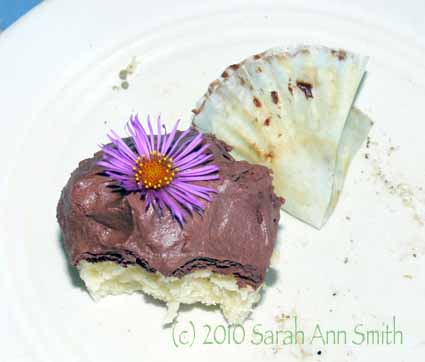
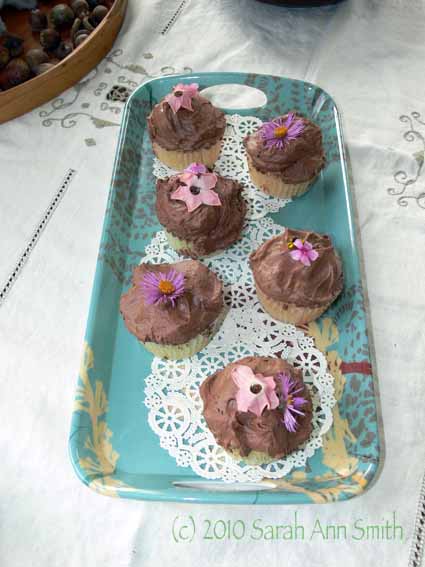
What could be more perfect:  wonderful friends, food, art, friends, fabric and ideas and warmth, glorious Maine, friends…. I am so truly blessed!  As you can see…. the cupcakes were delectable with Kathy’s made-by-her ganache (talk about melt in your mouth heavenly):

Playing with “fussy” thread in Arizona

Friday, July 30th, 2010

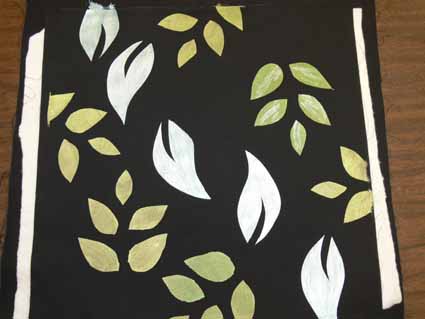
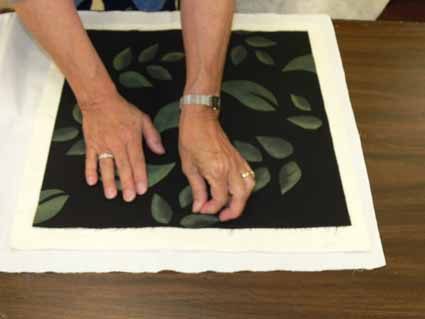
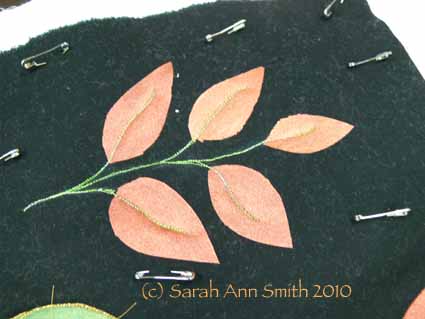
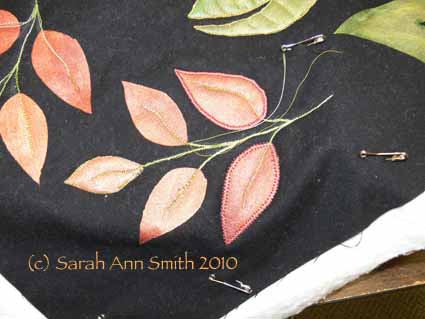
My last class in Arizona, in friendly Flagstaff, was small but good.  We cut freezer paper stencils, then used the Lumiere paints I supplied to paint leaves onto a dark (black) background.  Next, while the paint dried (fairly quickly), I talked about special tips and tricks for sewing with threads that have a reputation for being fussy:  metallic, holographic (the shiny stuff…think Mylar balloon stuff cut into long strips), shiny polyester, and more.  This project is also on the cover of my book and is included as one of the activities in the back (book available here).

First, you paint the cloth:

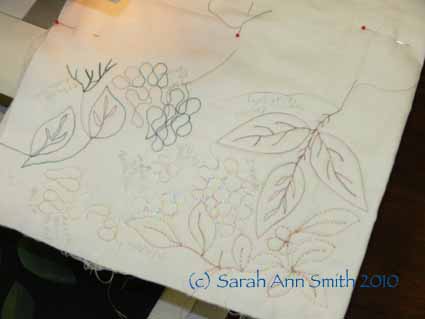
Then baste:

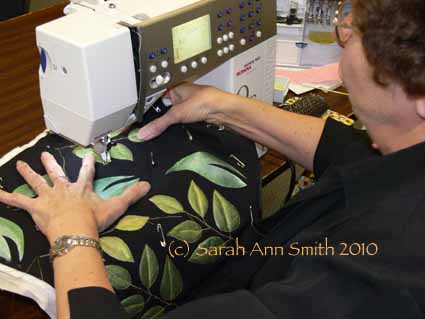
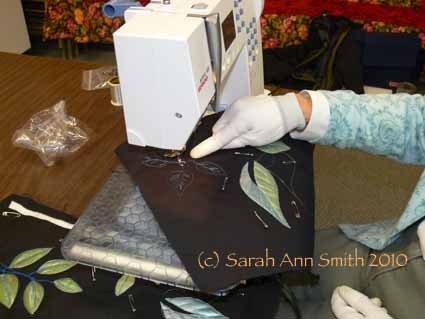
One thing many of us don’t do enough is to make sample stitch-outs before diving in to the quilting.  I can’t say enough how important and helpful this can be!   Best of all, if you don’t like it, you don’t have to rip it out…just move to another part of the practice sandwich.  Here, one student is checking out how the decorative threads look in various free-motion designs and what she needs to do to get a good stitch on her machine:

Then start stitching:

Stop a bit and muse over what next, then continue:

Then of course there are those miserable thread tails to knot and bury!

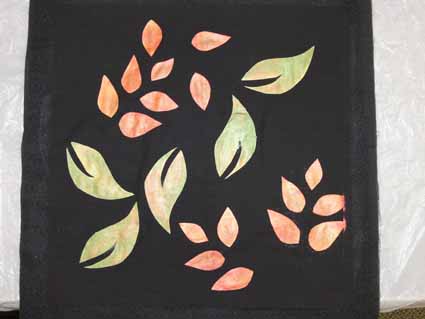
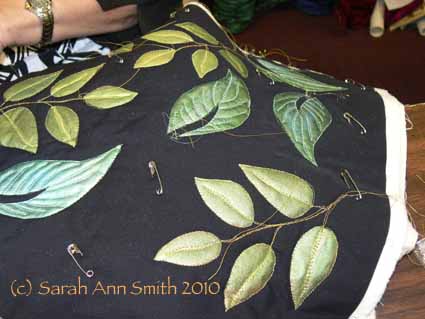
I loved the look of the copper leaves:

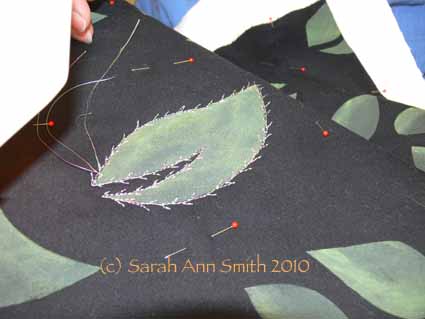
And then trying out different threads and stitches and stitch-lengths to outline the leaves:

Here’s a cool, silvery, feathery outline:

Thanks for being in my class!

Art for the new year: Postcards

Friday, January 1st, 2010

Happy New Year Everyone!   May the good stuff from last year continue, may the icky stuff go away…as simple as that!


Someone on the QuiltArt list asked what our “word for the year 2010” would be.  I’ve not really done that before—I tend to be NOT introspective and don’t make specific long-term goals, and quit making resolutions years ago.   [I resolved that I would no longer make New Year’s Resolutions, but instead would make them when they needed making!  I’ve done that, and it is the first New Year’s resolution I’ve managed to keep for years!]

Anyway, after thinking, de-clutter, de-stress, and a few other similar concepts, I came up with

Simplify.

I need to simplify what I do, how I do it, and reserve more time to make art and allow myself to re-charge.  Since I got back from Houston in late October, I’ve been playing a catch up game, feeling that I’m in a fallow period for art.   I need time to restore myself, so I’ve been reading novels, spending time with family, and generally trying to not kill myself with work!

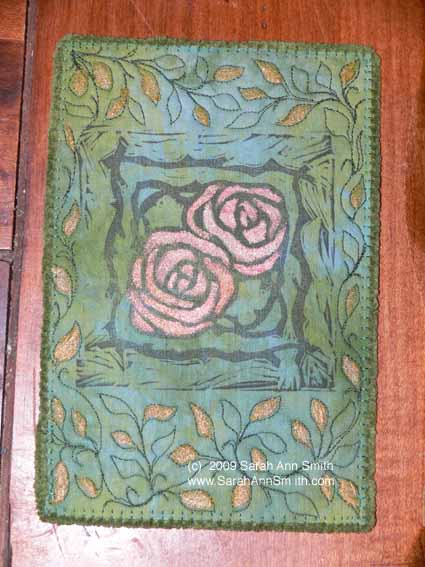
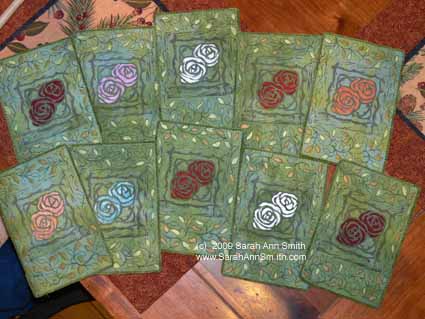
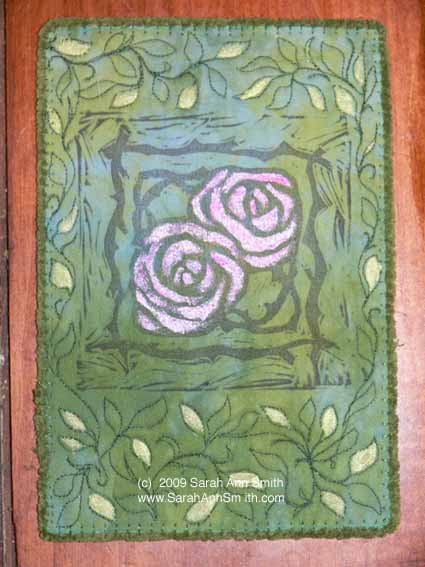
Along with the theme of simplify, I thought I’d share these fabric postcards, many of which I make for an online swap.  The theme was Art Nouveau/Art Deco, and I think the design is nice, straightforward, and fairly simplified!

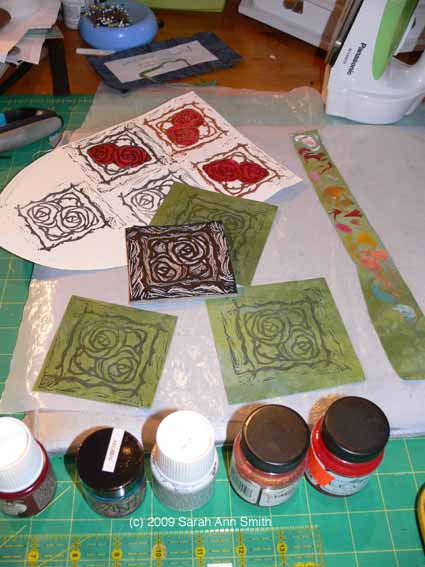
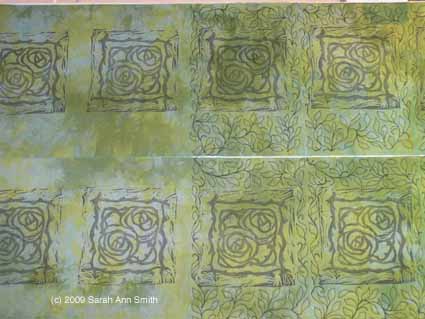
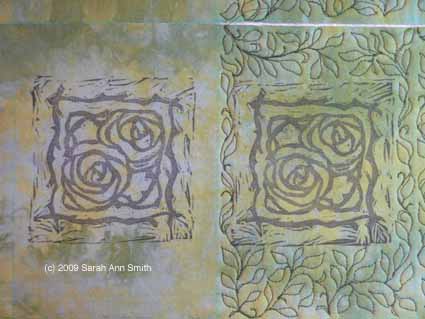
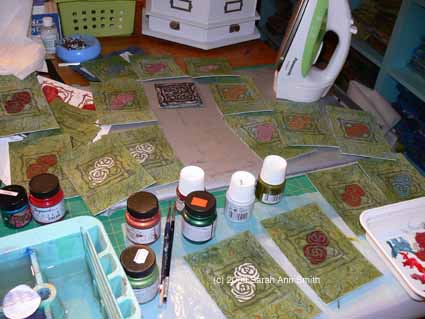
Here’s how I made them.  First I carved my own stamp, based on a design from a Dover book (copyright-use OK).  I simplified the design which was too intricate for carving in a stamp that is just under 3×3 inches, then added a frame of vine-branches. You can see some test-prints on paper, and some test-swatches of the paints…mostly Jacquard Lumiere and Setacolor Pearlescents.

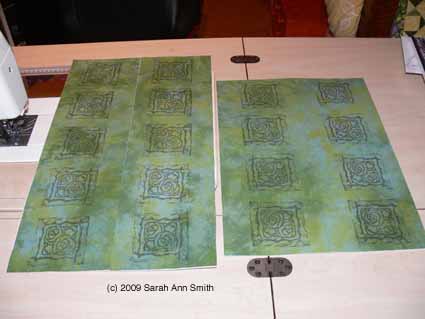
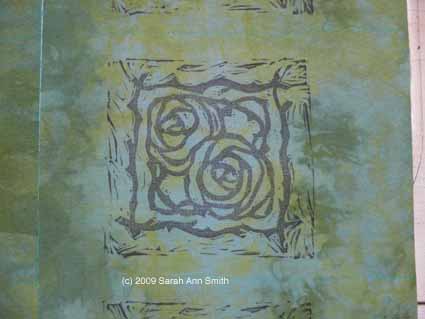
I printed onto my own hand-dyed cloth with Ancient Page archival ink:

The cards were then quilted and painted:

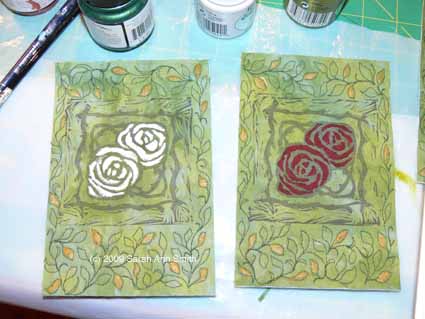
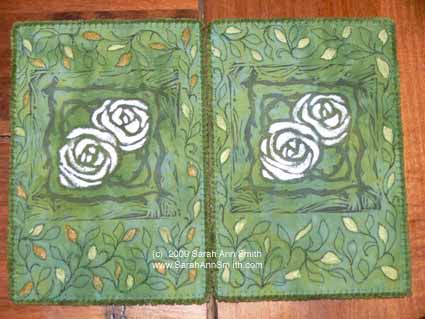
Next, I painted some of those leaves.  It actually took longer to paint the leaves than to quilt the cards!

Finally, I added a couched yarn edge-finish:

Here’s a close-up of two of the silvery-white roses, one with just the pale green-gold leaves, the other with two-tone leaves:

I have mounted three of these cards and will be offering them for sale, but need to take pictures.  Hopefully I’ll get those posted soon…in the meantime, welcome to 2010, to the snow that is falling turning the view out the window into a white and grayscape wonderland, and to making art!