Whimsy-Class and Sarah’s Thermofax screens at Fiber on a Whim
Thursday, October 2nd, 2014What FUN! As a result of collaborating with Fiber on a Whim, I am thrilled to announce that they are now carrying a line of thermofax screens designed by ME! Whooda thunk it? Best of all, FoaW is debuting the screens with a sale!
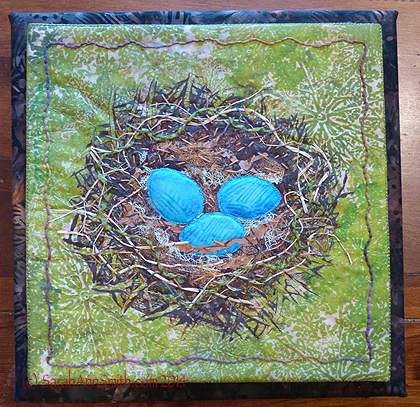
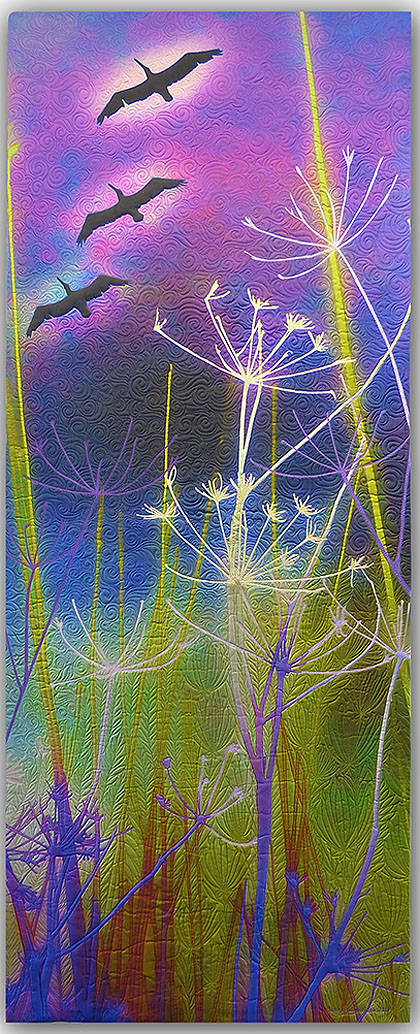
Learn to make the painted fabrics in this project in my mini-Whimsy class at IQF-International Quilt Festival Fall 2014. This piece was made (in part) with the Queen Anne’s Lace thermofax screen at Fiber on a Whim.
The collaboration began when Fiber on a Whim asked if I would like to do a mini class in their booth at Festival. At International Quilt Festival I will be teaching regular classes (Intro to Machine Quilting, Birch Pond Seasons, particpating in the Machine Quilting Forum and giving a lecture on Tuesday), but I will also be doing two mini Whimsy Classes in the Fiber on a Whim booth #144 on the show floor on Thursday at 5 and Friday at 11. I’d love to see you in both the regular and the Whimsy classes! The Whimsy classes (both the same) will use thermofax screens and other paint processes to create your own cloth. The booth is on “Main Street” (the big red-carpeted aisle in the middle) right next to the passageway/entrance to the quilts exhibits! Read more about FoaWhim’s Festival plans here on their blog.
In the class I hope to have students do two small projects each. In the class, students will create the Queen Anne’s lace background fabric used in this project along with the painted part of the nest, then finish the stitchery and quilting at home. I will provide the materials you need in class, you add the rest at home. Just show up, pay for the class (a very modest fee that covers supply costs), and play! There will only be 8 spaces per class; stay tuned for details but I think you just need to show up about 15 minutes before class and the first 8 people in line get in to the classes.
The Queen Anne’s Lace custom stencil, which you can purchase from Fiber on a Whim not only at International Quilt Festival but also on their website is this one, which has the flower head in three sizes on a 9 x 12 inch screen. (PS–did you remember all my screens are on sale right now?) You can print with just a single size or use all three (or portions):
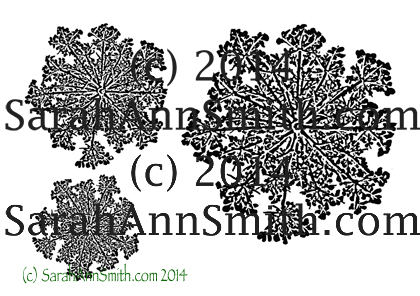
My custom Queen Anne’s Lace screen that will be available from Fiber on a Whim, probably on their website later this week.
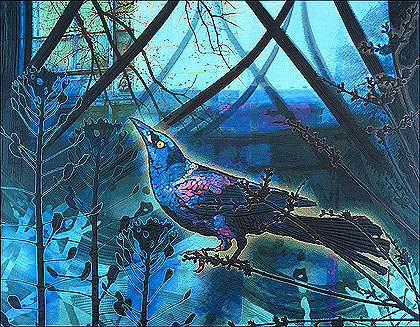
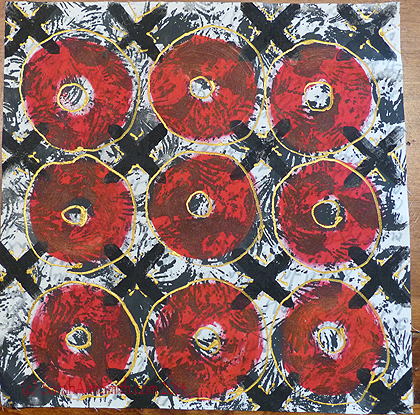
I will also have students work on a piece of art cloth to make something along the lines of the piece below, which uses my Onions thermofax screen (I’ll post more about the screens once Fiber on a Whim is ready to sell). This was like fingerpainting in kindergarten–pure play–but with cloth!
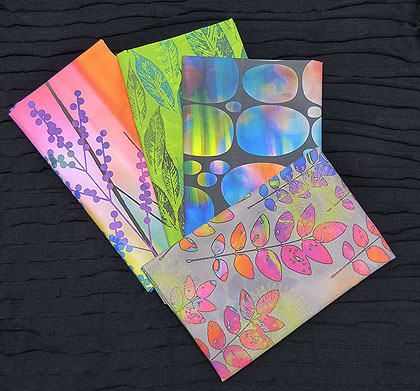
And some art cloth–this is SO not my typical, but I could see playing with surface design, a lot, to make more fabrics to use in my more typical style. I wanted to have something totally “not me” though so that students get to try both representational and not!
Here are a few more images so you get the idea of what we will be doing–do come play!
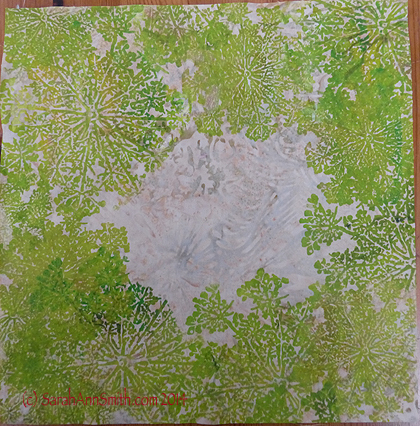
For the nest piece, I took some pale beige batik, my Queen Anne’s Lace stencil and paint to create this cloth, which I love so much I can see making yardage of this to use!
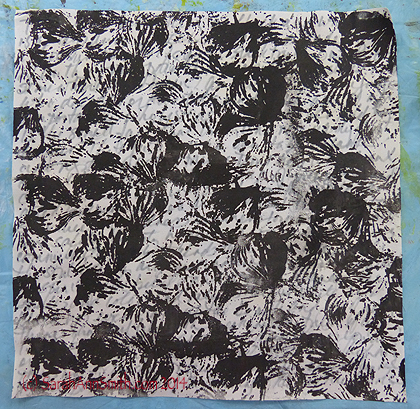
My onion screen will also be available at Fiber on a Whim. I simply overlapped it a bunch of times to create this cloth, again something that I can see using as background fabrics. And what a variety you’d get depending on your base cloth (this was plain white) and colors. This was layers 1 and 2 in the red-black-white piece.
Hope you’re intrigued. Personally, I want to go play with paint and cloth!