email Youtube

Home
Galleries
Blog
Workshops & Calendar
Store
Resources
About
Contact

Archive for the ‘Paint’ Category

Milkweed No. 2, Part 2

Sunday, February 7th, 2016

A few days ago, I shared with you the happy news that Milkweed No. 2 is heading to Australia and New Zealand to be a part of “A Matter of Time,” and exhibit curated by Brenda Gael Smith.  Brenda is blogging sneak peeks on the blog.

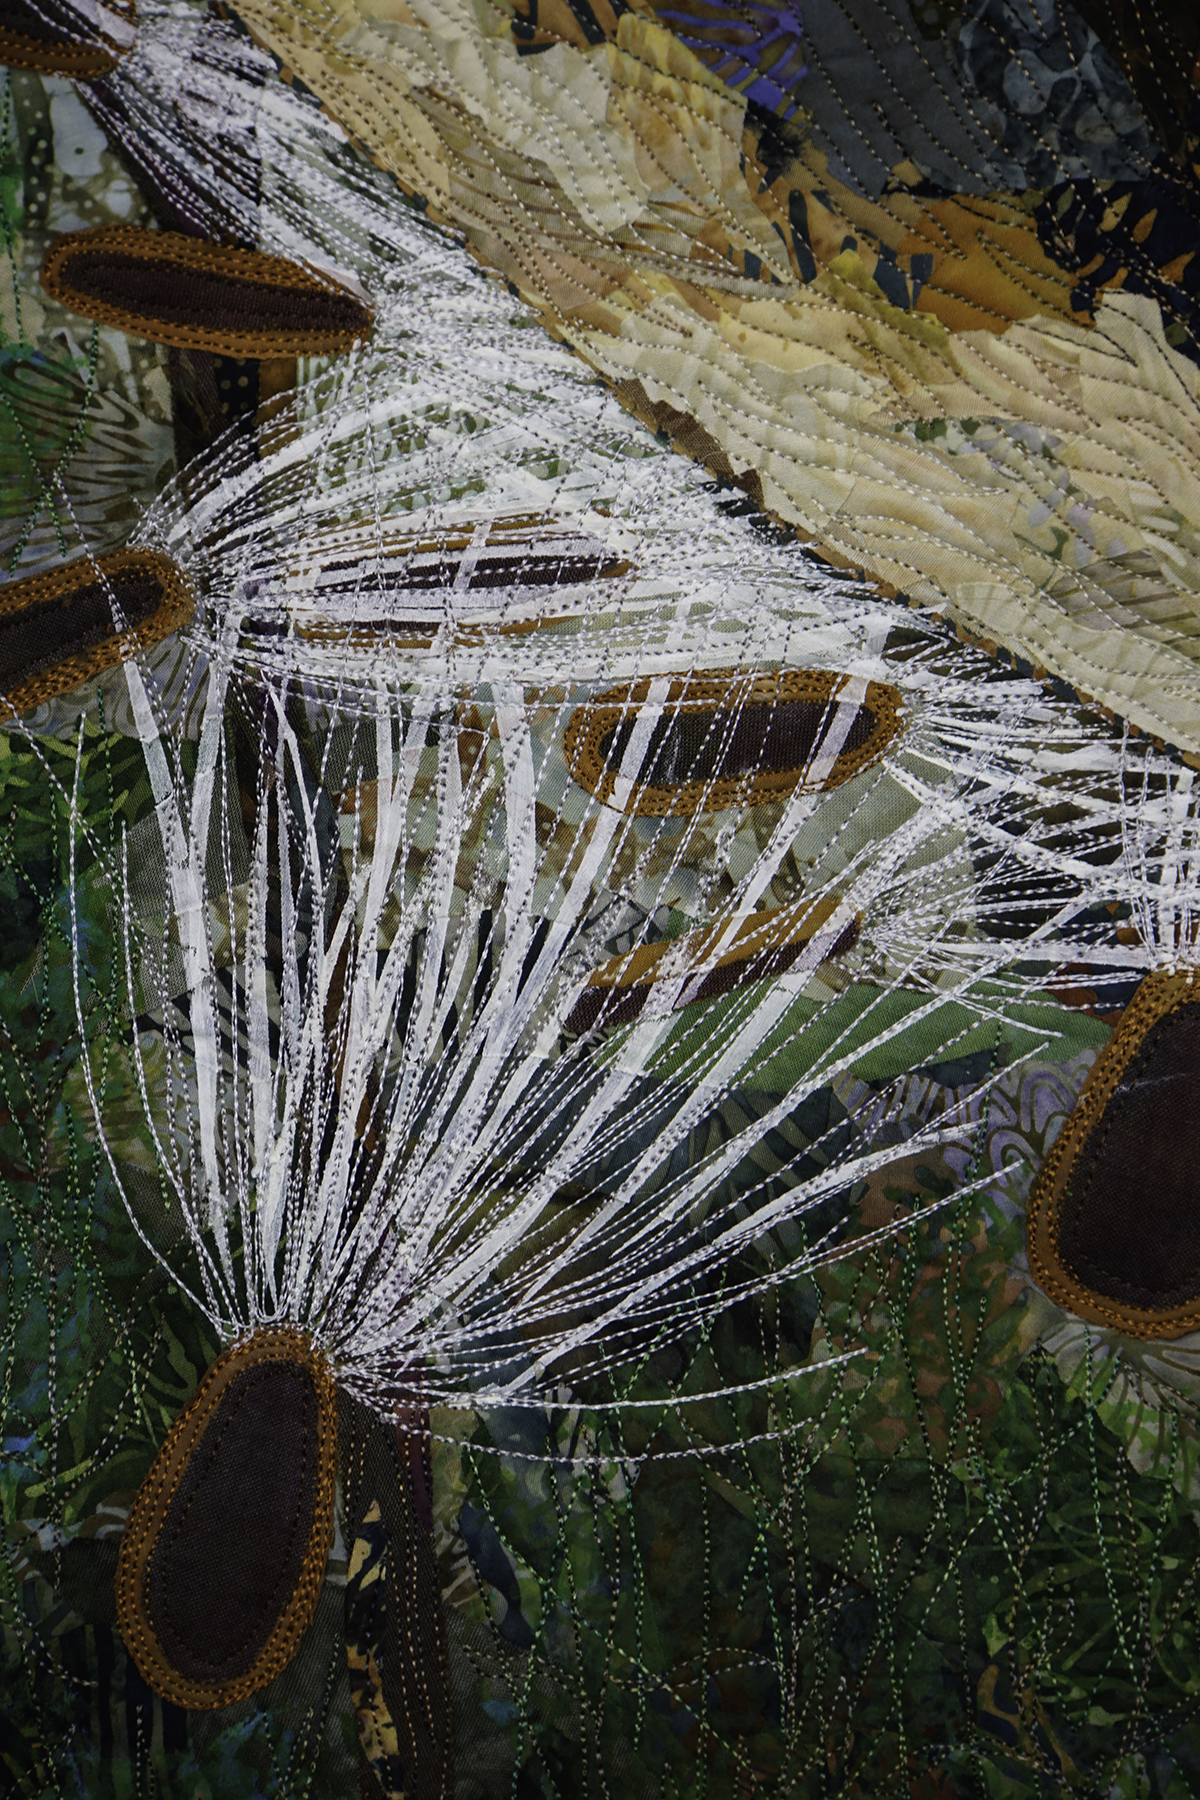
Milkweed pod, seeds and silks detail

Milkweed pod, seeds and silks detail

SASmith.MilkweedNo2.Detail2_DSC3256 I thought I’d share a few more bits of my process, especially because I will be demoing and teaching a class at Houston that incorporate these techniques.

In an effort to reduce the labor-intensive process of quilting the surface of my works at 1/8" apart over nearly the entire surface, I've started adding some surface design.

In an effort to reduce the labor-intensive process of quilting the surface of my works at 1/8″ apart over nearly the entire surface, I’ve started adding some surface design.

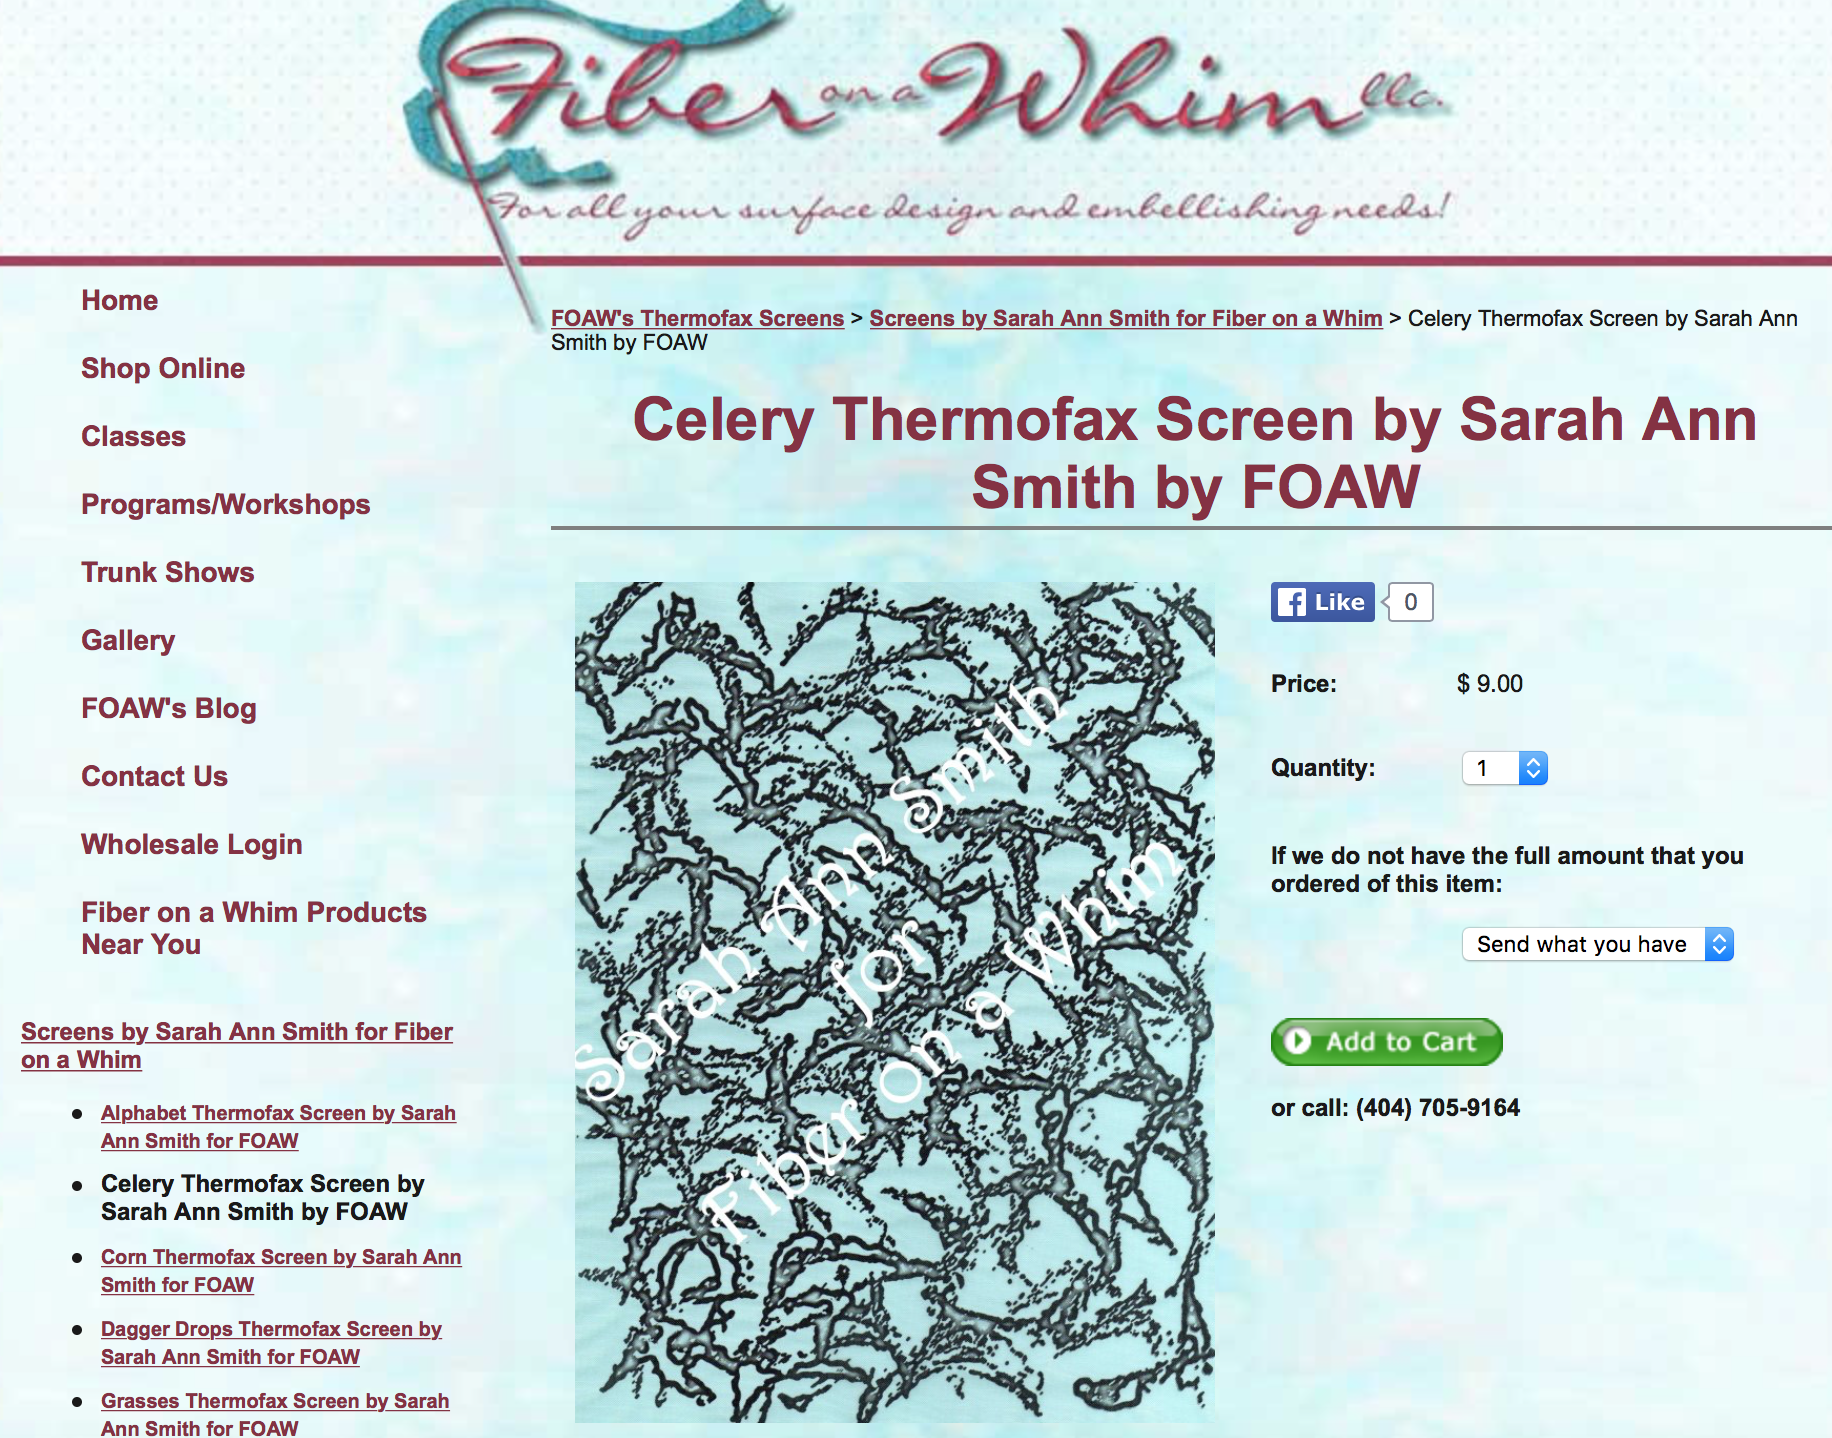
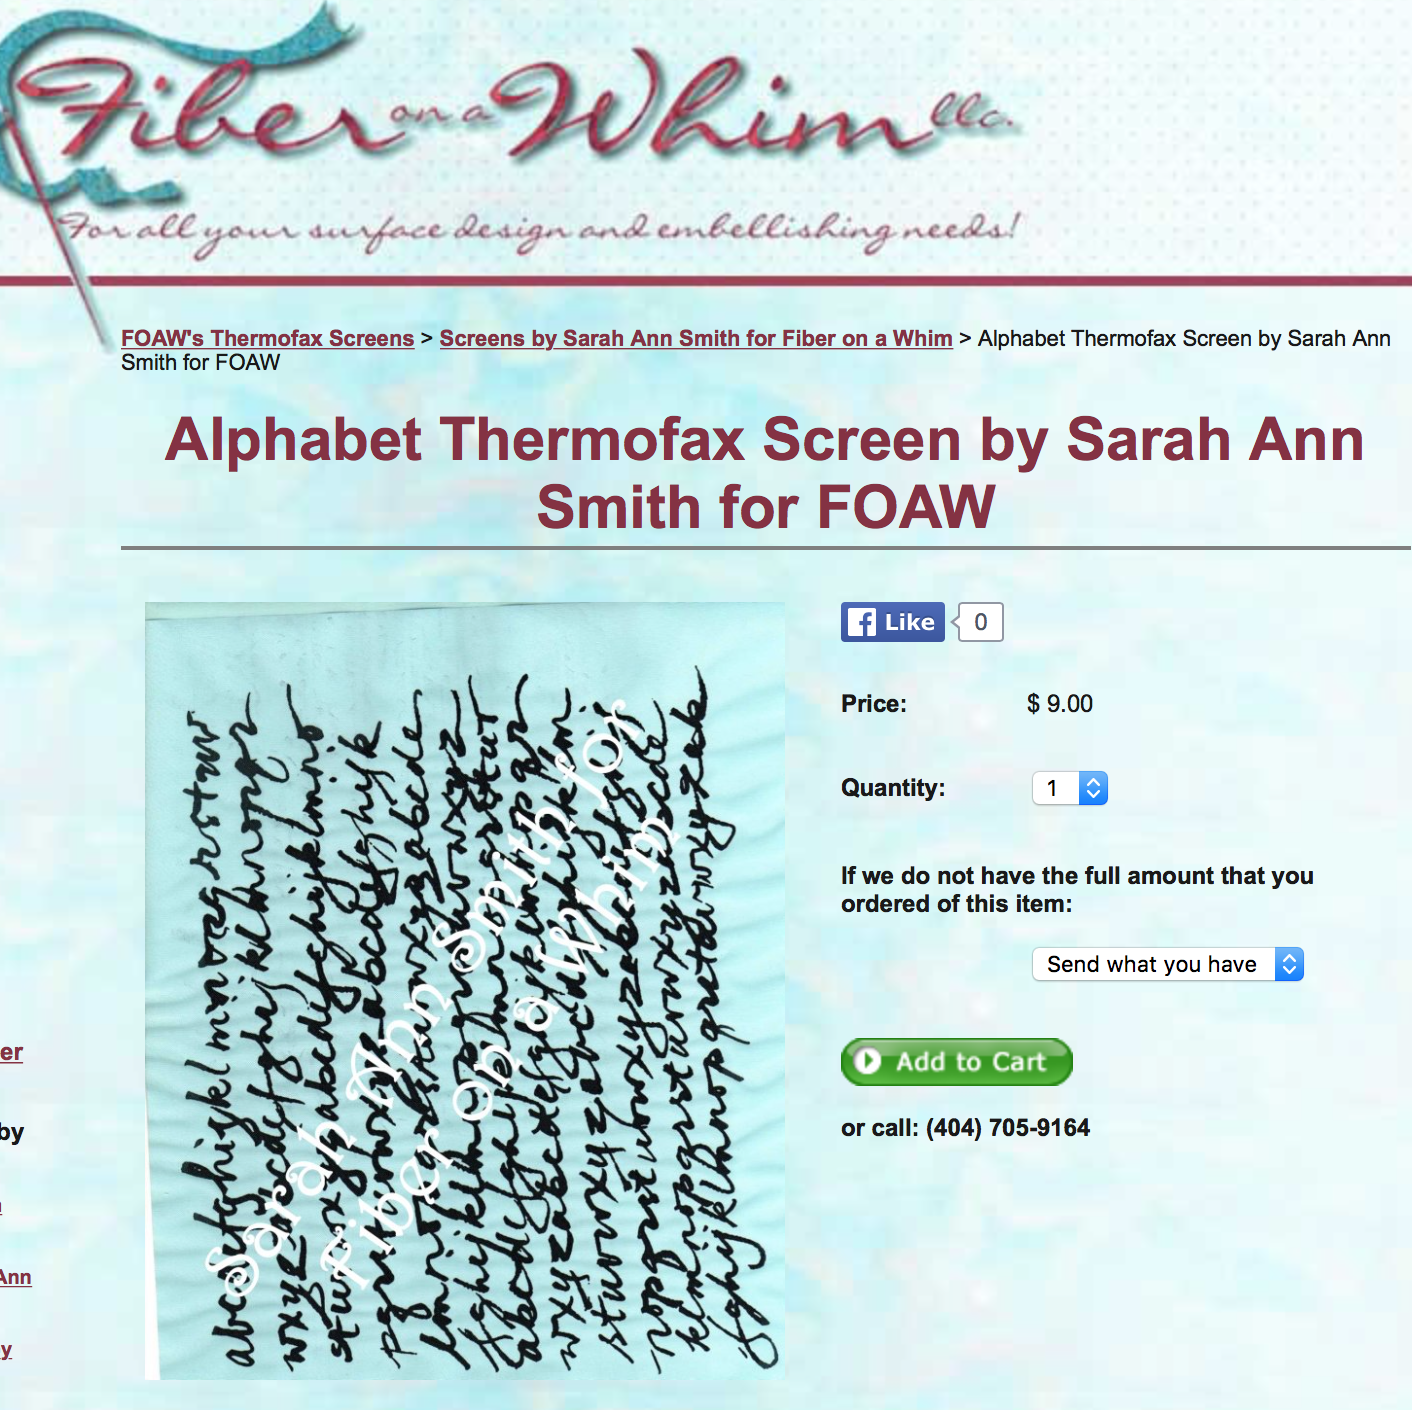
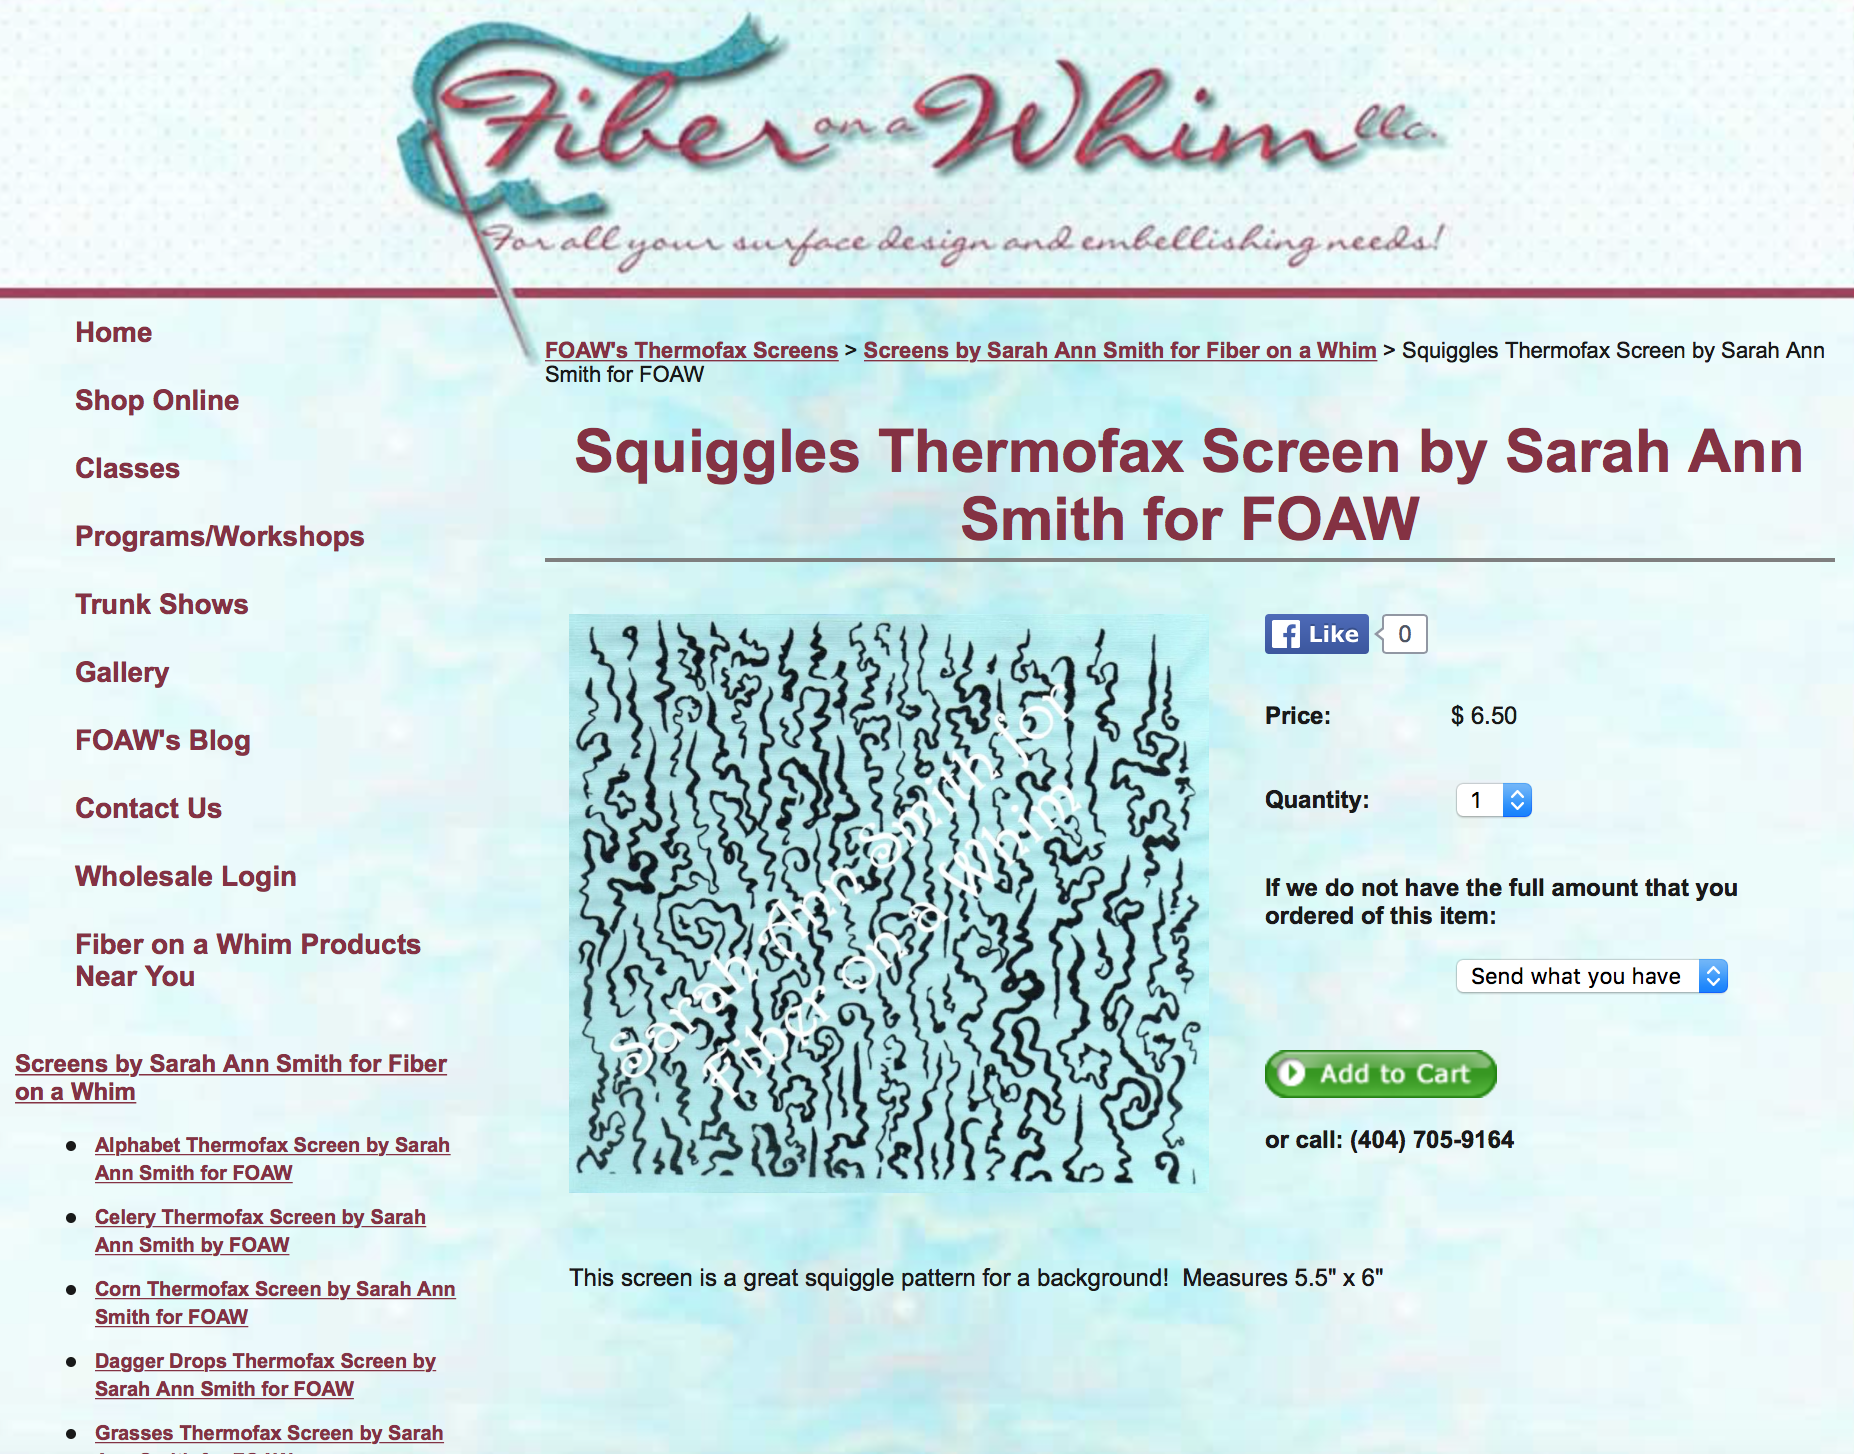
A couple years ago, I designed some Thermofax screens and had them made by Jan and Kristen at Fiber on a Whim.  They asked if I would be interested in selling the designs, and I quickly said Yes!   Here are three of my favorites:

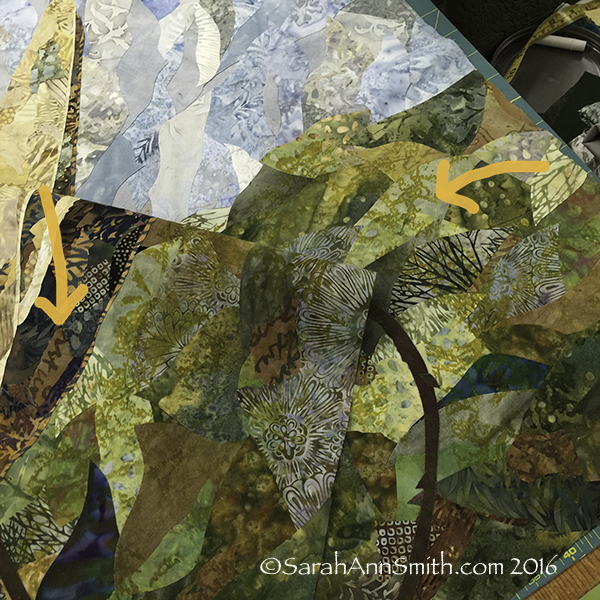
On the photo above, I have used textile paint and my "celery" screen to help blend the collaged batiks and hand-dyes

On the photo above, I have used textile paint and my “celery” screen to help blend the collaged batiks and hand-dyes.

My alphabet screen was used on some rather plain brown hand-dyed (by me) fabric then cut into bits to use in the quilt in addition to using batiks.

My alphabet screen was used on some rather plain brown hand-dyed (by me) fabric then cut into bits to use in the quilt in addition to using batiks.

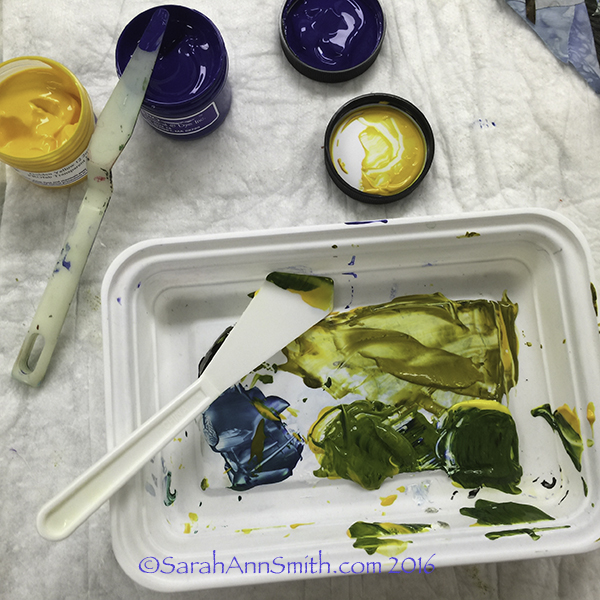
I mixed up some transparent textile paints--I use both Jacquard and ProFab--to screen print over the already collaged/fused background pieces.

I mixed up some transparent textile paints–I use Versatex, Jacquard and ProFab–to screen print over the already collaged/fused background pieces.

Next came the second round of screen printing, using my Squiggles screen, putting a darker green over the yellow-green I used for the celery.

I simply adore this screen. Add this to the top of any fabric--a plain tone on tone, hand-dye or batik and you've got great texture that can be blend or contrasty as you need.

I simply adore this screen. Add this to the top of any fabric–a plain tone on tone, hand-dye or batik and you’ve got great texture that can be blend or contrasty as you need.

I’ll be teaching some of this process in the Saturday Sampler where I will demonstrate working on your own personalized cloth as well as in my “Nest” class (you can see a bit about that here).

I also did a bit of stenciling using freezer paper and two colors of white.

I also did a bit of stenciling using freezer paper and two colors of white.

If you’d like to order those screens, visit Fiber on a Whim! Better yet, if you can come play with me in my classes at Quilt Festival in Houston this coming autumn!

JAM-SASmith


Milkweed No. 2 is headed to Australia

Thursday, February 4th, 2016

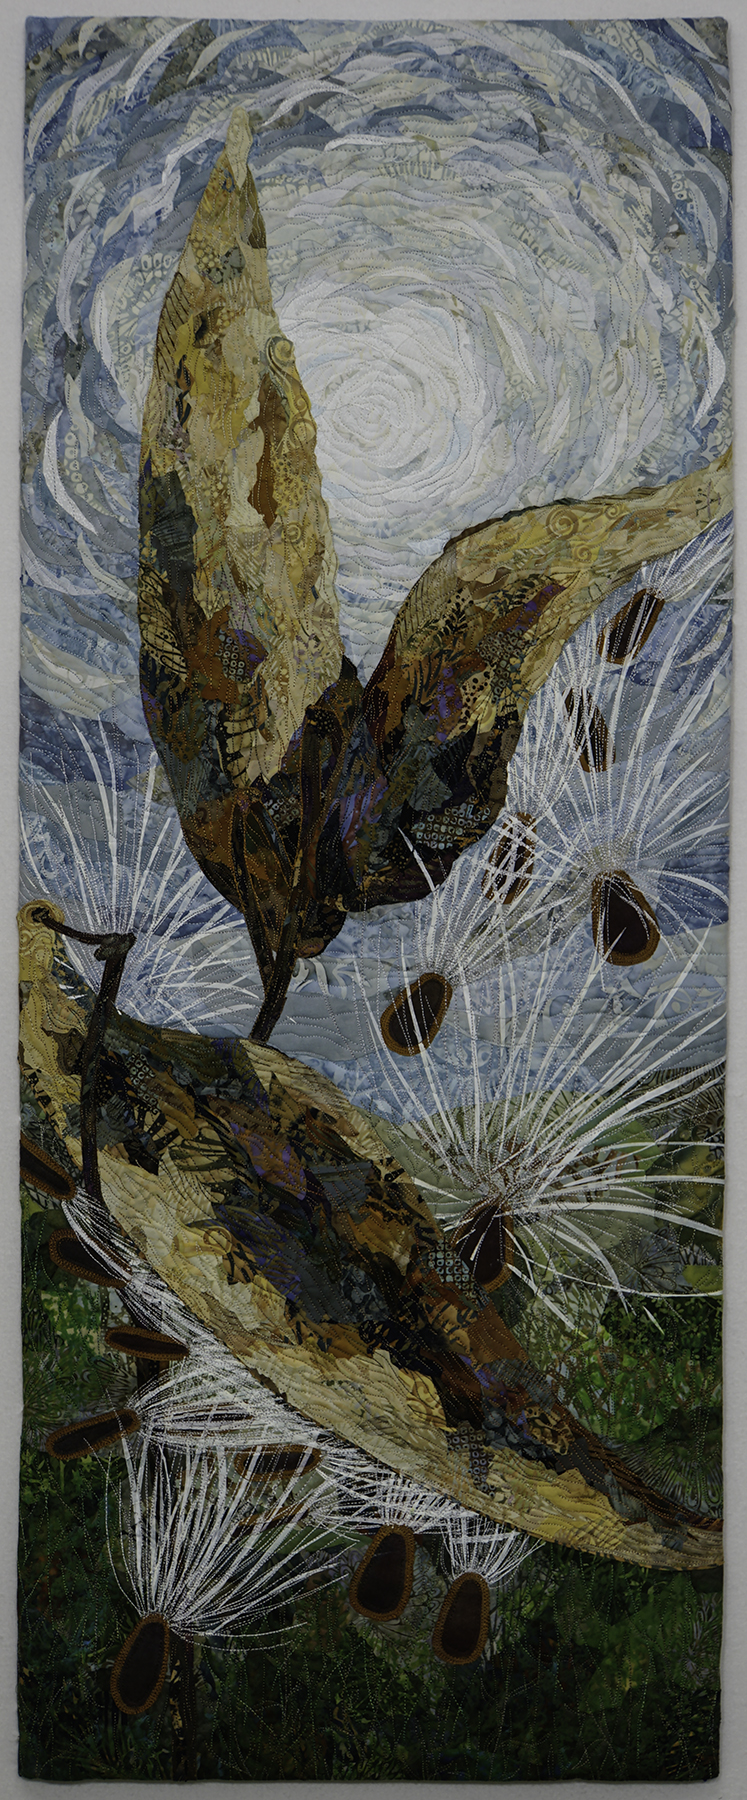
I’m delighted to share that my most recent art quilt, Milkweed No. 2, has been selected to be in Brenda Gael Smith’s current exhibit, A Matter of Time, and is en route to Australia!  Brenda is giving us all sneak peeks at the artworks in her blogpost series called “Just a Moment”  here.

Milkweed No. 2 has been juried into A Matter of Time and will be touring in Australia, New Zealand, and possibly points beyond in the coming two years. I'm thrilled---just wish I could fit inside the envelope and travel with it!

Milkweed No. 2 has been juried into A Matter of Time and will be touring in Australia, New Zealand, and possibly points beyond in the coming two years. I’m thrilled—just wish I could fit inside the envelope and travel with it!  Click to view a little larger.

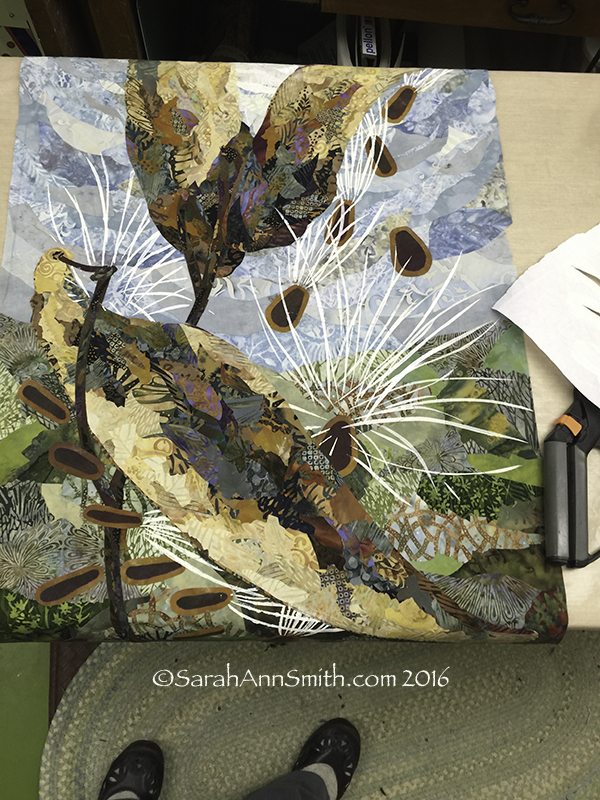
Apparently I mostly forgot to take in progress photos (!!!) while I was making Milkweed No. 2, so I will share one or two in progress shots from the making off Milkweed No. 1 (which I have not yet shared in public…stay tuned for that in a few weeks) in this and in a second post about my process.

As usual, I began with an idea (more like an obsession with milkweed pods) and dyeing fabric.  I had plenty of batiks and some of my own hand-dyes but needed more for the sky.  I decided to dye some cotton duck for the backing, as well.

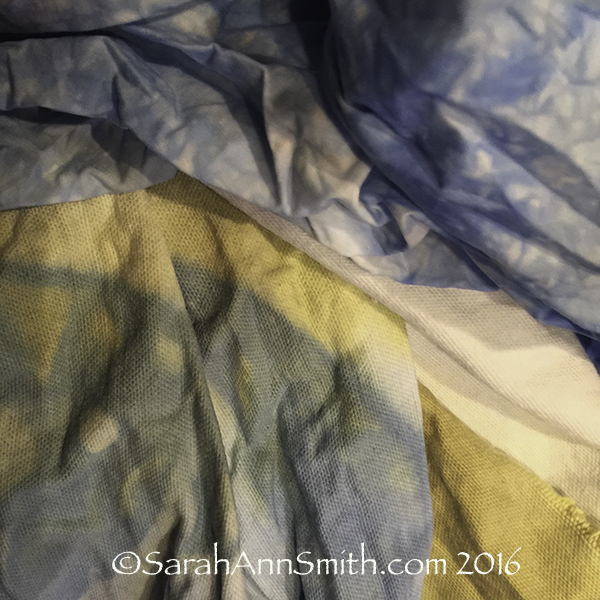
Backing and sky fabrics I dyed specifically for my two Milkweed quilts.

Backing and sky fabrics I dyed specifically for my two Milkweed quilts.

I use the cotton duck as a stabilizer.  It helps reduce shrinkage and the artwork hangs beautifully, although it isn’t as easy to handle under the needle as a lightweight fabric.  It is worth the trade-off!  I wrote an article about my process for Machine Quilting Unlimited and blogged about that here.

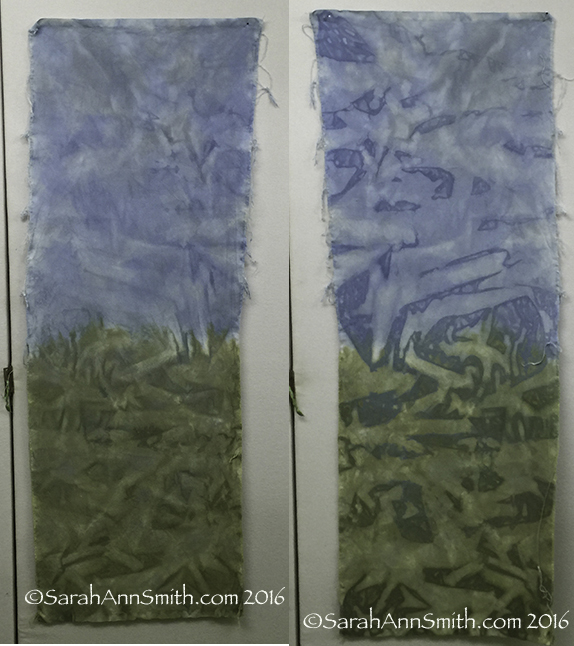
The top side of the cotton, is on the left. The right side shows where the dye pooled on the bottom (cloth was dyed flat on a surface).

The top side of the cotton, is on the left. The right side shows where the dye pooled on the bottom (cloth was dyed flat on a surface).

Next, using Mistyfuse (by far the softest hand, easiest to use, never “ages out”) adhesive / fusible web, I prepare my fabrics for collaging.  My video workshop (here on my site and available as a download here from Interweave) shows this part of the process, plus a lot more.  Anyway, I use my “stash” of fused pieces, but always end up adding more bits for a given piece.

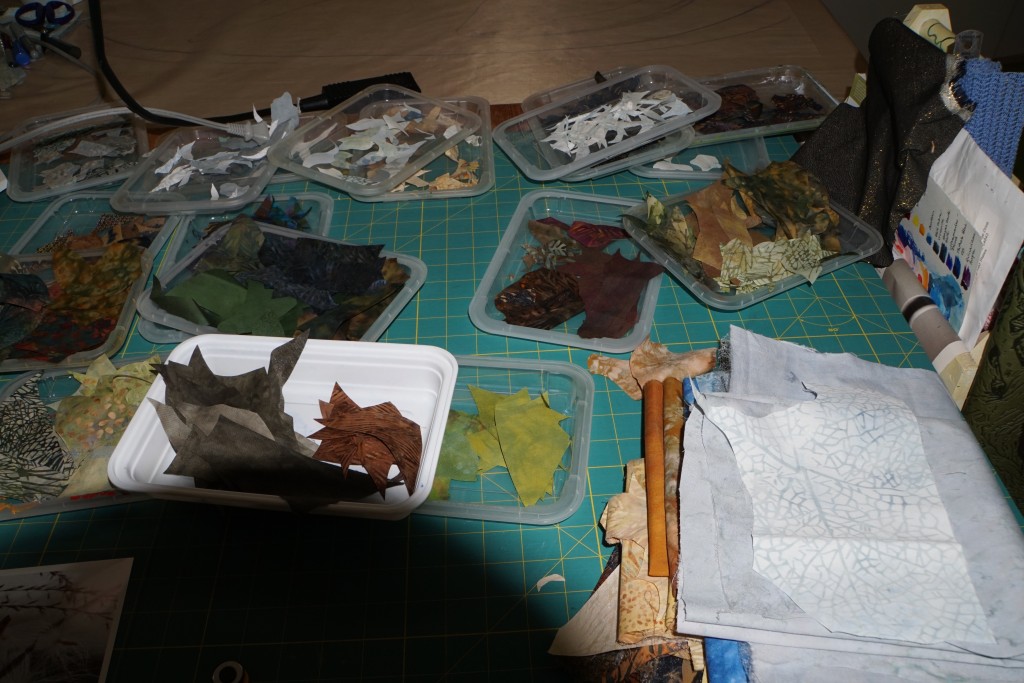
Sorry about the shadow on the left---here I've got fabrics out for fusing and am sorting them into colors using carry-out dish lids (that I've been using for at least the past 7 years! that restaurant has been out of business for eons)

Sorry about the shadow on the left—here I’ve got fabrics out for fusing and am sorting them into colors using carry-out dish lids (that I’ve been using for at least the past 7 years! that restaurant has been out of business for eons)

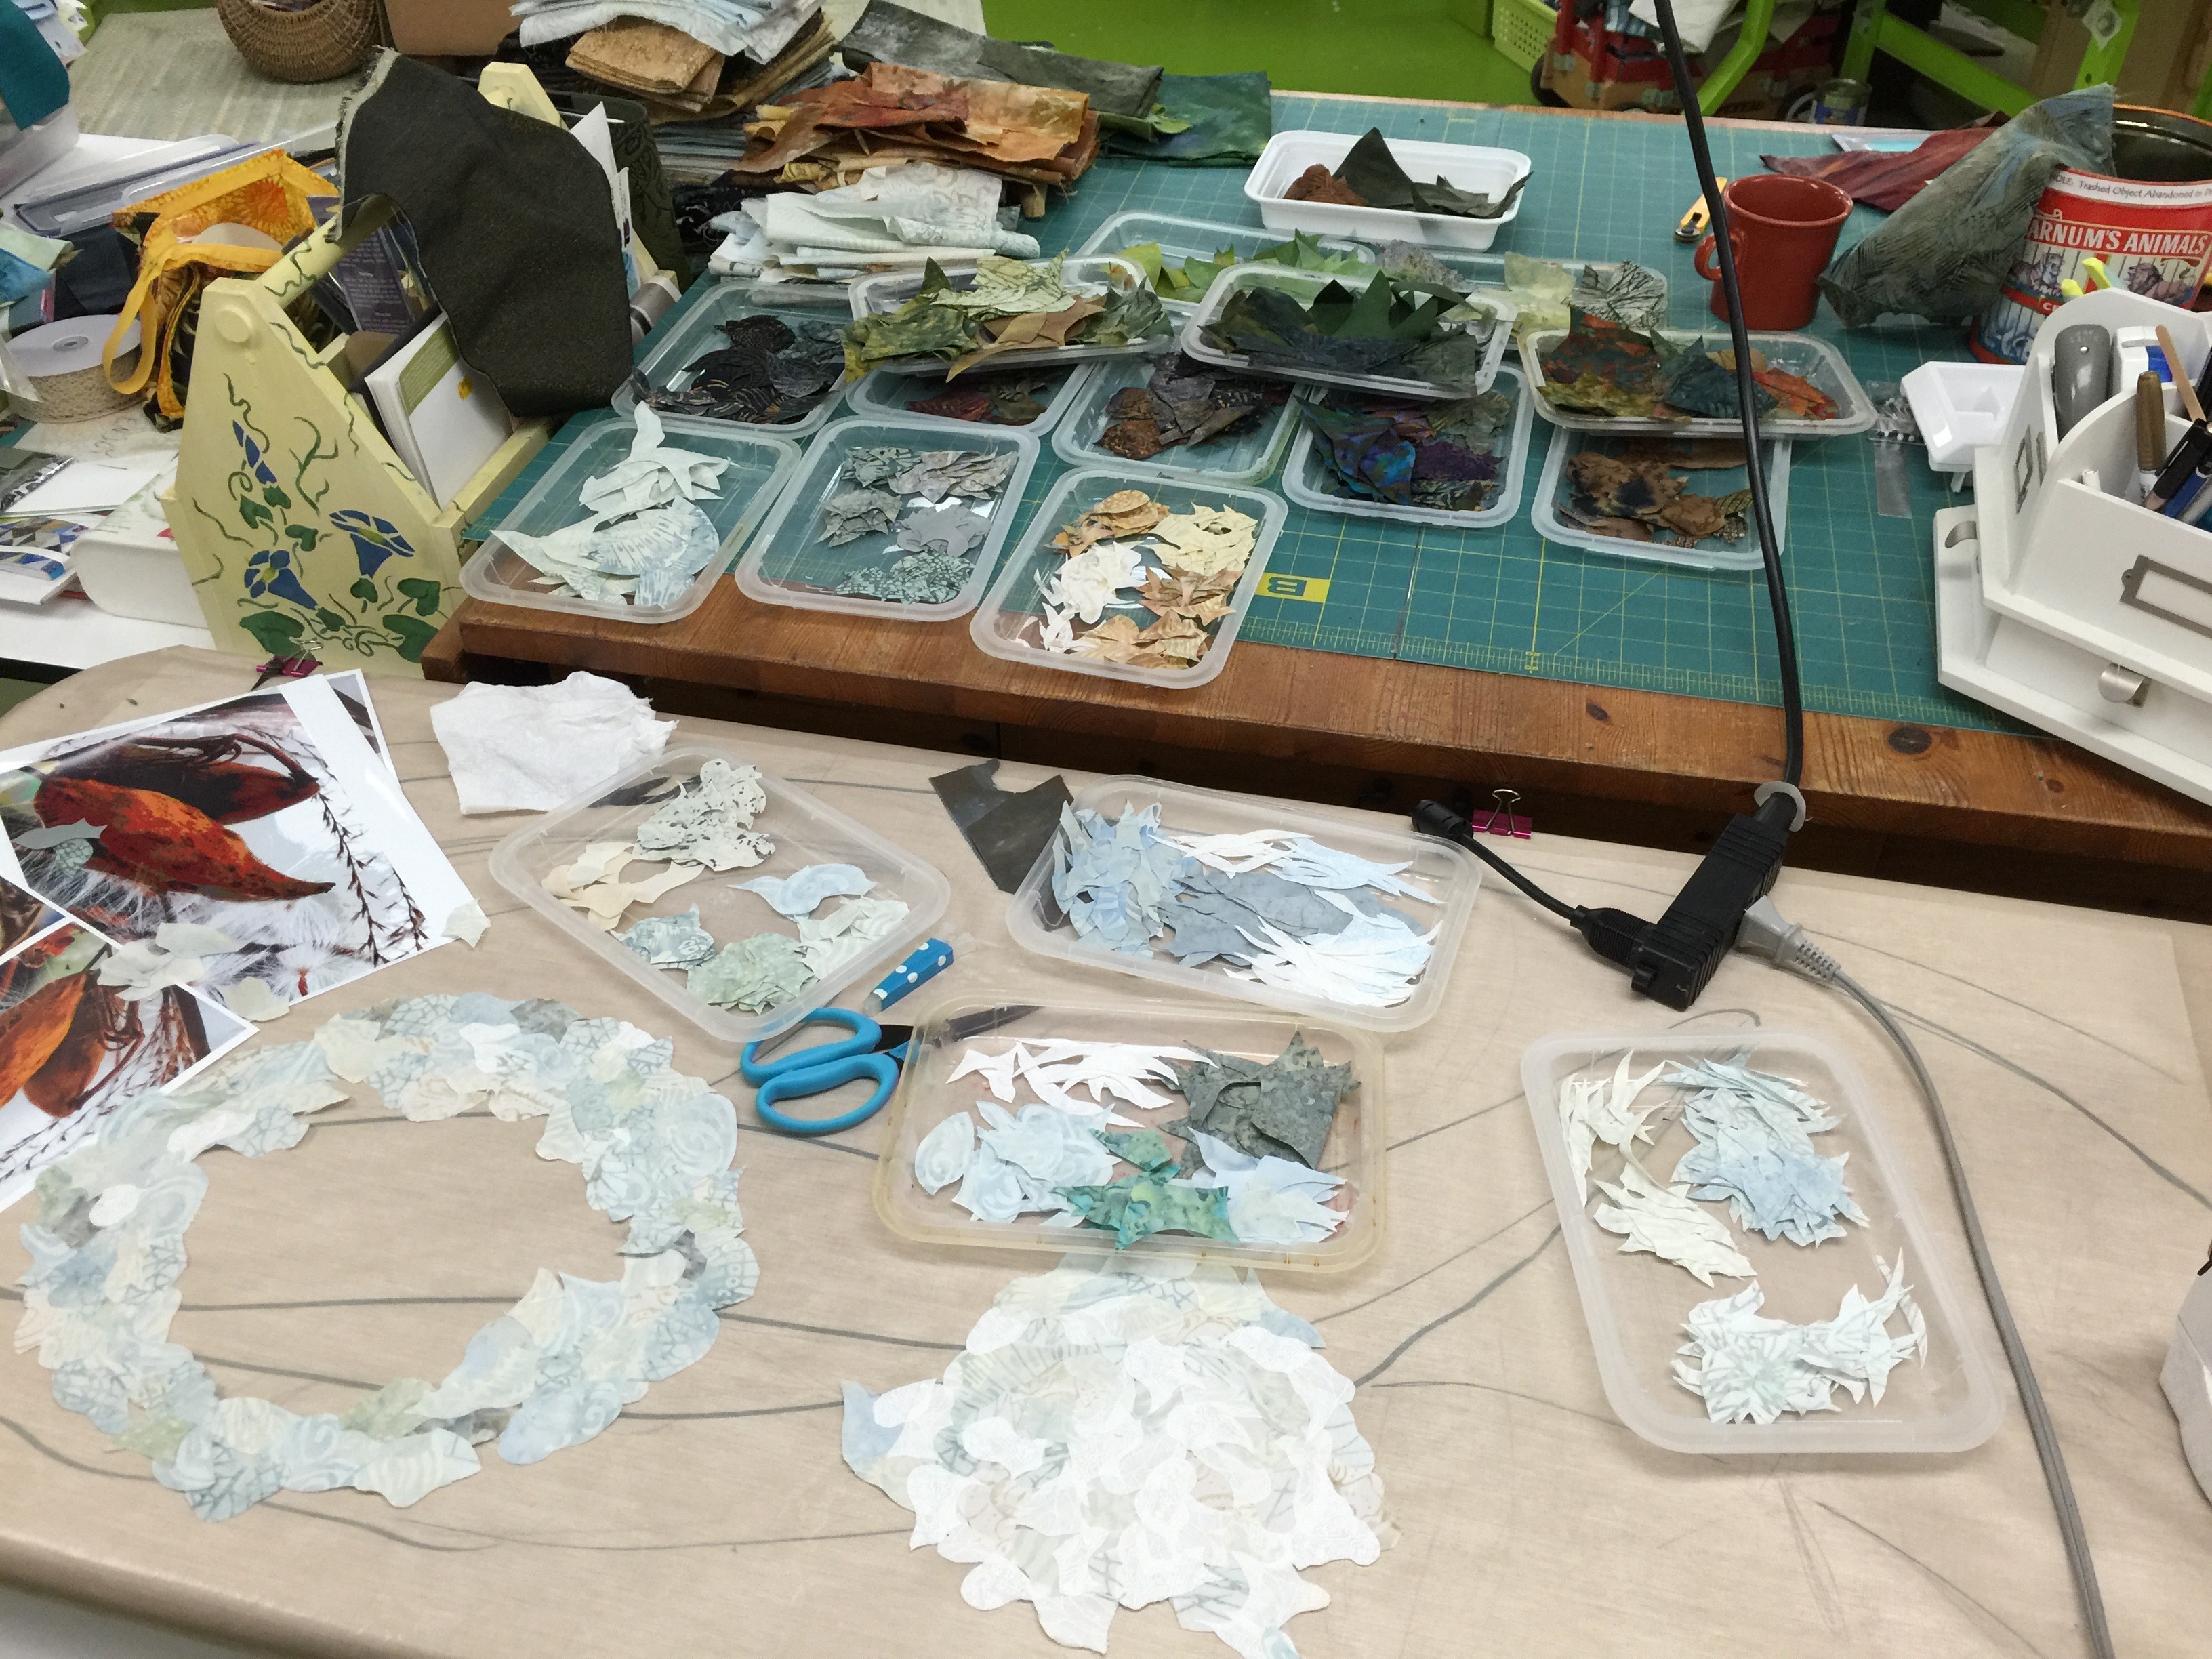
Next, I start the fusing process.  In this shot, I’m working on the sky for Milkweed No. 1 (larger, landscape orientation), but I used exactly the same process on this piece.

Working on the sun-glow in the sky. This is totally a collage process. I tend to cut chunks to go into the various trays, then use as is or submit while collaging.

Working on the sun-glow in the sky. This is totally a collage process. I tend to cut chunks to go into the various trays, then use as is or submit while collaging.  The drawing you see is a piece of paper underneath my non-stick ginormous press sheet with my sketch.  I ordered this one from Valerie Hearder in Canada, but Mistyfuse now sells the Holy Cow Goddess sheet which is 36×48 inches.   Really helps with my process–I just cover the entire “big board” and get to work.

I then did a bit of surface design including stenciling and screen-printing using thermofax screens (details in my next post).  Finally, I quilted my piece.  Aren’t the colors just glorious?  And yes, bright purple works in a seed pod!

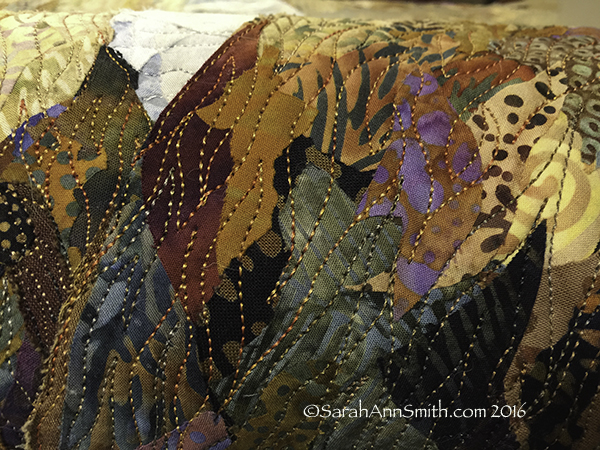
Quilting on one of the milkweed pods, using variegated thread from Superior Threads.

Quilting on one of the milkweed pods, using variegated thread from Superior Threads.

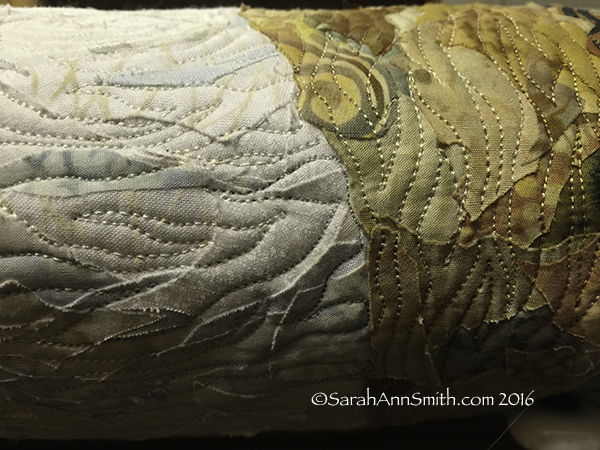
A second detail shot that shows some of the sky--I just love those days where there is a bright glowing spot in the sky where the sun is behind the clouds.

A second detail shot that shows some of the sky–I just love those days where there is a bright glowing spot in the sky where the sun is behind the clouds.

I’ll be back in a few days with more on the processes using paint!   Remember, visit A Matter of Time here and the “Just a Moment” previews blogposts about the various artists and artworks here.


Teaching at IQF Houston 2016!

Tuesday, February 2nd, 2016

As you might guess by the deafening silence here on the blog, I’ve been rather busy but I have various bits of good news to share, and I’ll start with the most recent:  I will once again be on the Faculty for International Quilt Festival in Houston in October/November 2016!   And, drum roll, I’ll be teaching a few new things….yippeee!   Here’s my schedule, which stretches from the Monday of Quilt Market (a closed trade show for industry professionals) through Saturday of Quilt Festival.   On Sunday I get to PLAY—provided I can put one foot in front of the other and still see!   For details about each of the classes, please visit my Classes page which has descriptions of all the classes, class supply lists and, when available, hotlines to blogposts from previous versions of these classes so you can get a feel for what to bring.

Learn to make the painted fabrics in this project in my mini-Whimsy class at IQF-International Quilt Festival Fall 2014.

Learn to make the painted fabrics in this project in my new class The Nest–Surface Design Exploration for Beginners at IQF-International Quilt Festival Fall 2016.


  • Monday, October 31:  Decorative Stitch Appliqué, in the Janome classroom, All-Day class
  • Tuesday:  a day off–I’ll probably be IN a class!
  • Wednesday, November 2:  Fine Finishes–An Album of Techniques (bindings and more), in the Janome Classroom, All-Day class
  • Thursday, November 3, morning:  Machine Quilting Forum–Fun and Fancy Thread, 9-Noon
  • Thursday, November 3, afternoon:  The Nest–Surface Design Exploration for Beginners, 2-5, kit fee
  • Friday, November 4:  Tame Fussy, Fiddly Threads for Machine Quilting, in the Janome Classroom, All-day, kit fee for a range of threads etc
  • Saturday, November 5, morning:  Saturday Sampler–Screen-Paint the Perfect Fabric, 10-Noon
  • Saturday, November 5, afternoon:  Easy-Peasy Inside-Out Bag, 2-5, in the Janome Classroom
  • Sunday:  PLAYTIME–to see the exhibits and shop and collapse, in that order!

I’m totally good with having stayed home this past year as it was our younger son’s senior year in high school, but I so missed seeing folks.  I’m thrilled to be back in Houston and on the faculty. Thank you IQF and students!


Thermofax 101: Lyric Kinard’s new DVD Workshop

Friday, May 15th, 2015
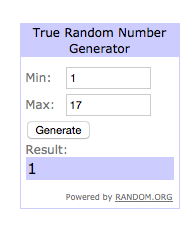
Don't know that I've ever seen #1 come up before! Well done!

Don’t know that I’ve ever seen #1 come up before! Well done!

Update:  comments are now closed.  I used a random number generator and astonishingly, No. 1 came up!  So I will be contacting Susan to let her know.  Lyric will send the DVD out directly, as will I.

Well, you aren’t going to want to watch this once–you’ll want to watch it several times, at least!   I can’t believe how much Lyric has managed to pack into about 65 minutes of instruction on her new video workshop Thermofax 101:  screen printing made easy, from Lyric Art Publishing.  You can order it here, http://lyrickinard.com/2015/02/thermofax-101-instructional-dvd/ .  OR you can enter the giveaway–for both this DVD and my own Art Quilt Design: From Photo to Threadwork (here).  Read to the end to find out how.
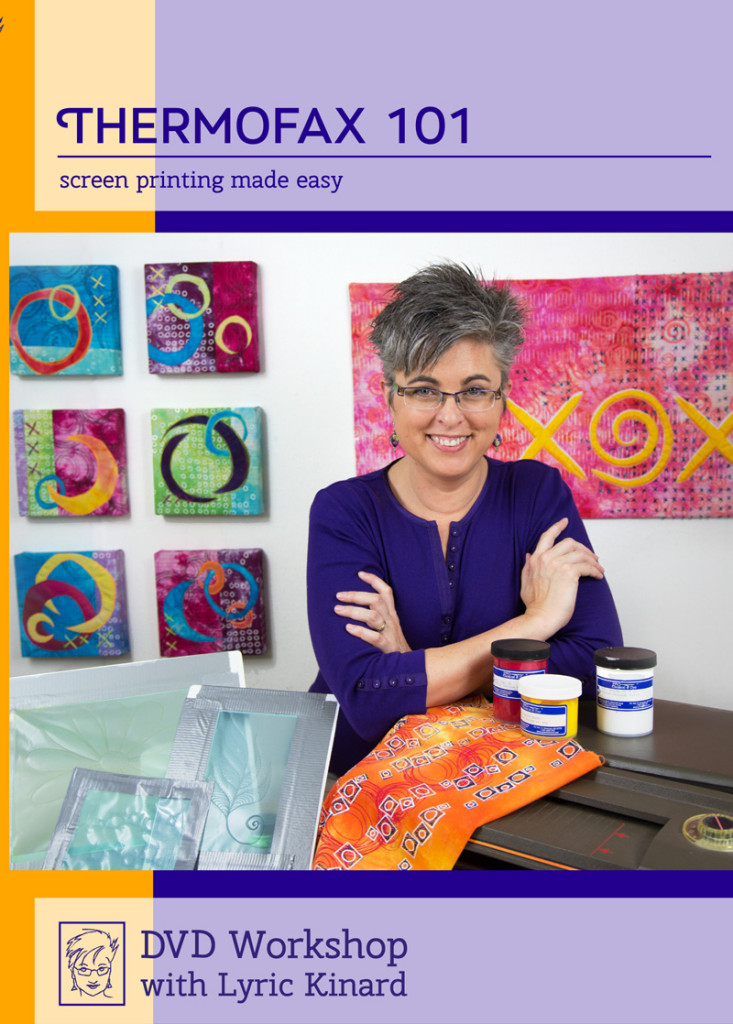
Thermofax 101, Lyric Kinard's new DVD workshop, is totally worth getting.  I can't believe how much she packed in.  Plus, how can anyone not want to spend time with someone with enthusiam and a cute smile?

Thermofax 101, Lyric Kinard’s new DVD workshop, is totally worth getting. I can’t believe how much she packed in. Plus, how can anyone not want to spend time with someone with enthusiam and a cute smile?

I was thrilled when Lyric asked if I would like to be part of her bloghop.  Not only do I have fun running into her at various fun places like teaching at quilt shows around the country, in Houston, at Quilting Arts TV taping in Ohio, and admire her art (made while being an uber-busy mom) and teaching, I’m also getting more and more into my own surface design.  I tend to use surface design differently than many—-for most who are really “in” to it, the cloth is the end product.  For me, it is something that goes into my artwork as a supporting player, not the star of the show.  So I was curious to see the “hows” and how what she teaches would fit in with my somewhat different approach.   The answer is it’s a fabulous DVD!

I watched the video as soon as I got home from about 3 weeks of being on the road, and learned a lot on the first run-through.  But I was pretty obliterated by all that travel, so I figured I’d better watch it again:  my goodness gracious but there are more and more gems salted in throughout.

There are four segments:

1.  What’s a Thermofax, which tells you just that, explains how the machine works and how you prepare the screen for use, including advantages and disadvantages of both ways.

2.  Creating Imagery:  the key here is to play.  Only YOU can figure out what makes you happy, what makes you itch to get to the studio and create.  The best way to do that is to mess around.   And then Lyric gives you about a bazillion ideas.  For those really itching to get deep into how to create your imagery, this section may be frustratingly brief.  Honestly, that’s because you could have 100 hours of video, from 33 different instructors, and you’d barely scratch the surface (ahem….pun intended).

3.  Printing Techniques.  For the FIRST TIME I’ve seen someone explain WHY you want canvas/cloth on the top of a print surface, not plastic.  Makes total sense—-why has no one in all the books I have on printing EVER explained that simple, logical (once you’ve heard the explanation) fact?  It’s at about 21:20 in the video.  And I recommend chocolate pudding, re-purpose the dishwasher detergent.  You’ll get it if you see the video LOL!  Lyric also shows how to hold your squeegee (as well as explaining what kind of squeegee or stand-in object) to get the best print, including demo-ing to you can see from various angles.  Helpful!

Lyric talks about the kind of paint you want, and mentions her favorites, but wasn’t fond of Speedball or Versatex.  I agree on the Speedball, but quite like the Versatex.  To Lyric, she doesn’t care for the hand of the cloth.  However, I have liked it on the small pieces I have done.  It’s one of those “try it all (before buying a bunch of any one product) and see what you prefer” things!
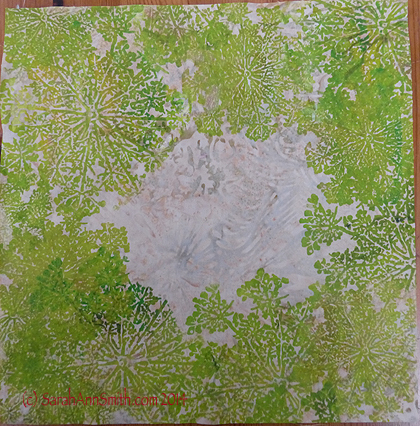
 

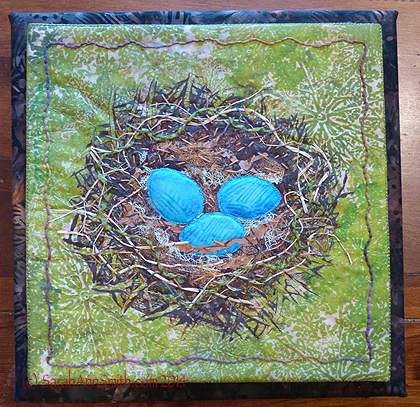
For the nest piece, I took some pale beige batik, my Queen Anne's Lace stencil and paint to create this cloth, which I love so much I can see making yardage of this to use!

For the nest piece, I took some pale beige batik, my Queen Anne’s Lace thermofax screen and paint to create this cloth, which I love so much I can see making yardage of this to use!  You can buy  Sarah’s Thermofax Screens at Fiber on a Whim at Fiber on a Whim.  To read more about my “nest” please see this blogpost.

4.  Designing Cloth.  Throughout the DVD Lyric salts in bits of wisdom about various elements and principles (E&P) of design.  I was SO clueless when I began art quilting.  I then got lucky and took a class at a local community college/extension service while living in Friday Harbor.  Since then I’ve looked hard at things, studied them, to internalize the “E&P” of design.  As you work with them, you get better so you don’t need to look so hard, but Lyric brings them up in an integrated manner that will help you have better results, sooner.  And she shares a tip I discovered the long way around:  if you have a yucky piece of cloth, or don’t like what you did, just add more layers.  After all, is it going to get worse?  No.  And it might well get better.

You also get a PDF on the disc with

  • a list of supplies,
  • where to get screens made in the US, Canada, Australia, England and Germany
  • info on suppliers of machines, screens, frames, textile paints and surface design supplies
  • footnotes for each chapter with internet links
  • plus Lyric has some helpful free tutorials on her website that will supplement the information on the DVD

I wish I had had this video when I started out.  Some videos about printing are Graduate Student level, and overwhelm you.  Some are so basic you could have gleaned all the good stuff from a four-page (with lots of large photos) article.   Lyric’s is correctly titled Thermofax 101 (so Lyric, will you do a 301 or 401 for us too?); it’s aimed at the newbie.  But those of us who have been doing this a bit can still learn plenty.  So I’m going to go play, then in a month or two view my copy again.

To win a copy of this DVD AND a copy of MY DVD,
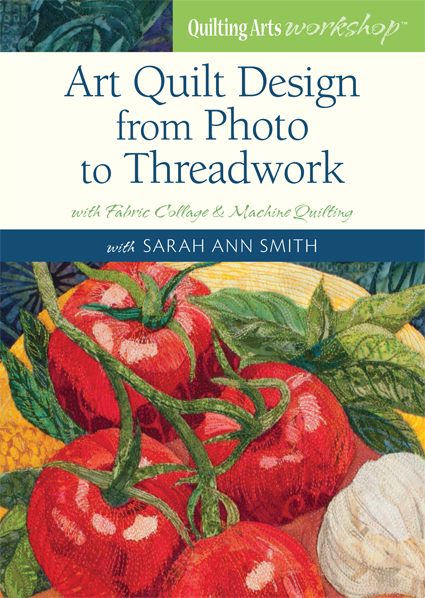
my video workshop that takes you from your photo to a finished art quilt

my video workshop that takes you from your photo to a finished art quilt

leave a comment by 7 a.m. May 21st East Coast Time.  I’ll use a random number generator and whoever left that comment (please keep it to one comment per person, please) will win both copies.  Lyric will mail hers out directly, as will I.  International entries are OK!

Check out the other reviews on this bloghop:


May 14   Deborah Boschert    http://deborahsjournal.blogspot.com
May 13   Jamie Fingal http://JamieFingalDesigns.blogspot.com/  
May 12   Desiree Habicht  http://myclothesline.blogspot.com

May 11   Susan Brubaker Knapp  http://wwwbluemoonriver.blogspot.com
May 9    kathy york  http://aquamoonartquilts.blogspot.com
May 8    Carol Sloan  http://carolbsloan.blogspot.com

May 7    Liz Kettle  http://www.textileevolution.com/index.php/our-journey
May 6    Jane Davila  http://janedavila.blogspot.com
May 4    Linda Stokes  www.lindastokes-textileartist.com

May 2    Judy Coates Perez  http://www.judycoatesperez.com
May 1    Susan Price & Elizabeth Gibson  http://pgfiber2art.blogspot.com/
April 30  Judy Gula http://www.artisticartifacts.com/blog/

April 28   Sue Bleiweiss  http://www.suebleiweiss.com/blog/
April 27   Melanie Testa  http://melanietesta.com/blog/
April 25   Leslie Tucker Jennison  http://leslietuckerjenison.blogspot.com
April 24   Cheryl Rezendez  http://www.cherylrezendes.com


Intentional Printing by Lynn Krawczyk and giveaway!

Thursday, October 16th, 2014

The drawing is concluded.  Any comments left now (after 5 pm Saturday) will be appreciated but won’t be in the drawing.  The lucky winner (chosen by a random number generator on the internet) is comment number 16, Sylvia!  I’ll email you directly.

Sometimes the right book comes along at the right time.  For me, Intentional Printing by Lynn Krawczyk was that book. Lynn is funny (love her Facebook posts), creative and has been able in her book to get me (and hopefully you) to just “fling some paint” and have fun making cloth you will actually USE.  So I’m going to tell you a bit about her book.  Then I’m going to send you over to her website and blog:  if you’d like to win a copy of her book, comment here by 5 pm East Coast Time on Saturday, October 18th (that’s SOON), and tell me something that you liked about her website and/or blog.   Here’s her site, Smudged Textiles Studio and her blog.  Read on!

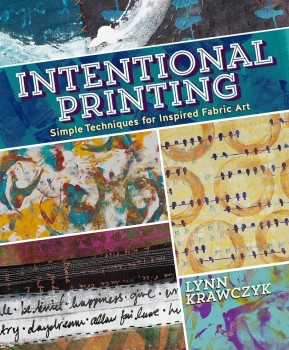
Lynn Krawczyk's Intentional Printing

Lynn Krawczyk’s Intentional Printing.  Here’s a link to Lynn’s website page about her book, complete with a fun video of her telling you about the book and showing her printed cloth.

For years now I’ve been buying books about dyeing fabric and surface design, yet I do precious little (almost no) surface design in my own work.  So WHY do I keep buying the books?  There must be some deep desire to make my own cloth in a way that goes beyond dyeing fabric.  Many of the books I’ve purchased are intimidating:  so much to do, so many options, too many supplies, too much set up and clean up time.

With Lynn’s book, which is about paint (not dye),  all of a sudden I got up and started DOING.  No fuss, perhaps some mess (the fun kind), and productive work that has got me to develop a whole new workshop that combines the best parts of a class I used to teach (and eliminated because I hated teaching the other parts of the class) with Lynn’s approach to paint on cloth.

Lynn discovered that the pieces she made just didn’t quite work, didn’t fit what she wanted to do.  So she figured out how she could work to create pieces she wanted to use, was inspired to use, while keeping the spontaneity of the process intact.   The chapters of the book are:

  • Introduction
  • Chapter 1:  Exploring Intentional Printing
  • Chapter 2:  Tools and Materials
  • Chapter 3:  Fabric Printing Techniques
  • Chapter 4:  Handstitching
  • Chapter 5:  Layered Printing
  • Chapter 6:  The Projects
  • Templates
  • Acknowledgments, Resources and Index

Inspired by this book, I worked up two pieces that you’ve seen recently on this blog, The Nest and my X and O (Hugs and Kisses?) pieces that I’ll be teaching in the Fiber on a Whim Booth at International Quilt Festival in a mere two weeks!   Here’s a link to more information about my mini-class and to my thermofax screens blogpost (and to Fiber on a Whim where you can ORDER those screens!)   Once you see the inside of the book, you’ll see Lynn’s X and O piece, which must have been in my subconscious when I made mine!

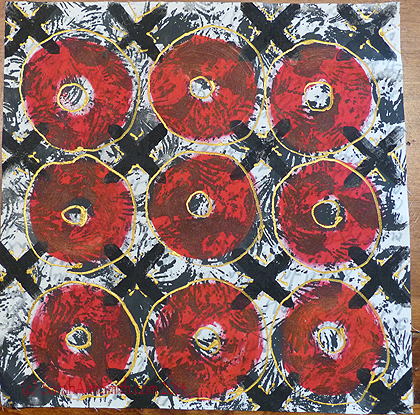
Learn to make the painted fabrics in this project in my mini-Whimsy class at IQF-International Quilt Festival Fall 2014.

Learn to make the painted fabrics in this project in my mini-Whimsy class at IQF-International Quilt Festival Fall 2014.

And some art cloth--this is SO not my typical, but I could see playing with surface design, a lot, to make more fabrics to use in my more typical style.  I wanted to have something totally "not me" though so that students get to try both representational and not!

And some art cloth–this is SO not my typical, but I could see playing with surface design, a lot, to make more fabrics to use in my more typical style. I wanted to have something totally “not me” though so that students get to try both representational and not!

What I really liked was that Lynn’s approach can work for the way I use fabric.  So many of the surface design books are by people for whom the fabric and the process are the be-all and end-all.  Once the cloth is done, no more needs to be done.  But I don’t like abstract stuff very much, and I don’t think the cloth is the artwork (for me! if it is for you, that’s great, but it’s not what I want to do), it is something that goes into creating the art.  With Lynn’s book, the cloth can be the goal and the finished product, OR it can be a component that goes in to the artwork.

In The Nest, for example, I used a couple techniques Lynn covers in creating the background fabric, the nest, and the eggs.    In a quilt that I will share with you next week, Insalata, I dyed the fabric for the background but it just wasn’t quite enough.  So I used paint and a couple stencils to create background texture that got the fabric from “pretty good” to “just right.”  That’s exactly what Lynn’s book is about:  getting the fabric you need for the idea in your head / the project you want to make.

For novices to surface design, this book is a great start.  For folks like me who have tried it some but just weren’t jazzed, this book is a great way to help focus random flinging of paint into a process that will give you something with which to create (instead of a pile of “what am I going to do with that now?” cloth).  HIGHLY Recommended!

So if you want to WIN A COPY, here’s what to do:  go to Lynn’s website and blog,  Then come back here and  leave a comment  by 5 pm East Coast Time on Saturday, October 18th (that’s SOON), and tell me something that you liked about her website and/or blog.   Here’s her site, Smudged Textiles Studio and her blog.  I’ll post the winner probably on Sunday–Eli has a Cross Country meet that will last all day Saturday.   ENJOY!

And thank you Lynn for offering a copy of your book…I LOVE IT!