email Youtube

Home
Galleries
Blog
Workshops & Calendar
Store
Resources
About
Contact

Archive for the ‘Surface Design’ Category

SAQA-Maine, a September treat

Thursday, October 14th, 2010

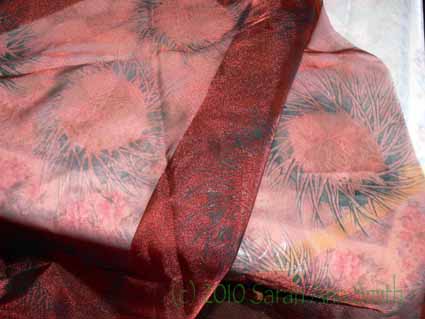
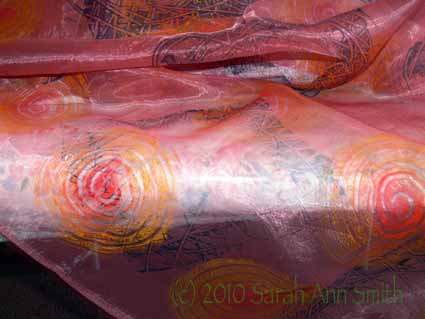
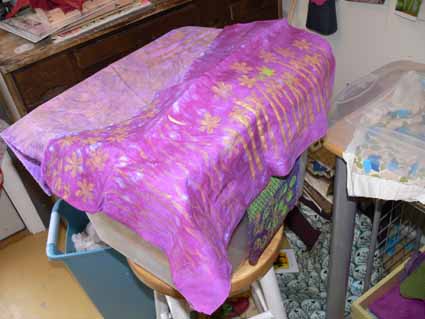
Margaret Sheehan's coppery monoprinted sheer

SAQA is the Studio Art Quilt Associates, a non-profit group to promote art quilting with members around the world.    There are regional groups, including one for New England.  Those of us in sparsely populated Maine –the state population is about 1.3 million, the same as San Antonio, Texas or San Diego, California!–live far enough from the majority of the regional group members in Massachusetts and southern New Hampshire and Vermont, that we don’t often get to the meetings.  So Sarah Carpenter, Beth Berman and Wen Redmond had an idea an made it happen:  SAQA-Maine retreat weekend in Searsport, Maine the weekend of Sept. 18th!

Beth VERY generously hosted much of the meeting in her home and new studio.  Other meetings were at the hotel just a mile or two up the road and a nearby church (the evening show and tell…alas it was part of the event I couldn’t attend). I forgot to take pictures of the first part which was meeting, at Beth’s house, or when the workshops began.  Various regional members offered to do demos or mini-workshops, and oh was it fun!  Valerie Poitier’s talk on perspective (my right brain was confuddled but I did get it eventually!), as was Wen Redmond’s demo on making thermofax screens and printing with them.  At least  I finally remembered to take the camera out during my mono-printing session with Margaret Sheehan.  I sure hope she comes back and does a two-day workshop near enough for me to take…talk about utter playtime! You can visit Margaret’s blog here and see some of the sheers featured below in the photo at the top…wow!

Here are the pics from that session:
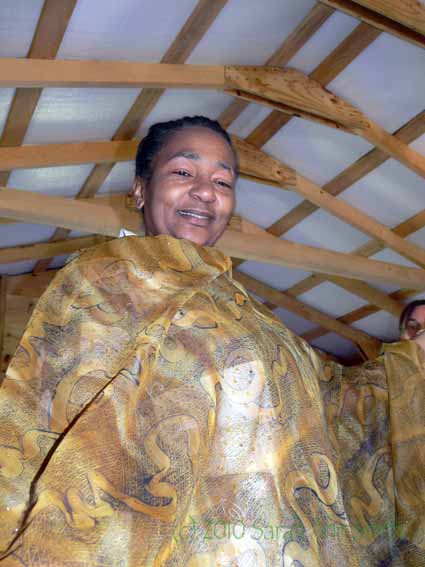
Valerie Poitier looks stunning in Margaret Sheehan's sheer artcloth (also seen in the first photo of this blogpost)

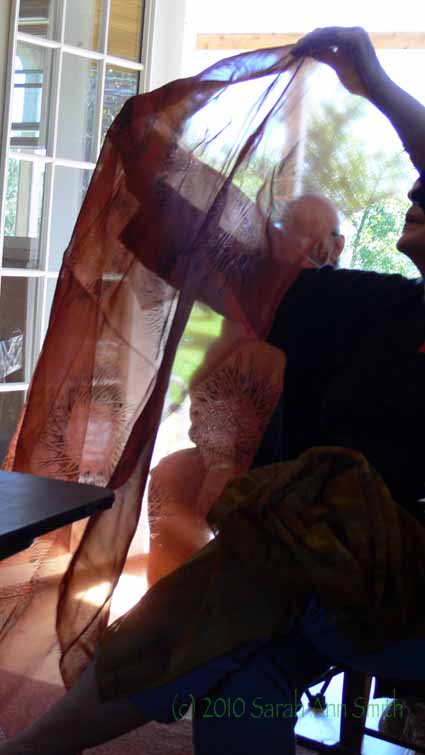
Margaret S's red sheer mono-printed cloth---I LOVE that bird's nest design

And holding the red sheer up with the light from the open doorway behind...

I think this falls into the category of “Be Still my beating heart” and “I wanna do that NOW!”
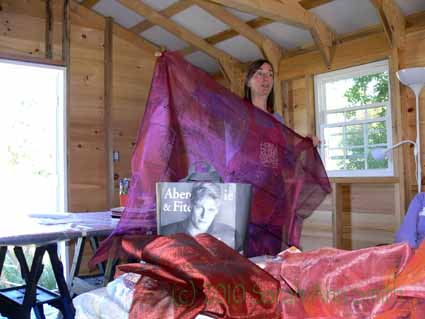
Margaret explains some of the techniques used on this cloth

This piece of Margaret's shows how she used freezer paper resists when mono-printing

Yet another heavenly sheer--the synthetic sheers come from JoAnns mostly, the prom dress section, and obviously are vastly improved with paint
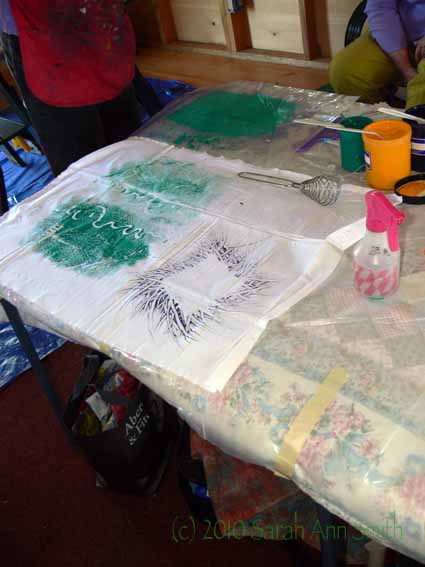
A different red sheer with sunswirls

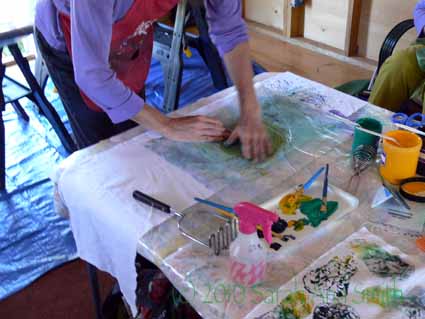
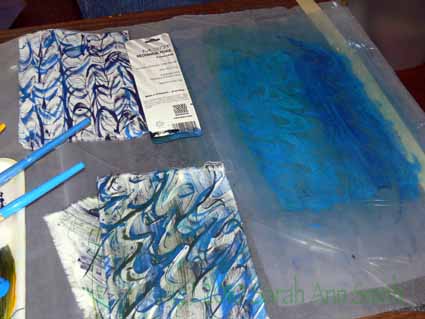
Margaret showed us how to use heavy mil plastic drop-cloth, textile paint and common tools for surface design; notice the whisk.....
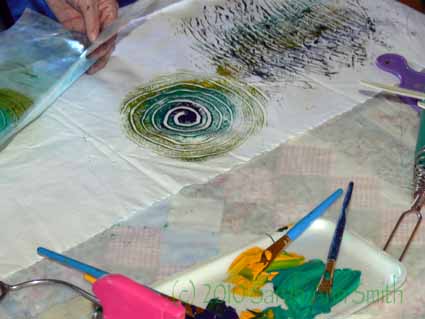
Transferring the mono-print (paint on plastic) onto the cloth is a tactile experience

In the upper left corner, Margaret pulls away the plastic with spiral she has just printed onto the cloth
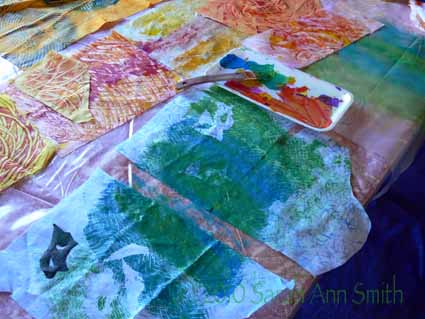
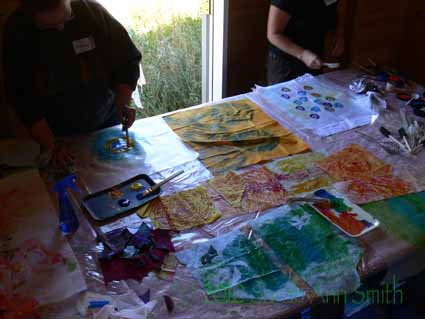
The table I worked at! My stuff is on the near side and in the center

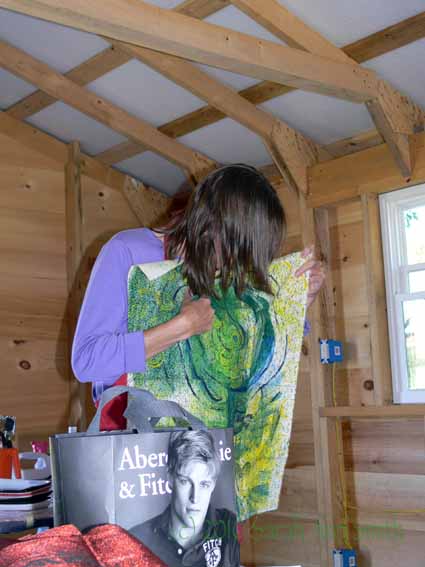
A closer look...here on my blue/green I used too much paint and lost definition. It is a learning process!
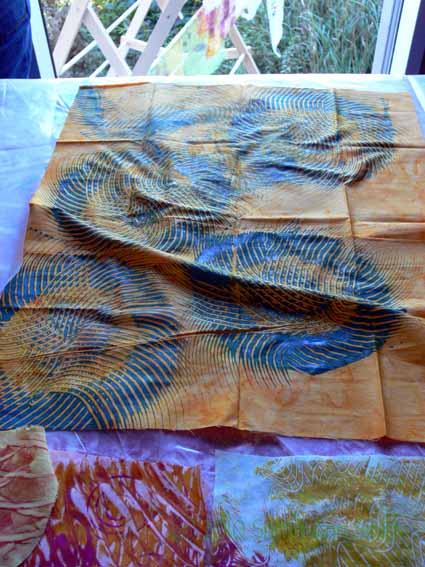
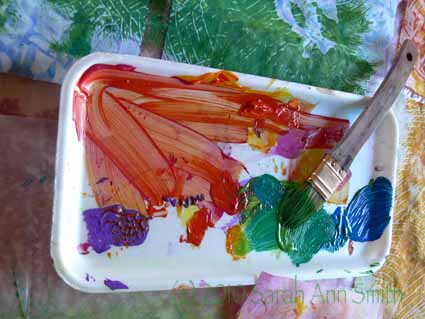
Even my paint tray was pretty!

one of my classmate's circle design...ooooh! I'm pretty sure she used an Afro/Hair pick for those marks

Drat I wish I could remember how she told me she made those marks....you can see this is addicting!

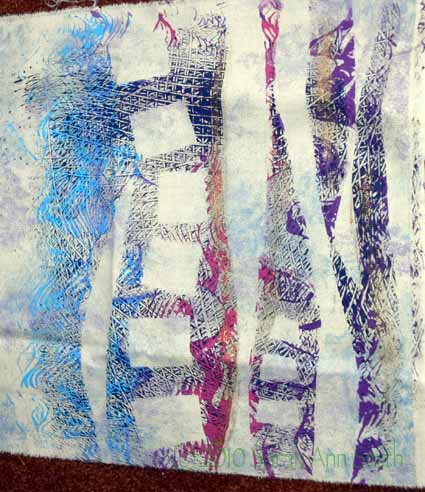
Again..I forget how shemade those purple marks, but I love them!

As you might gather, for a 2-hour session that was about an hour of demo and an hour hands-on, we the students really were inspired and went to town with our scraps.  Thanks SO MUCH to Margaret for sharing her time, technique and paints!   Next year we REALLY need to chip in to cover expenses for supplies…. Margaret, if you see this send me your snail mail address and I’ll either send you a fiver or a bit of hand-dyed as thanks!

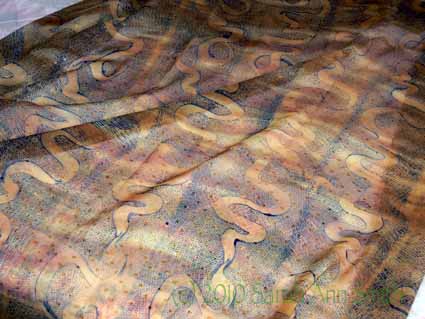
The Frayed Edges, October 2010

Sunday, October 10th, 2010

Some days are just perfect, and this month’s Frayed Edges was just that.

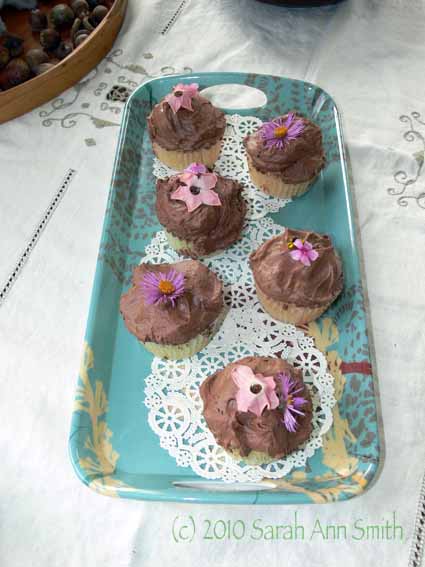
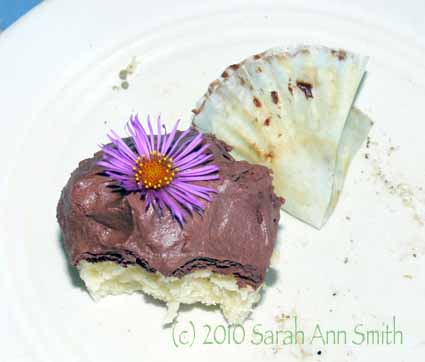
Birthday cupcakes from Kathy

My birthday is around about now, and Kate and Kath were amazing!  We met at Kate’s home, a quintessential New England Cape home that is WELL over a hundred fifty years old if it is a day!  It has, of course, been updated, and the skylights and double-paned windows make is so sunny and homey! On the way down, I decided to go via route 24, which runs along the western bank of the Kennebec river, so I turned west onto Route 17 to head towards Augusta.  At that point I turned the GPS on to head to Kate’s home.  It told me to turn before I got to my usual spot, so I thought “Why not?”  OH MY GOODNESS!   The sad part is I was driving and couldn’t take pictures at the same time, but I think I drove through the most beautiful non-coastal part of Maine I have seen yet.  Autumn is just beginning, with flashes of scarlet and gold….small Maine towns, white steeples, babbling brooks, blueberry barrens glowing crimson and auburn and russet….oh my!

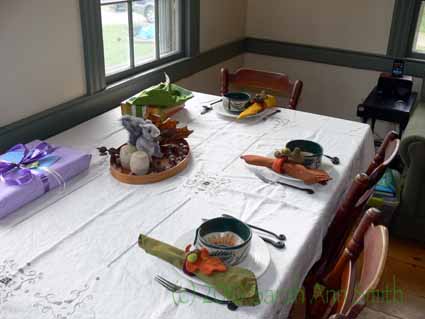
This was the table that greeted us:

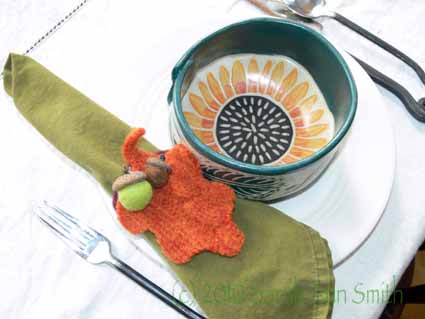
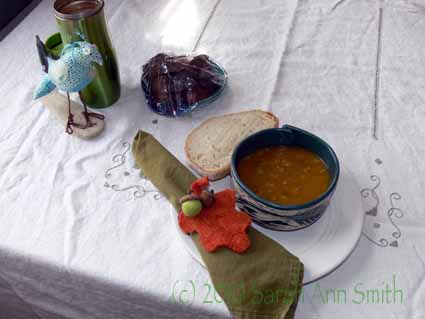
Kathy arrived before I did, and Kate’s lovely autumn setting (notice her felted-sweater napkin rings, complete with acorns made with real acorn caps and felted wool balls?) was so welcoming!

Kate has these incredible hand-made dishes and silverware that she takes out for our special days.  I just love the cheerful sunflowers:

Kate's place setting...so lovely!

Then we filled them with a new squash and sausage soup, accompanied by salad and some awesome sourdough bread I bought at the Market Basket in Rockport (I really did NOT need to learn that their breads are SO good):

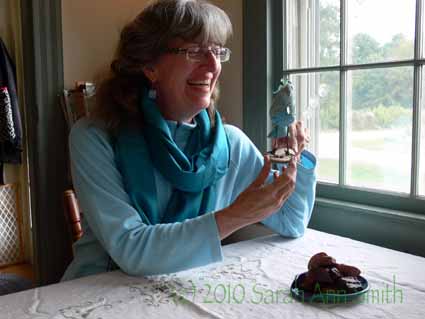
Those goodies you see on the left are birthday prezzies….  Kate UTTERLY indulged me with a Pashmina scarf/shawl in my all-time favorite turquoise/teal/aqua, and Kath bought hand-made chocolates given on a one-of-a-kind pottery spoon rest, accompanied by the adorable Egbert (  made by Kathy and christened on the spot).  What a perfect funny bird!

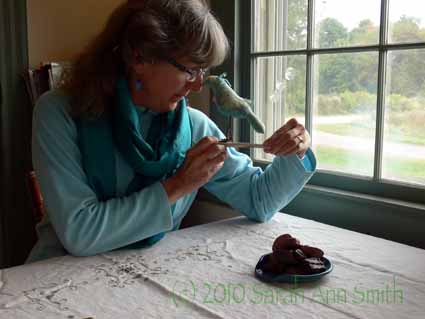
And here we are, beak-to-beak:

Sarah and Egbert, getting acquainted

He just makes me smile!  He is now on my dining table where I work at my laptop and keeps me in good humor!

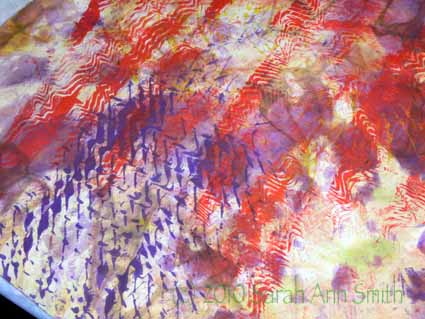
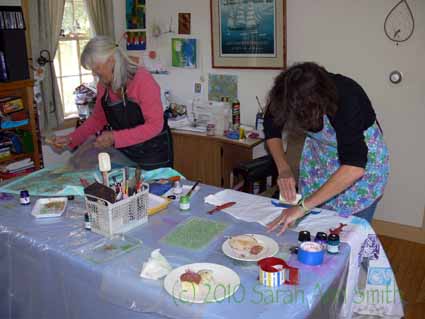
We ate lunch a bit early so we could play with paint; a couple weekends earlier Kath and I had attended the SAQA-Maine weekend (more on that in a future post), and I shared a couple techniques I learned.

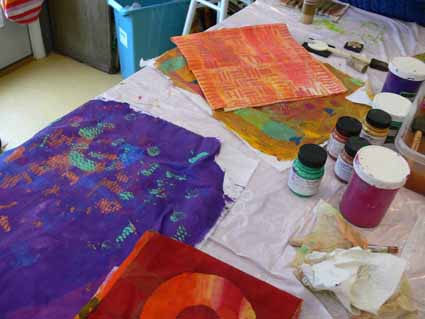
Playing with paint

What could be more perfect:  wonderful friends, food, art, friends, fabric and ideas and warmth, glorious Maine, friends…. I am so truly blessed!  As you can see…. the cupcakes were delectable with Kathy’s made-by-her ganache (talk about melt in your mouth heavenly):

Art Cloth Frame in Quilting Arts Gifts

Tuesday, September 14th, 2010

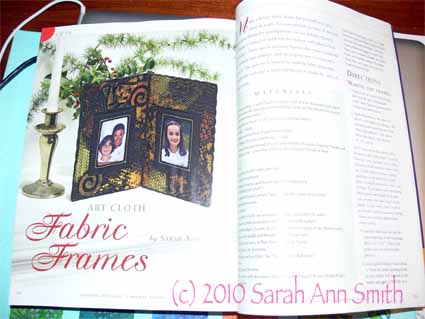
I am THRILLED to be able to share with you a snapshot of my article in the just-out Quilting Arts Gifts magazine!   Here’s “my” page / article:

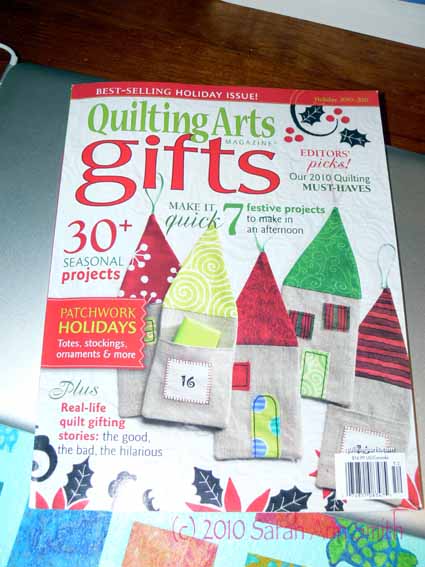
And here is the cover of this year’s project-packed issue!


Since there are copyright issues, I won’t share more pics of the issue than that, but I can say you MUST check out Susan Brubaker Knapp’s mistletoe!  I think I shall make some for this  year!

A little background:  last year I was fortunate to win a second place ribbon at the IQA World of Beauty for my quilt of our  pug; the prizes in my category, Art Quilts-Miniature, were sponsored by none other than Quilting Arts!  So as a thank you for the sponsorship of the prize, I wanted to send publisher and editor John and Pokey Bolton a little something beyond the ordinary thank you note.  So I made them a frame (color coordinated with their pets hair colors {grin!}).  Pokey wrote to say thanks, and would I consider patterning it for the magazine?  YOU BET!
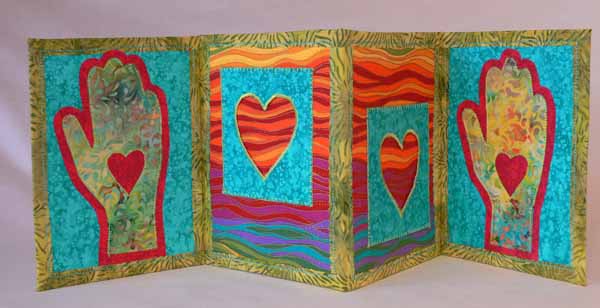
I have made two other frames using this technique of assembly, so I thought I’d share pictures with you to give you ideas for different “looks” if you decide to make one of these frames!

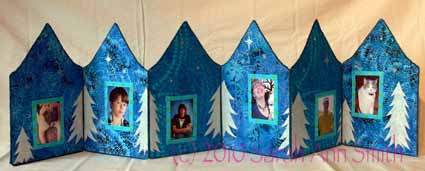
The first one I made as a holiday project, to go on the table or mantle over the fireplace/woodstove:

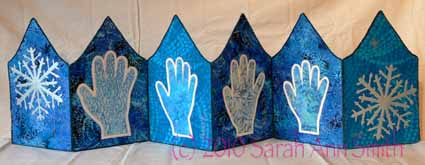
This shows the “photos” side of the accordion “book” with stencilled winter trees and stars.  The next photo is the reverse side of the “book.”  I traced each person’s hand, then reduced it to 75 percent on the copier to fit on each page, which is about 7 inches wide and 10 inches tall at the peak of the roof. I wanted to stick to the blue batiks, so I used an underlayer or “shadow” of white fabric to accentuate the shape of each hand.   I used freezer paper stencils to paint on the “paper snowflakes”:

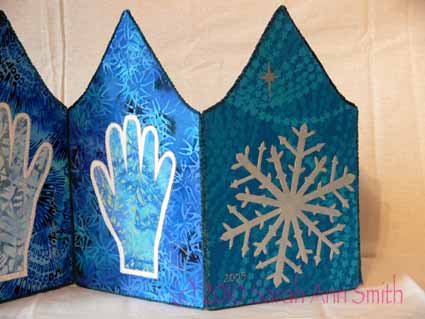
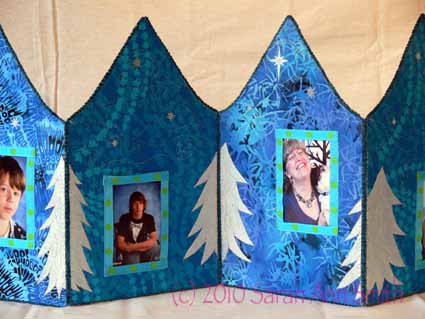
And here are two close-ups:

The second was a gift for my friend Kate, and I blogged about it here:

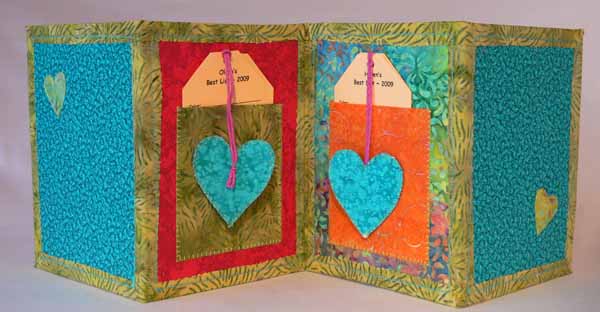
There is a heart frame to hold pics of each of her children.  On the back, there are pockets to record their favorite clothes, teams, sports, books, songs, on a card.  Here is the back side:

As you can see, you can get a LOT of different looks…just go play! To order your copy of Quilting Arts Gifts, go here, or head to your nearest big box book store which will likely have it on the stands now!

Playing with “fussy” thread in Arizona

Friday, July 30th, 2010

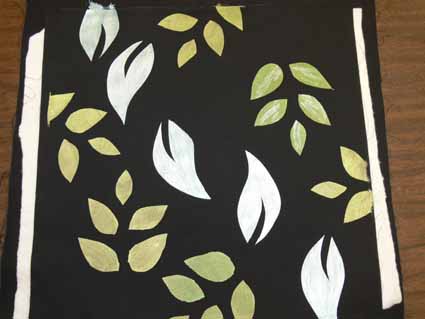
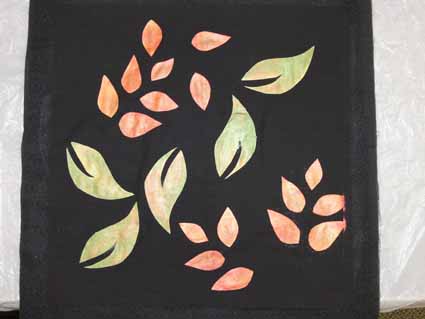
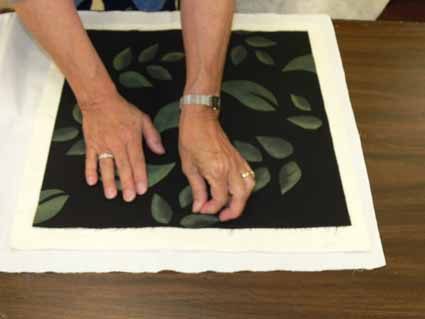
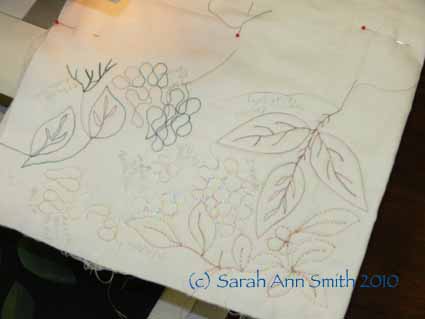
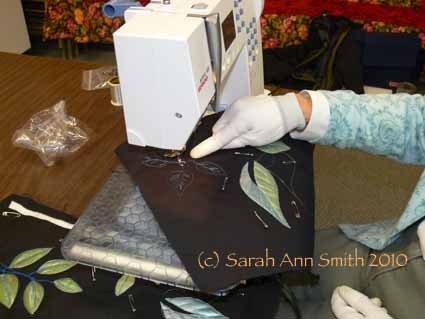
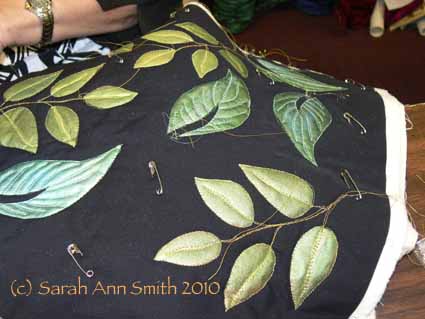
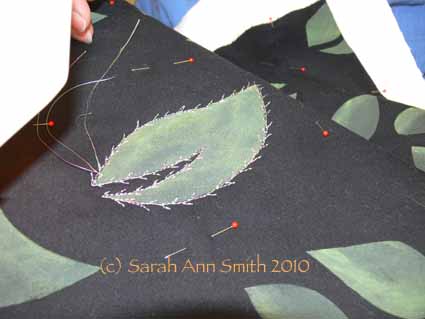
My last class in Arizona, in friendly Flagstaff, was small but good.  We cut freezer paper stencils, then used the Lumiere paints I supplied to paint leaves onto a dark (black) background.  Next, while the paint dried (fairly quickly), I talked about special tips and tricks for sewing with threads that have a reputation for being fussy:  metallic, holographic (the shiny stuff…think Mylar balloon stuff cut into long strips), shiny polyester, and more.  This project is also on the cover of my book and is included as one of the activities in the back (book available here).

First, you paint the cloth:

Then baste:

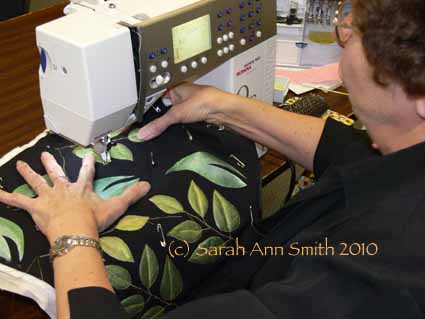
One thing many of us don’t do enough is to make sample stitch-outs before diving in to the quilting.  I can’t say enough how important and helpful this can be!   Best of all, if you don’t like it, you don’t have to rip it out…just move to another part of the practice sandwich.  Here, one student is checking out how the decorative threads look in various free-motion designs and what she needs to do to get a good stitch on her machine:

Then start stitching:

Stop a bit and muse over what next, then continue:

Then of course there are those miserable thread tails to knot and bury!

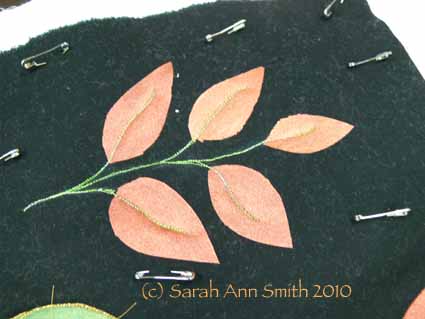
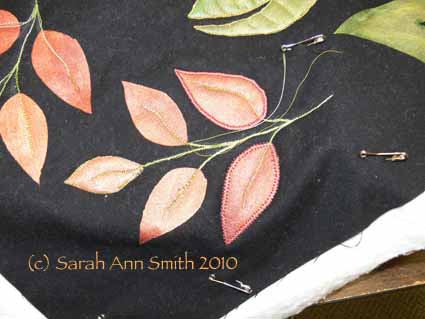
I loved the look of the copper leaves:

And then trying out different threads and stitches and stitch-lengths to outline the leaves:

Here’s a cool, silvery, feathery outline:

Thanks for being in my class!

The Frayed Edges, January 2010

Sunday, February 7th, 2010

Harrumph!   January escaped, and I still haven’t shared pictures!  In my defense, Deborah’s birthday was this past month, and our activities were her birthday present, so I couldn’t blog about it until AFTER the date!  Since it is now February (SHEEESH!), I am safe….

We met at Hannah’s house on a snowy January day, shared a bit, then headed down to Hannah’s walk-out basement studio, with many lovely built-in goodies thanks to her hubby, and made some art cloth for Deborah, which we then mailed all together.  In a small miracle, we actually got it done, in the mail, and to her in Texas BEFORE her birthday (with a note on the envelope not to open until the birthday).

Here’s some of the cloth…the red with grid is (believe it or not) the before!  It got even better, the purple in the lower left is from Hannah and her daughter.  Alas, I didn’t get pics with everyone busily at work, as I was too busy at work too… then when I snapped these the others were upstairs starting lunch….

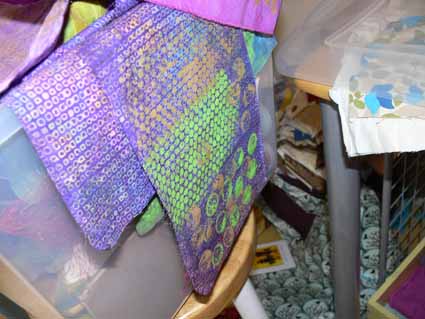
We had fabric hanging all over the place drying:

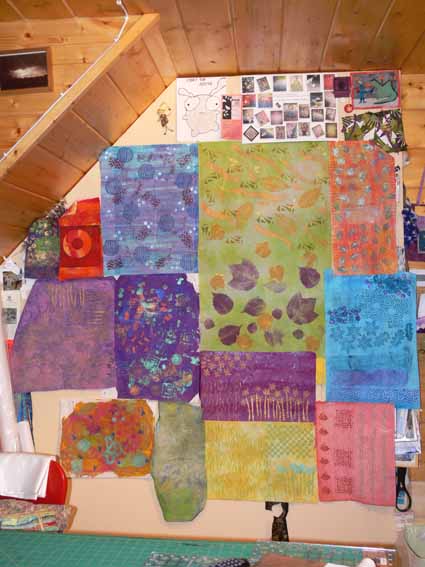
I took it home, ironed it after the paint dried completely to help set the paint, then pinned it up on my design wall for a photo–see how good we are?  We actually let these delectables GO and didn’t keep them!

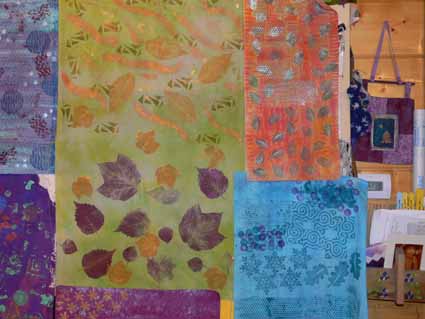
The pieces here are by me (the green one), Kathy (orange, on the right), and it was either Kathy or Kate for the blue (bottom right):

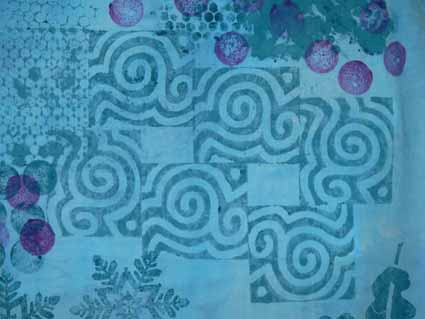
Everyone LOVED this stamp Kate had carved ages ago.  See what good friends we are…we used it, but actually let her take it home with her LOL! (Laugh out Loud for those of for whom English isn’t your first language and who may not know some of our internet abbreviations.)

Those round dots, by the way, are the end of a wine cork.  I like that way of acquiring art materials….

Here’s the orange piece on a pile of fabric to go home with me (better picture below); Kathy dyed the base cloth this  past summer at my house, then added to it at Hannah’s:

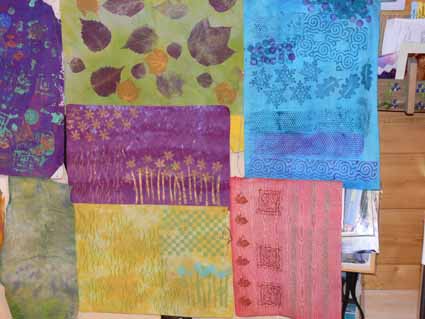
And here are green (by me, the bottom part of it), the bottom part of the Kate-or-Kathy blue, the purple by Kathy (boy do I hope I am getting the right names on the cloth… if not, someone correct me Kate and Kath!), a lime green by Kate, and that salmon-y one by me.  We liberally used each others’ hand-made stamps!

And then:

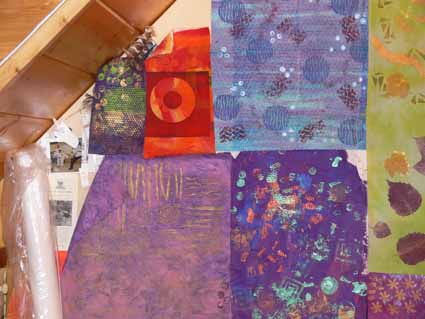
top row: upper left purple (small) by Kathy, red by Hannah, blue-purple-plum by Sarah (on a commercial batik),

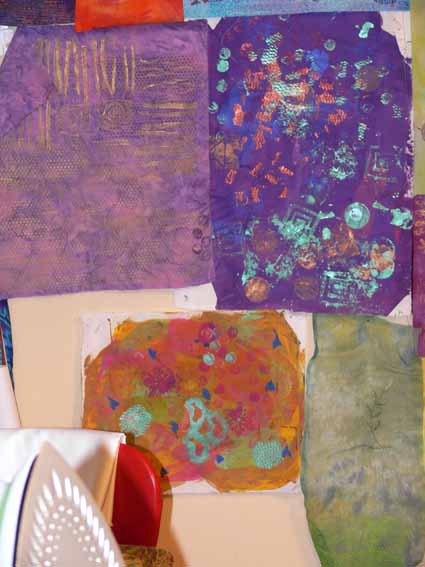
next row:  lighter purple by Kathy, darker purple by Hannah and daughter Nina

And finally–the top row is a repeat (duh) of the ones just above; the second row is a piece by Hannah and Nina on the left, and a lovely sheer piece by Kathy–she dyed this one at my house this past summer, too, then added to it–it its first life it was a sheer white curtain:

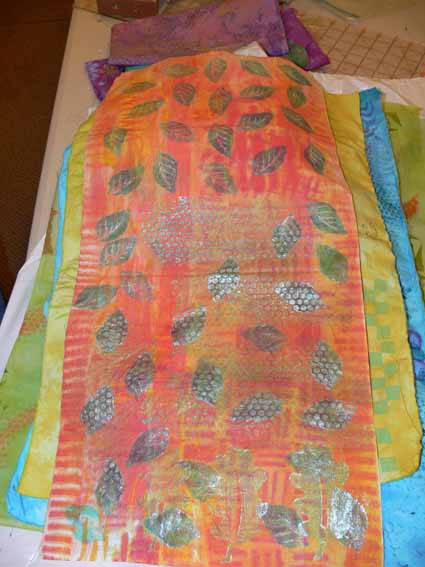
Here are some close ups….Kathy’s finished orange-ish piece…. heavenly–Kath used a stamp of mine and sequin waste as a stencil (to get those perfect circles):

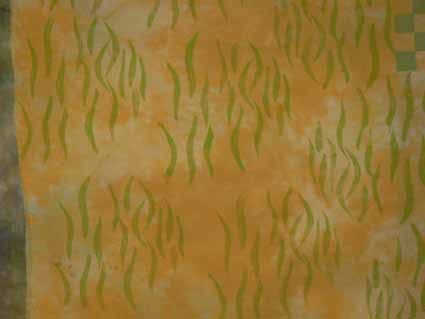
I’m pretty sure Kate made this one using her hand-dyed and various stamps…the grassy bit is Kathy’s stamp made from adhesive-backed foam cut into wisps and mounted on cardboard (cheap, easy, useful, beautiful!):

Here’s a detail of that stamp we all wanted to swipe/copy:

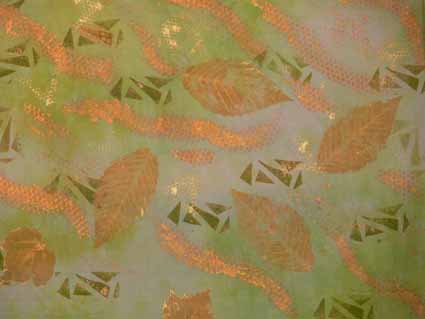
And finally, part of my green one.  It began with hand-dyed by me fabric.  A bit over a year ago I did a demonstration at the Make It University section of the big IQA quilt show in Houston, showing leaf printing.  At Hannah’s I added the green squares (another foam-on-cardboard stamp, this one by me), and made swoopies of gold through sequins waste and printed with plastic needlepoint canvas.  I really like how this one turned out.

It’ll be fun over the next few  years to see bits of these cloths show up in Deborah’s work!  Clearly, we had fun (and missed having Deborah WITH us in body, tho she was certainly there in our hearts).