email Youtube

Home
Galleries
Blog
Workshops & Calendar
Store
Resources
About
Contact

Archive for the ‘Surface Design’ Category

Digital Surface Design With Diane Rusin Doran, Giveaway!

Thursday, January 16th, 2014

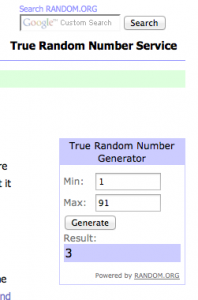
The drawing is now closed.  Drum roll please for Daphne Greig!

And the winner of the DVD is Daphne Greig, comment number 3!

And the winner of the DVD is Daphne Greig, comment number 3!

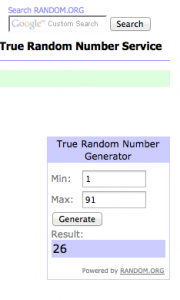
And I’ve selected one more person to be eligible to win some of Diane’s fabric.  Each member of the bloghop is selecting a second comment, sending that name to Diane, and at the end of the week she will select a winner for the fabric.  That was comment 26:

The second drawing to be eligible to win some of Diane's fabric.

The second drawing to be eligible to win some of Diane’s fabric.

NOTE:   The DRAWING is OVER and comments on this post are closed.  You can comment on other posts though!

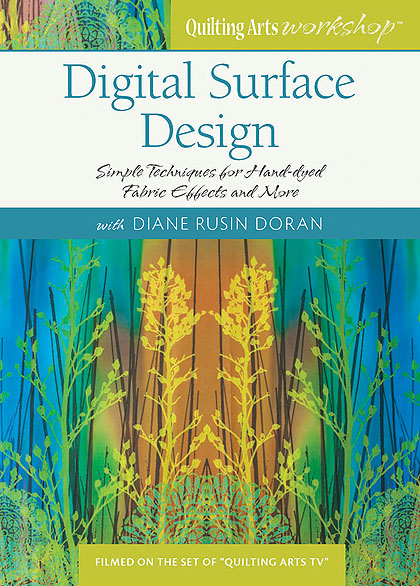
Oh what FUN!  There is a reason why Diane Rusin Doran’s blog is called Ooh! Pretty Colors!  In her new Quilting Arts Video Workshop,  Digital Surface Design, Diane shows you how to make your own cloth digitally:  just think of it: all the beauty of hand-dyed fabrics, of hand-printed fabrics, in just the colors and designs you want, endlessly re-printable, and as she said in the conclusion, if you can click a mouse and move a slider on your computer, you can follow her clear instructions and create your own digital art cloth.  The download is available now at the Interweave Store, here, and the DVD will be available for order in a matter of days.  I’m thrilled she asked me to be part of her bloghop and giveaway.  Keep reading to find out how to win a free DVD!

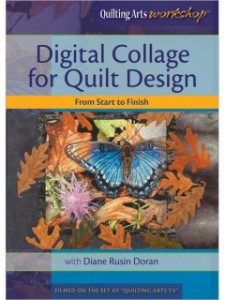
Diane Rusin Doran's new Quilting Arts Workshop:  Digital Surface Designs

Diane Rusin Doran’s new Quilting Arts Workshop: Digital Surface Designs

This workshop is all about creating your own digital art cloth.  Diane teaches you how to emulate traditional surface design, which she defines as the application or removal of color and pattern on cloth, with your computer.  You’ll need Photoshop Elements (software available for under $100), and can print your designs at home or by sending your files away to a fabric printing service. I will be downloading my copy onto my iPad (I have a download, not the DVD) so that I can watch on my iPad, pausing when necessary, and work alongside Diane on my laptop at the same time; you could do the same by watching the DVD on a TV and working on your computer.

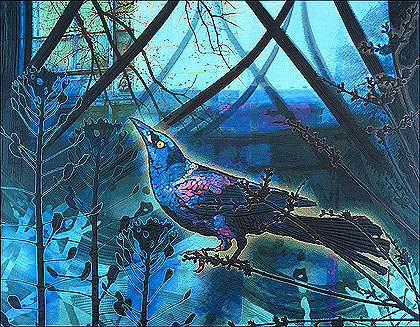
I can’t recall when I first met Diane in person, but we’ve “known” each other online for years.  Several years ago I saw her Return of the Grackle quilt in person and was absolutely riveted:  it is quite large, 40×51 inches–I just wish you could see how stunning it is in person:

Return of the Grackle by Diane Rusin Doran

Return of the Grackle by Diane Rusin Doran

The video has five sections:

1.  Introduction (7 minutes)

Diane talks about what she will teach us, what supplies you need, and why you might want to do digital rather than traditional surface design.   Diane’s lessons build on each previous segment so that by the end you can create a layered composition, breaking what at first seems daunting into an easy step-by-step process.

2.  Digital Backgrounds for Hand-dyed Effects (20 minutes)

Diane teaches us how to make a softly mottled cloth using a photo of clouds in the sky, and how to simulate drip-dyed fabric by carefully showing step by step how (and where to find the correct thing to click) to navigate Photoshop Elements.  Diane used a PC with a newer version of Elements than I have, but it was easy to follow.  I plan to re-play the entire video and copy down the sequences step by step for various lessons in this video so I have them for handy reference when I go to play.  Familiarity with Photoshop Elements is helpful, but by no means necessary.

3.  Digital Patterning using Brushes (19 minutes)

I’ve played around with Elements a lot and learned quite a bit, but this DVD is way better than just stumbling across something:  it is  guided play.  I’d already discovered many of the things Diane teaches in the previous section, but this chapter was uncharted territory for me.  My brain started into high gear as soon as she mentioned re-sizing motifs at will and creating your own brushes to supplement the default ones in the software.  For example, I can carve a block traditionally, but then scan in a print and use Diane’s methods to re-size and print at various scales without laboriously re-carving the block (only to decide that wasn’t quite the right size).  So I can still get the hands-on that I crave, but with infinitely more possibilities.

4.  Designing with Layers  (15 minutes)

In the last major section, Diane then shows you  how to combine what you did in simulating hand dyeing and stamping stenciling to create layers of imagery and color on cloth.

5.  Gallery and Conclusion (7 minutes)

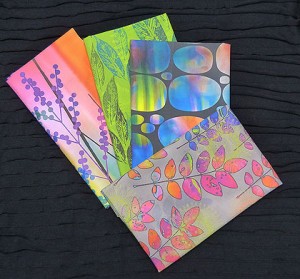
Finally, Diane shows us fabrics, and variations on the themes, printed from what she has taught us in the 3 teaching segments of the video.  Here are some of her printed fabrics (and part of her portion of the giveaway):

Win these fabrics made by Diane by commenting on  blogs in this bloghop--see the link below.

Win these fabrics made by Diane by commenting on blogs in this bloghop–see the link below.

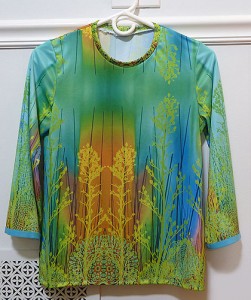
Her favorite fabric is the one used on the cover of the DVD, which I first saw in a shirt she was wearing in November at International Quilt Festival:  yes, she printed it on a knit fabric and made a shirt out of it, and I love it!

Diane had her design printed onto fabric, then made this beautiful top!

Diane had her design printed onto fabric, then made this beautiful top!

Diane’s first QA Workshop, Digital Collage for Quilt Design, is now on its way to me.  I can’t wait to combine the two and work on a quilt…I have this photo of a rose……

I've already ordered Diane's first video workshop...this new one has whet my desire to play!

I’ve already ordered Diane’s first video workshop…this new one has whet my desire to play!

So I invite you to join me in thinking how to combine traditional manual arts with the computer!

Here’s the schedule for the bloghop and giveaway.  Like Candy, on January 28th I will be drawing one name from those who comment on this post on my blog to win the DVD.  That means for the next nearly two weeks, you can visit ALL of these blogs and get FIVE chances to win a copy of this DVD.  I’ll also pick a SECOND   lucky person to be eligible to win a packet of Diane’s custom digitally designed cloth (see her blog to read about it); that drawing will take place on Diane’s blog!

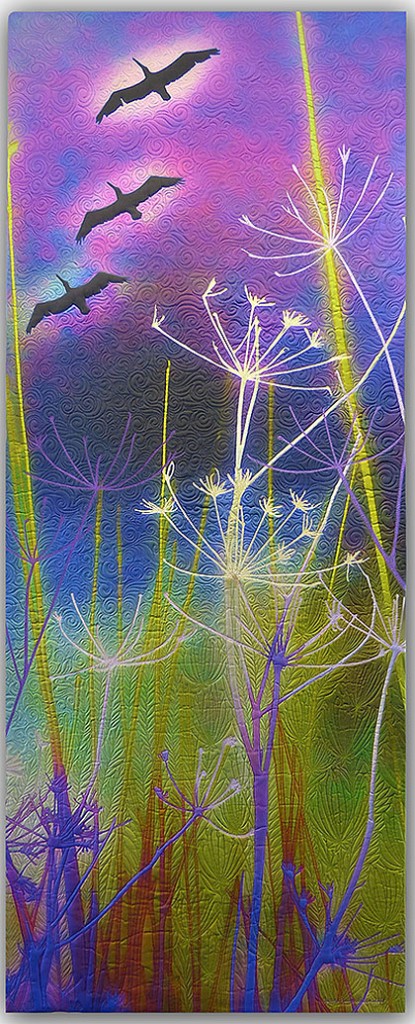
And I’ll close with another fabulous quilt by Diane, California Dreaming:

Diane Rusin Doran, California Dreaming

Diane Rusin Doran, California Dreaming.  Printed on silk and just LOOK at that quilting!

Vermont Quilt Festival, Part 2

Saturday, July 7th, 2012

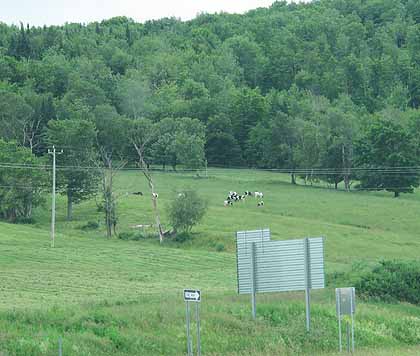
To begin at the beginning: as I entered Vermont, what else would I see but COWS, the kind on the Ben and Jerry’s label! Of course I had to pull over and snap a picture!
It always amazes me how rapidly time evaporates.  I got home on Monday, it is now Saturday, and I feel like the week simply disappeared in errands, exercising, painting (of the baseboards and trim variety), preparing to paint (the basement floor variety), and a thousand other things.  I’ve JUST this past hour tossed the laundry from the trip into the washer!   So while it is stewing and getting clean, I thought I’d start at the beginning and attempt to catch up!

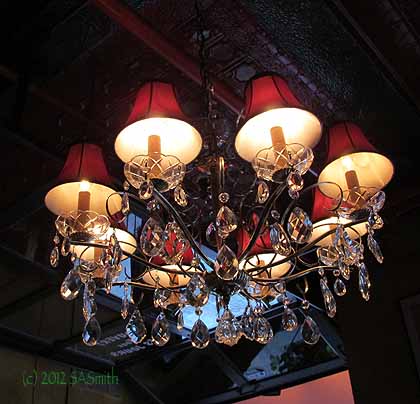
From the last post, you know I was able to meet Dana B. from an online class with Jane LaFazio (at Joggles.com) and friend Susan Brubaker Knapp and have dinner the first night.  Susan and I were snapping pictures from the get-go…. she spotted this light fixture (and got a much more artistic shot through the entryway):

Lighting at Leunig’s Bistro on the Church Street pedestrian mall in downtown Burlington, VT. Dinner was so good I returned several nights later with other teachers after the show ended!

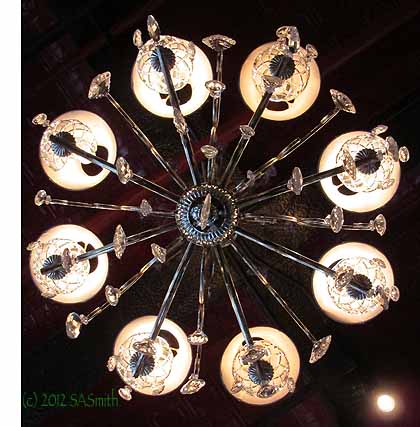
I was rushing a bit so didn’t get the photo quite centered, but with cropping in Photoshop, like this view of the same fixture:

Holding the camera directly under the fixture….

As I told my quilting design students on Saturday/Sunday in class, design ideas are EVERYwhere!

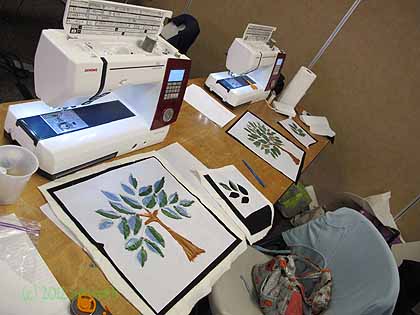
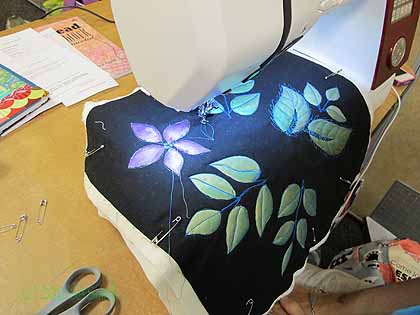
My first class (Thursday) was Tame Fussy, Fiddly Threads.  We were lucky to be in the room with Janome provided machines, all 7700s, and I know at least two of my students went HOME with ones they got at an amazing show special from Bittersweet Fabrics (that owner, Dave Lavallee, and his company gave some AWESOME prizes including machines to at least six lucky youth quilters!).  I always encourage students to cut loose and make their own designs and color combinations with the paints for stencilling their black cloth….

Lovely and delicate coloring on this piece, which she had just begun quilting.

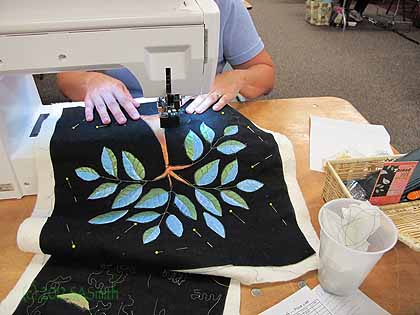
The class teaches how to use the threads so many fear:  metallics, holographic, heavy poly, multicolored.  The trick is getting the correct needle and tension.  I begin class by having students prepare their freezer paper stencil and painting. (PS–the paints used are Jacquard Lumiere textile paints, available at various art quilty places and at online retailers such as art supplier dickblick.com.)  While the paint sets up, we review the things you need to know, then by late morning (ish) sewing begins!   This time one student decided to make a tree, and her friend and tablemate followed suit:

Trees…with freezer paper stencil still affixed while the paint dries

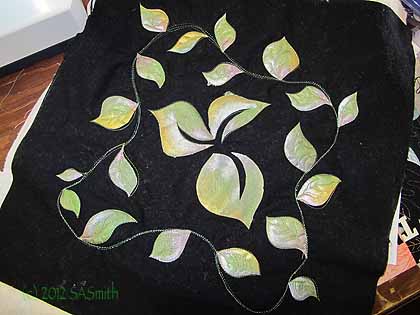
And in the back, Cricket (LOVE that name, and how totally cool that her parents named her that–it’s not a nickname!) did some spectacular color-work…just love the look and color of these leaves:

Crickets colorful leaves

One interesting thing–she was having some issues with the machine/quilting despite having experience with free-motion quilting.  We changed her seating to something with the seat higher up–closer to correct position (you know how in classes the machines are ALWAYS too high up on the table for the usual classroom chairs?) and presto, problem solved!  So if you are having difficulties controlling your Free-motion quilting, try adjusting the height of your chair (pillows, whatever!).

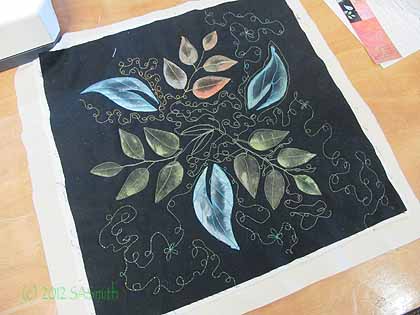
This student wanted a more airy look to her stencils, not filled in heavily the way I made mine. Love the soft look, and the fun she is having quilting!

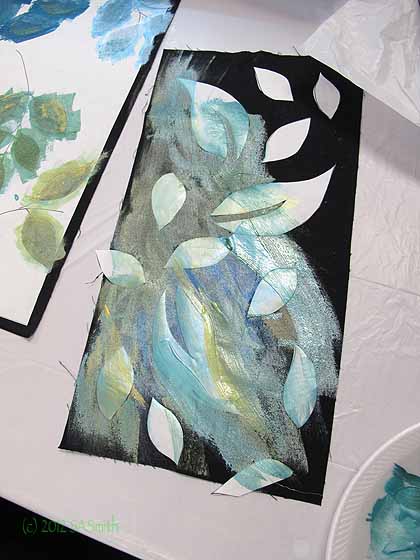
I had encouraged students to bring a scrap–that way you can test drive threads and tension and don’t have to pick it out if things are off.  This student used her cut-out leaves as a mask and painted the background…this turned out fabulous.  Here it is in progress:

The sweep of metallic colors on black was FABULOUS!

The 30-wt So Fine (formerly Brytes) from Superior Threads makes an awesome color statement…here she is using the blue.

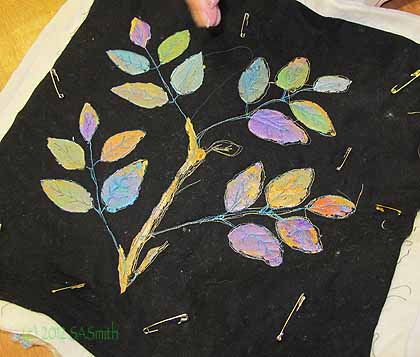
And remember those trees…here is one later in the day:

Love the way this turned out!

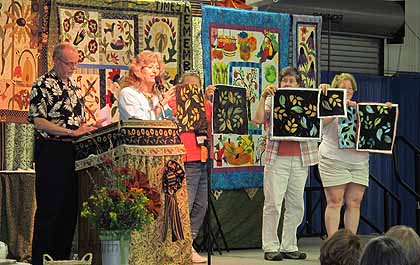
At Show and Tell Saturday night. The gentleman at left is Richard Cleveland, the founder of VQF. Part of show and tell is each teacher gets to go up, and if there are any students there they come up and share their projects. I’m holding my version, and you can see my students to the right, including that wonderful “sweep” of color over the leaves, the “test” piece held by the lady at the far right. GREAT students, fun class!

There was a VERY special moment for me at the Sharing, but I’m going to be evil and make you wait to hear about it!  I had two more classes:  Fine Finishes and Quilting Design.  I was so busy with a full 20 students in a BUSY class that I didn’t take a single (SOB) photo for the Fine Finishes bindings and edge finishes class, but got some great pics of the design class (small but superlative), and some photos of some of my favorite quilts from the show.  More soon!


Leaf Table Runner

Wednesday, August 3rd, 2011

This summer our younger son was invited to be a part of People to People’s trip for middle school kids to Australia!  The kids are apparently nominated by teachers, school staff, even other “alumni” of the program.  We don’t know who nominated Eli, but are thrilled he was able to go.  As part of the trip, the kids stay with a family for two nights and typically take a gift from their home state.  Eli took some Maine honey and Maine maple syrup, but we thought we’d add a special something:  a quilted piece made by Eli and me.
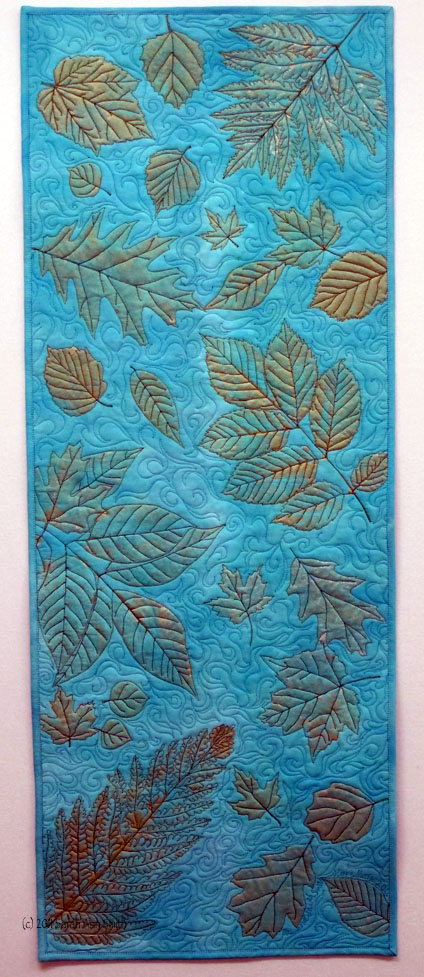
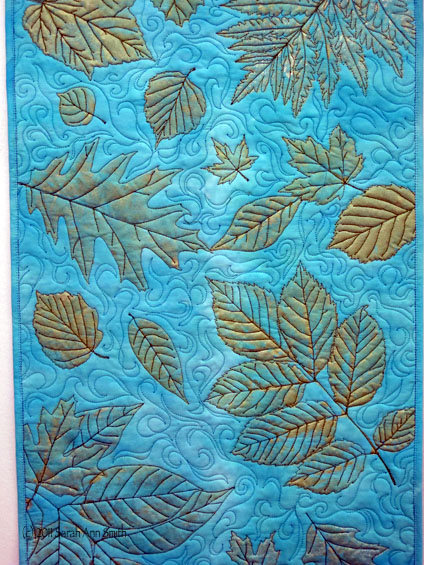
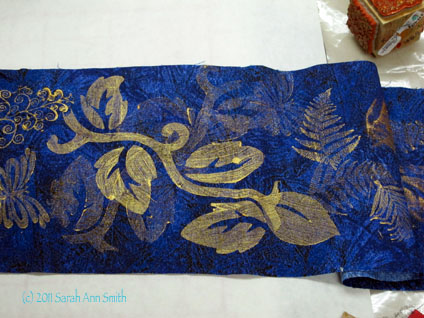
The finished piece. Aqua hand-dyed fabric by me, gold/green leaf prints by Eli and me, quilting in green by me (mom)

Eli picked the leaves from our land in Hope, we printed the fabric together, then I quilted the piece.

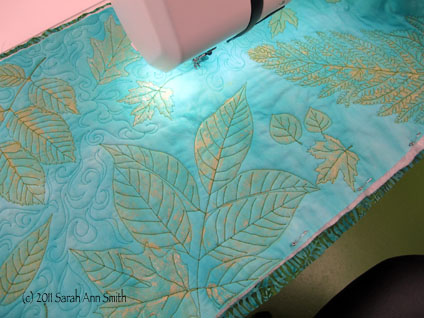
The wall-hanging/table-runner while being quilted

Originally, I thought this could be a table runner, but despite heat-setting the Jacquard Lumiere paint when I did a test rinse and dry (I like to wash to-be-used gifts so folks aren’t upset by the change from never-washed to the way a quilt looks after washing), some of the paint came off.  Wonder if I didn’t heat-set enough?  Anyway, it still looked nice….and in looking at the before and after washing pictures, maybe it didn’t lose as much paint as I initially thought.

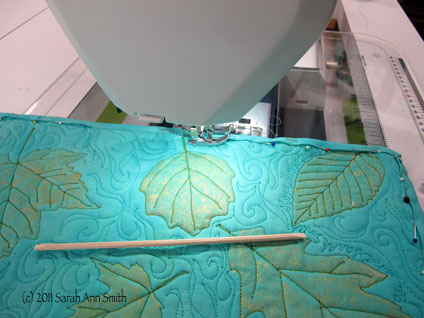
Sewing down the binding by machine; I first stitch the binding to the back, then turn to the front. The wooden thingy is (I think) a cuticle stick; it was included to help piece a John Flynn miniatures kit, and it works even better than a skewer in some instances because of the blunt tip. I will now be recommending this tool along with the skewer to my students.

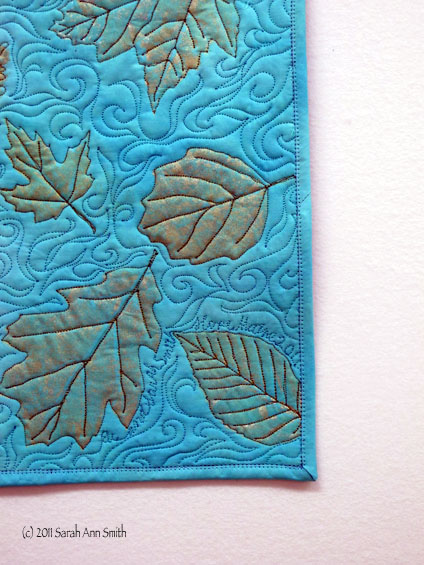
A close up of the bottom right corner; for some reason, the thread looks red in this photo...it is actually green!

Close-up, center left

Teaching in the Shenandoah Valley

Thursday, July 28th, 2011

The Shenandoah Valley Quilt Guild (Thank you Fran!)….invited me to teach in Harrisonburg, and I was thrilled to be able to return to an area that I used to love to visit when I lived in DC in my 20s and 30s.  We scheduled a lecture, a half-day class (an abbreviated version of Balinese Garden) and a full-day class (Art Uncensored).  The guild was so charming and welcoming, and had a lovely venue in a retirement center with a large, well-lit room–with good a/c since it *was* Virginia in summer!

Although it has taken me too long to get to posting these photos, I hope you’ll enjoy the students’ work:

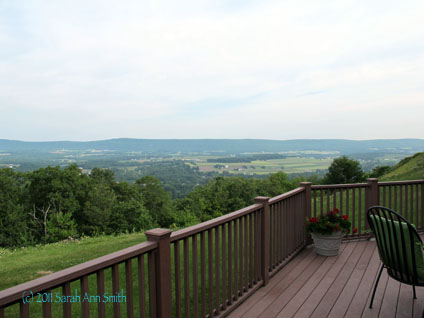
The view from my hotel in Pennsylvania where I-80 crosses I-81...wow!

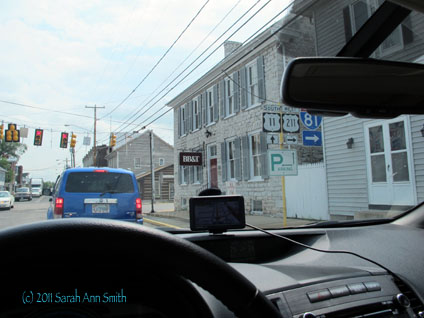
For a treat, rather than going fast I took the old Shenandoah Valley highway 11. Love the old stone and wood buildings...

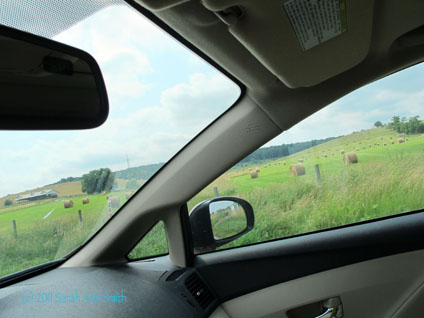
And the rolling fields of the Shenandoah valley (snapped quickly through the window)

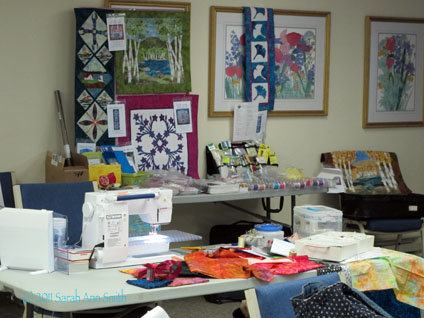
My corner of stuff displayed at the Harrisonburg class

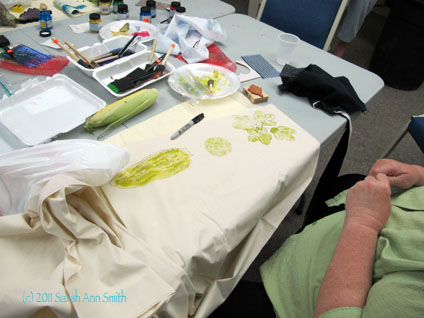
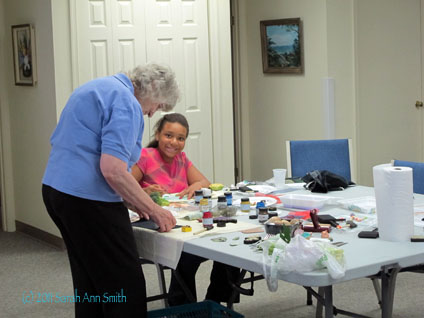
In Saturday's class we played with paint! and veggies and other fun stuff...

Our youngest student, going into 7th grade, made this lovely flower with the bottom of celery!

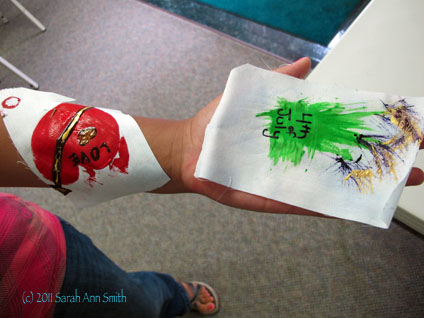
And more...she really liked the painting!

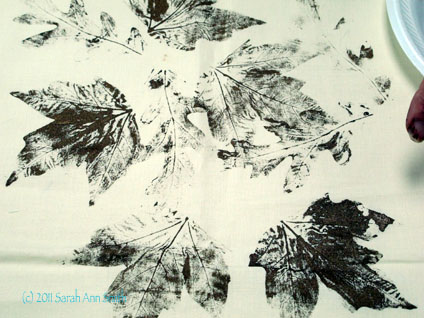
Printing with leaves (from the grounds of where the class was held!)

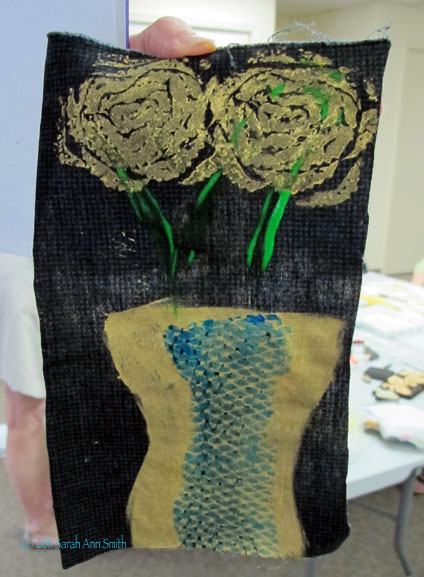
And using stamps...this time gold on a dark cloth

Fran, the program chair, and her great grand daughter

Love the "fuzzy caterpillar".... And one student asked if I had used the "Dashed" stitch, the one she used on the green spikes. I hadn't, but I sure will now!

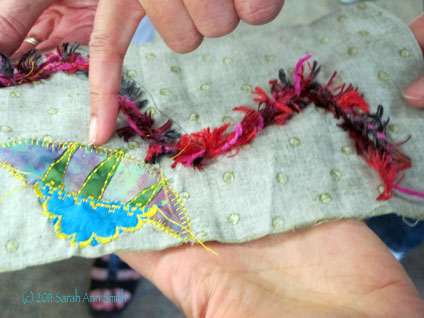
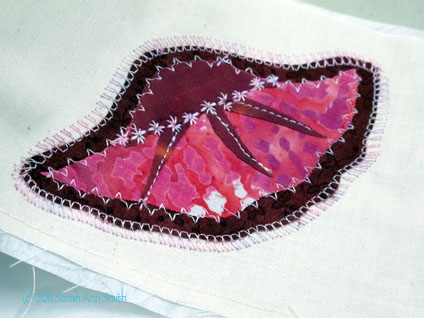
And playing with decorative stitches

Thanks so much to Fran and the wonderful ladies and gentlemen of the guild–I hope I get to return to Virginia and West Virginia to teach!

Photo EZ, an alternative to a Thermofax

Thursday, December 2nd, 2010

OH WOW am I in love with a new product and process! 

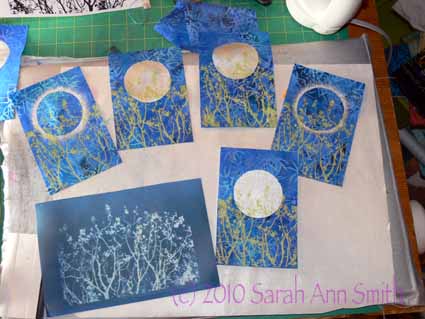
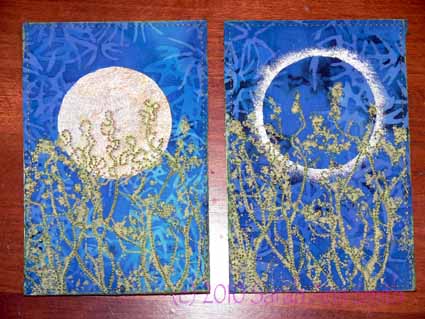
The product is called PhotoEZ and it allows you to make detailed screens for printing (on paper or fabric), such as the treetops in the fabric postcards in the picture above.   The best place to get PhotoEZ  is directly from art quilter Ginny Eckley at http://www.photoezsilkscreen.com/about.htm .  Wonder how many requests Santa is gonna get now……

Many quilt artists now use Thermofax machines to make their own highly detailed screens for surface design printing.  These machines were on their way to becoming dinosaurs and land fill when they were discovered by art quilters and tattoo artists.   In both cases, the artists involved create intricate designs which are then “burned” into an emulsion-coated screen (or for the tattoo guys spirit masters).  The process removes the image, leaving a screen to use for printing or, in the case of tattoo artists, for transferring the design to the skin to use as the guide for inking the tattoo.  As the machines become more and more scarce, the price has   gone through the roof:  reconditioned machines now cost nearly $1000.  Yes, one THOUSAND dollars.  Plus supplies! My budget doesn’t stretch that far.

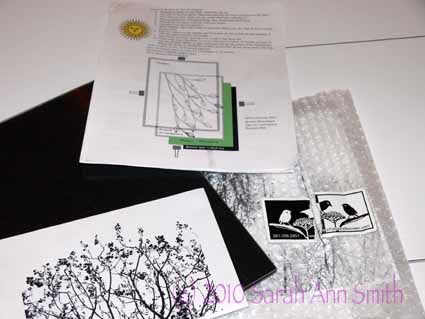
Well, a year ago at Quilt Festival in Houston, I visited Ginny Eckley’s booth where she sold (among other things) the PhotoEZ screen kits — a starter kit is $37 — and materials.  Here is a picture of my kit and the photo I used:

PhotoEZ kit, instructions and on the bottom left my image

Ginny told me she likes PhotoEZ so much she actually SOLD her Thermofax machines because she no longer used them.  Rather than carry the stuff home, I opted to order the supplies from Ginny (here) and have them shipped to my home.  One key thing:  You need to refrigerate the screen material to keep it fresh!  I have a flat baggie on the back wall of my fridge, behind the shelves, to keep mine fine.
After a year, I FINALLY got around to trying it out.  I was concerned because I don’t have strong sunlight up here in Maine most of the year the way Ginny does in Texas!  But I used my tulip-lights that I use for photography and they worked fine.  When I asked Ginny a couple of “how to” questions this year at Festival, she said she uses a light box most of the time, so this makes the process accessible for everyone (not just those of us in sunny spots).  In addition to the detailed info in the kit, you can find even more instruction on her website.

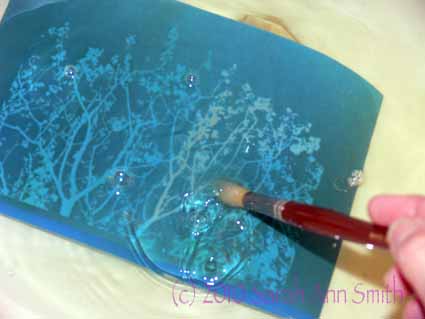
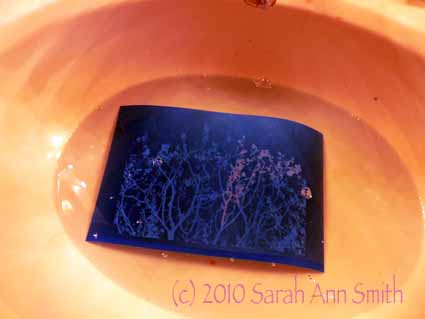
I had forgotten that the kit included an inkjet transparency sheet, so I fiddled with my photo of treetops in spring in Photoshop Elements (to turn it into a crisp black and white image) and printed it on paper.  The trick was to figure out the correct time under the lights to get the screen to burn.  I thought I had messed it up, but was elated when I did as instructed and popped the screen into the sink:
The image began to materialize; I used a soft paintbrush to swooosh away the area that had "burned" where the black ink reacted with the emulsion

Anyway, here’s another view:

Part of the burned emulsion removed (lighter area), the rest to be removed

And here are the fabric postcards, for a “circles” swap I recently did, in process:

five of the postcards screened, with the full screen on the lower left

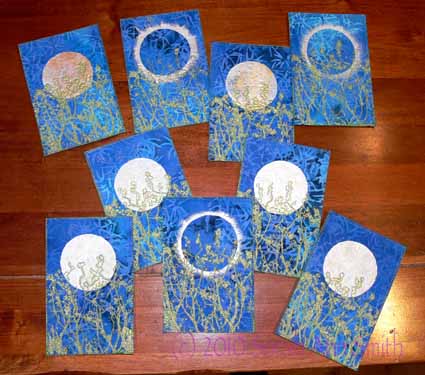
The moons and eclipse glow were done with freezer paper stencils using Lumiere paints, and the treetops were screened with Jacquard Lumiere Citrine (the lime green color).  I REALLY like the squeegee that comes with the kit…it was JUST the right balance between firm and soft for me.

What I learned:

  • I LOVE THIS PROCESS!
  • And it costs a fortune less than a Thermofax.  It isn’t, however, cheap per screen, but it will work and cost less per screen I think than a Thermofax.
  • Spring for the extra cost for transparencies for your images.  Then you don’t have to guesstimate the exposure time for your screen.  With a clear sheet, exposure time will be consistent.  If you print on paper you have to think about how heavy the paper is and how much it impedes the light working on the emulsion-ink reaction.
  • Play with your image and print it in black and white (to make sure you like how it turned out) before printing it onto the not-as-cheap-as-paper transparency.
  • Think about your images; in my case, I deliberately took the photo with only sky behind the treetops to make the photo editing process easier.
  • Clean your screens promptly so the paint doesn’t clog the screen permanently.
  • There is a learning curve about how much paint is enough but not too much; like most things, it takes a bit of practice and testing the various consistencies of paint
  • I’m gonna do more of this!

PS–I am not affiliated with Ginny in any way.  I just really liked the product and process!  I surfed around online and Ginny’s prices seem to be the best out there.  Plus she’s a quilter! While you’re at her site, check out her artwork, here.  Her newest work uses the screens and is amazing (click on the New Work button).

And a last look at all the “circles” postcards:

Spring Moonrise and Spring Eclipse postcards