email Youtube

Home
Galleries
Blog
Workshops & Calendar
Store
Resources
About
Contact

Archive for the ‘Drawing’ Category

Be Inspired, Part 7…Joshua Lawrence Chamberlain

Sunday, July 26th, 2009

The final figure is one that means a lot to me, as our oldest son is named after him:  Joshua Lawrence Chamberlain.  He also means a lot to Mainers (only we didn’t know when we selected the name that we would end up living in Chamberlain’s beloved state!).  Chamberlain was a professor at Bowdoin College here in Maine at the outbreak of the Civil War.  He asked for leave to fight, and was denied.  So he asked for leave for a sabbatical, it was granted, and he promptly enlisted.

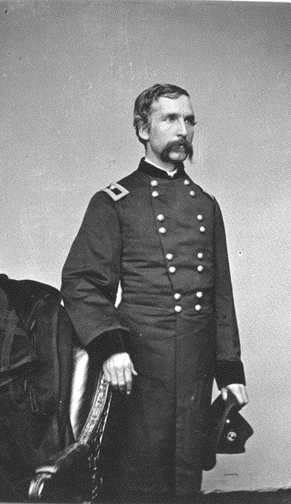
JoshuaChamberlain

At the Battle of Gettysburg, he was in charge of the 20th Maine.  That small group of men held the outermost position (the left flank) on one end of the union line on Little Round Top, a hill at the end of Seminary Ridge.  On July 2nd, they took a wicked battering from Confederate forces; by the end of the day, they were out of ammunition and engaged in hand to hand combat, but they held the line until darkness fell and fighting stopped for the night.  Because the 20th Maine held their position, the other Union forces were able to hold their positions.  Because the Union held the line on July 2nd, the tide of the battle changed in favor of the Union, and by nightfall July 3rd the Union had won the battle.   The Union victory changed the tide of the war, and the nation remained one.

SO…. when it came time to pick historical figures, and one for Maine, the choice was clear (at least to me!).

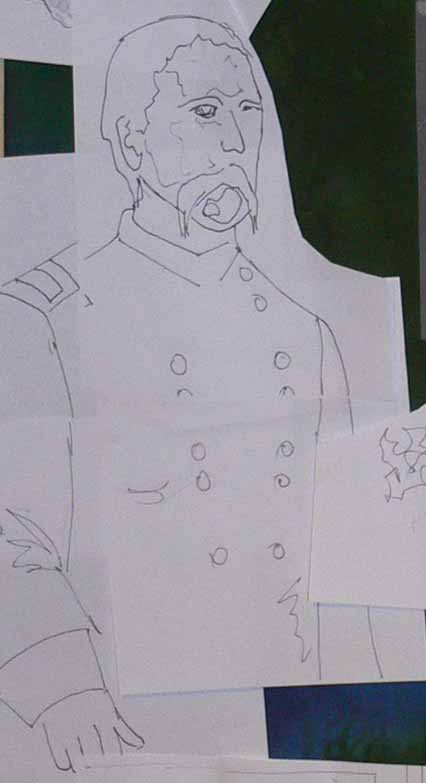
Here’s a drawing based on this photo:

2009.07.Blog.BeInspired017

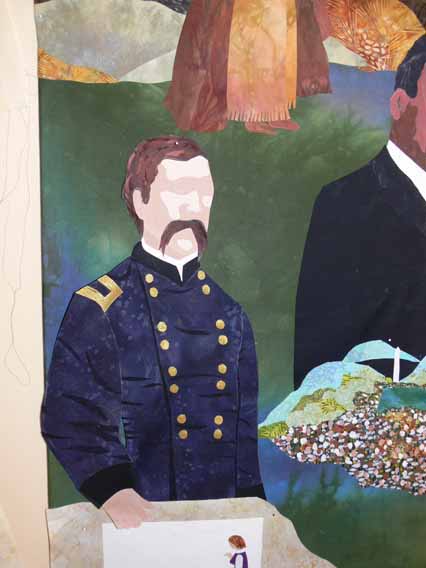
And the rendition in cloth (before I colored the eyes):

2009.07.Blog.BeInspired008

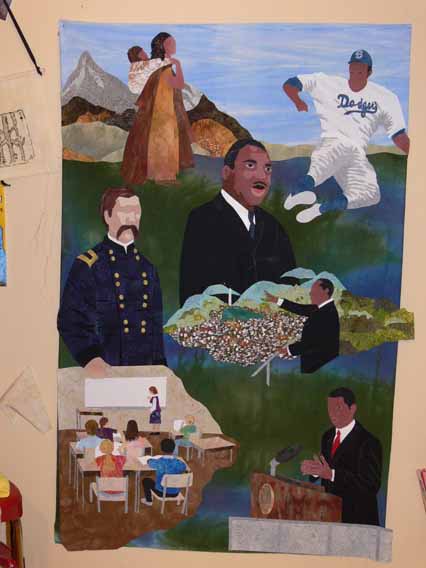
And on the quilt top:
2009.07.Blog.BeInspired007

More Drawing….

Saturday, June 6th, 2009
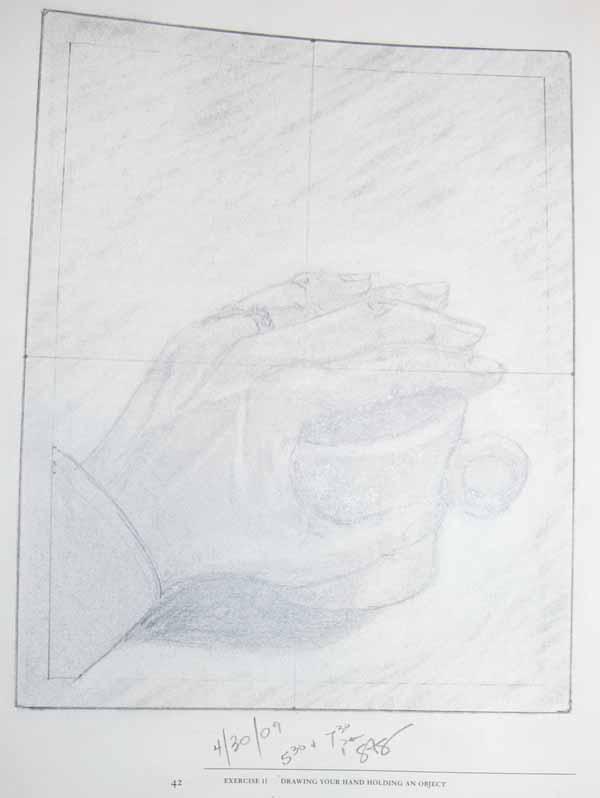
Hand on mug

Hand on mug

One of the next exercises in The New Drawing on the Right Hand Side of the Brain is to draw your own hand using the “window.” (more on this in a sec)  PS–pictures in this post are (well…should be…) clickable for a slightly larger view.

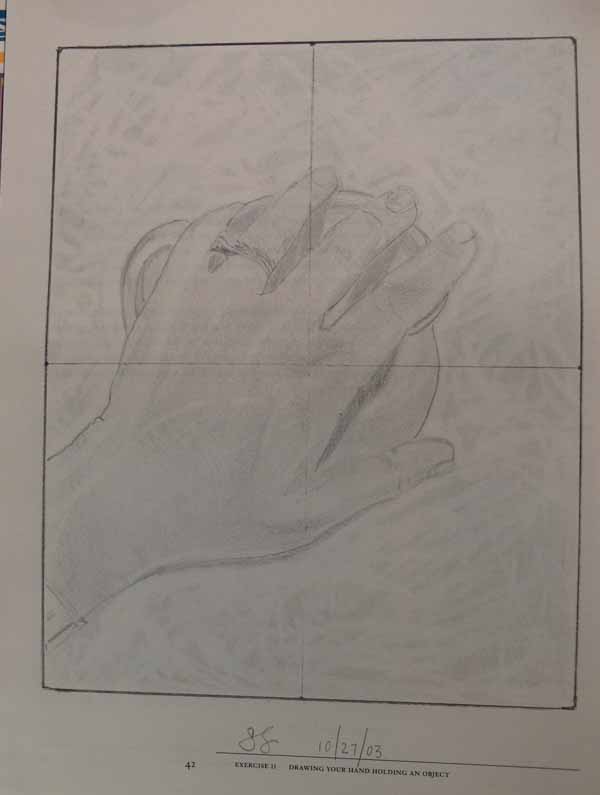
The drawing above is one I worked on about six weeks ago (and haven’t had time to do much drawing since!).  I didn’t look at my old workbook prior to doing this exercise, which wanted you to hold something in your hand.   What a hoot… here’s the first attempt from 2003 (eeks it was THAT long ago?):

200905blogdrawing010

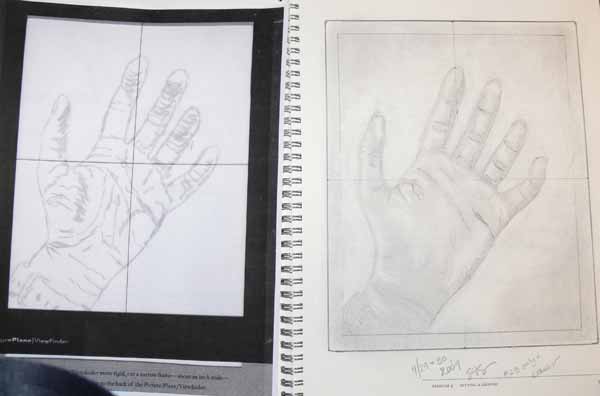
The Window is a piece of plastic with cross-hairs on it.  You make a cardboard frame to make it rigid, then look through it to divide the object being drawn into quadrants.   Doing this helps train the eye to see the foreshortened object, in this case hands.

Here is a picture of a foreshortened hand done using the window this year.  I left the wash-off pen markings on the clear plastic window, on the left side, for you to see how placing your hand underneath allows you to just trace the outlines–presto, one of the hardest thing to do (foreshortening) made easy!:

200905blogdrawing003

And here is the same exercise from 2004 ish–I used a different background technique in 2009 than this one just to see how it would look.  I like the dark background better I think…..

200905blogdrawing011

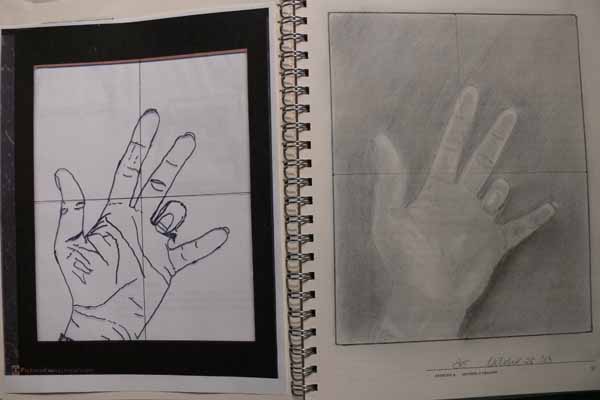
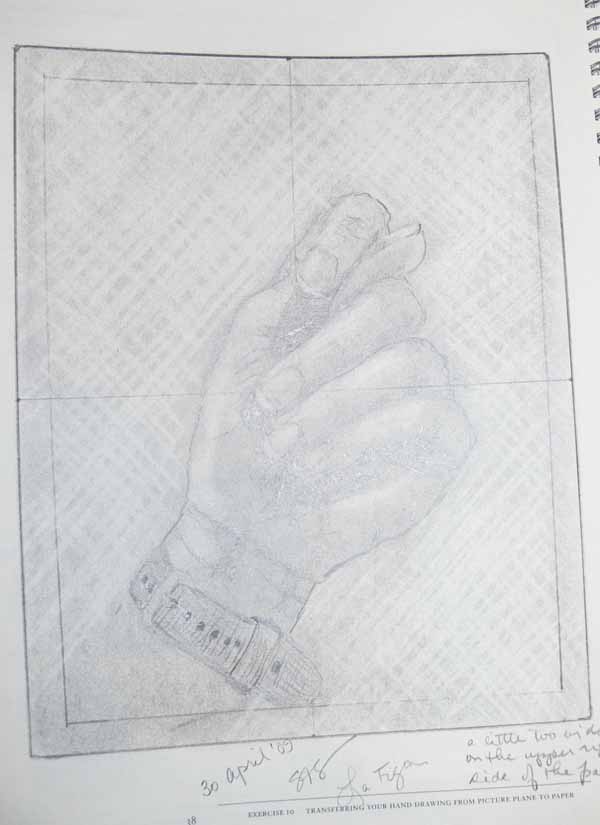
Basically, I think I just need to draw more….Here is one last exercise (I’m doing more of them this time as I KNOW I need the practice):

200905blogdrawing002

I like the cross-hatched (with eraser) background on this.  My hand is in the “figa” …with thumb tucked between the fingers.  I did this naturally as a toddler; we lived in Spain at the time and it is considered good fortune if one naturally makes the figa.  I hope so!

Drawing Upside Down

Tuesday, May 26th, 2009

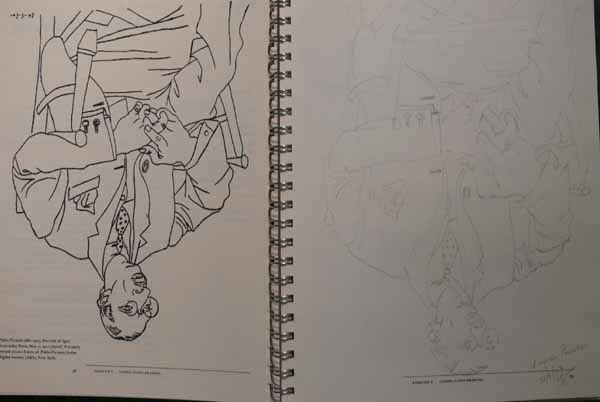
One way Betty Edwards has taught students to see what is actually there—as opposed to what they THINK they see—is to have them draw things upside down.  This skill is part of what she calls “Perception of Edges.”  (As always, these exercises come from The New Drawing on the Right Hand Side of the Brain, available at Amazon and elsewhere.  I purchased the companion notebook so I would have everything in one neat and tidy place, but you don’t need the workbook.  You can do all the exercises on your own paper.)

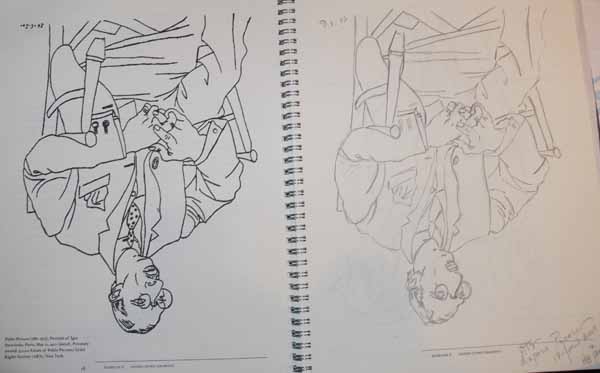
Here is a drawing by Pablo Picasso and my attempt to duplicate it in pencil from five years ago.  Not great…obviously it is larger than the reproduction on the facing page…sorry the sketch is so light…I tried the merge/layers thing to darken it, but my photoshop skills aren’t that advanced….

200905blogdrawing0122

Here is my 2009 version.  Better.

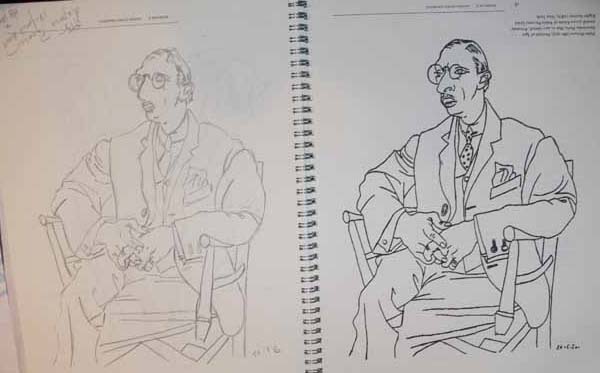
200905blogdrawing006And right side up:

200905blogdrawing006b

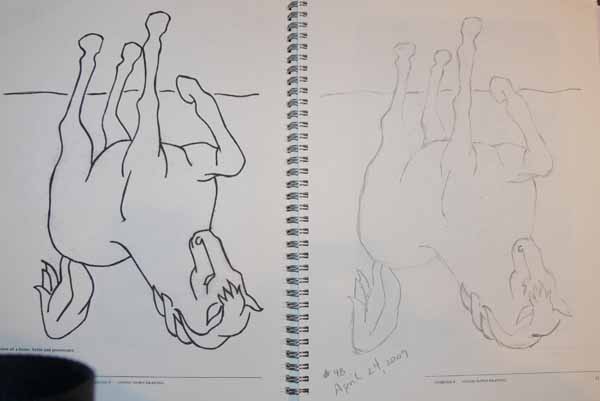
This time I decided to do all the upside down exercises (one still to go I think).  Here is a simple line drawing from a horse.   It makes me think that doing the exercise with a child’s coloring book could be useful…..

Upside down line-drawing of horse

Upside down line-drawing of horse

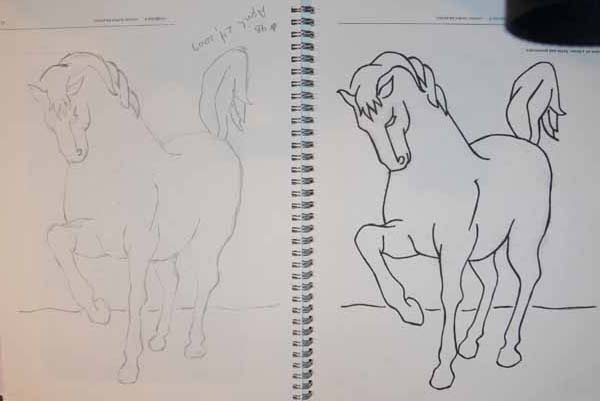
And right side up:

200905blogdrawing005b

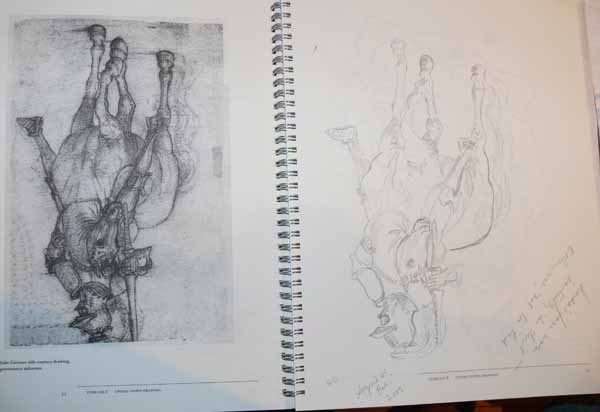
I was VERY happy with how this turned out, as it is much more complex to me.  The horse’s face was not quite right.

200905blogdrawing004

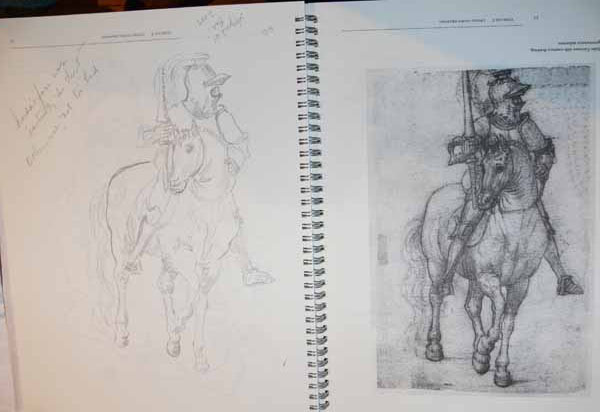
When I turned the picture right side up, I saw it instantly and was able to improve it.

200905blogdrawing004b

I don’t think I got the lance (in the knight’s left hand) quite right…. the head / helmet area might need some work, but also, life happens and I couldn’t spend all my time drawing….  good enough.  At least I’m practicing.

Sharing pencil drawings on the Web

Saturday, May 9th, 2009

Lily Kerns, who knows all sorts of computer stuff and teaches it at www.QuiltUniversity.com, shared the following:

Here is a tip you might find useful.

Pencil drawings are often very hard to see  on the web.  If you open the image in any program that uses layers,  copy and then paste the image as a new layer.  Use the Multipy blend function and adjust its intensity if necessary.  This increases the contrast to make it much more visible.  You may need to combine the layers before saving…

You can use a program’s contrast functions to increase its visibility, but the Multiply works better.  I don’t know if you would want to do this yourself for images that come in or just share the information…but for whatever it is worth to you.  <G>

Lily

Thanks Lily!  I’ll try that with my next drawing posts!

Drawing, in the beginning

Tuesday, May 5th, 2009

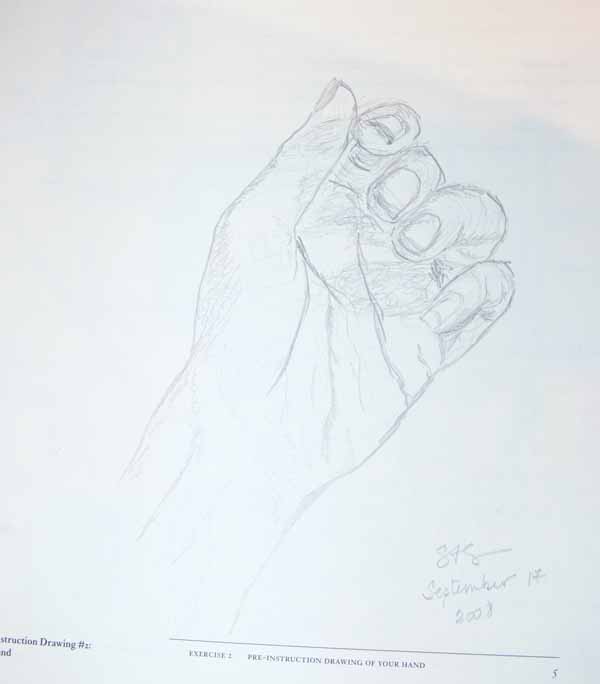
Hi everyone!  Thanks to the wonderful response to my posts over on the Quiltart list, I have set up a new blog— See*Draw*Quilt*Learn (link is also on the left) — for anyone who wishes to join in working on improving their drawing skills.  To begin, I’m planning on working through the companion workbook to the New Drawing On the Right Hand Side of the Brain by Betty Edwards.  If you’d like to participate, and/or if you ‘d like to be a contributor to that blog, surf over there and sign up by contacting me (but please read the first post to find out the general guidelines).

200905blogdrawing008

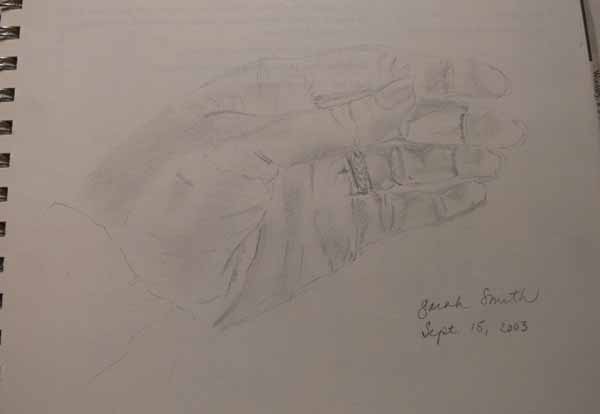
I thought I’d start things rolling by sharing my “pre-instruction” drawings from both the first time I did the workbook, in 2003/4, and the current one.  As I mentioned earlier, here, I think I could learn more by doing the exercises again.  The picture above is the 2009 drawing of my hand (photos are clickable for a larger view)… I deliberately worked (relatively) quickly, and didn’t do shading.  I think when I did my 2003 version, I had read ahead about shading and whatnot…. here is that one:

200905blogdrawing014

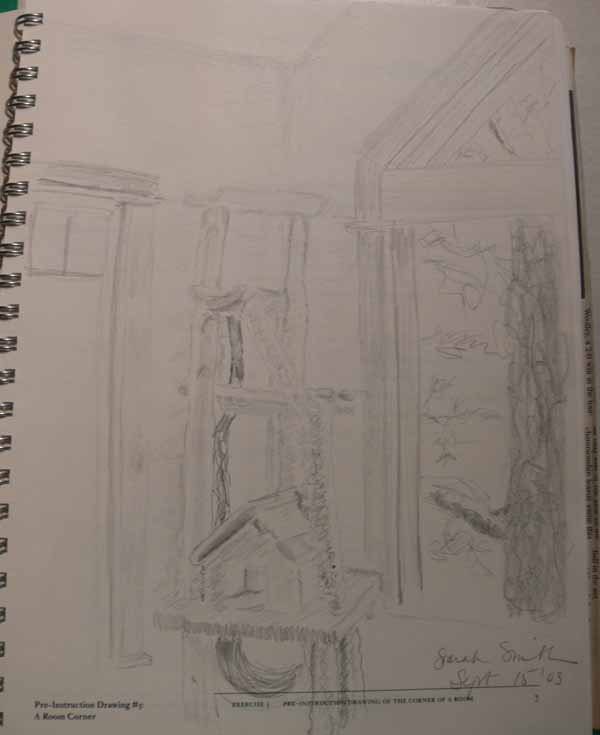
We were also to do a room/corner.  Since we moved, I couldn’t do the same corner.  Here is the living room corner in 2003:

200905blogdrawing013

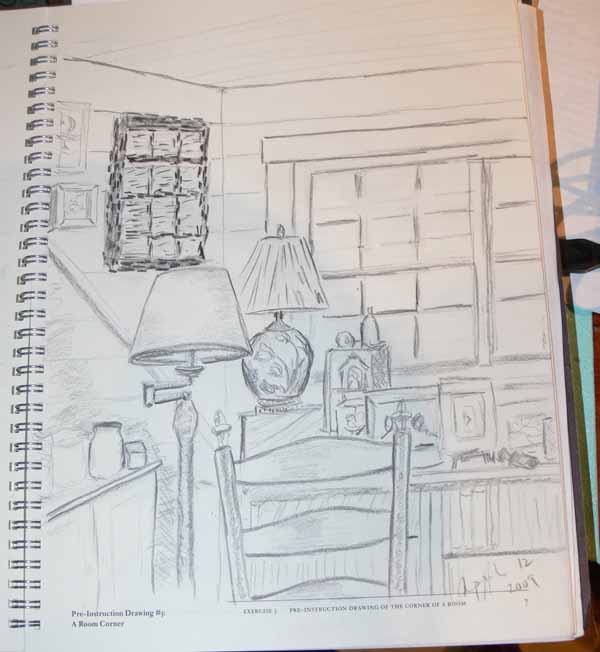
and the corner of my studio in 2009:

200905blogdrawing007

The piece on the wall, next to the window, is this totally cool (and really challenging to draw) 3-D ish wool “window” by Frances Caple, who lives in the Hebrides.  She asked about a trade, and loved my Rites of Passage quilt.  I loved her windows, so she made this one special for me, and we swapped!  I’ll have to take a picture of my mini “art wall” to share with you… next post tho, want to get this one online.