email Youtube

Home
Galleries
Blog
Workshops & Calendar
Store
Resources
About
Contact

Archive for the ‘Teaching / Classes’ Category

Hawaiian-style quilting at Lowell Quilt Festival

Sunday, August 31st, 2008

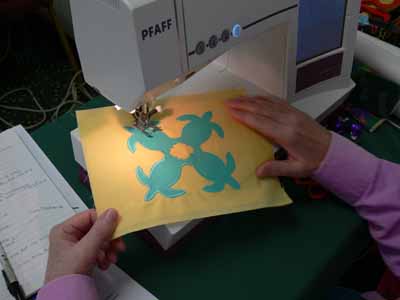
One of the most fun classes I taught was Hawaiian style applique by machine.  Normally, this applique is done by hand using the needle-turn method.  It is beautiful, meticulous, and time-consuming.  Some years ago I saw a quilt made by a New Zealand quilter, Donna Ward, that was stunning… similar to Hawaiian quilts in style, and satin stitched!  The stitching became a whole new design element, and I was hooked.  And I must repeat… I love google!  Here  is a link to Donna’s quilt Jewel of the Pacific–scroll down a bit to the blue quilt.

Sally I.’s block, reverse applique

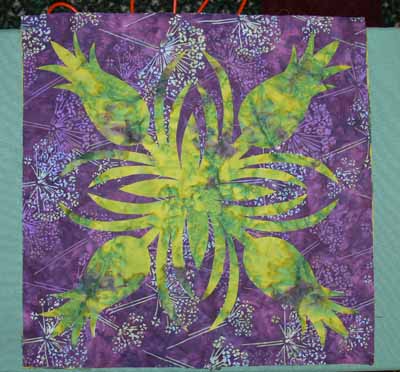
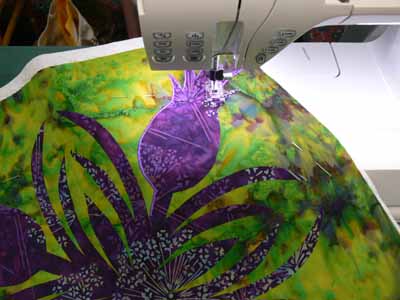
For my book, Unraveling Threadwork, (hopefully due out Fall 2009) I’ve designed a quilt with nine 18 inch blocks using five different designs, as one of the main pieces.  I’ve also designed two smaller “practice” blocks, one of the taro leaf, another of the turtle.  This class was the first time I offered the smaller practice blocks as an option, and it seems to have been a good decision.  Sally was the one person in the class who opted to start with the large block, in her case the pineapple.  Her combination of deep purple and mottled green (above and below) was wonderful. I also recognized her name from the quiltart list…way fun to meet someone you’ve “seen” on line!

A couple tricks to Hawaiian applique:  high contrast in your fabrics works well!  Variegated threads don’t always look so good…opt for a solid color. THEN you absolutely must:

MAKE VISUAL DECISIONS VISUALLY!

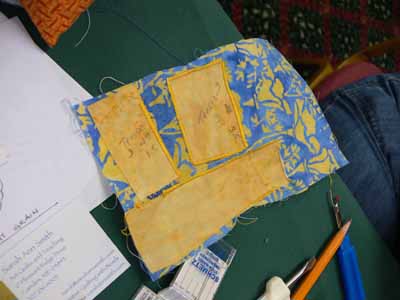
That means make a test, and try your threads to see how the look when stitched out.  Try adjusting width and length to see what looks best.  And if necessary (it probably will be) use a stabilizer under the background fabric to prevent unsightly puckers and uneven stitching.  Here is one student’s thread stitch-out sample.

Stitchout yellow on blue

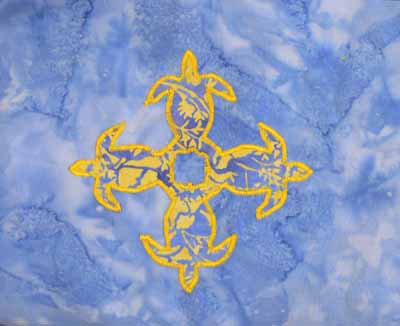
Her print fabric actually didn’t contrast a lot from the background–UNTIL she used the bright yellow thread to outline the design, at which point the subtle change in fabrics became awesome.

Yellow on turtles

Sally had brought a variegated that was PERFECT for quilting her pineapple, but when satin-stitched out, it really didn’t look so great, so a classmate lent her a perfect purple.

Sally’s pineapple

Another student opted for the traditional solid colors in very tropical aqua and yellow.  This simple choice is smashing!

Solids turtle

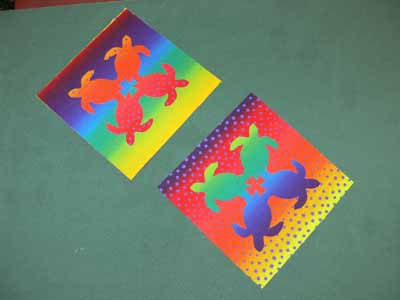
One student brought some VERY bright fabrics which had a stripe, but they worked!  Here are her turtles (before stitching)

Bright turtles with stripe fabric

Since she hadn’t brought a varied enough thread selection, she opted to work on prepping a large block, also…talk about vibrant…wow!

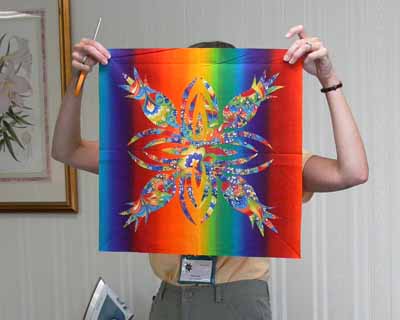
really bright pineapple!

When she uses a starkly contrasting thread, like a tangerine or orange-y yellow or turquoise, the bright line of satin stitching will help pop the busy fabric inside the pineapple motif…trust me, this one will work amazingly well!

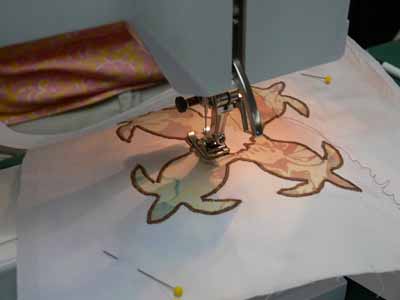
Other students preferred softer colors.  We were all surprised that this taupe-cocoa brown thread was such a good choice on the soft colors of the applique–sometimes the least expected selection works best:

Turtles with brown thread

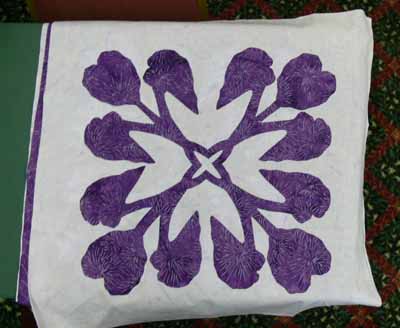
And here are her Taro blocks, in purple and soft lavender (which alas looks more white in these photos):

Taro…purple on white

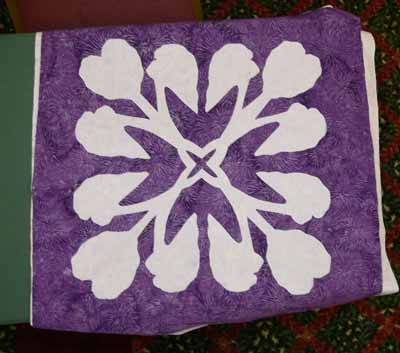
and the reverse applique:

Taro–reverse applique

Here’s what I learned from teaching my class:

  • the small shapes on the turtles are a bit fiddly for beginners.  I need to make another, simply-shaped design, and have both turtles and taro leaf (or whatever) stitched out for students to see.
  • I should say on the supply list that variegated threads generally don’t work so well for satin stitching—be sure to bring plenty of solid colors
  • Also on the supply list, I should say to bring at least twice as many colors of thread as you think you will need!
  • Using the black Misty Fuse (adhesive web…a heat-activated glue for fusing fabrics) for demonstrating is perfect, since it is easy to see the bits that get left behind on the fusing sheets or baking parchment
  • I need to bring more Misty Fuse to sell….I ran out!

So it’s off to update my class supply lists!  Hope you enjoyed this vicarious tour around the classroom.  I sure had fun seeing my blocks interpreted in so many wonderful ways.  I hope the students had as much fun as I did…imagine, I get paid to do this!  WOOHOO!

PS:  I wanted to post a public thanks to the show organizers for the Lowell Quilt Festival.  The teachers were treated like royalty…. we had rooms to ourselves (weren’t required to share with another teacher), were presented with lovely welcome boxes with some snacks, little bottled waters, an a Lowell Quilt Festival badge holder in a color just for teachers…..   the hotel rooms were huge and comfortable, too.   It was a particularly nice experience, so thanks to all who were involved!

Lowell (Mass.) Quilt Show, August 2008–a ribbon!
Monday, August 18th, 2008

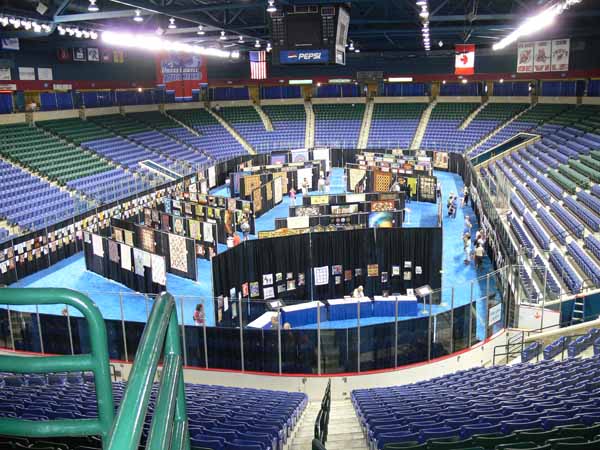
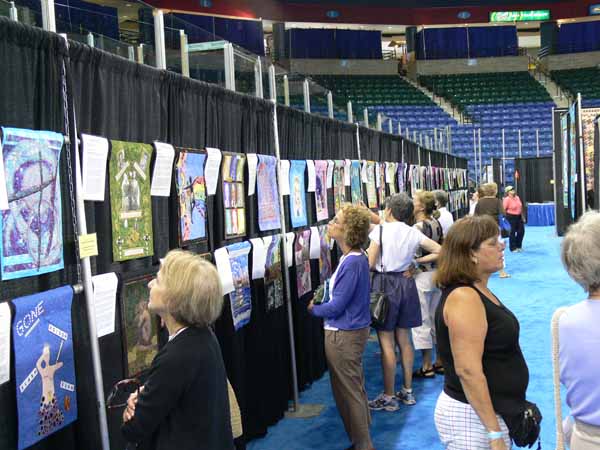
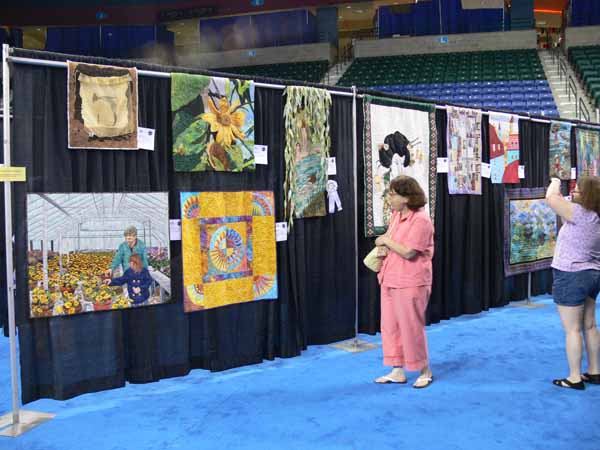
I had the great good fortune to be invited to teach at Lowell Quilt Show earlier this month.  I’ll blog about one of my classes in a couple of days, but today I wanted to give you an overview, starting with this overview of the show, which is held in the Tsongas Arena in Lowell, which is northwest of Boston (about 45 minutes by car, I think….it’s about 3 1/2 to 4 hours from Camden, Maine). Note:  photos in this post are clickable to be viewed larger.

Lowell, overview

The vendors are on an upper level that surrounds the arena, so you get a bird’s eye view.  This photo was taken early on Sunday (hence the lack of crowd).   I got over to the show earlier in the week, after class was over, and was thrilled to spot my Koi quilt for the first time….when folks were looking at it!  I guess a white glove lady was near it a lot of the time to show the back (LOVE IT!):

Looking at Koi

I had not realized until shortly before the show that the 2007 journal quilts would be there (I am not sure if this viewing included all of them or not, but I think it did).

Long view, journal quilts 2007

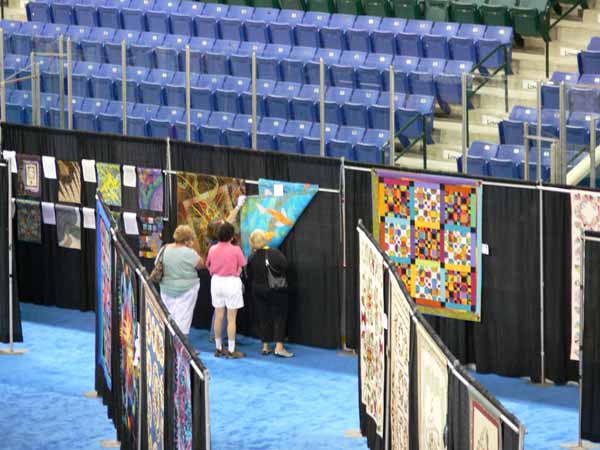
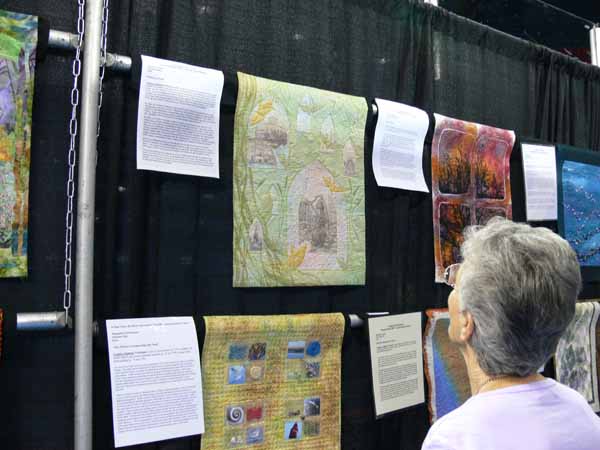
As always, the journals are a popular exhibit (sure hope one of my entries gets in this year… I need an acceptance!!! instead of a “sorry” letter!).  On Sunday, I was thrilled to see someone really looking at mine… my journal is quite subtle, not a grab-you-from-a-distance piece, so it was really rewarding to see someone drawn in and taking a long time to take it in…thank you to whoever you are in this picture!  I hope it is OK for me to have posted this photo of you:

My journal quilt

Wow…just realized I never uploaded this quilt to my website… I’ll do that when we get back from vacation in a week or so!   There is a lot to it… it is about Hiroshima, peace and all that….

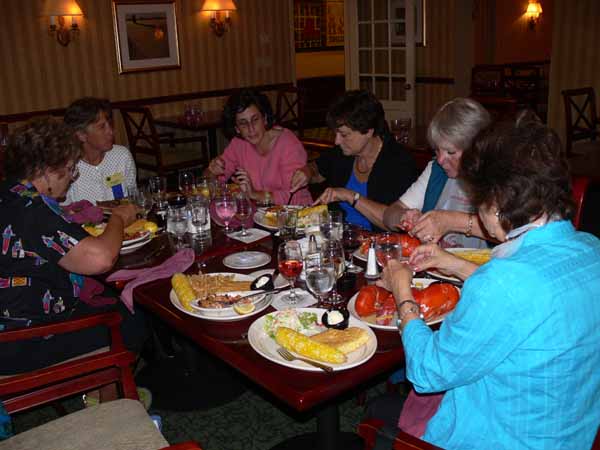
One of the best things about quilt shows is the teachers.  If you ARE one of the teachers, one of the best things about a quilt show is getting to hang out with the other teachers!  I was thrilled to run into Nancy Prince, whom I had briefly met in Paducah, Joanie Zeier Poole, Judy Cisneros, Nancy Brenan Daniel and others….. dinners were a GAS.  This first night we each and every one of us had lobster of some sort at the hotel restaurant:

Dinner with the teachers

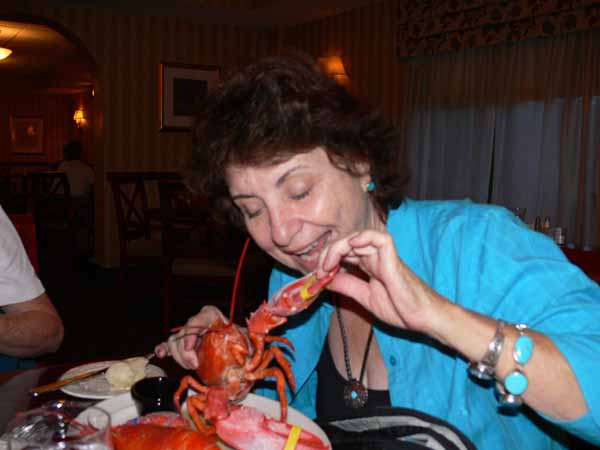
Nancy lives in Arizona, so she decided to splurge, and ham it up a bit… I totally love this photo and need to send it to her before heading out on Wednesday (and yes, she did take the meat out of the shell before eating it LOL)

Nancy Brenan Daniel eats Lobster:

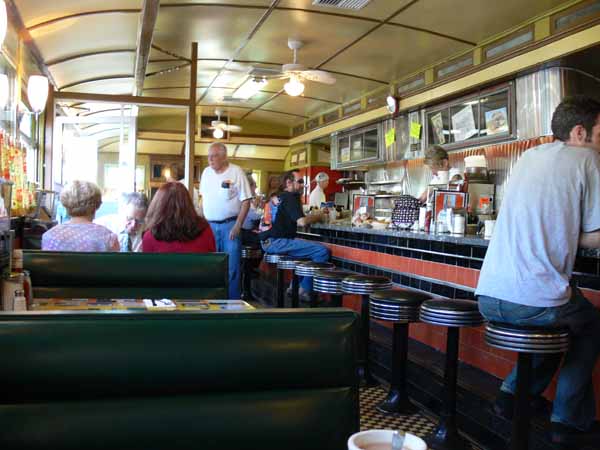
On Sunday I got to have breakfast at the locally famous Four Sisters Owl Diner, a real OLD diner, with good old fashioned cholesterol-heaven breakfast:

Owl Diner

To my great astonishment and pleasure, I got an e-mail a couple days before leaving for Lowell informing me that I had won an honorable mention for Naiads!  After viewing the other quilts, I’m thrilled even more…. here’s  a picture of Naiads with the ribbon alongside and the “neighborhood”:

Naiads at Lowell

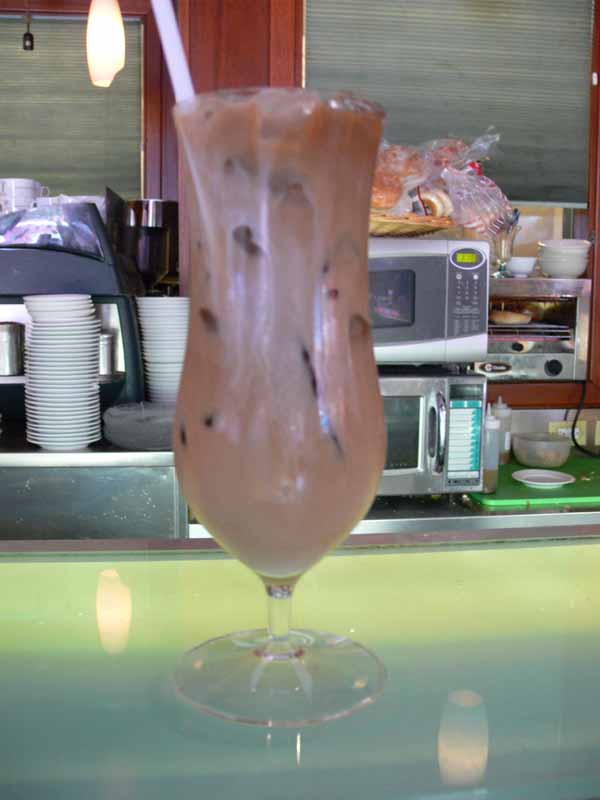
I taught Thursday, Friday and Saturday, so got to see the show on Sunday to my hearts’ content.  But even tired teachers wear out.  And get hungry.  So mid-afternoon I set out on the town to see the shows at the Brush Gallery, The Whistler (more on those two in future posts), and get some lunch.  I was fortunate to be able to wait to pick up Naiads and my teachers quilts (Koi and Garuda Dances Under the Ocean Moon) at 5:30, after show take-down (thereby saving a bundle on  shipping) before heading home.  So, while waiting, I had an iced coffee…perfect:

Iced coffee

Maine Quilts 2008

Saturday, August 9th, 2008

It was a good year!   I actually got to see the show this year, Joshua is well, Paul is well, and Eli is well!  After helping hang the show on Wednesday (see the post from a couple of days ago), I returned Friday morning for a class on “Woodcut Quilts with Laura Wasilowski.”  Jan and I had signed up eons ago, as soon as we could, with the idea of a “moms escape to play.” To see Laura’s work and / or buy her fabric and thread, go here.

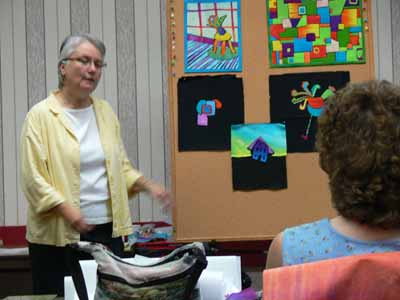
Laura teaching

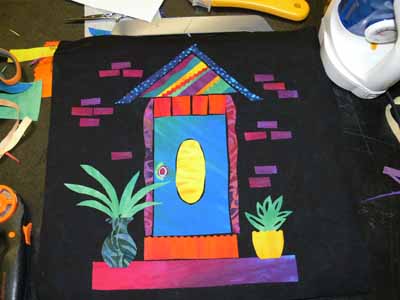
To get an idea of the type of pieces, take a look at Laura’s small quilts on the demo-board.  There were no patterns, just your imagination to run wild.  The class kit fee included two lengths of Laura’s hand-dyed fabric (it is a rainbow run of color from one selvage to the other) in bright and a narrower strip in pastel, plus some dyed-to-match perle cotton.

Jan’s piece

For some reason, I don’t have a picture of my piece (in progress and untouched since class…sigh…), so you’ll get to enjoy Jan’s piece, above.  I really like the bricks…not a whole raft of them, just some to suggest the wall around the door.   As usual, I was disobedient, and brought Misty Fuse instead of Wonder Under (and did just fine thankyewveddymuch), and also brought along my stash of pre-fused batiks (see the flowerpot to the left of Jan’s door!).

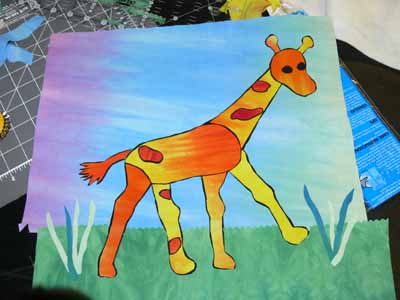
There were some awesome pieces…one lady made a giraffe for a granddaughter (sorry I don’t recall her name)….and please remember, these are all “in progress” pieces:

Giraffe

You can see the shading on the pastel hand-dyed in the sky on this piece.

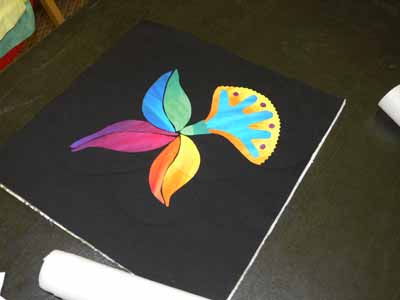
Virginia Morrell of Art Quilts Maine made this awesome and vibrant flower doing very careful fussy cutting…can’t wait to see where it goes:

Virginia’s

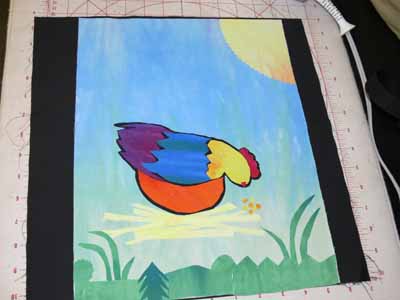
And Beth Guisely from Coastal Quilters is well on her way to achieving a rooster here:

Beth’s bird/chicken

I’ll be back in a couple of days with one more post about MQ2008!

Apron: done! Another albatross heads out to sea….

Saturday, June 14th, 2008

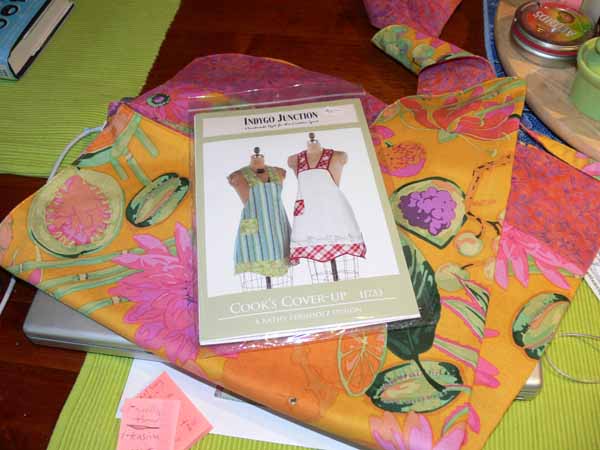
Can you tell things are settling down? It’s a near miracle. And I am having fun avoiding working on my book by doing (and cleaning up) lots of little things. One thing I accomplished this week amid mom stuff, kid stuff, general exhaustion (what else is new) and walking the cutest dog on the planet, I made an apron! When teaching at Sarah Johnson Quilts in Belfast, Maine, at the end of February, I spotted this apron pattern from Indygo Junction:

Apron pattern

I snapped it up, and some Westminster fabric and some batik I had planned to use for a totebag got snagged for the apron. I will admit, I was a bit surprised by the pattern. Now, I am used to professional garment patterns (have been sewing with Butterick, et alia, since I was aged in single digits, which was a loooonnnnggggg time ago), but there wasn’t a layout! Nor was there a little guide showing what pattern pieces were on the pattern tissue. That meant the all-text, no pictures instructions were hard to follow. I was also mystified why they printed the cross stitch pattern on the tissue and again on the reverse side of the instruction sheet. They would have done FAR better to eliminate the second version of the cross stitch (on the red apron) and write adequate directions. Apron…favorite side

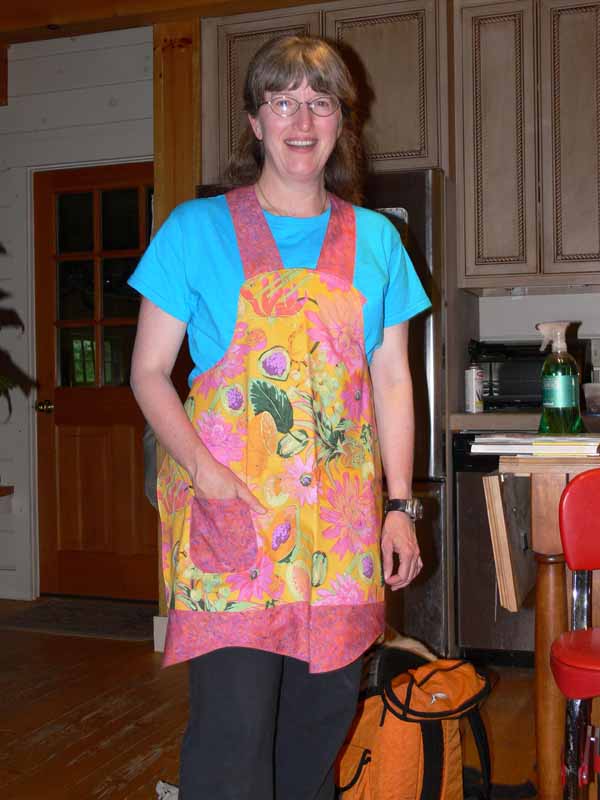
That said, I loved the apron! I adapted it…instead of making a partial lining, it was a WHOLE lot simpler to simply make it reversible…clean finished edges everywhere, no fussy lining up of stuff or unsighly seams showing, etc . And it makes it two layers at the tummy, where I’m always leaning against a drippy counter! The photo above is of my favorite side. Thanks to Eli (number 2 son) who is my relieable photographer. Please ignore the gut, the glasses, the lack of make-up (and therefore nearly invisible eyes!), etc. What can I say, I’m a plumpish, medium-everything (brown, weight, height, etc) except of course for the fish-belly white skin….. Anyway, photos are a good cure for delusions that I might look decent (and hotel bathroom mirrors are downright evil, but we’re not gonna go there….).

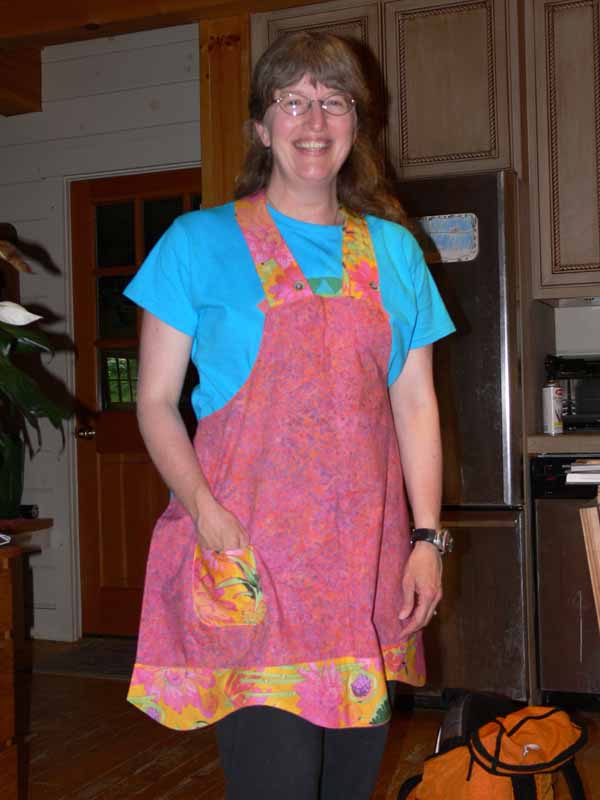
Enough blathering…here’s the other side of the apron:

Apron, other side

It took a few shots (and reminding myself I look less plumpish if I grin!), but I like the photo…..

This coming week:  quilt Joshua’s quilt  and write an article or two… or at least START the articles, after crazy life and quilting, Cheers, Sarah

Paducah 3 — Nearly No Mark Machine Quilting

Monday, May 12th, 2008

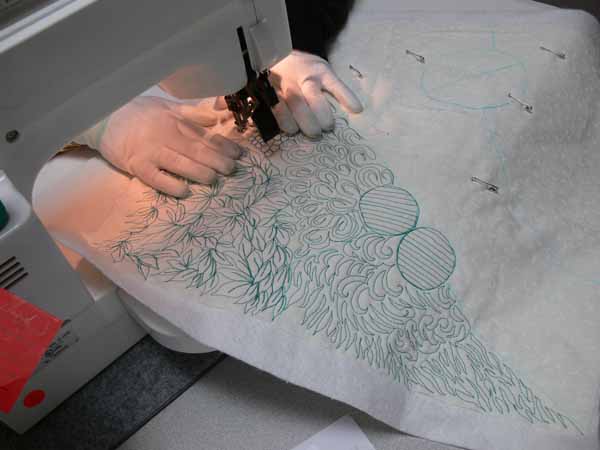
My last quilting class in Paducah, and one of the most fun, was Nearly No Mark machine quilting. Marking a quilt top is up there in the (NOT) fun category with basting! But playing and doodling with your needle and thread IS fun! These designs are ones I use in art quilts all the time, but they can just as easily be used in contemporary and even some traditional quilts. I have come up with what I call my vocabulary of quilting stitches.

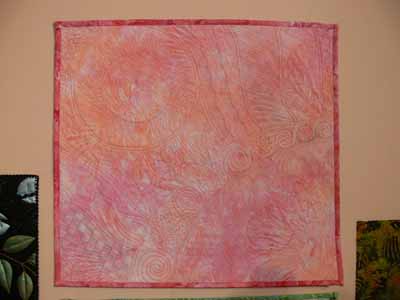
Pink quilt orbs

These are stitched out as fill patterns, but they could easily be enlarged and used for all-over quilting patterns for a lap quilt or snuggly. I shared my teacher samples a while back, but the pink sampler above is the one I like best so I’ll share it again!

FMQ pink detail

Click on the thumbnail for a larger view (or right click on a PC, and on a mack apple-key + click, to open in another tab/window) with more details of the quilting.

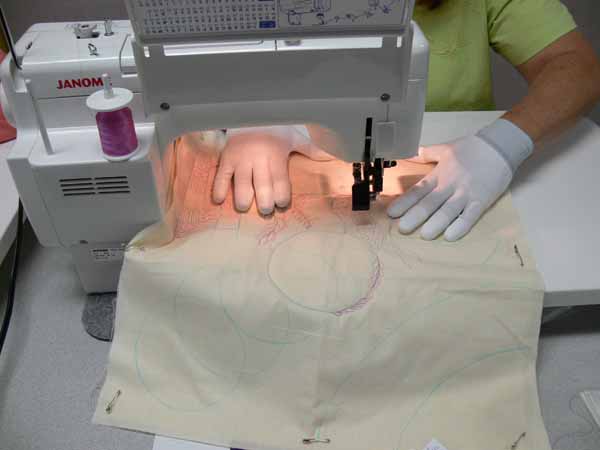
Now lookit what my great students did, and how they translated my patterns into their own thing! This first photo is awesome because she has her hands in what I call the safe position… where you are unlikely to sew through your fingers (it hurts… I’ve done it and do NOT recommend it!) (PS–the following photos can all be viewed larger–click on the photo to resize and/or open in a new tab/window). This hand position also has the virtue of making a small, smooth “hooped” area for your quilting…cool!


Safe hands position

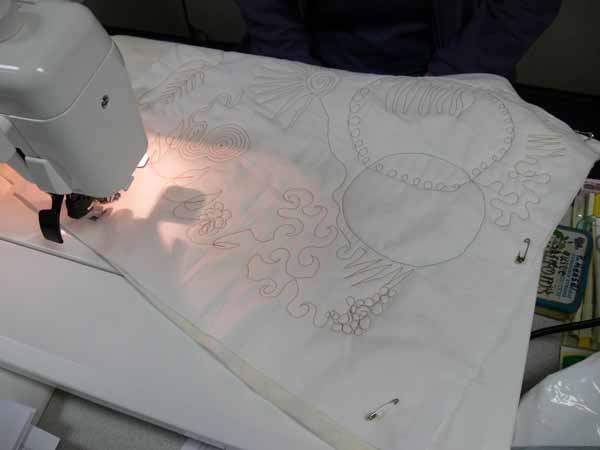
I showed the students how to use your arm as an extended compass to make large arcs using your elbow as a pivot point. Many followed my example and made circles (using my high tech templates—yogurt and take-out lids) and arcs, then filled in the resulting spaces with the nearly-no-mark designs; in this one, I really like her variations on the spirals:

Arc with fill #1

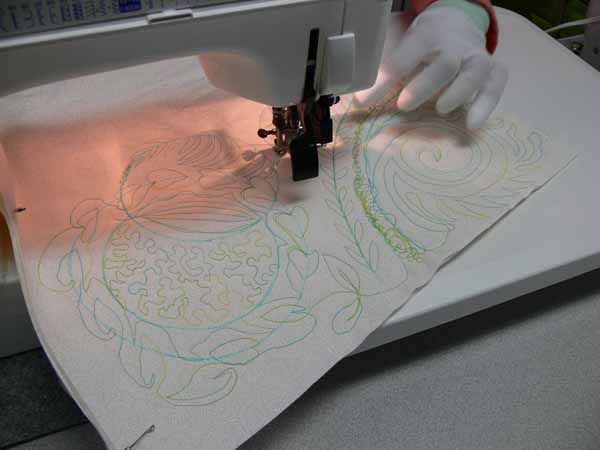
I want to find this thread… it is YLI and is heavier (cotton) than I usually use, but the colors are GLORIOUS and so “me!” The quilter lives in Florida, so I think the water colors are inspired by her home….

YLI thread

I think this student is comfortable and happy playing with free-motion, don’t you? (You can see a smidgen of my handout on the far right)

Arc with fill #2

And another arc… I like the vine inside the arc and also switching up the fill on the mini-checkerboard:

Arc with fill #3

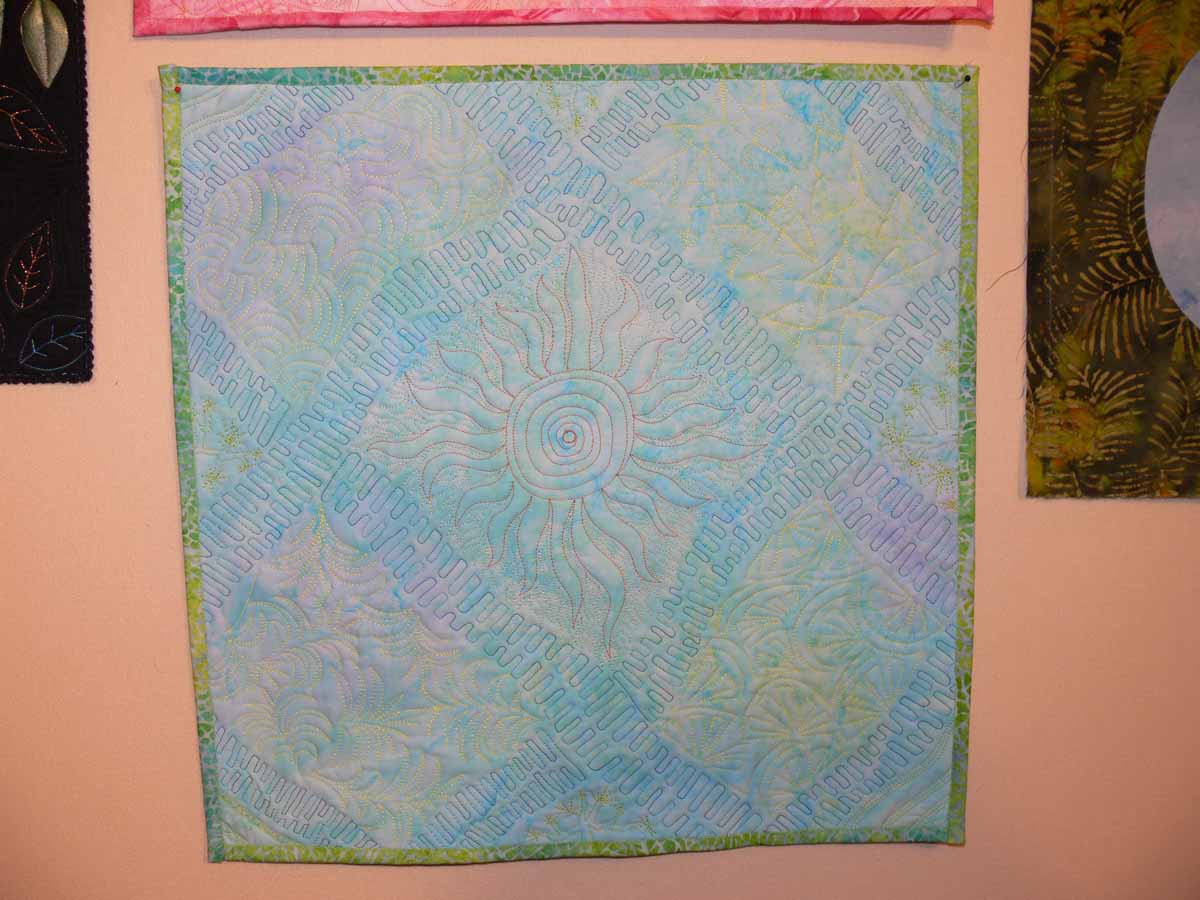
One student took my “Southern California themed” piece:

FMQ Turq

and reworked it… I like her version better! Her thread contrast is way better than mine (I think I’m going to re-do the blue one… it needs it….)

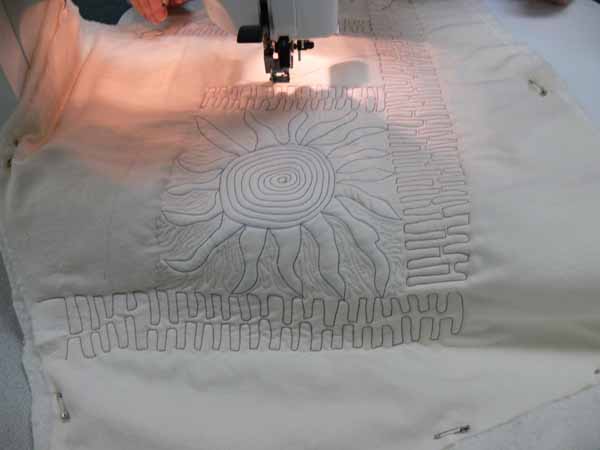
Changing up the grid

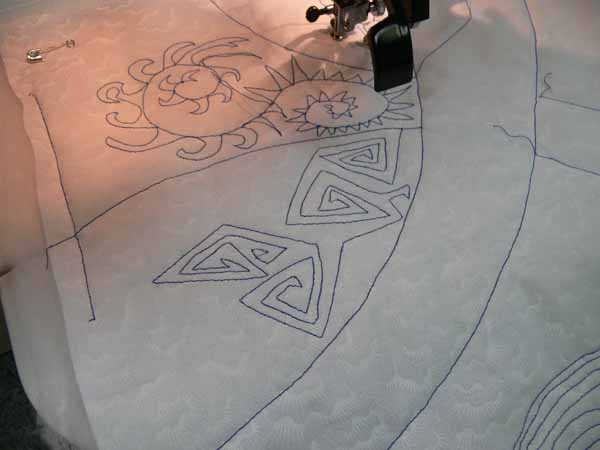
I love that spiky sun that is just at the edge of the sewing table, and also how she used the loops to outline the circle:

Arc with fill #4

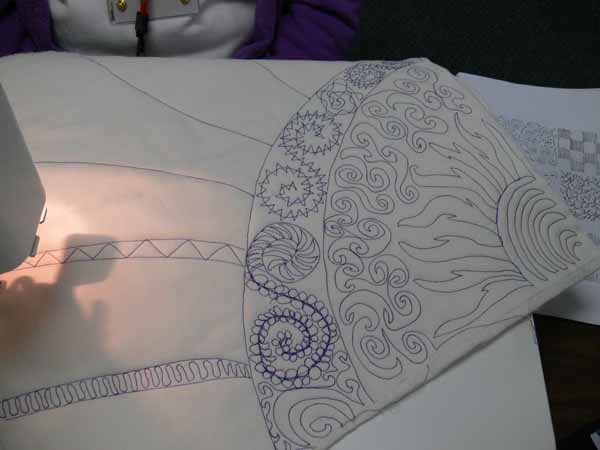
And can you tell she loves to quilt… this lady must love playing with the quilting as much as I do! And poor thing…she was short, and tables were SO high… I have no idea how she managed to quilt so well in those circumstances… I love the merging of one pattern into the next:

Go for the green quilting

I think one of the things I enjoyed most was watching the students take my designs and turn them into their own, modifying, improving, changing up, experimenting… WAY cool!