email Youtube

Home
Galleries
Blog
Workshops & Calendar
Store
Resources
About
Contact

Archive for the ‘Teaching / Classes’ Category

Beaded Notebook Cover Class

Monday, March 2nd, 2009

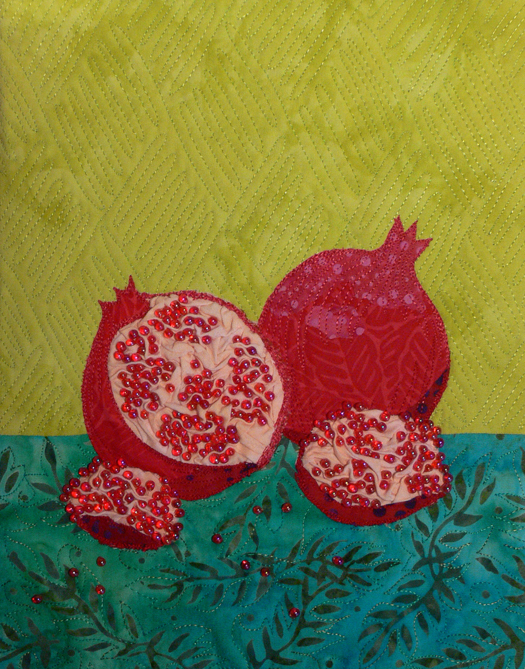
I had fun on two Fridays not long ago… I got to teach a very small class (of 3 students) at Quilt Divas in Rockland, Maine.  LONG time readers may remember that I was elated about this time last year to learn that my pomegranate notebook cover project, selected for a book by Lark Books, was on the cover of Creative Quilting With Beads. (by the way, only two copies left at my little store, but I have plenty of the beads available….they are hard to find so I bought a kilo!).

pomaquabrochuresize

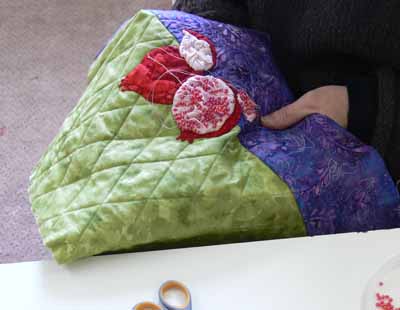
I hope the students had as much fun as I did.  Pam loves jewel tones and hand applique, so instead of doing the fusible applique thing, she did hers by hand.  Can you believe she had NEVER machine quilted before????  I can tell she’s gonna go gangbusters now!

Pam's cover, as she is beading

Pam's cover, as she is beading

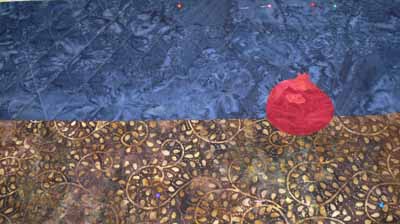
Judy also likes bright jewel tones, and had brought a range of batiks.  I think if this brown batik had been in stock (Judy bought it at least a year ago which, SOB, means it is likely not around anywhere) each of us would have bought a couple yards….

Judy's cover

Judy's cover

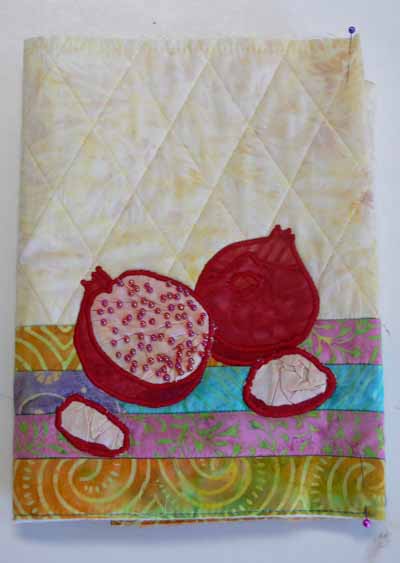
I had a new idea, to piece the “table” area below the pomegranates, so Karen pieced up her bottom section. I love the summery colors (and we certainly need color…keep reading):

200902blogclass004

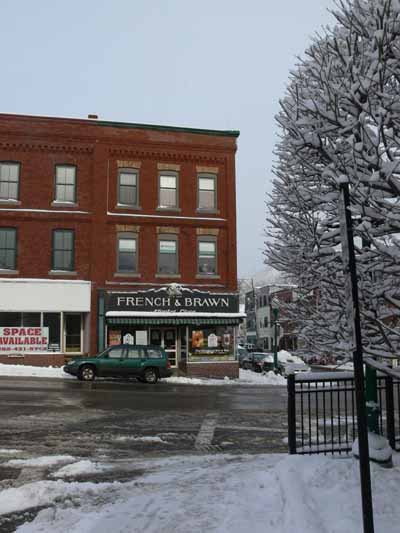
On the way to the final class, it had snowed yet again, so here is my little, old and bonked by reliable Subaru in front of the French and Brawn grocery that has been on the corner for over a century:

My green subaru on the corner

My green subaru on the corner

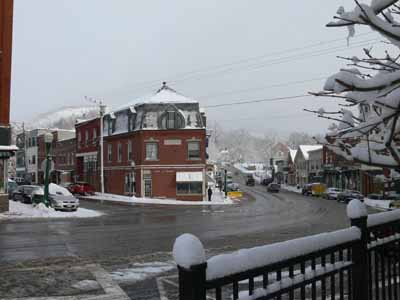
And the view down Main Street (PS…isn’t the building with the big round window in the roof cool?!):

Beautiful downtown Camden, Maine, Feb. 2009

Beautiful downtown Camden, Maine, Feb. 2009

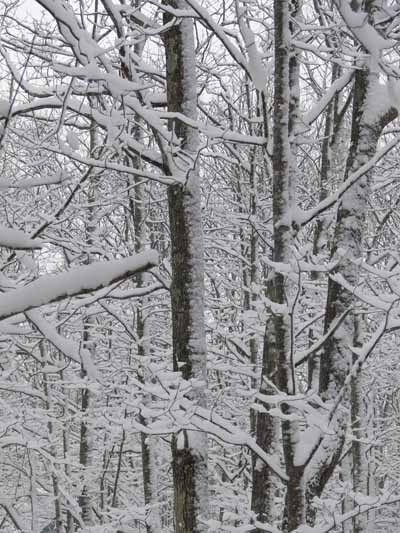
On the way home, there was more beautiful snow on trees:

Even more trees and snow

Even more trees and snow

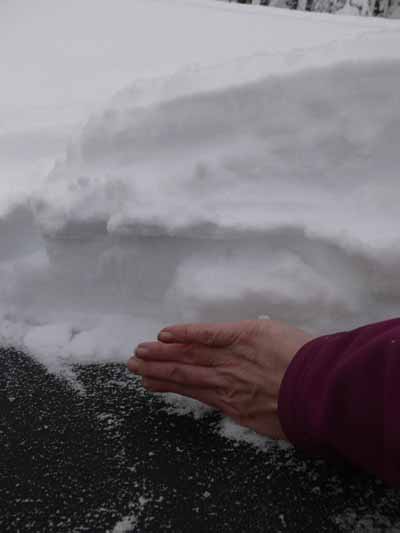
Then I decided I had best dig out the trampoline.  Here is how much snow we got in the Wednesday/Thursday storm….that is my hand, and I wear ladies’ large gloves….that’s a lot of snow!

Lotsa snow...about four hand widths...on the trampoline

Lotsa snow...about four hand widths...on the trampoline

Birch Pond Landscapes class

Saturday, February 14th, 2009

After years of hinting to me that her customers would love a landscape class, I finally agreed to teach one at Maine-ly Sewing (www.mainelysewing.com) in Nobleboro, Maine.  (Contact the store to sign up, etc.)   The class will be Saturday, Feb. 28th, from 10-4 !

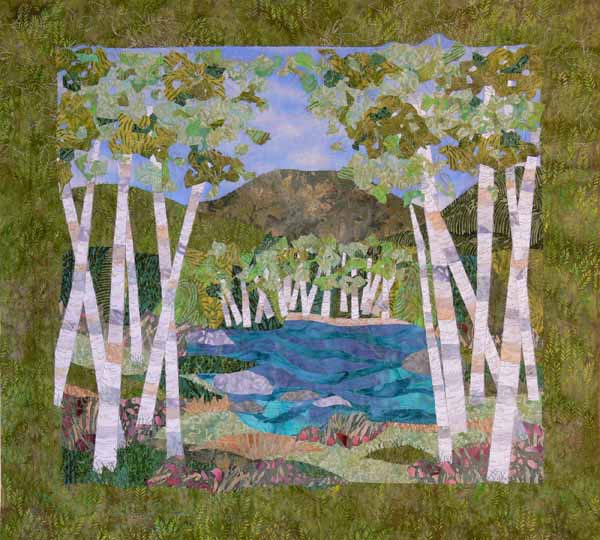
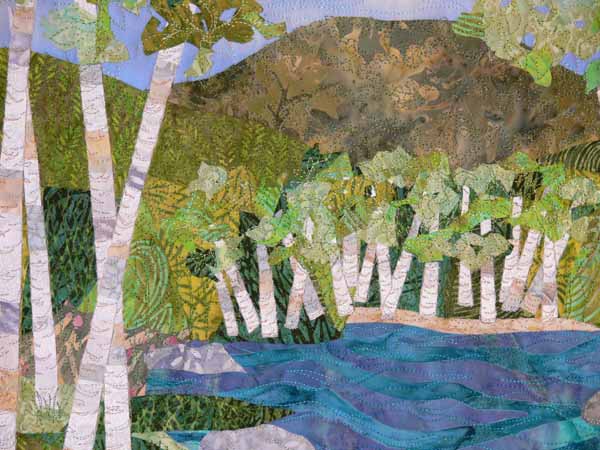
Birch Pond, Summer

Birch Pond, Summer

As usual, I figured why make one quilt when you can make two…. So I made the fusible applique quilt two ways, autumn and summer.  I am so pleased with the results that I think I’ll do the four seasons, write it up as a pattern and sell it…let me know what you think?   The pattern is actually quite easy, finishes about 22×25 inches (depending on your border and your final composition of the scene…there is definitely fudge-room here!).  PS–photos are clickable for a slightly larger view.

I did easy quilting so that beginning quilters and machine quilters won’t feel intimidated…I PROMISE, it really is easy to do the quilting on these patterns even when you are new to it!  Here is a detail photo:

Birch Pond, Summer, Detail

Birch Pond, Summer, Detail

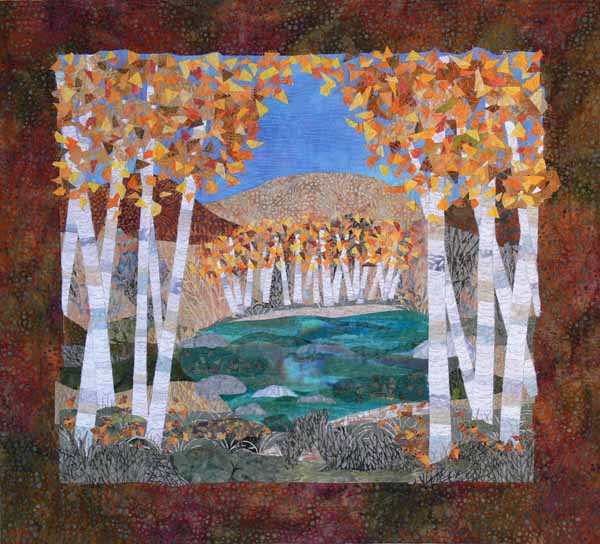
Initially I did the autumn version… I just love the glorious colors of Maine in Fall.  However, given that Fall is behind us, and it has been winter for quite a while, Marge and I decided to use the Summer version (hope is eternal!  It WILL come again!) to advertise the class.  But, I wanted students to see that they can make the quilt in many ways.  Frankly, I kinda think it would be fun to do it another time in totally wild colors, like plum and turquoise and mango and lime…. wouldn’t that be a hoot?  Anyway, here is a more realistic, autumnal version:

birchpondclass004

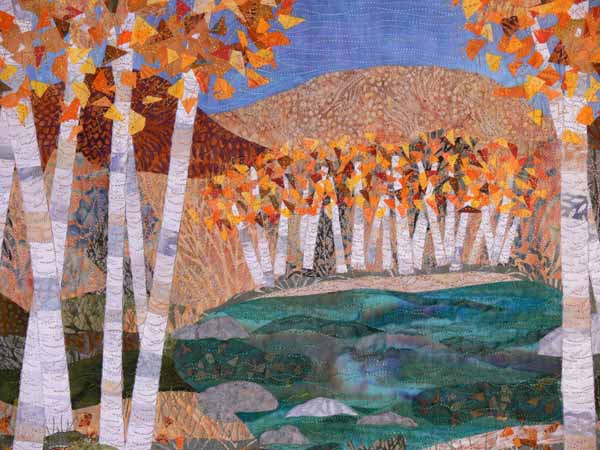
And a detail of the Autumn version; note that I did the leaf canopy two different ways… in summer I used the twist-and-chop way to cut chunks, for autumn I used the slice it into confetti method!

Hope you like the quilts, and hope to see some of you in class!

Birch Pond, Autumn, detail

Birch Pond, Autumn, detail

Teaching in Houston!!!

Tuesday, February 10th, 2009

A large envelope arrived from the International Quilt Festival folks in Houston yesterday; despite its size, I figured it had to be a sorry, no thanks.  WRONG!   I am teaching in Houston this coming Fall!!!!!!!!  I am elated beyond belief… it has been quite the effort to float down to be able to reach the keyboard LOL!

After I met yet another deadline I checked to see when applications were due…it was in six days!  So I quickly put together everything (I had last year asked on my blog for letters of recommendation and received several…thanks Betty, Jan, Mathea and Rebecca for your help!) and overnighted it ($16 well spent!) to Houston to make the deadline for certain.  Well, yesterday I received the results, and will have four days of teaching (I wanted 3 or 4):

Monday, October 12,
Fine Finishes (bindings and edge finishes)

Tuesday, October 13,
Machine Applique Three Ways
(the Blue Gingko pattern)

Wednesday, October 14
Tame Fiddly, Fussy Threads for Machine Quilting
(the More Machine Quilting class)

Thursday, October 15
Chunk and Jigsaw Fusible Applique–
total fun!  fabric postcards plus

    The classes will be in the Janome machine classroom (yeah!) except for the Wednesday class, which will be in the BabyLock classroom…better go find a BabyLock dealer and see how their machines are set up!

    I’ve set it up to do small kits for the classes, as that makes it a lot easier for both the students and teachers.  They get what they need that is unusual (they are asked to b ring their own fabric, batting, etc….usual items) like crisp interfacing, water soluble paper, fancy threads, that sort of thing.

    So, now I’m going to go eat breakfast (Irish oats and a banana) and float again!  THEN, after I finish a project to submit for consideration for the 2009 Quilting Arts Gifts issue (comes out before the holidays) and get that mailed off, I need to start getting my set-up done to use the video camera and digital projector in my teaching.  I actually signed up for a Jan Krentz workshop this may tho I pretty much never do traditional piecing any more just so I can watch how she teaches.  She’s coming to Maine in May at the invitation of the Pine Tree Quilt Guild, and I can’t wait!

    Come to my lecture on the journal quilts, Jan 31

    Tuesday, January 20th, 2009

    When:    January 31, 2009 (snow date:  February 7), 12:30

    Where:  Jewett Hall, University of Maine at Augusta (just down from the Convention Center where we have Maine Quilts)

    What:  Lecture on Journal Quilts and journals for quilters

    When Mary Coombs asked me to give the January lecture I said I’d love to, but at the time had only one lecture “on the shelf.”  Since I have already given it several times around the state, I felt I needed to prepare something new for the PTQG.  She suggested the journal quilts, and idea I immediately loved, since I feel the journal quilts have been integral and essential to the success I’ve had in the past few years as a quilter.

    I’ll have all of the journal quilts that I made (that aren’t sold…have most of them), plus will do a “slide” (digital) presentation and talk on the journal quilt project, how it began, with quilts by Maria Elkins, whom I think did the best job of anyone throughout the years of the formal journal project in using the process to learn, a variety of journal quilts by various artists from 2007 and 2008, a bit about how to use paper journals to help your own quilting, and ideas about how you can use the journal quilts to learn and grow.

    The PTQG meets regularly on a statewide basis (in addition to the many, MANY local guild chapter meetings).  This is one of those meetings, which begins at 9:30.  The business portion of the meeting will take place in the morning, they’ll break about 11:30 for lunch.   People can come as guests as far as I know.  Show and tell follows the lecture.

    Hope to see you there… if you are come up and say hi and say you saw this on my blog!

    Demonstrating at Make It University’s Open Studios!

    Wednesday, October 1st, 2008

    I’m thrilled to be able to share that I will be demo-ing leaf printing at in the Open Studios part of the Make It University area( — more info is at Make It University (MIU)) at the International Quilt Festival in Houston, currently scheduled for 8-10 pm Wednesday on sneak preview evening!  MIU is sponsored by Quilting Arts, LLC, and is part of their mixed media branch of things (along with the magazine Cloth Paper Scissors which also has a cool article on sketching / journals in the issue featured on the current webpage).

    leaf on cloth

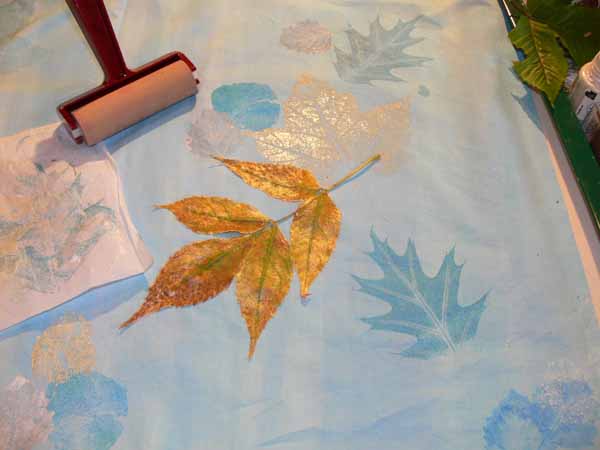
    For my I-hope-to-finish-it-in-this-lifetime-manuscript my last project to make is for a small quilt I’m calling First Frost.  It will be either a table runner, a wall-hanging or both.  Finished dimensions will be about 15×60 inches.  I wanted to offer a project that would entice folks to play with all the glorious metallic and holographic threads currently available….   so I dyed two-plus a bit-yards of cotton in these beautiful clear, light blues and lavender.   Then I collected leaves …..

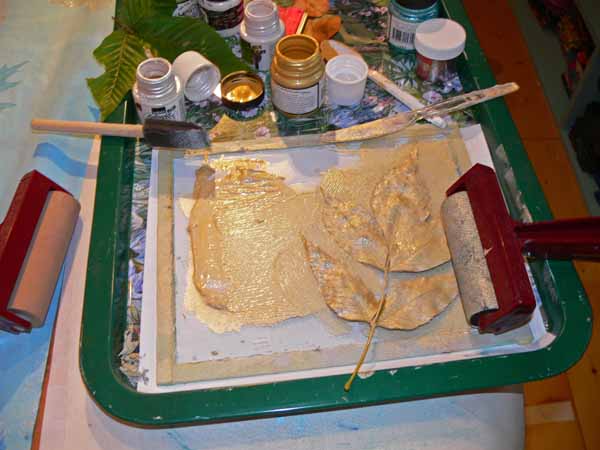
    The first time I did leaf printing I simply used a sponge paintbrush, daubed on the paint, then pressed the leaf with my fingers.  This time I have better supplies and technique (I hope).  I wanted a smooth, clear print.  To get that, it works a lot better if you pour paint on a piece of glass, roll a sponge brayer, then  roll the paint onto the leaf.

    roll the paint onto the leaf

    Notice there are TWO brayers in this picture…the one on the right is actually a black sponge brayer with gold paint on it.  The one to the left is a “soft” rubber roller.  In the top photo, you can see a piece of parchment paper on the side.  Place the leaf on the cloth, paint side down.  Cover with the parchment paper, then roll with the soft rubber brayer to get a smooth even print.  It is important (ahem) that you not have wrinkles in the plastic underneath and not be on the crack in the table, else they will show up in the leaf print.  Guess how I remembered that one.  A couple of times.  Ahem. (grin!)

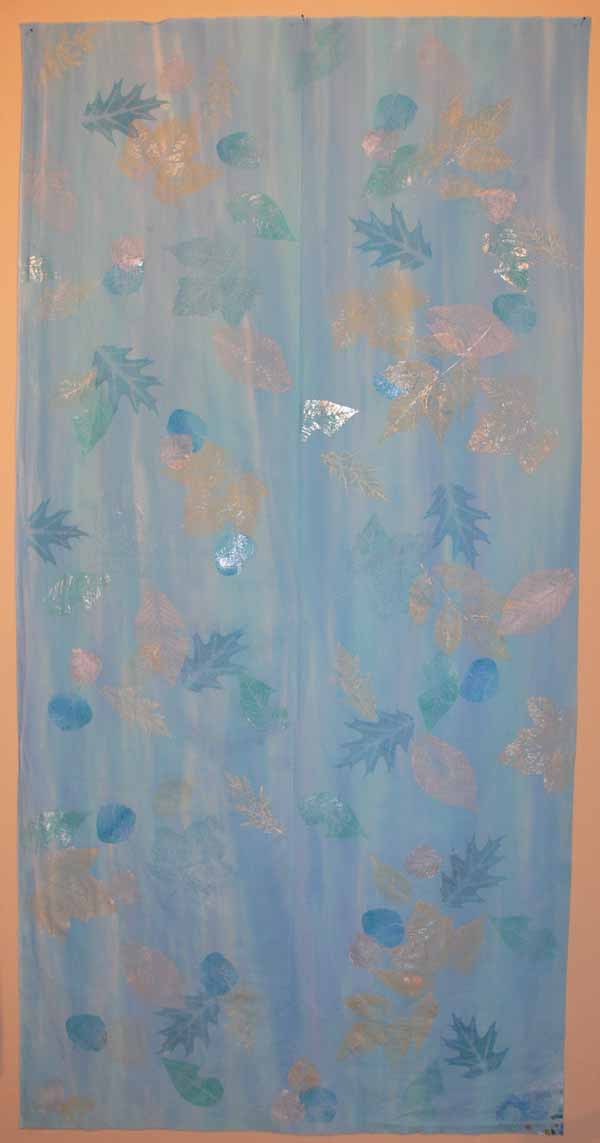
    Here’s the 30×60 inch piece of cloth…I will split it down the center to have a two-sided runner/hanging:

    Full length of cloth

    The paints are all metallic…blues, silver and gold (mixed with pearl).  Then I plan to quilt from both sides…with metallic in the needle and a matching heavy poly in the bobbin… then when I outline the leaves on one side, it will make a skeleton “print” on the other side…. Can’t wait to see how (if?) this works!)

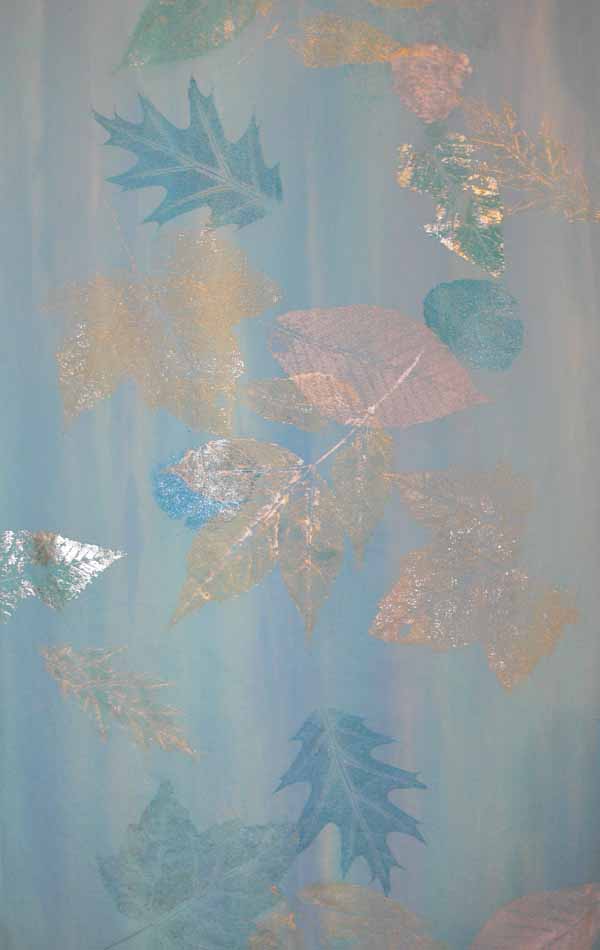
    Here’s a detail:

    detail

    I’ll be demonstrating how to do this, how to preserve leaves for leaf-printing in winter when the trees are bare (I have just harvested leaves for this coming season!) and maybe some Shiva paintstik techniques as well.  Evening is not exactly my best time of day (think snooze) so I’ll bring some chocolate…please come and help me stay lively and say hello!