email Youtube

Home
Galleries
Blog
Workshops & Calendar
Store
Resources
About
Contact

Archive for the ‘Teaching / Classes’ Category

NQA–Quilting and Bindings classes

Tuesday, July 20th, 2010

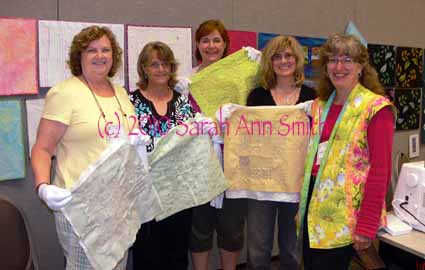
Four sisters took my class!

I was SO busy going around the classroom on my first day of teaching, my Intro to Machine Quilting class, that I almost forgot to take pictures.  Fortunately these four sisters wanted a picture with me, so I grabbed my camera and asked the helpful student who took their photo to snap one for me, too.  I LOVE how they all took to the quilting–lots of great designs and work in their class samples.   And can you tell it was hot and humid in Columbus in mid-June…my hair was the frizziest, but I wasn’t the only one in the place whose hair went wild!

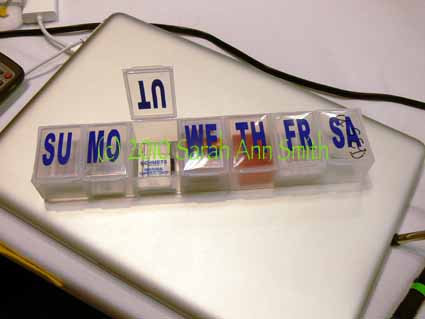
In that class, one student shared her BRILLIANT machine needle storage…yes, that’s a ginormous pill keeper!  I don’t think I’ve ever seen one that large, but it is just perfect for holding those 5-packs of needles, so I’m now on the lookout:

How to store those needle packages

Notice that Saturday is for used needles!  When done, wrap them up, tape the package shut, and the critters won’t get hurt when scavenging at the dump (and neither will the garbage guys).

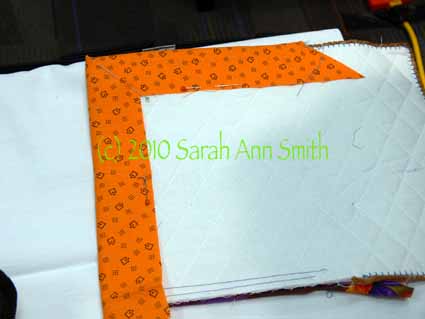
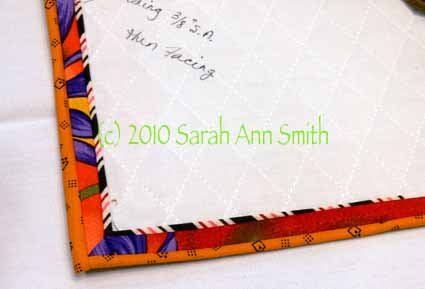
Speaking of Saturday, that was my Fine Finishes class–with 24 students, which I discovered is simply too many for such a hands-on class.  Next time I’ll set a ceiling of 20 or even 18 so each student gets more of my time.  I really liked this student’s sample using a striped cording on the inside, then a stitched-down strip (the print), then a very skinny bias binding on the outside.  I really like the thin-thick-thin look!

Here’s the back, where she used a VERY wide binding which will cover all the previous lines of stitching…cool beans (to quote my teenager!):

Nicely mitered on the back, too!  The other side of her sample shows the couched yarn edge-finish!

I DID take more photos during my Decorative Stitch Applique class, so that’s up next!

The blue applique vest

Saturday, July 17th, 2010

Since there is SO much that has happened in the past two months, I’m going to alternate between the April trip and vacation and other events.   For about two years now, I have wanted to make a vest to wear while teaching applique to show the various types of machine applique and decorative stitching that I teach (two different classes), and how the samples can be used in various projects including clothing, not just quilts.

Here’s me in the just completed vest, frizzy hair, no makeup (and therefore disappearing eyes…I SO envy people with dark eyelashes!) and all:
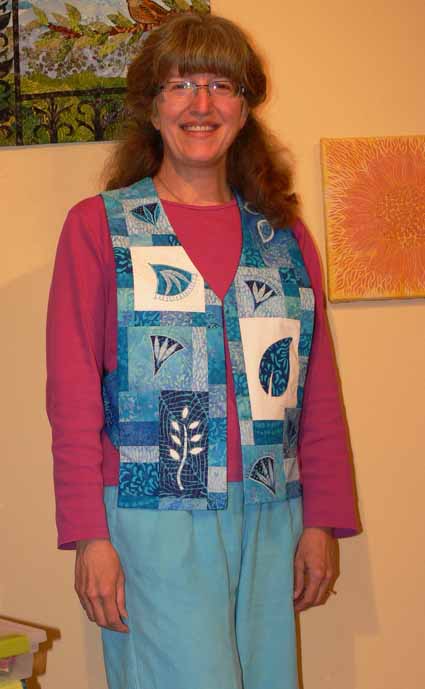
I thought pictures of the vest pinned to the design wall would make it easier to see–this is the front:
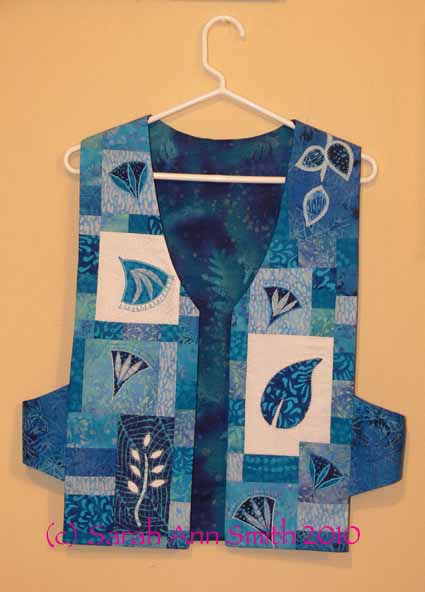
and the back:
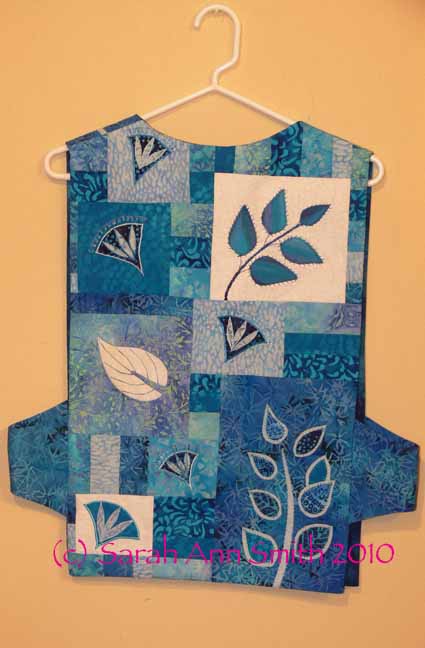
At least 12-14 years ago, I bought Make Your Own Japanese Clothing by John Marshall (yes, THE John Marshall who teaches katazome and shibori, makes amazing silk, etc…..  his website is guaranteed to keep you looking for a long time!).  Amazingly, the book is STILL in print (tells you  how good it is); you can find it at Amazon, here.  The Japanese use 14″ wide lengths of cloth to construct their clothing without cutting into the cloth from the sides, so garments are based on rectangles, which makes for easy sewing.  I developed this pattern when I made my Frayed Edges vest (seen in the second photo in this post).

In a nutshell, take your measurements or measure a vest with a fit that you like.  To make the math easy, let’s say 42 inches around.  Divide by 3 and by 6:  1/3 of 42 is 14.  1/6 of 42 is 7.  The front of your vest needs to be, therefore, 14 inches or 1/3 of your circumference (finished…remember to add seam allowances!), the back is the same.  The sides are 1/6 of the distance around you or 7 inches.  It’s that simple!

When I first made the vest, I used rectangles for the sides.  The bottom of the rectangle hit my hit and bent, making me look decidedly hippy and wide.  So I changed the shape to arch on the bottom, with the same curve on the top.  It turns out to be easy AND flattering!

Since I had weird shapes and samples for my applique blocks, I decided to draw out the shape of the vest (used an existing vest to copy the angles for the shoulders and neckline, but modified the front “v” to be slightly curved, again, a flattering line) on RinsAway, a lightweight wash-out stabilizer which I used as a temporary base for construction and decorative stitching.  I placed the applique blocks in a pleasing arrangement, then figured out what I needed to use to fill in the gaps.  I selected about 6-8 prints and cut strips 1 1/2, 2 and 2 1/2 inches, then sewed them together.  I cross-cut sections to create the pieced inserts….I just used a ruler to measure the size I needed, added 1/2 inch (a quarter inch seam allowance for all sides) and cut.
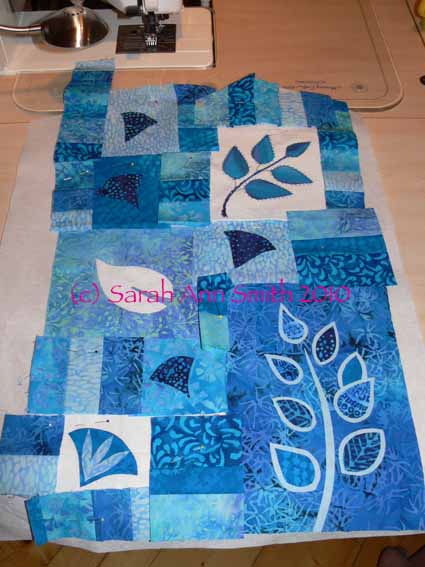
In the photo of the back, the cut pieces and trimmed applique samples (not yet stitched for the fused ones), are pinned to the stabilizer.  In the photo of the front, below, I have pieced together the random shapes and cleaned up the edges.  The pieced fronts are now spray basted to the RinsAway stabilizer in preparation for the decorative stitching.
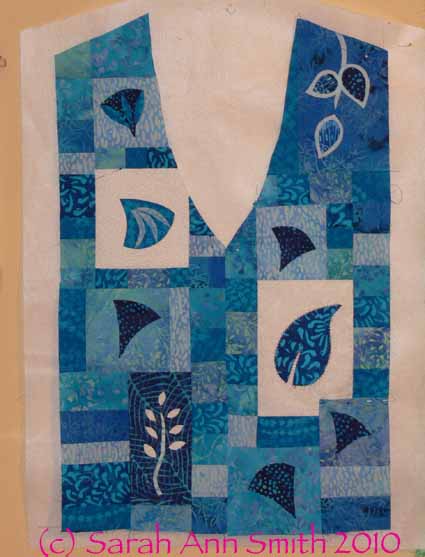
After stitching, I removed as much of the stabilizer as I could, and sewed up the garment using the usual way of making a vest (it’s a bit of a mind-wrap…you sew the outside to the lining except at the side seams, then turn it right side out  through an opening left in the lining shoulder seam—it seems impossible until you’ve done it!).  Because I tend to get warm walking around the classroom all day (yes, my feet ACHE and THROB by the end of the day), I did not add batting or quilt this one.

I used both turned edge and raw-edge / fused applique, with various sorts of decorative stitches.  I particularly like the vine coming down over the left shoulder onto the front and the blue background / white sprigged stem (reverse fused applique) on the front.  For the turned-edge pieces, I’ve discovered this new product that I love…. C&T’s washaway applique sheets (click on previous link to see the product).  It has as much body as Ricky Tims’ Stable Stuff (which I still love), but it  is IRON ON!   You can run the sheets through your printer if you want (for example, to print off a zillion identical leaves or to produce templates for a design), cut out the shape in the C&T sheets, iron lightly to the wrong side of the applique fabric, and press the edges.  You can use either a washable glue stick, starch, or just heat to turn the edges before stitching down.  Way cool!

Here are some detail photos of some of the blocks–see what a difference the stitching makes between the buds on the left and the un-sewn ones on the right?:
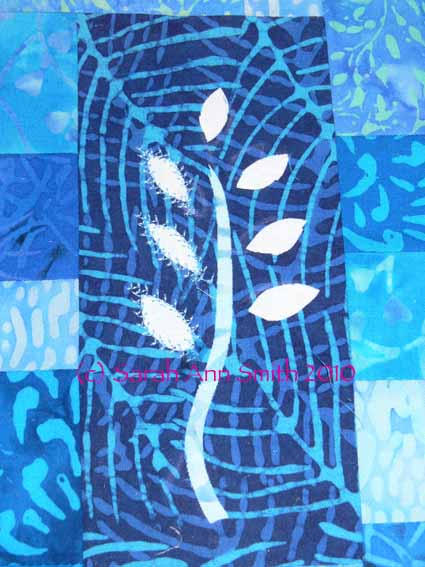
And my two-layer leaves, which I developed for my Balinese Garden table runner (more on that in an upcoming post!):
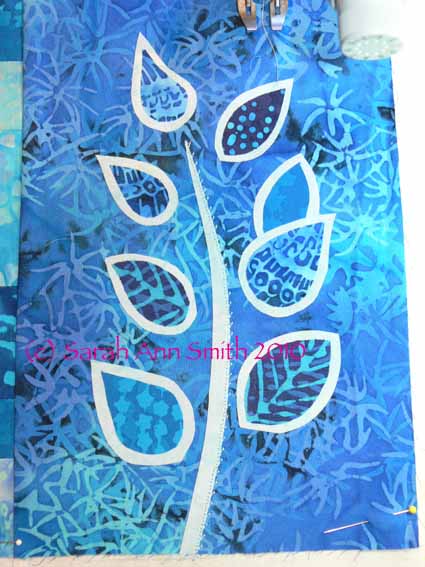
In the photo above, I’ve used a blind hem stitch, available on the most basic machines, to stitch the right side of the stem. In the next photo, you can perhaps see better.  I subsesquently used a 2-sided feather stitch to outline the dark inner leaf and stitch down the lighter outline:
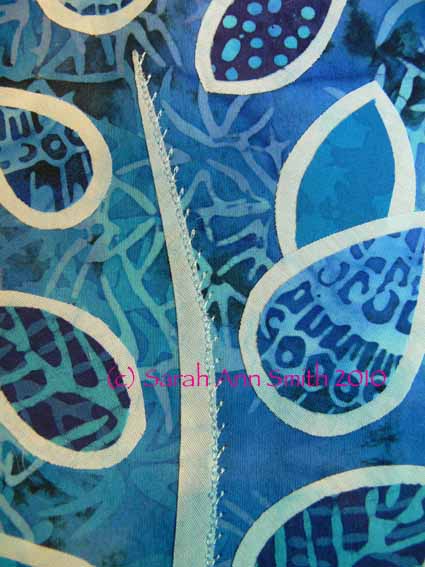
I came up with this 2-layer leaf because on a different project I wanted to use a busy, medium-value (not light, not dark) fabric for the background, and still use medium-value fabrics for the leaves.  Set directly onto the background, there would have been almost NO contrast and the leaves would have been visually lost.  By layering up the leaves like this, you get a nice contrast and outline without having to satin stitch (which while lovely is VERY time consuming, uses LOTS of thread, and may not be the look you want).  Hope you like the vest!
Machine Applique in San Manuel, Arizona

Friday, June 18th, 2010

At long, LONG last, I am able to share the fun time I had teaching for the Arizona Quilt Guild in mid-April.   As a matter of fact, the day I took these photos was the day my old laptop gave its last blink and died!   I have to tell you it was SO MUCH FUN!

To back up a couple days, I flew in to Phoenix, and taught in the greater Phoenix area the first day, my Fine Finishes class.  Alas, I was SO busy, that I utterly forgot to take photos.  My host was also the program Chair, Tari H., who signed up for all three of my classes, which were scattered about the state. So, she ended up also being my driver!  We loaded up the back of her car with her machine, suitcase, and stuff (for all the classes) and then all of MY suitcases and stuff!   The second day of teaching was sponsored by the guild(s) (both with Copper in their names) in San Manuel, a former small copper-mining-town which is roughly in a line between Phoenix and Tucson to the southeast.

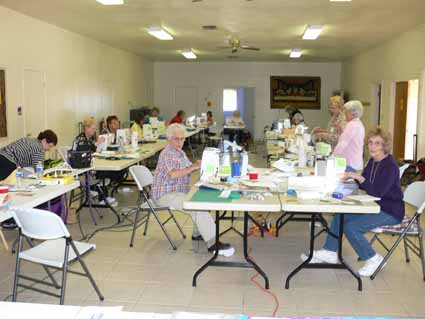
I have to tell you walking into the church hall felt like going home….. the folding tables, the happy ladies, the hum of sewing machines, potluck (YUM) for lunch….   it was such a wonderful day!    One of the best things about quilters is that they are friendly and welcoming, and it really did feel  like going home.

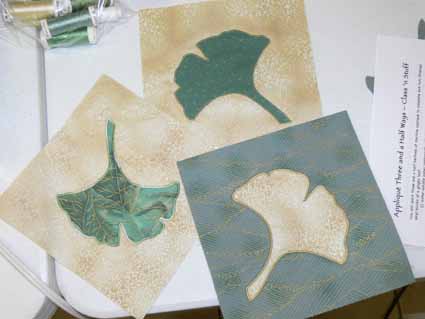
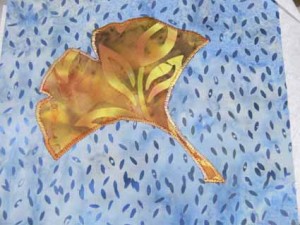
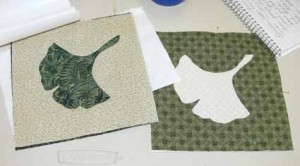
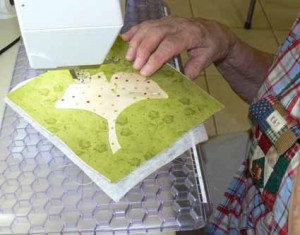
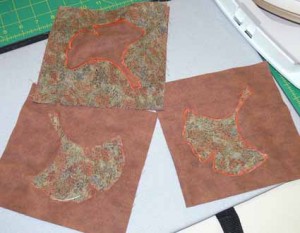
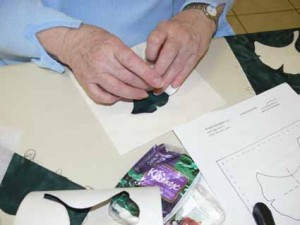
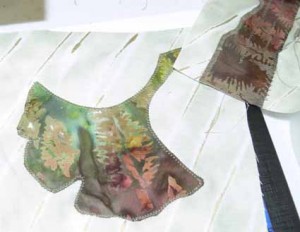
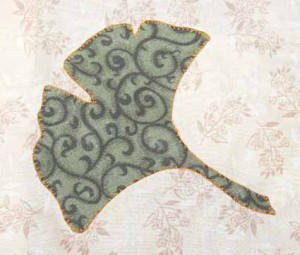
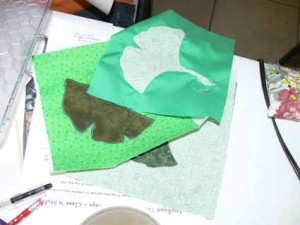
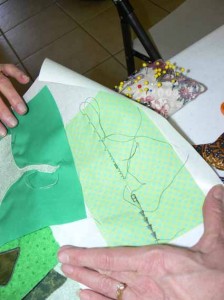
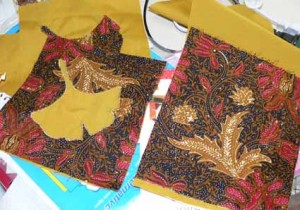
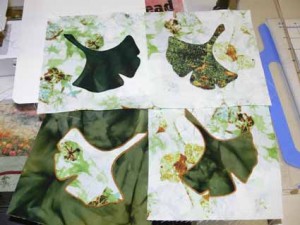
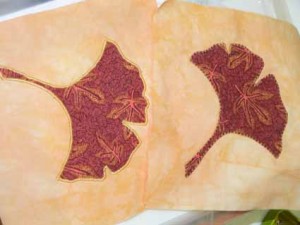
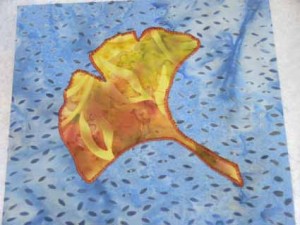
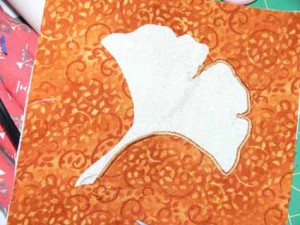
The class in San Manuel was my Applique three (and a half) ways class:  Turned edge (over freezer paper or water soluble paper), Turned edge over interfacing (left in), fusible, and (the half part) reverse applique for those three techniques.   I use a Gingko leaf because it has every shape you will encounter:   inside and outside curves, inside and outside points, and a straight line.  I’ll admit that skinny stem is challenging as are the skinny inside points, but I figure if students to something hard in class, they’ll be more likely to tackle it at home.  If we only do easy stuff, they might not!   Anyway, we had a GREAT assortment of fabrics and looks.

As you browse through the photos (sorry about the odd placement…there is only so much I can manage in the format!), notice the thread choices, how the stitch and thread selection change the appearance of the threads.  In the black Indonesian batik, the gold thread just sings!  In the last photo, notice how different the leaf looks on the stitched side compared to the not-yet-sewn side!  In the photo at the top of this blogpost, compare the look of the different appliques.   Trying out different techniques an threads and stitches will help you decide which combination gives you the look YOU want!   And also notice in a few shots how the students have tested out stitches on scraps.  Don’t imagine what the thread and stitch would look like–try it out!

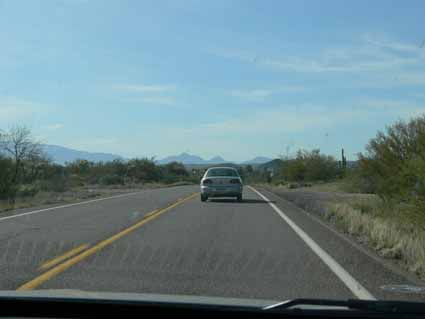
That evening we had a looooonnnnggggg drive (poor Tari!   drive 90 minutes to San Manuel in the morning, all day class, then about 5 hours back past Phoenix and up to Flagstaff for Friday’s class and Saturday’s lecture at the semi-annual guild meeting).  However, we did drive through quintessential southern Arizona territory and what was effectively a sajuaro cactus forest.  Because it was late, we were both tired, and had a long trip, I didn’t ask Tari to stop so I could snap pics, so this will have to do:

MANY thanks to the ladies of San Manuel for such a great day, and especially to Tari for being such a trooper and shuttling me across the state from south to north!  Coming soon:  Fussy threads and Flagstaff!
Busy!

Wednesday, June 9th, 2010

As you might gather by my absence (provided anyone noticed it… I know jq did…but anyone else out there as insanely busy as I am?), I have been busy.   Sufficiently busy that the blog has been sadly neglected!  Among other things, this is what I have been doing:

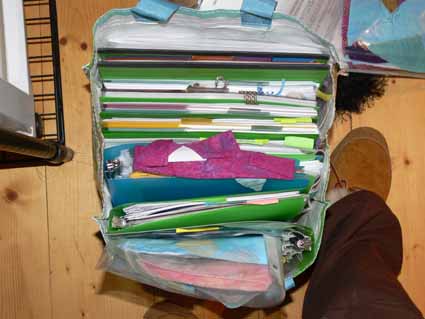
Yes, that is 1172 new photocopies, added to about 300-400 leftover photocopies, all handouts for my classes in June and July, plus my “teacher’s binders.”  Many pieces of paper, many pounds, many dollars–and about 14 inches across from handle to handle!   I’ll be teaching at the National Quilt Association show in Columbus, Ohio (next week) and then at the AQS show in Knoxville, Tennessee (mid-July).  Enrollment in the latter is low…the economic recovery must not have taken hold as firmly down South as in other parts of the country…so DO come and sign up!

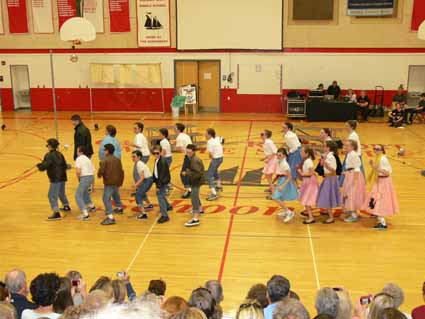
I’ve been busy with family stuff…yesterday was SO much fun!   It was the end of 6th Grade Spirit Week (also known as what to do with the kids the last week of school so everyone stays mostly sane), and the “Dance Through the Decades” program.  The brainchild of Mr. Morse, possibly one of the best social studies and 6th grade teachers EVER, and a colleague whose name alas I don’t recall (she was a substitute teacher 6 years ago when he came up with this one, and volunteered to help, and she has every year bless her!), the kids dress up, learn dances, and put on a show…all in a week.  It was a GAS!  This photo is the 50s, with my younger son in the front row, far left.  Way cool!

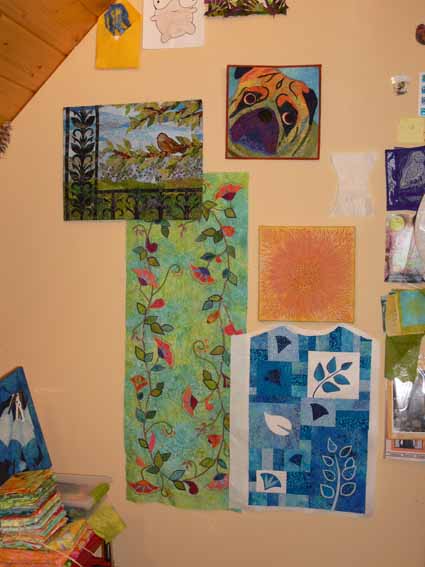
I have also, miracle of miracles, been able to do some quilting, after returning from teaching.  Here  is what my design wall looked like earlier this week…colorful!   Busy!  I’ll blog about these plus the fun time I had teaching in Arizona and later Massachusetts in April and early May.  I got seriously slowed down blogging because while in Arizona, my laptop DIED–utterly deceased–two days before the slide show lecture.  We limped through and did fine, but my what stress!  Then when I got home I had to restore everything (thank heavens I had good back-ups and Macs are easy!), then get back in the swing.  Anyway….here’s the wall…stay tuned for more!

Coming home to Maine

Tuesday, May 25th, 2010

OK, so in the last post I showed you the outbound journey from Owl’s Head (a Head, by the way, is a peninsula) airport. It’s always fun to see the Camden Hills rise up in the distance…you know you’re almost home:

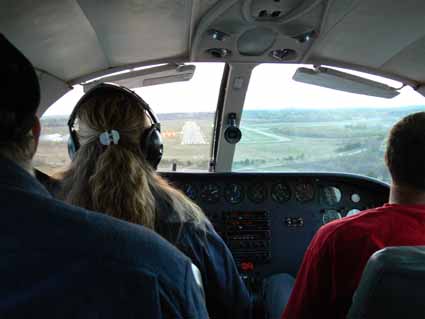
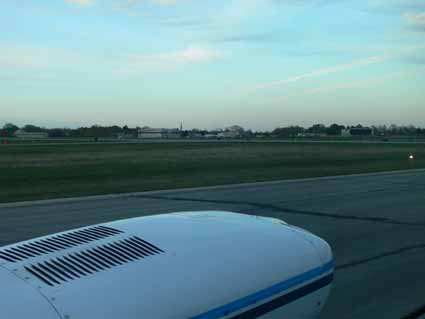
First, you can spot the runway as you approach.  This is what it looks like when you come home in not-winter (otherwise it would be pitch dark), as viewed down the short “aisle” and through the cockpit window:

Next you see all the buildings that make up the airport including the private aviation side.  I learned upon our return that sigh, sob, our ticky tacky little building will go the way of the Dodo bird this fall.  They are building a new “terminal;”  I will be sad to see our homely little old place gone, but I expect the folks who work there will be mighty glad to work in a building designed to BE an airport!

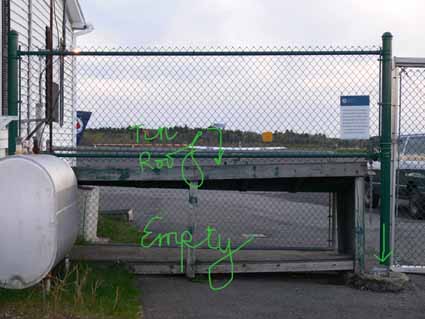
Then you spot the baggage return….this is from the runway side.  Please notice that corrugated tin roof to the immediate left of the white building.

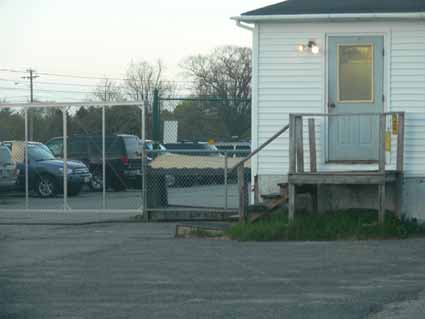
You exit the plane, and walk into the “terminal,” go out the front door and down the splintery wooden stairs (the ramp is currently out of service due to rot, at least it was being worked on when I got home) and turn left to access the baggage claim area.

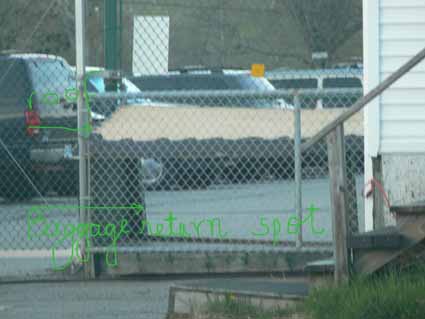
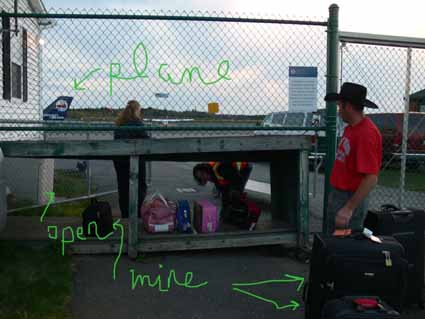
Yes, that opening in the chain link fence is the spot.  There is a locking gate on the back side to prevent deer, racoons, wandering pets, and other threats to national security from wandering onto the runway and getting access to one’s baggage. Here’s what it looks like from the front side–note the arrow on the right.

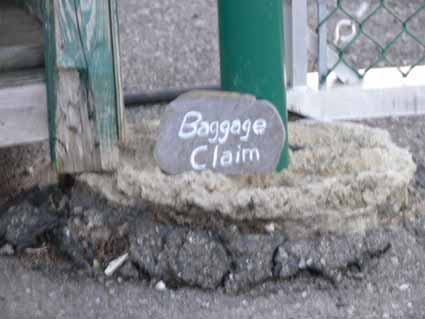
That arrow points to my favorite thing ever…our Baggage Claim sign:

Have I said recently, I LOVE MAINE!!!!!!!!  Here is the loaded up baggage claim “carousel”:

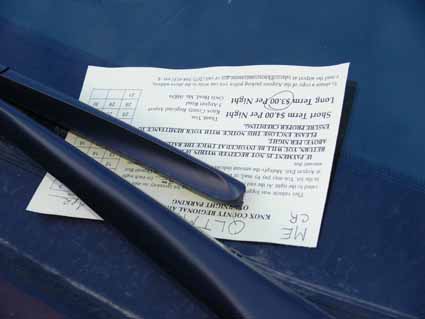
Next, to the Long Term Parking.  Short term parking are the 20 or so spots next to the double-wide.  It costs a bit more… all of $4 per day (charged by how many nights you are there).  You walk through the short term lot to the long term lot (which holds maybe 30 cars/trucks).  The only hazard is stepping into a pothole in the dark.  Cost:  $3 a night.  To pay, you go to your car and look at the windshield:

Yes, that card is your ticket to pay.  They mark the day you arrive.

You have ten days to mail your check in for the correct amount.  They actually neglected to put the card on my car for a week, so I paid them the extra 7 days anyway…   The major drawback to this system is winter.  The cards FREEZE to your windshield, and tend to disintegrate when you try to get them off.  Many times, you can’t, so you go home in the snow with the wipers on, and with every pass they scrape and rub off another layer of the card.  We make it work anyway.  It’s nice to be from a small town!

And one last bit of beauty…can you see why I love coming home to here?