email Youtube

Home
Galleries
Blog
Workshops & Calendar
Store
Resources
About
Contact

Archive for the ‘Teaching / Classes’ Category

Free-Motion Quilting and life…

Sunday, September 26th, 2010

Yes, it has been a while.  As usual, that means there has been more than the usual chaos around here.  We happened on to a house for sale ad in August, which started a ball rolling that we hadn’t anticipated.  We found a different house just a couple miles away (same school district, next town over), made an offer on it, and have been maniacally (sp?  that looks weird but not getting a spelling error notice) sprucing up our house.  That means little art and quilting have happened.  Until this week.

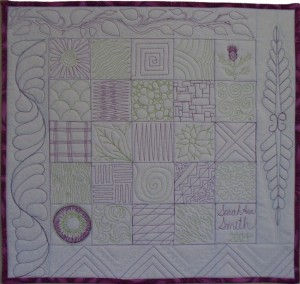
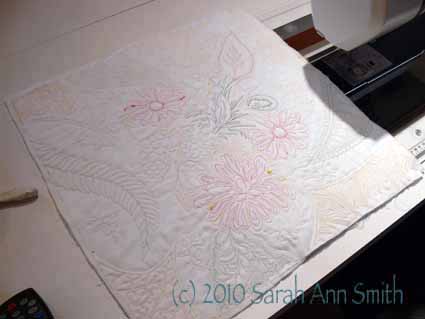
In the midst of getting the house onto MLS, I started a new sample piece for my Intro to Machine Quilting Class which I’ll be teaching again on Sunday at Maine-ly Sewing in Nobleboro.  I was prompted by two things:  this post over on Jenny Bowker’s blog and the fact that some students find free-motioning into the vastness of empty space –i.e. the 18 inch square quilt sandwich I have them bring– is intimidating.   I use this sampler as my basic teaching tool (it’s also patterned in my book–click on picture to see it larger):

Some students like to make it just as is, sewing the grid, then filling in the squares, since a small square is less intimidating that a large one!  Others feel too confined in the squares, so I tell them to just go for it on the sandwich without creating a grid framework.  I’ve also long counseled them to use a large print as a guide for learning.  You can put the print on the back of the quilt and use that as your design, or just in the borders but repeat the shapes and motifs in the center of the quilt.

If you haven’t yet visited Jenny Bowker’s blog, DO!  She is one of my all time favorite quilt artists.  Her work is always inspiring and amazing.  While you are there, be sure to click on the link to her website and view her quilts.   Jenny has combined the two methods I use into one piece…take a square of big-print fabric in the center of the sandwich.  Jenny has her students piece the top, I think, but I’ll try fusing instead…faster for a class room setting?  Then use various motifs from the print fabric plus fill patterns for the rest.  In looking at hers again, I think I need to make MORE of these little pieces; I also am thinking a bed quilt of assorted big print squares with wide, solid-fabric sashings quilted all over like this would be GORGEOUS!

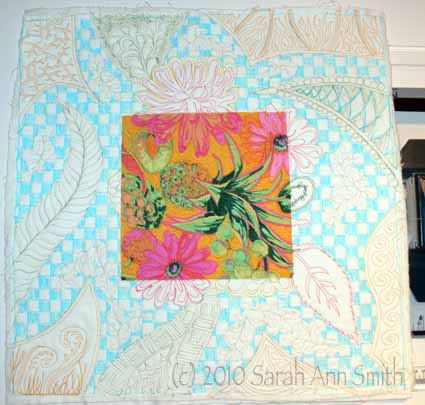
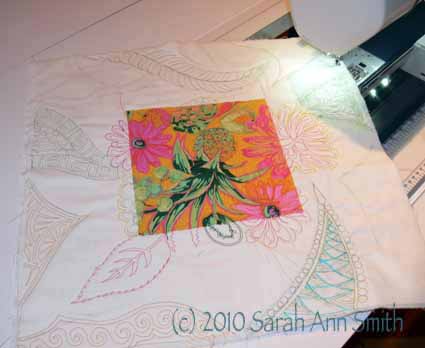
So, I decided to adapt her idea by fusing an 8 inch square into the center of an 18 inch square of white.  I also received some spools of thread from Gilbreath Threads, fairly new to the quilt thread market I think–their stuff is available here.  They found my website, asked if I’d like to try their threads (the cottons are made at the same factory in Italy as the Aurifil cotton that is so luscious Correction!!!!  Gilbreath claims the cottons are as good as Aurifil…see my clarification posting dated October 11, 2010).  I said sure, and they sent me a variety.  In the next post, I’ll share more about them, but I think I am in LOVE with the 12-wt wool and the 12-wt silk.  I am re-thinking my aversion to bobbin work…these are too wonderful NOT to use!

I began by quilting on the print square, then spilling over onto the white.  Next, I continued with the variegated green (a Rainbows thread from Superior Threads), with relatively easy quilting (requires less precision than many designs) for the four different “waves” coming in from the sides.  I then decided to repeat the yellow color of the heavy wool used to outline the flowers, but using Gilbreath’s 40-wt. Poly.  The latter handles and looks much like Superior’s 40-wt poly threads, which are my favorites.

Once the colorful stitching was done, I decided to try the two cotton threads Gilbreath send:  a 40-wt ecru and a 50-wt white 2-ply.  I used the ecru to stitch a small leaf design in the center of the remaining open areas:

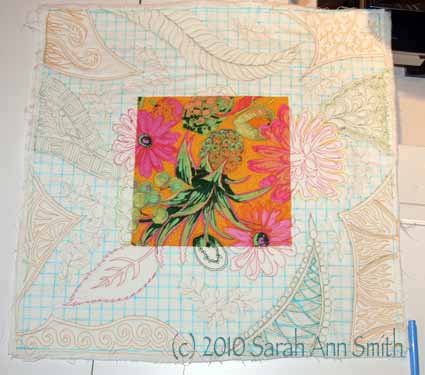
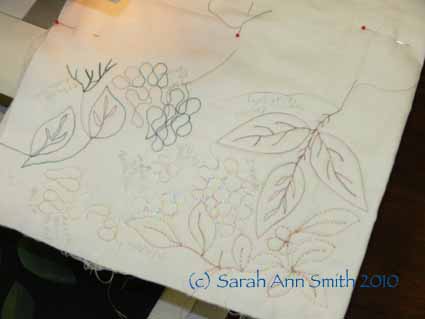
Finally, I used the fine white thread, which appears to be similar to Superior’s MasterPiece thread, for some background quilting.  I like to contrast curvy with linear in quilting, so I chose a checkerboard fill patter.  I got out my ruler (who me?) and drew a grid with wash-out blue pen (see above).  Then, because I am easily confused, I colored in the alternate squares so I wouldn’t go off-track, and stitched on top of the blue (yes, this is the picture from the top, repeated….):

Here’s the back:

You’ll notice some thread blobs…I left those on purpose since this is educational.  The point on this one is read the thread description FIRST.  I tried using the 12-wt silk and the 12-wt wool through a topstitch needle (both size 14,90 and 16/100), with limited success.  I then read that it is intended for use in the bobbin or by hand.  I simply cannot describe how heavenly that heavy silk is….. I can see doing handwork just so I can use it.  The sheen, the thickness….GLORIOUS.  I think I will take a very close up of that spool for the next post….drool!   Anyway, that’s for next time.  And you’ll see it with the blue washed out…mo bettah!

Balinese Garden Table Runner

Wednesday, August 4th, 2010

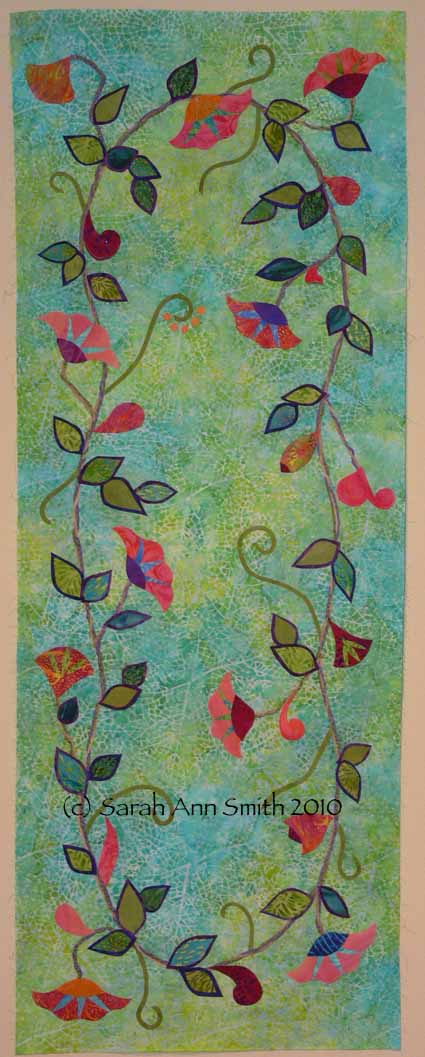
In early May, I did a quick trip to Hingham, Massachusetts, to do a lecture and day workshop for the Herring Run Quilt Guild.  They selected one of my few project classes, the Balinese Garden pattern.

It has been quite some time since I taught that class, so I decided I had better refresh my memory and re-make the project.  Since I wrote the pattern (true confessions here) for both pillow and table runner, but had only made the pillow, I opted to make a table runner. Here it is before the applique stitching:

I wanted to use something interesting for the background since there is a fair amount of blank space in the center (useful so that dishes don’t wobble), but that means that achieving a good contrast with the applique pieces can be a challenge.  I TOTALLY LOVE the way this turned out.  I came up with a two-layer method for using medium-value fabric for the background AND the leaves, but having them “pop” by using a highly contrasting “under-leaf,” in this case one that is darker.  (In my Blue Applique Vest, I used a lighter under-leaf layer; check that out in my post dated July  14.)

And here it is with the applique stitching done (it is still in the “top” stage…ahem):

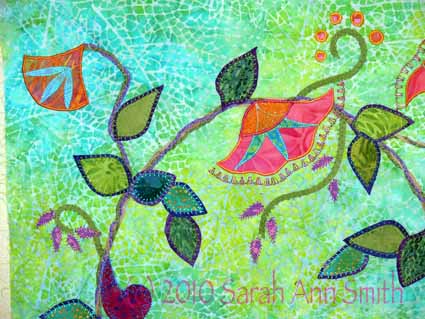
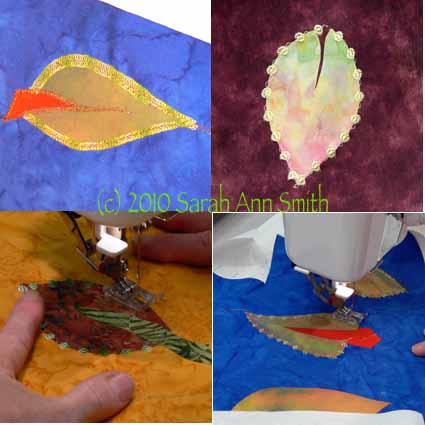
And some detail shots so you can see how I used the utility and decorative stitches on my machine, and a lot of great colors of cloth and thread, to pop the applique:

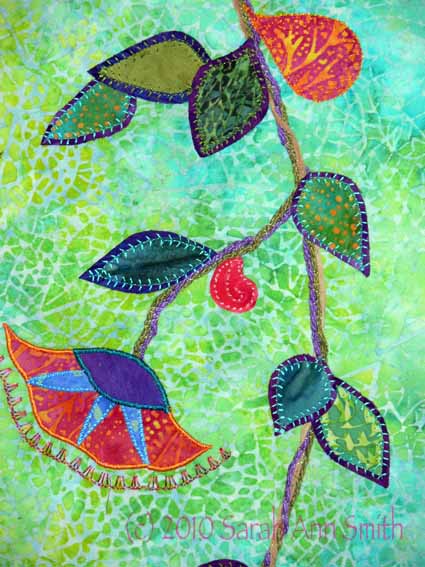
In the next photo, you can see how I layered the purples and deep blues under the leaf greens.  This pops the batiks on the busy aqua-lime background fabric and means I don’t have to satin stitch to achieve good   contrast and sharp edges.  I used a feather stitch in aqua or leaf-green to secure both the main leaf shape and the under-leaf to the background.  After there many washings, there may be some fraying at the outer edges of these fused leaves, but I am OK with that.

And it is my favorite “Caribbean” colors!

Playing with “fussy” thread in Arizona

Friday, July 30th, 2010

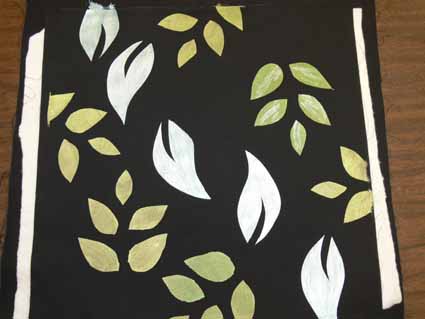
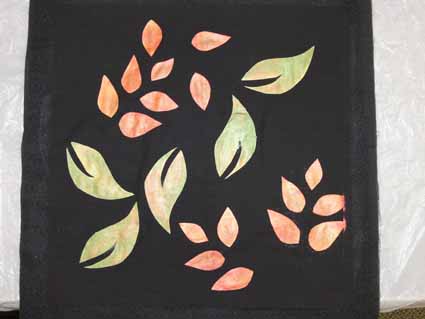
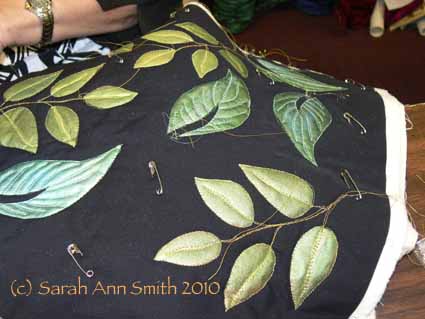
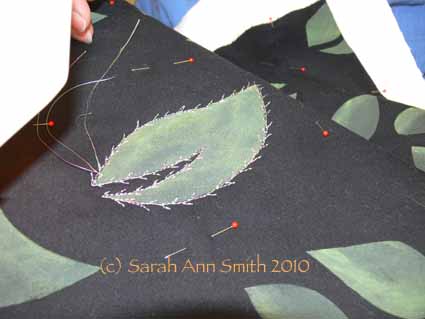
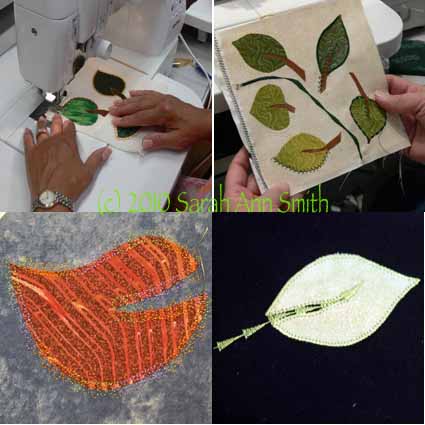
My last class in Arizona, in friendly Flagstaff, was small but good.  We cut freezer paper stencils, then used the Lumiere paints I supplied to paint leaves onto a dark (black) background.  Next, while the paint dried (fairly quickly), I talked about special tips and tricks for sewing with threads that have a reputation for being fussy:  metallic, holographic (the shiny stuff…think Mylar balloon stuff cut into long strips), shiny polyester, and more.  This project is also on the cover of my book and is included as one of the activities in the back (book available here).

First, you paint the cloth:

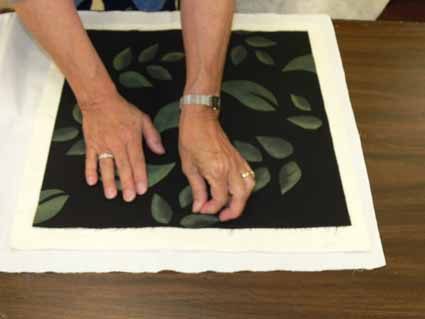
Then baste:

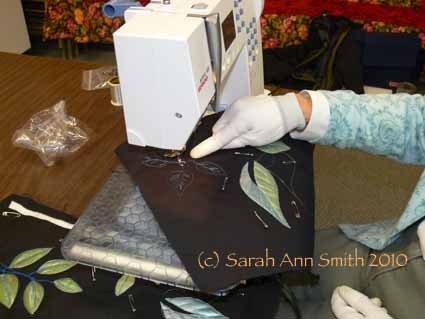
One thing many of us don’t do enough is to make sample stitch-outs before diving in to the quilting.  I can’t say enough how important and helpful this can be!   Best of all, if you don’t like it, you don’t have to rip it out…just move to another part of the practice sandwich.  Here, one student is checking out how the decorative threads look in various free-motion designs and what she needs to do to get a good stitch on her machine:

Then start stitching:

Stop a bit and muse over what next, then continue:

Then of course there are those miserable thread tails to knot and bury!

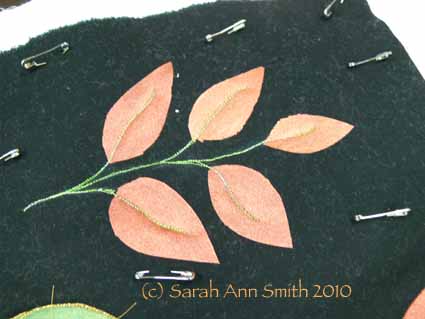
I loved the look of the copper leaves:

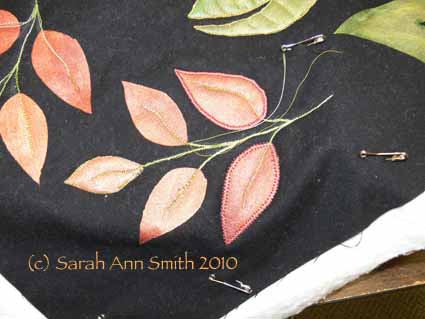
And then trying out different threads and stitches and stitch-lengths to outline the leaves:

Here’s a cool, silvery, feathery outline:

Thanks for being in my class!

Flagstaff: lecture and wandering

Tuesday, July 27th, 2010

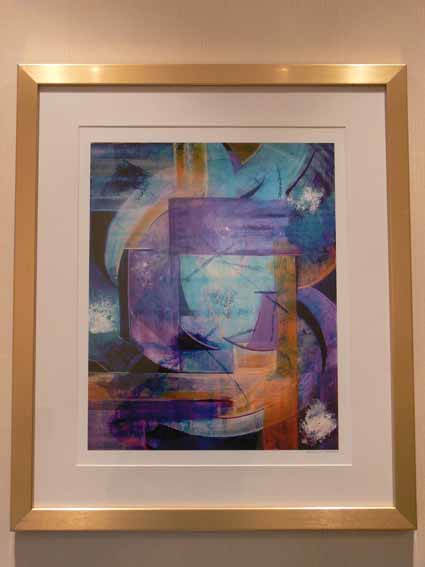
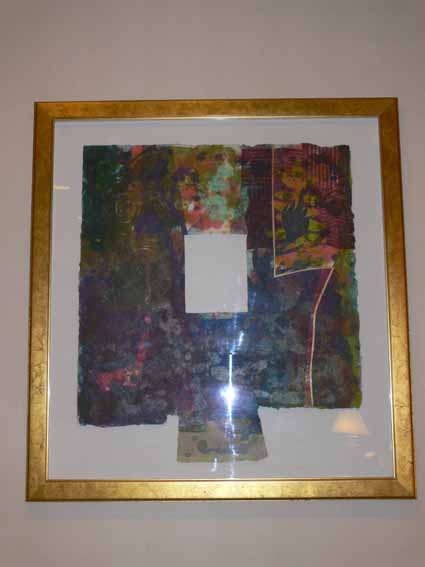
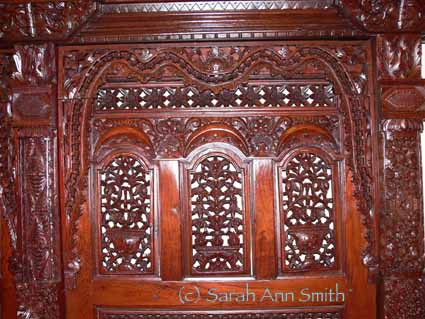
As part of my travels and teaching for the Arizona Quilt Guild, I got to present a lecture at their semi-annual meeting.  They hold one meeting in the southern part of the state, and one in the north.  This one was in Flagstaff, in northern Arizona, and MY how beautiful and friendly a town!  I TOTALLY fell in love with the place, mostly because of the people!  We were booked at the Radisson, which had totally cool artwork and “stuff” to decorate.  Here are two neat pieces:

That second one, especially, gives me some cool ideas for an art quilt…hmm…..

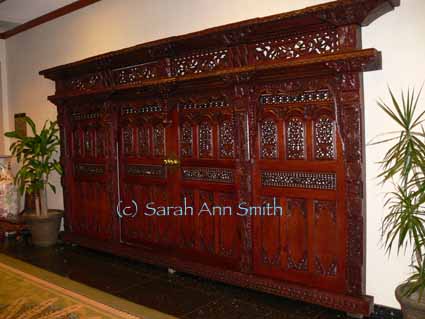
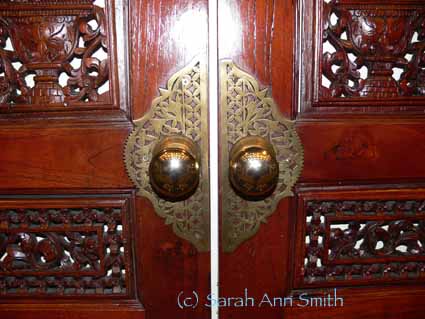
And then there were these carved doors….WOW:

Talk about inspiration for quilting and applique designs!!!!

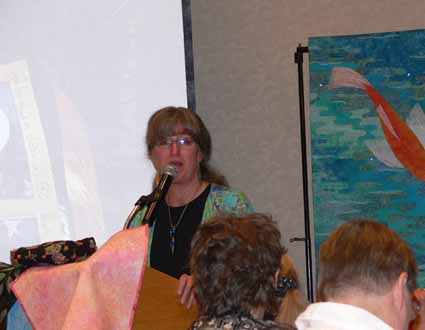
I gave my lecture at this meeting, and boy was that a challenge!  My laptop DIED two days before, and I was scheduled to do  a presentation using the laptop.  SHRIEK!   AND, even though I had the presentation on a thumb drive as insurance, we couldn’t find anyone on such short notice (that hadn’t already left home) that had a MacBook with Keynote installed, and no Mac stores anywhere nearby to rent one!   Fortunately, I had almost ALL my journal quilts with me (the topic of the talk), as well as my digital projector and video camera (which I use for live demos in class).  My intrepid host Tari Hammons came to the rescue.  I figured out that we could just hold the journals under the camera and project them “live” to the wall!   So I did the talk, flagged pages from my working sketchbook that I happened to have with me to share for that part, and Tari just swapped things out in order.  PHEW!  The group was MOST understanding, and it worked in the end.  But I hope never to repeat THAT experience.  THANK YOU, Tari! for your help…you helped save the day! Here’s me, doing the talk, looking more together than I actually felt:

(The long delay in blogging all this is due, in part, to having to reconstruct my life on the new laptop, which took two weeks to get built and sent from Apple in China….. thankfully, I had backed up fully the day before I left on the trip and had been saving for and planning on a new laptop later this year….so all is well in the end, but sheesh!)

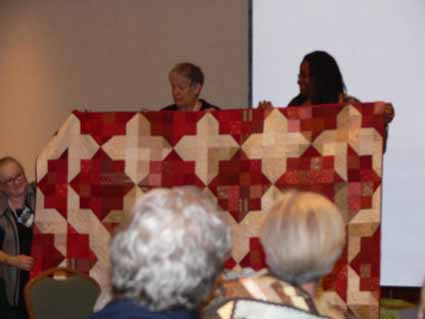
The meeting was the usual guild thing, and this time outgoing President Lynn Kough was presented with this spectacular quilt made by board members…WOW:

Wish I had a better picture… the quilting (by the woman on the right, and I’m SO SORRY I didn’t write down her name…she’s the new Pres. of the guild I think) was GORGEOUS!

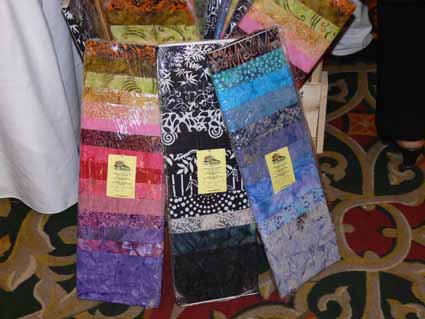
There were vendors, too (yippee!), and one had this lovely way to use up bolt-boards and display batik selections effectively:

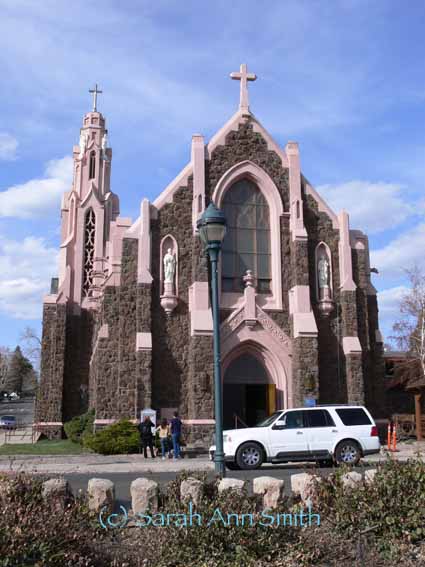
Finally, here are two pictures from downtown Flagstaff…  The cathedral:

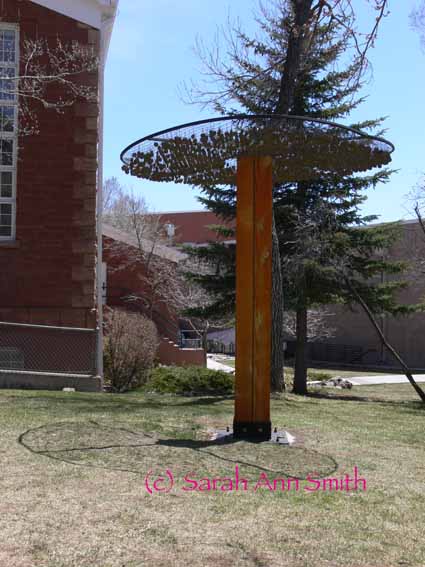
and this cool tree-sculpture on the Northern Arizona University Campus (between my hotel and downtown)…when the wind blew, the leaves clink and tinkle and dance…way cool:

What a wonderful, friendly, art-friendly town!   I don’t think I could ever live that far from salt-water, but if I could, Flagstaff would be very high on my list of great towns!

NQA-Decorative Stitch Applique

Thursday, July 22nd, 2010

A student's class sample... compare this to the unstitched version in the top-left of the four-squares (below)

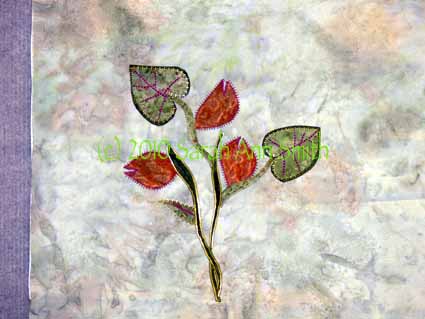
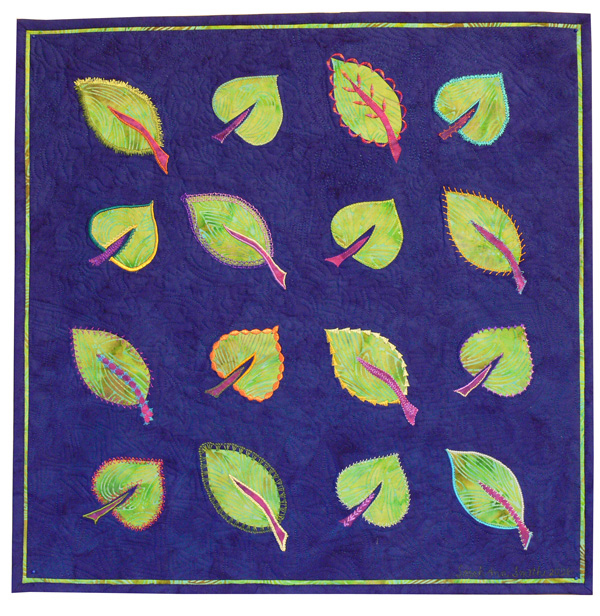
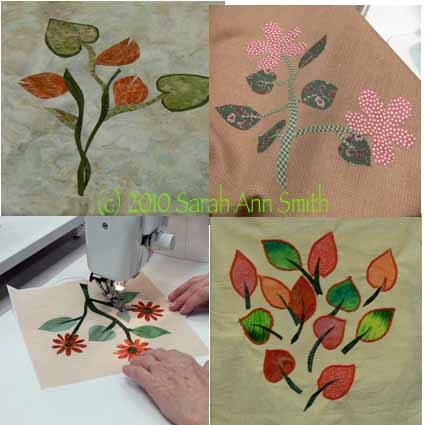
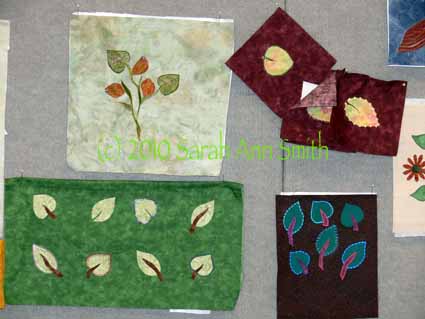
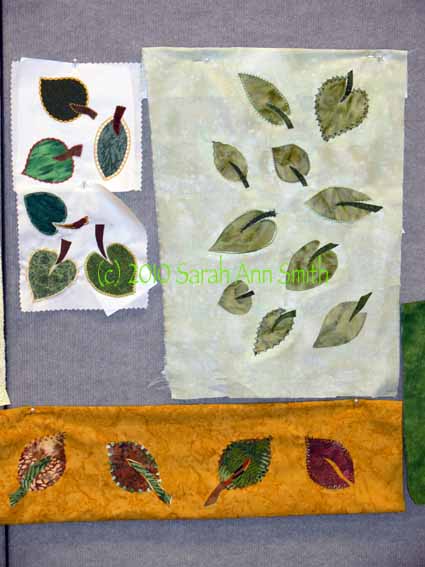
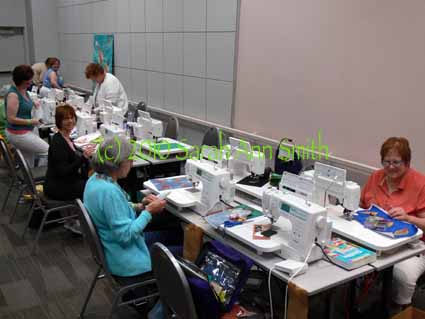
We had an absolute GAS in this class!  I was so thrilled at how the students took my basic design and simply took off with it, experimenting and discovering, and the wide range of results….  Because I actually took a TON of photos, I’ve made some “four-patch” photos to squeeze them all in!   This is the sampler that I share with the students (it’s also in my book–click the photo to view larger):

Sarah's Tossed Leaves Sampler

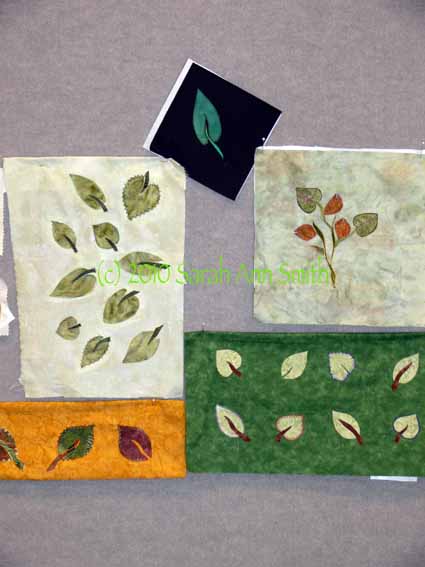
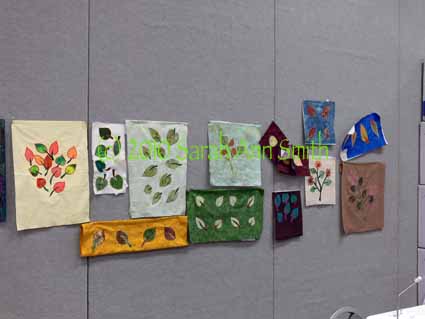
Well….here are some samplings of leaves the students made.  They were given the choice to make a larger composition or smaller blocks (which is what I used in my blue vest…I promise that post will be up before too long!):

I knew that Deb in KY from the Janome 6500/6600/7700 yahoo group would be in the class, and was pretty sure that Kathy Schmidt (author of Rule-Breaking Quilts from AQS and also in the group, and her blog is here) would be there, but so was Marie!  What an unexpected surprise and fun!!!!!  Kathy and I have been writing to each other for about a year and half or more as she worked on her book proposal, then manuscript, now marketing the book, and it was such a joy to finally meet her!  She is teaching at NQA next year, so sign up, folks!  And I PROMISE, a review of her book is coming, too!

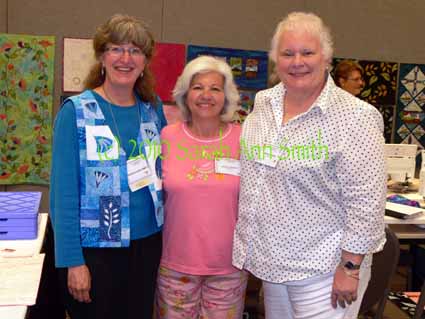
L to R: Sarah, Deb in KY and Marie from the Janome 6600 yahoo group

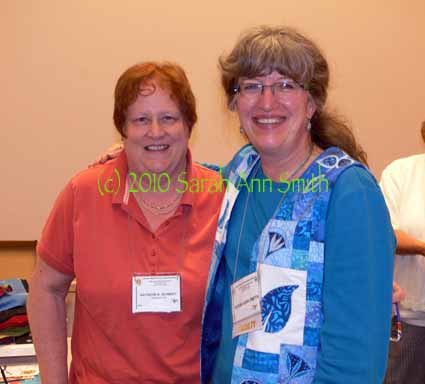
Kathryn Schmidt, author of the fun Rule-Breaking Quilts, and me (Sarah!)

I think we all look a bit WARM!  After class, Kathy and I then went to a local brew pub and had a wonderful dinner…it felt SO GOOD to (a) get off my feet and (b) have such fun company for supper before she drove the several hour drive home.  I’m thrilled they could all attend my class—THANK YOU!

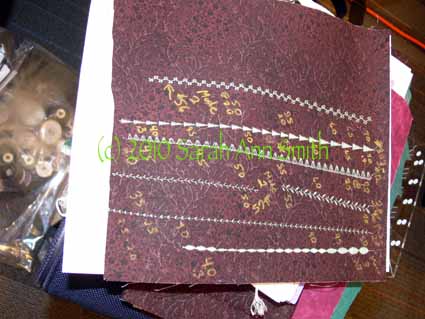
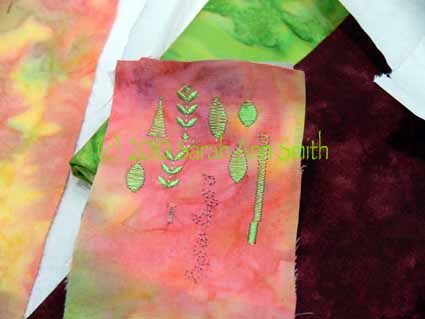
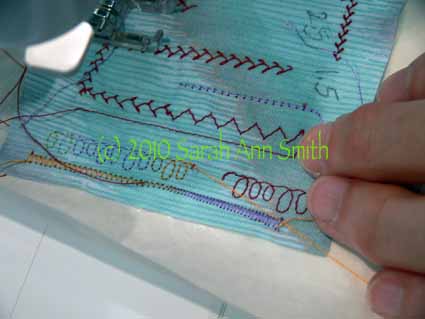
I encourage students to do stitch-outs. Here is her test-sample

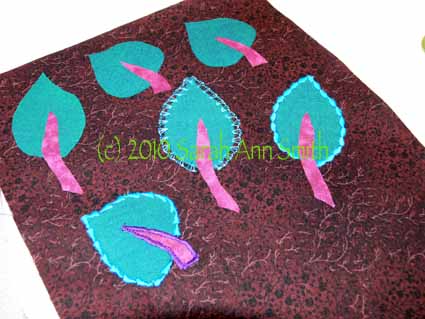
And some stitched leaves. She wanted to control the variables to just one thread, so it gives a really good comparison of what the different stitches can do for your applique.

Then


Another stitch out, again with notes made on the sample; that green thread is great on this peach!
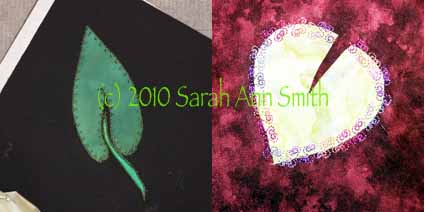
Another good stitch sample, with notes on stitch length and width

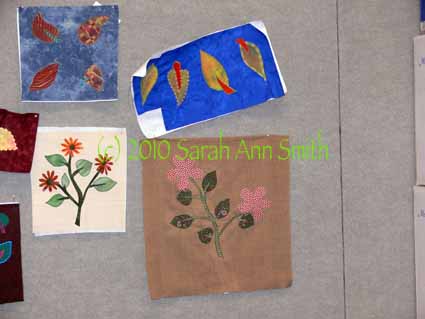
At the end of the class, we pinned the samples up on the wall and all took photos so we could go home and be inspired by everyone’s work and try out more:

Student samplers and compositions

More student samplers

and more

even more tossed leaves

and the last one....

Thanks to the ladies of the class….. I had a ball, and I think they did, too!   Here’s to hoping I get to return to teach at NQA again!