email Youtube

Home
Galleries
Blog
Workshops & Calendar
Store
Resources
About
Contact

Archive for the ‘Teaching / Classes’ Category

Teaching in Enfield, NH – Northern Lights Quilt Guild. Part 2

Monday, June 6th, 2011

Last post I shared about the Shaker Museum in Enfield where we stayed when I taught for the Northern Lights Quilt Guild.  Thanks so much for inviting me!  I could seriously see wanting to teach weeklong workshops where we start with an idea for a project, try out a few techniques in the mornings, and play with the pieces and design in the afternoon.  Finish with quilting and binding… that would be SO much fun!   But this time, we had a shorter time frame.  Our classroom was HUGE!  I’d guess it was 1/3 of the second floor.  The Shaker’s probably didn’t foresee me needing to darken the room to do a slide presentation, but the room actually has built-in, recessed shutters on all the windows which came in handy for my purposes, too!
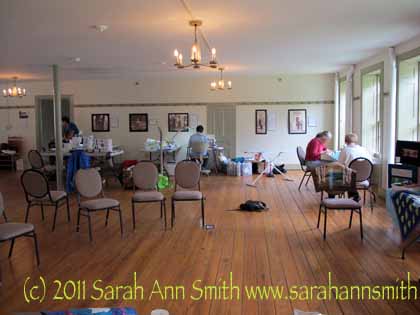
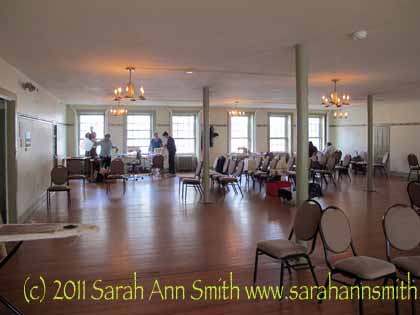
One side of the room--the chairs are leftover from ladies gaythering near the projector and screen before they moved to the walls (and electrical outlets or natural light). Those green raised-panels you see next to the windows are actually the recessed shutters!

Looking across the room (which is set up for the lecture Friday evening)...VAST!

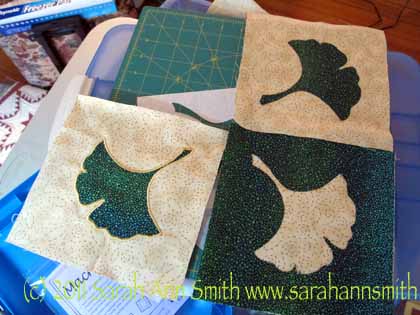
For the first day, I taught Applique 3 1/2 ways, and as usual was so busy I forgot to take photos.  The next day, however, Chris had her blocks out, so here they are…alas, her lovely satin stitching on the one block doesn’t show in my photo!

Chris's Gingko leaves

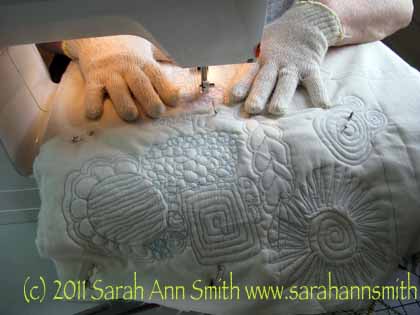
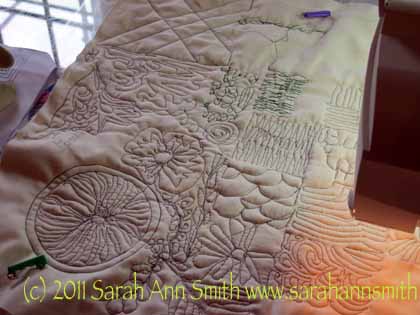
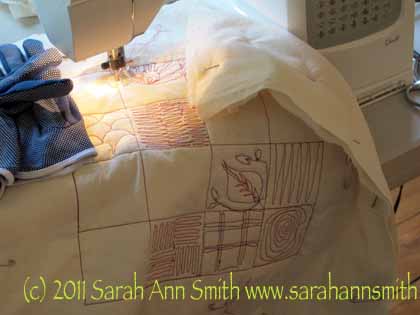
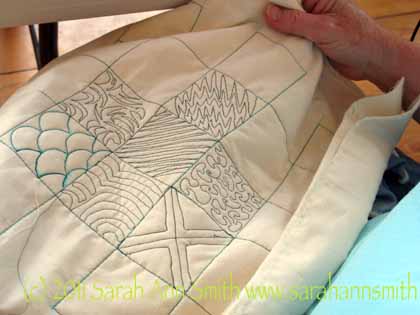
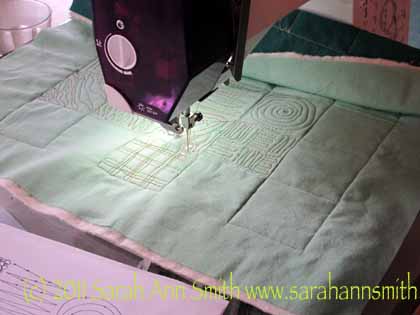
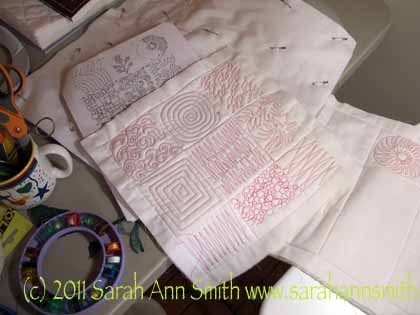
Then we moved on to free-motion quilting on Saturday.  Students experience levels varied from having done absolutely none to having done some but not entirely happy with what they did.  The key, of course is the dreaded P-word:  practice. But knowing a few tips and tricks, and most of all proper preparation, helps folks immensely.  Here are some photos of the samplers students did.  I use the sampler that is also in my book for teaching, but offer students the choice of using the block/grid format or  just going free-form in the freedom of open space.  Some students prefer the limited space of the block—it isn’t as intimidating to them as all that openness of an 18 inch (or thereabouts) quilt sandwich.  For others, the blocks are seriously claustrophobic, and they prefer to noodle around.  So I encourage them to do what makes things most comfortable….. and boy did these ladies go to town!
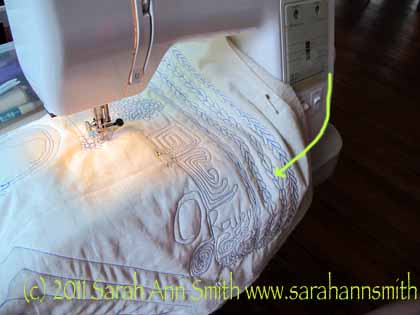
Free-motion play!

I love the way this one looks like braided leather. The student wasn't too wild about the feathers on the far right, I think because she was being critical of the shapes of the petals which weren't as smooth as she wanted. However, it is a great look with the thin feather plumes on a straight stem grouped like this. I think I'll have to find a way to use this...great for sashings and borders!
Red! I ask students to use a highly contrasting thread on top and a matching thread on the bottom. I know this is evil. We are so much more critical of readily visible mistakes, but it makes diagnosing tension problems SO much easier--you can actually see what is happening, then write notes onto the white fabric as a reminder of what you did to correct the issues. I'll take the piece and walk a few feet away, then turn it over to where the thread matches the back, and students are always surprised at how good their beginner work looks with just a few more feet distance and matching color!
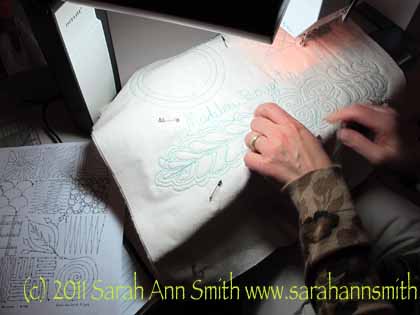
Another red...I think she was having fun!

Another, done within the grid

And a blue one...

And one more in progress at the machine

Noone ever believes me when I say that it is easy to write with the sewing machine, but apart from one lady who didn't try (in another class long ago) every single student who has tried to write their name, CAN and does! Your hands know where to go...think how many rent and grocery checks you've signed in your life! Remember how hard it was back in first grade to make the shapes of the letters, and now you don't even think about it? That is muscle memory and practice. Ditto for quilting!

Sunday was a half-day session with a few parts of my Fine Finishes class, about edge finishes, bindings and display techniques.  The program chairs decided to focus on the basic and essential double-fold bias binding, which is the basis of so many other techniques, and piping.  I taught Susan K. Cleveland’s way of making piping using the Piping Hot Binding tool.  As so often is the case, it is a simple idea that is brilliant, with some of the best written directions ever.   I heartily recommend this tool–tho it may seem expensive for a piece of plexiglass, the instructions are SO worth every penny!   You can find it here at her website, Pieces be With You.  It was so much fun watching the ladies learn how to make the piping, use the tool, and then get totally jazzed about the possibilities of using the piping alone, in combination with other stuff (like inserted into the bias binding, alone, etc)!  And yep…I was so busy trying to cram the most into a half day that I didn’t take pictures!

Thanks again ladies for a wonderful weekend!

After Enfield, I drove south and lectured the next night for the Chelmsford (Massachusetts) Quilt Guild –and of course no pictures– but really enjoyed that visit, too. I had forgotten that I’d be teaching at a Quilters Gathering in NH, and some asked what classes I’d be teaching.  I didn’t know, but one lady kindly checked for me (she’s on the board) so I was able to share that, too.  I’ll have to put the classes I teach at shows onto my class listings…where I post where I’ll be teaching on the Classes page of this website.  Add that to the to-do list!  I’ll be back here soon with more of the stuff that has been keeping me from blogging…stay tuned!


Teaching in Enfield, NH – Northern Lights Quilt Guild. Part 1

Friday, June 3rd, 2011

What FUN!   Michelle G.  from the QuiltArt list and program co-person for the Northern Lights Quilt Guild (Enfield, New Hampshire and environs…near Dartmouth) decided to organize a retreat with teacher for her guild, and I got to be the lucky teacher!   I arrived late Thursday (tho as the crow flies it’s not so far from mid-coast Maine to western New Hampshire, the roads are two-lane twisty turny—up here all roads lead to Boston, if you’re going anywhere else, it takes a lot of slow driving time!).  We had full day classes on Friday (Applique 3 1/2 ways), Saturday (Intro to Machine Quilting), a lecture Friday night (With a dash of color), and half-day class Sunday morning (Fine Finishes, about bindings, but a short version of the class).

Leaving Hope/home, Thursday morning--it has been rainy for weeks in Maine

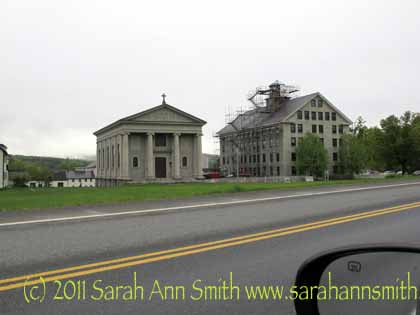
I’ve never had the chance before to spend that much time with a group, either as a student or as a teacher.  It was so wonderful to get to know the ladies (hey Chris!  Thanks for being my on-site IT help!), share potluck (I gained a couple of pounds…sigh), and just hang out.  Michelle booked the group into the Shaker Museum.  Yes, a MUSEUM that used to be a Shaker colony. Here’s a photo from Route 4 (or was it 4A?):

The Museum is on the right. My room was the two windows on the 3rd floor on the right. They were doing re-roofing, and every so often during class debris would plummet past the windows!

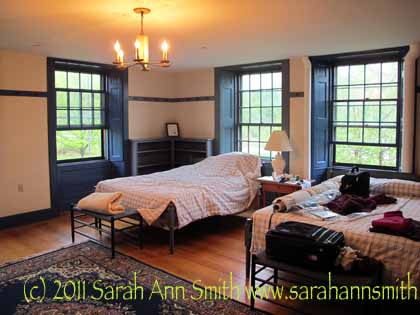
And my room…really large!  I expect at least four if not more persons slept in these rooms.  The furniture was reproduction shaker furniture (there is a Shaker Workshops catalog..I actually made Joshua a long bookcase from their stuff about 14 years ago and it is still wonderful and sturdy) and there were gorgeous and still well-working built-ins in the room:

View in my room. Like most old buildings, the windows were finnicky, but they were large and the room airly and light.


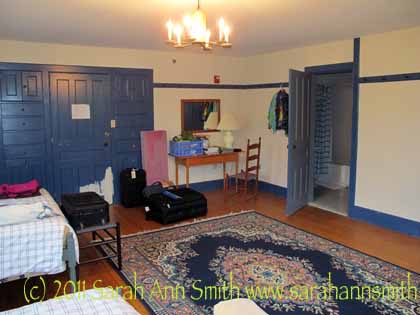
The door on the left (with the white patch of paint on the bottom) is the door from the hallway. Built in next to it are drawers and a cupboard (perhaps for a chamberpot?). The walls are lined with peg boards. There are these cool shelves that can hang from a peg, plus one can lift the chairs off the floor to sweep by perching them on the pegs. The desk, chair, and stool/bench at the foot of the bed are repro pieces. And that small mountain by the door is my teaching stuff--pink boards to pin up samples, suitcases with class samples and stuff to sell, my laptop/projector bag, and the crate has my handouts and teaching binders for the various classes. I swear the schlepping of "stuff" is what will drive me out of teaching (that and air travel).

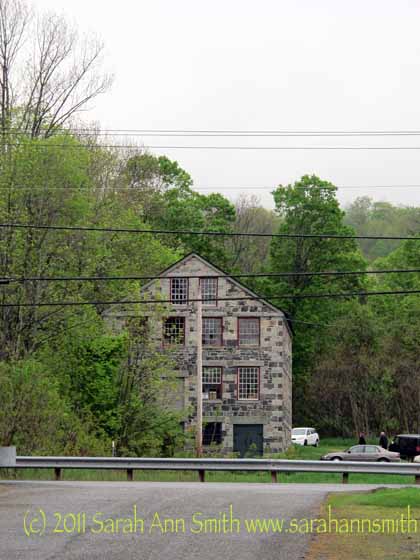
And here are some quintessentially New England buildings nearby:


Another Shaker building, lumpy (as opposed to flat-finished) stone, large and gorgeous...across the road

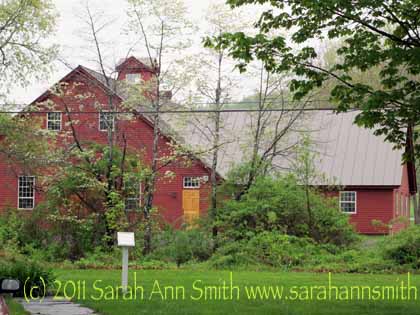
Next to the museum...probably a private residence

Next post I’ll share about the classes!


Bayberry Quilters, Cape Cod, Massachusetts

Monday, April 25th, 2011

I LOVE teaching jobs that are close enough to reach by car in a day, and this trip was just a blast!  Life has been a bit hectic–we are still settling in to the new house and I am working on my studio so this was a few weeks ago in Late March.  As usual, I was so busy teaching that I didn’t take too many pictures (sigh).

A while back the Bayberry Quilters of Cape Cod invited me to give two lectures and two workshops!  What fun!  I drove down on a Tuesday (when we got another  dump of snow…why it couldn’t have done that on Monday or Wednesday I do not know!) and gave my first lecture (The Decorated Quilt)  that evening, then another (the journal quilts)  the following morning.  After the lecture, we had lunch at a FABULOUS little restaurant, Morrell’s Restaurant and Catering (in South Dennis); I had Shepherd’s pie that was so good I went back for dinner a couple nights later!

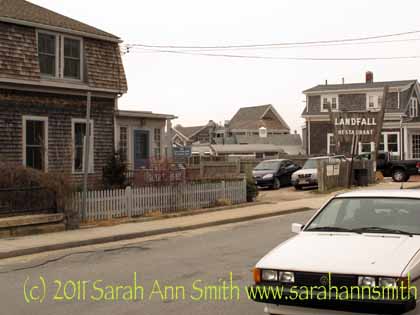
A Woods Hole back street with the typical weathered shingles and white trim

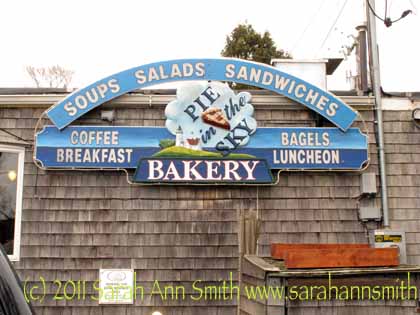
On Wednesday afternoon I was off, so I drove to Woods Hole in hopes of seeing some of the Oceanographic institute (Eli is really interested in Marine biology and oceanography) but pretty much everything that is usually open to the public was closed for winter.  It was still a lovely drive–very (well duh!) Cape Cod-ish! For the ride back I stopped here to get a cookie and latte…loved the name:

Pie in the Sky bakery

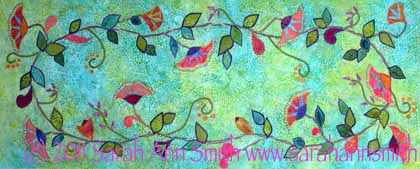
On Thursday I taught Balinese Garden, which is a pattern of mine (here) so this is –unusual for me–a project class whose goal is to familiarize quilters with the decorative stitches on their machines and some decorative threads (the fiddly ones!).  Here is my table runner take on the pattern:

The table runner I made from my pattern (still not quilted...sigh...time, I need time....)

I strongly encourage quilters to do their own thing, and this group did!  Some stayed fairly close to the pattern, others completely changed the set-up and two more totally did their own thing using their ideas for a quilt (one was jellyfish, another an Asian-inspired pond scene).  I totally loved it!

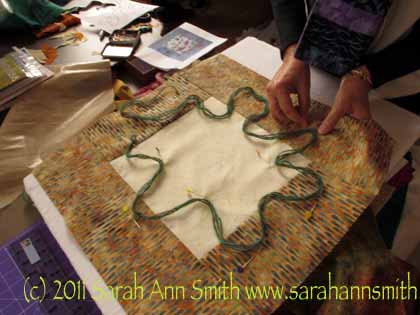
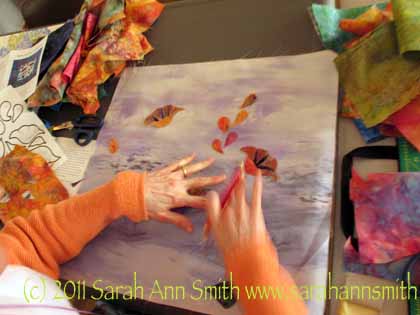
Laying out the "vine" on the background

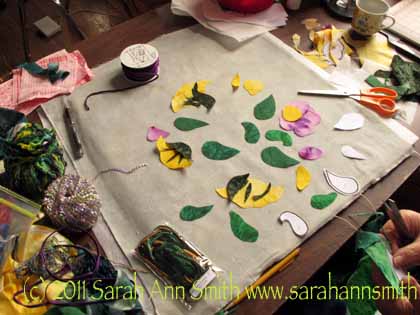
Cutting leaves, buds and flowers

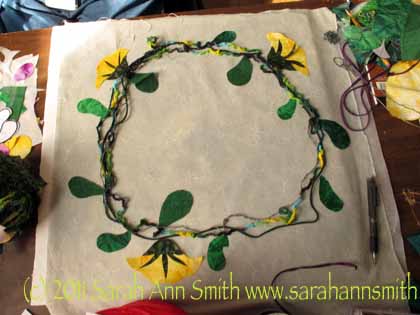
Using a more traditional wreath setting for the multi-yarn vine--so springy and cheerful!

A more traditional and lovely take on the pattern--she used a lovely echo method of outlining the main flowers

This student used a landscape printed fabric with a beach, shore and ocean as her background, and it is lovely!

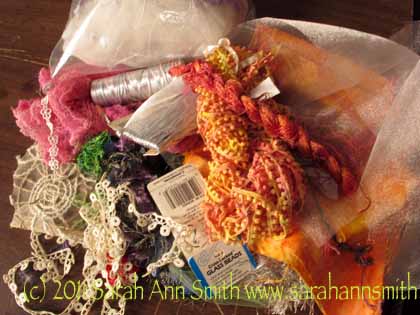
One delectable stash for using to decorate the quilt and make the vine

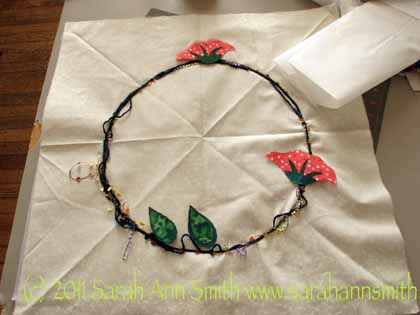
Another version, closer to the pattern

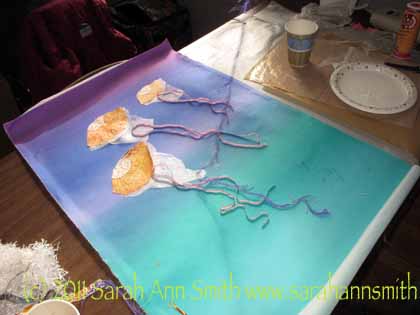
Jellyfish...same techniques totally different subject--yeah!

Another student wanted to use some Asian-inspired fabrics and do a moon / pond scene. She adapted my techniques to her design--way cool!

On Friday, I taught a favorite class to teach:  Quilting Design.  We had a grand time, I showed the ladies that they can indeed draw (!), and learned some easy-peasy ways to draft what might seem (but aren’t) complicated patterns.  In the afternoon we used the quilt tops they brought to brainstorm quilting designs, talking about hand versus machine, easy versus complicated, and so on.  That was SO MUCH FUN, but alas I was busy crawling on the floor showing how to use the clear overlay sheet to test-drive ideas and didn’t take any photos!  I really love teaching this class because students always walk away enthused and energized and realizing they can do their own designs.  Alas, it is rarely booked, and would be even better as a 1 1/2 or 2 day workshop.  So if anyone out there wants FUN…book this one!  It looks like I’ll be able to teach it as a 1 1/2 day workshop at Vermont Quilt Festival in 2012…hope to see you there!

Where to find me….

Saturday, October 30th, 2010

It occurred to me that I ought to update my teaching and whereabouts schedule…including here on the blog.  I now dimly recall that I actually started the blog as a way to share what I’d be teaching where!   I’m not teaching at Quilt Festival in Houston this year (I’ll apply again, probably for 2012? as I’m booked next year), but at Festival next week I’ll be a somewhat stationary target at several points.

2010 International Quilt Festival, Houston, Texas

Friday, November 5

10:15-11:15 (ish) I’ll be demo’ing in the MistyFuse booth

12:40-2:40 I’ll be doing at the Open Studios in the Quilting Arts area, showing the surface design techniques I used in my project in this year’s Gifts issue (blogpost here)

5-7 Attending the QuiltArt reception

Saturday, November 6

10:15-11:15 (ish) I’ll be demo’ing in the MistyFuse booth

In 2011 and 2012 I’ll be teaching all over again!

March 2011 – Cape Cod, the Bayberry Quilters

May 2011 – Chelmsford, MA, the Chelmsford Quilt Guild

May 2011 – Lebanon, NH, the Northern Lights Quilt Guild

June 2011 – Harrisonburg, VA, the Shenandoah Valley Quilt Guild

June 2011 – Floyd, VA

July 2011 – Kearney, NE, QuiltNebraska 2011

November 2011 – Nashua, NH, A Quilter’s Gathering

March 2012 – Kennebunk, ME, Evergreen Guild (PTQG chapter)

April 2012 – Little Rock , AR, QUEST quilt guild

April 2012 – Hot Springs Village, AR, HSV Quilt Guild

?May 2012 – Wellesley, MA, pending contract
Wow…I can’t believe I’m booked that far out! I’ll probably take three more bookings (including the May one) for 2012, the close that year and start in on (SHRIEK!) 2013!

If you live anywhere near those places and would like to come take a class, I’d LOVE to meet you in the real!   I’ll post more information as we get closer to the real dates, or just drop me a comment and I’ll reply!

Free-Motion Quilting, revisited

Sunday, October 3rd, 2010

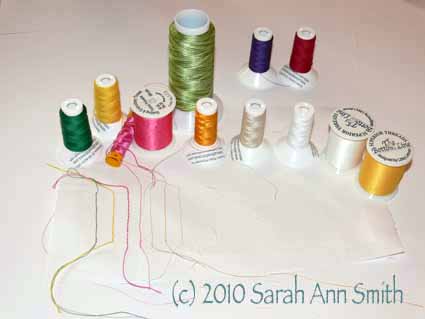
A post or several ago, I shared my new class sampler for my Intro to Free-Motion Quilting and mentioned I had received some threads from Gilbreath Threads to try out.  I used the sampler as a way to test the threads:

From left to right:

  • Gilbreath  Emerald green, cotton 30-wt, #253
  • Gilbreath Yellow wool 12-wt
  • Gilbreath hot pink silk (lying down) Seta Bozzolo 24-wt., #196
  • Superior Threads 40-wt. poly, hot pink #820
  • Superior Threads 40-wt poly, rainbows, green variegated #820
  • Gilbreath orange/mango 40-wt Palio poly
  • Gilbreath 40-wt ecru cotton, 2-ply, #025
  • Gilbreath 50-wt white cotton, 2 ply, #000
  • Superior 60-wt white poly (used in the bobbin), # 621
  • Superior 60-wt  yellow poly (used to sew down the binding), #641
  • in the back, two Gilbreath threads not used because the colors didn’t work for this piece: 60-wt purple cotton, 12-wt deep red cotton

I don’t think I’ve ever used that many different types and weights of thread in one piece, but I’m thinking this could be something to add to my arsenal of techniques! At the top you can see the completed, washed piece before the final line of stitching in the ditch on the binding.

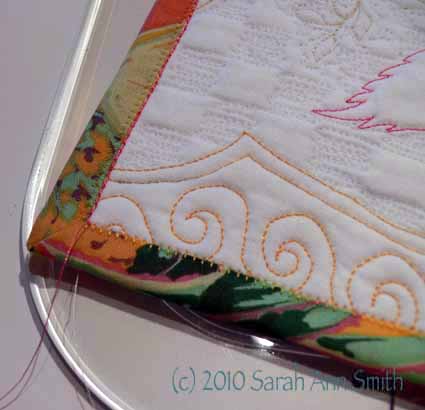
I applied the binding to the back, wrapped it to the front (the front side is 1/8″ wider than the back, so the stitching to apply it is on the back of the quilt, not the binding), and stitched it down using a buttonhole stitch and Superior Threads’ Bottom Line thread, a very fine polyester that blends in and is unobtrusive:

The last step is to use the triple-stretch stitch (a bold straight stitch) in the ditch to outline and accent the binding with the hot pink poly from Superior.  See how it crisps up the edge in this photo which shows with and without the outline stitching?  It’s a design choice; both ways are good, just pick the version you like.

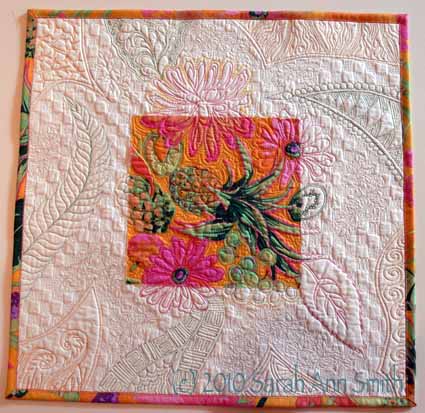
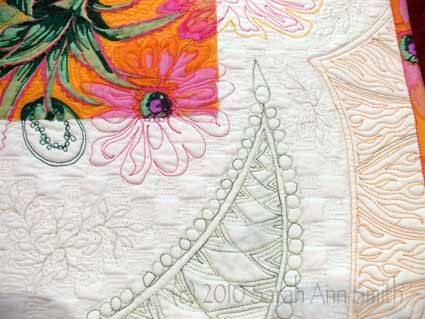
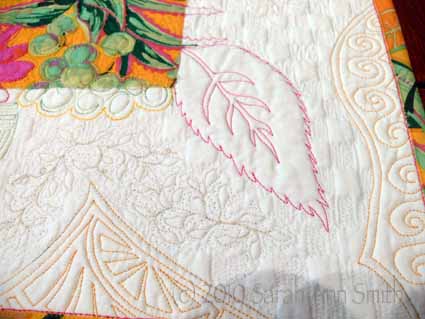
Here are close-ups of the quilting in this big-print class sample, which uses motifs from the Free-Motion Sampler (the magenta and lime quilted grid that is in the book) and my “More Machine Quilting” sampler which is featured on the cover of the book, the peach quilt:

It has been a LONG time since I’ve washed a quilt after quilting it, and was very happy to see how the fabric holes closed up around the stitches.  In this last photo, you can see where I added some stippling (ugh, but sometimes useful) around the ecru leaves after it had been washed.  The needle holes in the checkerboard have disappeared, but you can (faintly) see them around the leaves. The quilt is now dampened and back in the dryer to remove those needle-holes too.  Hmm…good learning piece:  Use thick threads in the bobbin!  Rinse and fluff in the dryer…. will have to try that with a very fused and densely quilted sampler and see what happens to the edges of the raw edge applique…. guess what my next class sample will be?

Hope you’ve enjoyed! Cheers, Sarah