Double Gauze and Luxe Cuddle from Shannon Fabrics, Janome Education Summit 2018, Post #3
Saturday, June 9th, 2018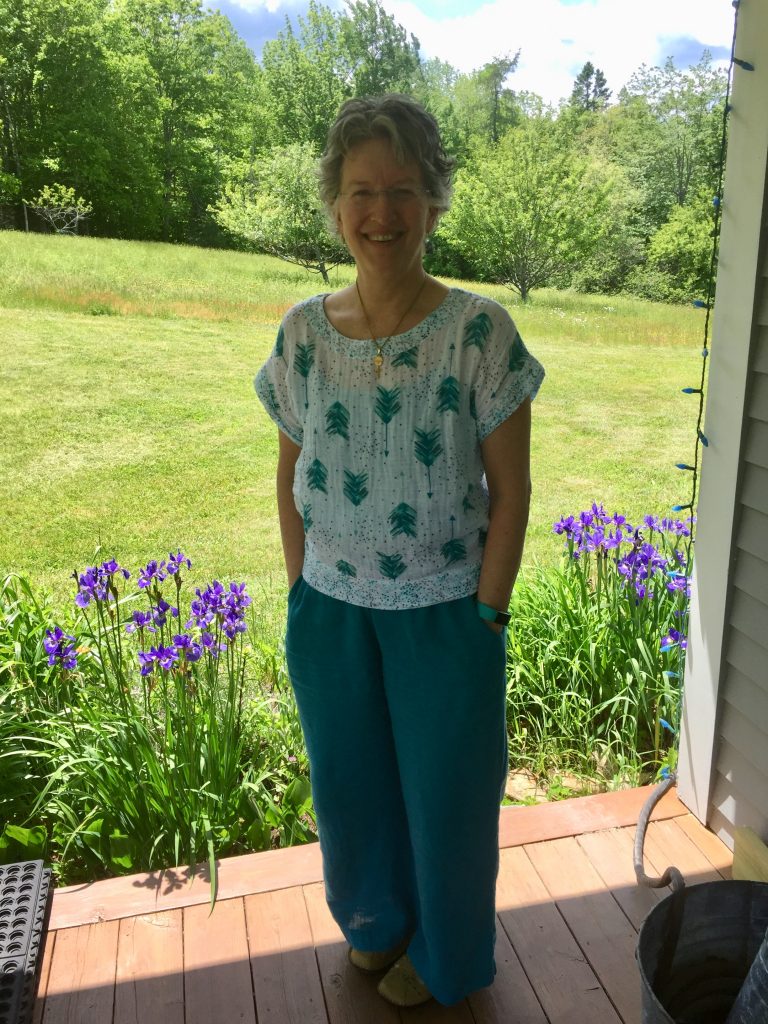
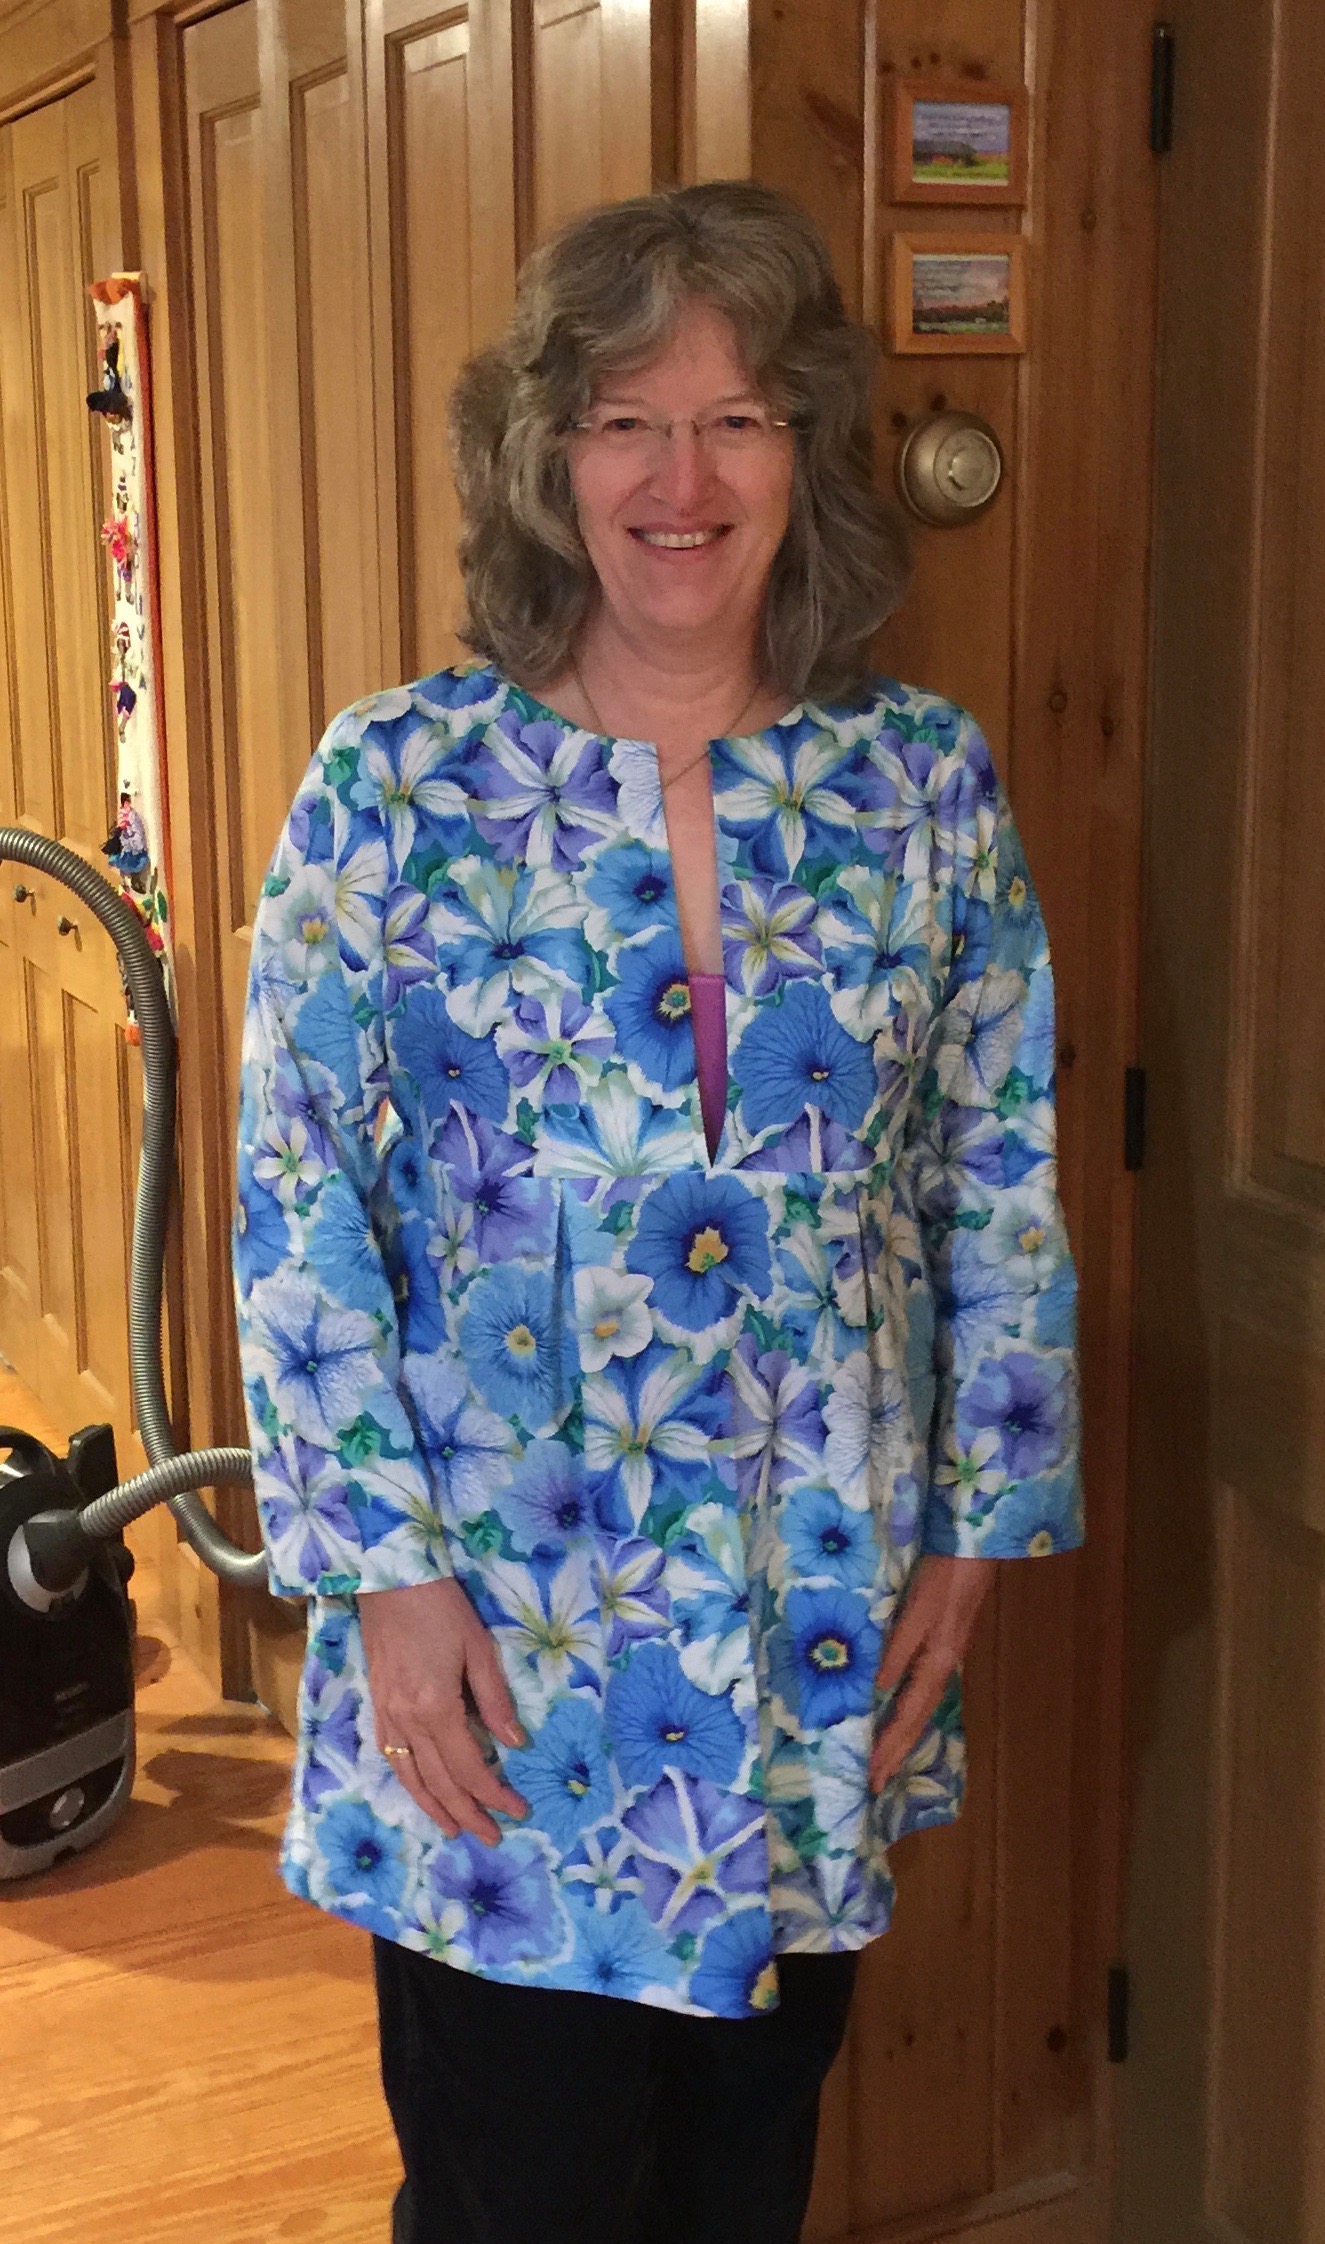
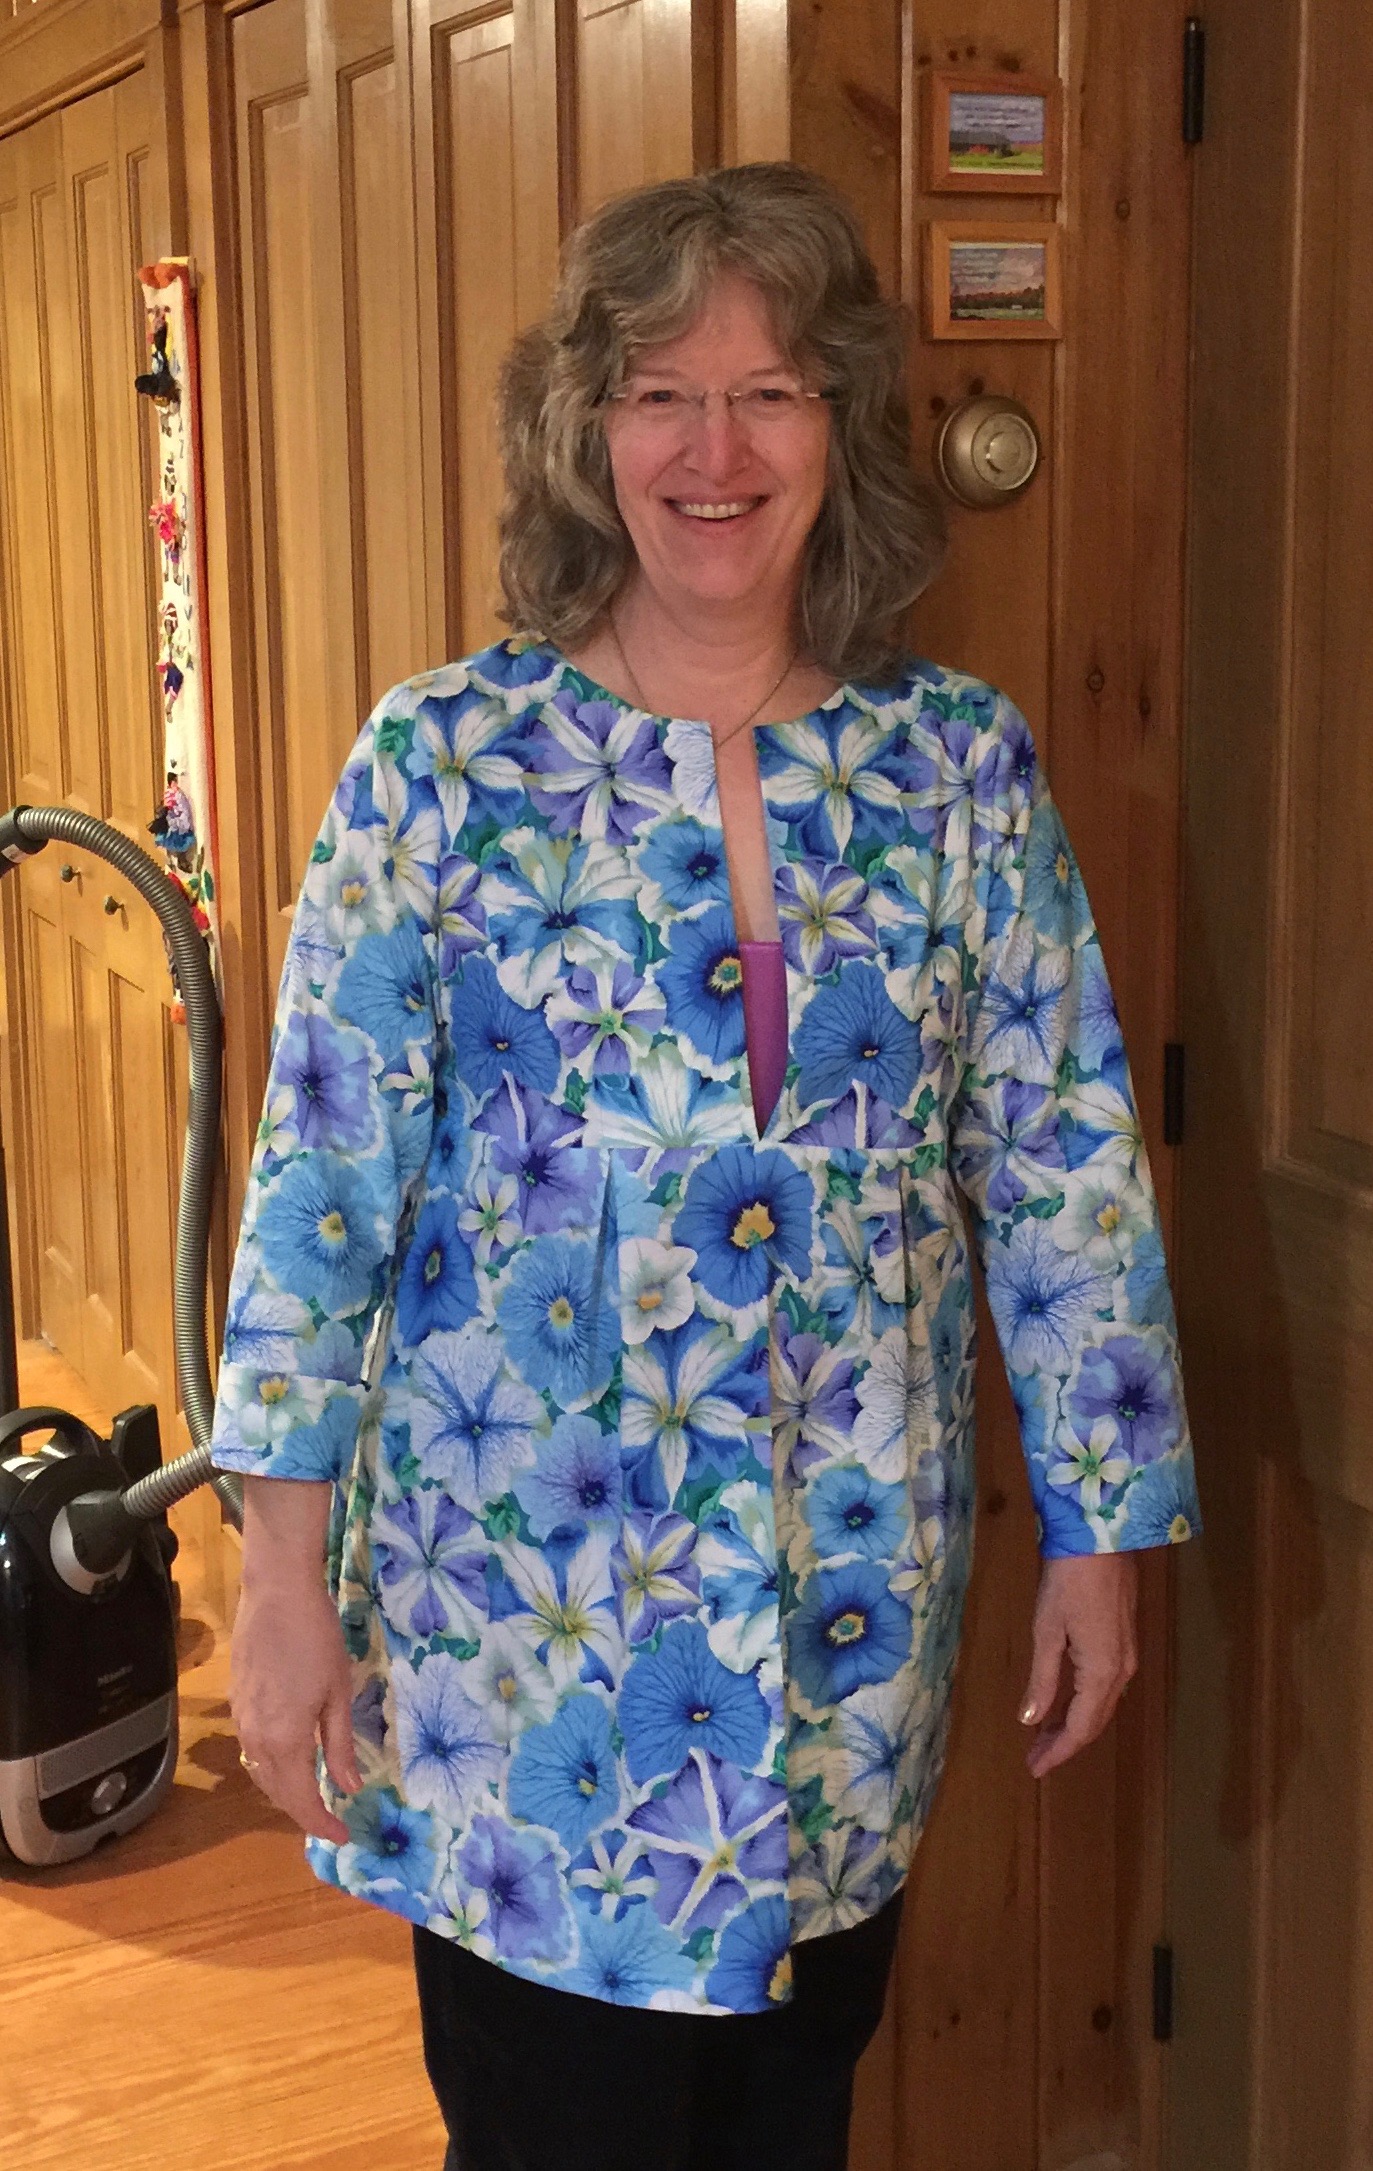
Double Gauze top with fabric from Shannon Fabrics at the Janome Education Summit 2018
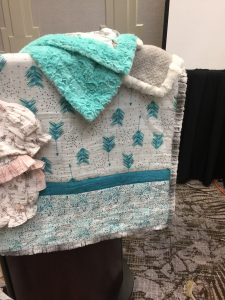
More fun stuff from the Janome Education Summit! On Wednesday, we were given a choice of three kits by Shannon Fabrics…these are brilliant! They come in a lovely box (link here to mine on Amazon…other kits are currently available, prices in the $32-39 range for all the fabric you need, click here to see Shannon Fabrics Cuddle Kits) with the exact amounts of different fabrics and faux fur to make a baby throw, about 30×40 inches. I loved the arrow print in mine so was (once again) the disobedient child and opted to make an Infinity Scarf with one of the fabrics and the faux fur at the Summit, then make the blouse pictured above when home.
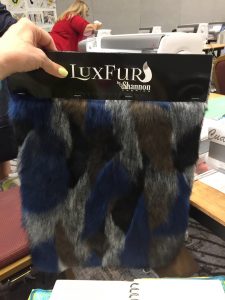
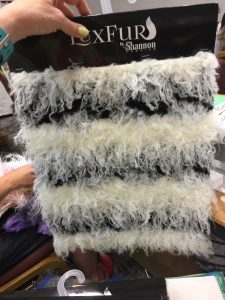
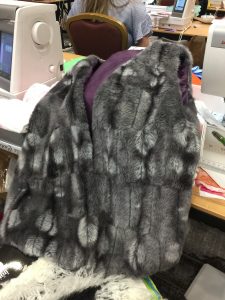
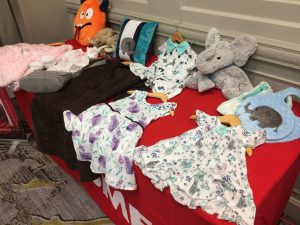
The revelation was the incredible softness and quality of the faux fur. It is LUXURIOUS–look for “Luxe Cuddle.” You will want to pet it. You will want to take it home. One Janome Educator had made a throw of this “fur/minkee” with flannel that is so incredibly snuggly that it almost (but not quite) makes you wish winter would come sooner. But when Winter does come I’ll be ready–I’ve already ordered 4 1/2 yards online! Here are a bunch of photos I took of samples and items made with the Luxe Cuddle and furs. Some are definitely more “city” than rural Maine, but I can still see some of these in fun stuff–that curly fur would be a totally fun throw pillow! Price on the fabrics I ordered (from fabric.com, not affiliated, just had a good selection) were about $16-26 a yard. I don’t have a photo of the jacket one of the ladies from Shannon made for her daughter from a fur that looked like a baby spotted fawn…adorable.
 Some great tips from Shannon Fabrics for working with Minkee, Cuddle and other fabrics that shed:
- first cut from the back so you clip the backing fabric, not the hairs (thereby creating fewer shedding bits),
- then run the cut pieces in the dryer — the loose bits will mostly end up in the lint filter (empty it!) and not all over you and your sewing room
- choose a simple garment shape, boxy rather than fitted/many pieces/darts


There are great tips and tricks on Shannon’s website here. And free patterns are here. Including the one I used for this scarf which I made in class:
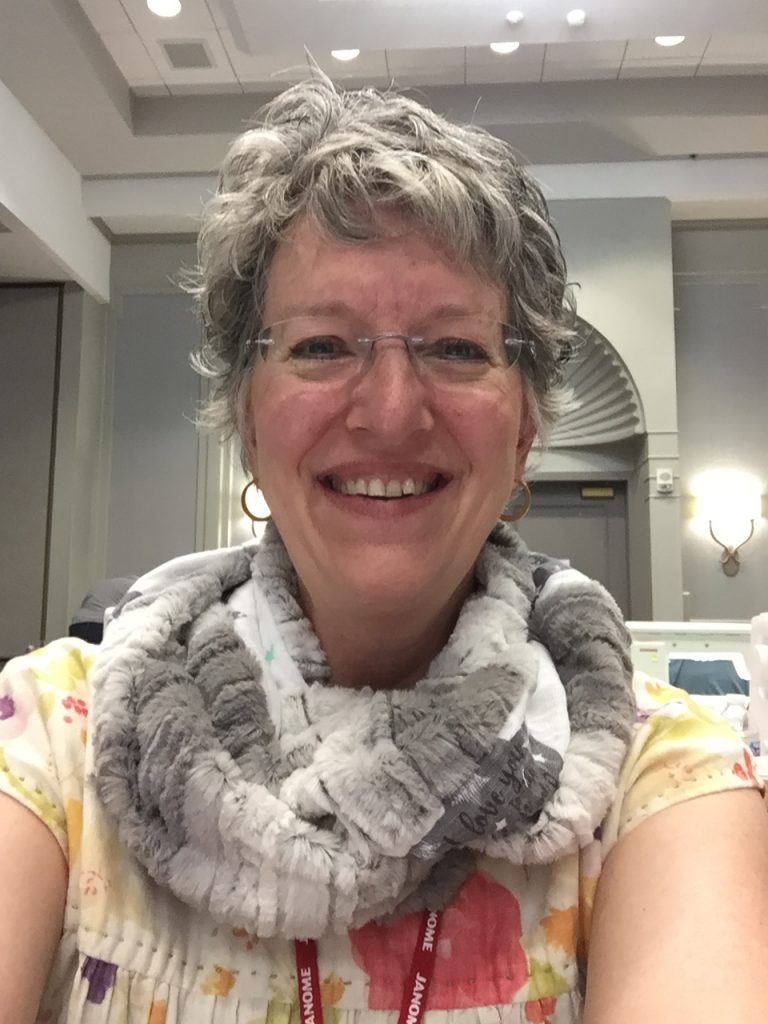
In my infinity scarf–the fleece matches my hair LOL! And boy is this COMFY!
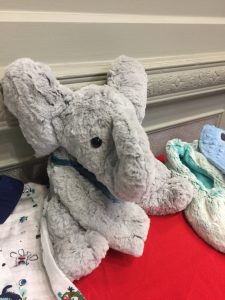
I ordered some Faux Fox fur for another infinity scarf — a yard of $17 fabric (60″ wide) will make two long scarves 9″ wide x 60″ loop (can wear doubled as in this photo) or three shorter ones 9″ wide by 36″ loop. Pretty quick and easy holiday gifts, eh? And I am in LOVE with the Buffalo Check fleece, which is not in stores yet that I can find. I want to make Christmas jammie pants for the family! If you have wee ones, imagine making a plushie toy like the elephant and a matching nap blankie!
The double gauze has in the past been aimed at the children’s garment market, but they are starting to add not-juvenile prints and solid colors. Some other double gauze I have used is a finer weave and softer to the hand, but costs about triple this fabric. The fabric softens up when washed, and I know I will really like wearing my shirt. Here is how I made it using two of the fabrics that came in my kit:
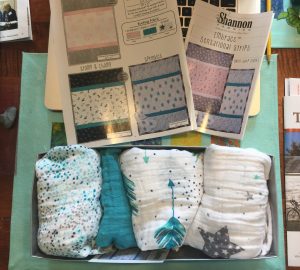
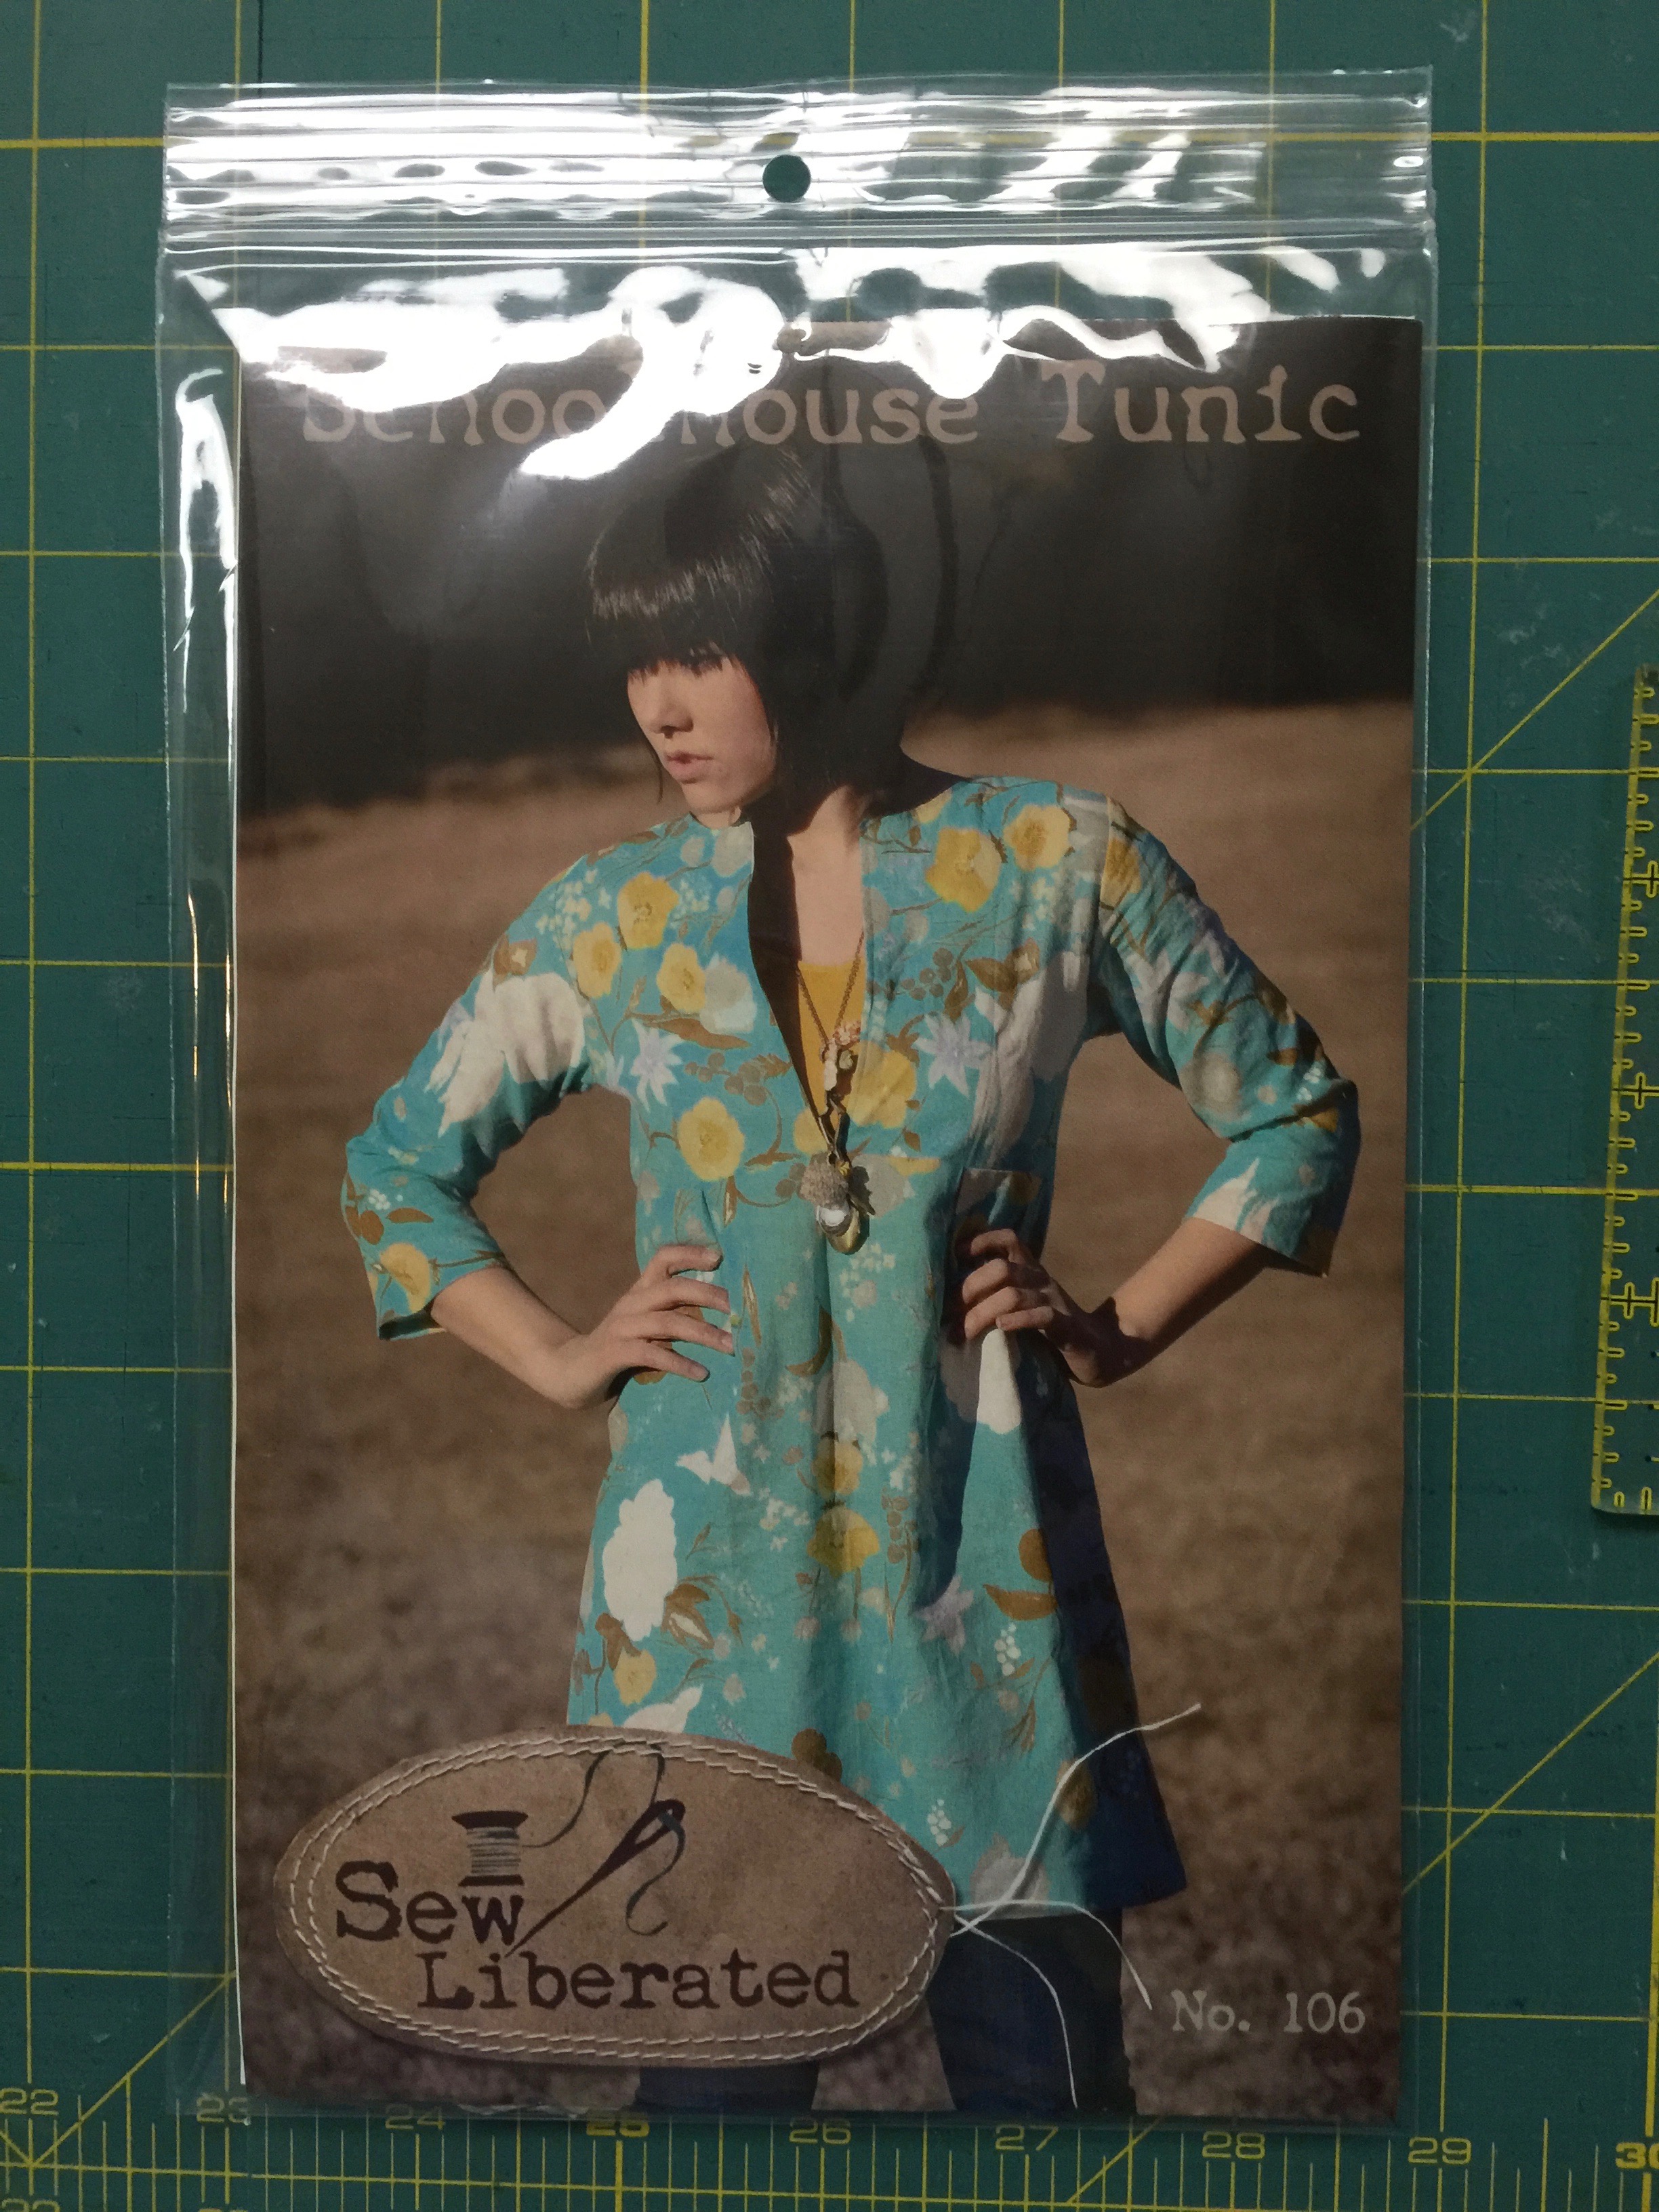
My kit showing some of the other kits available.
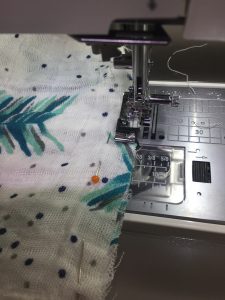
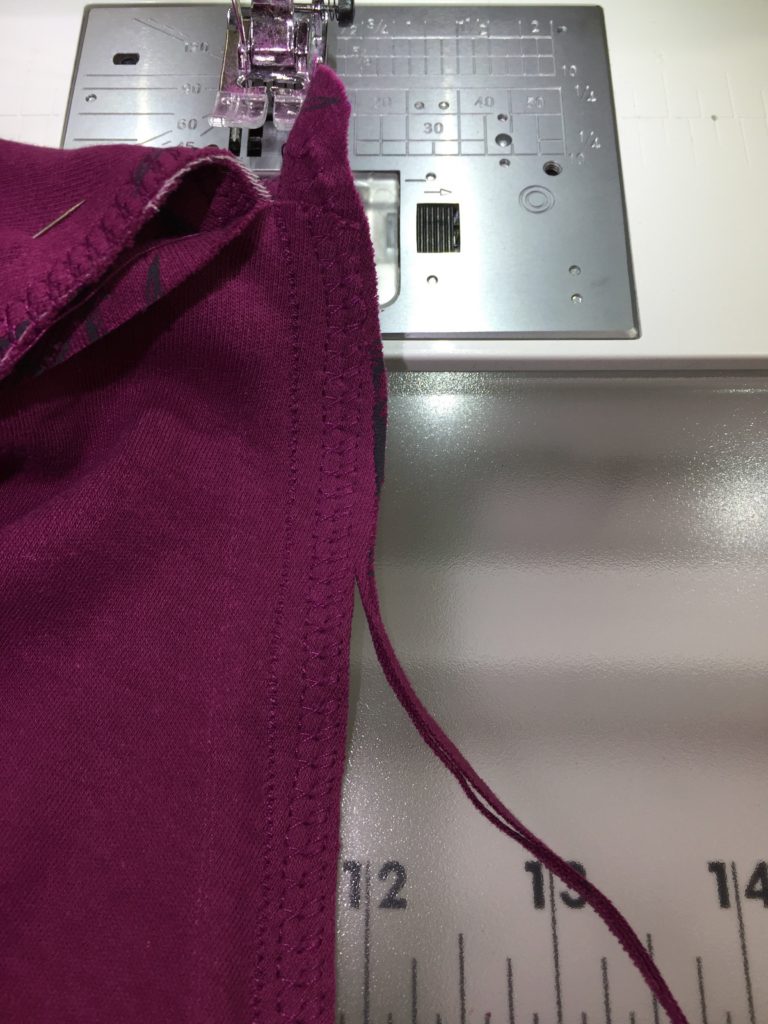
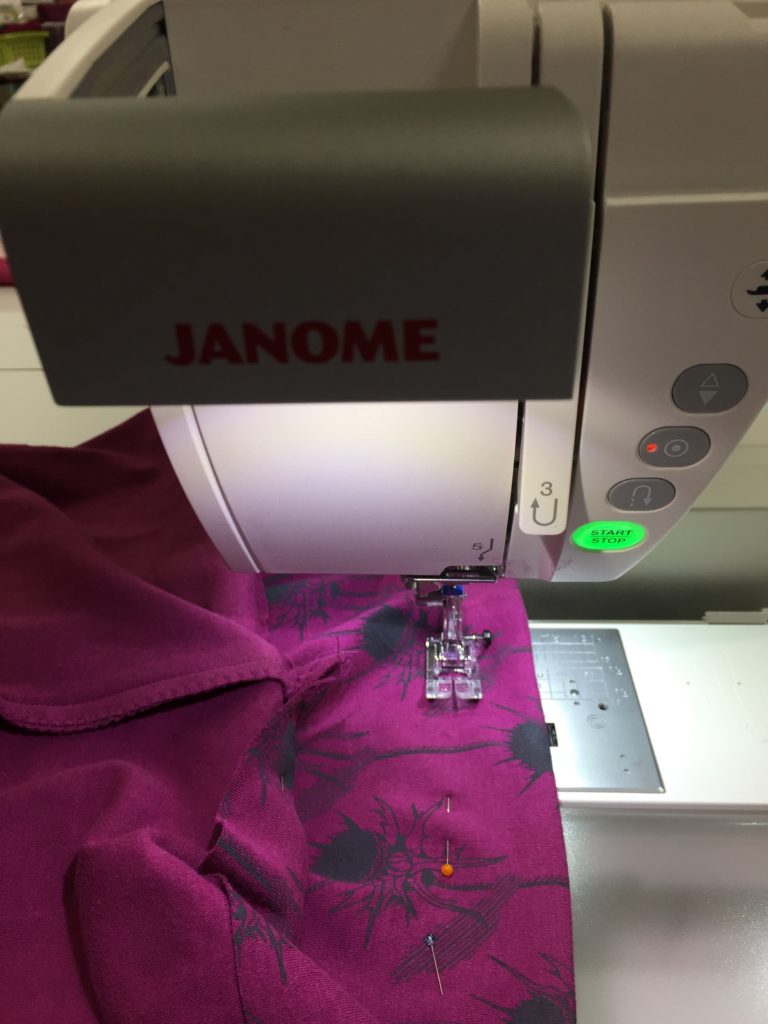
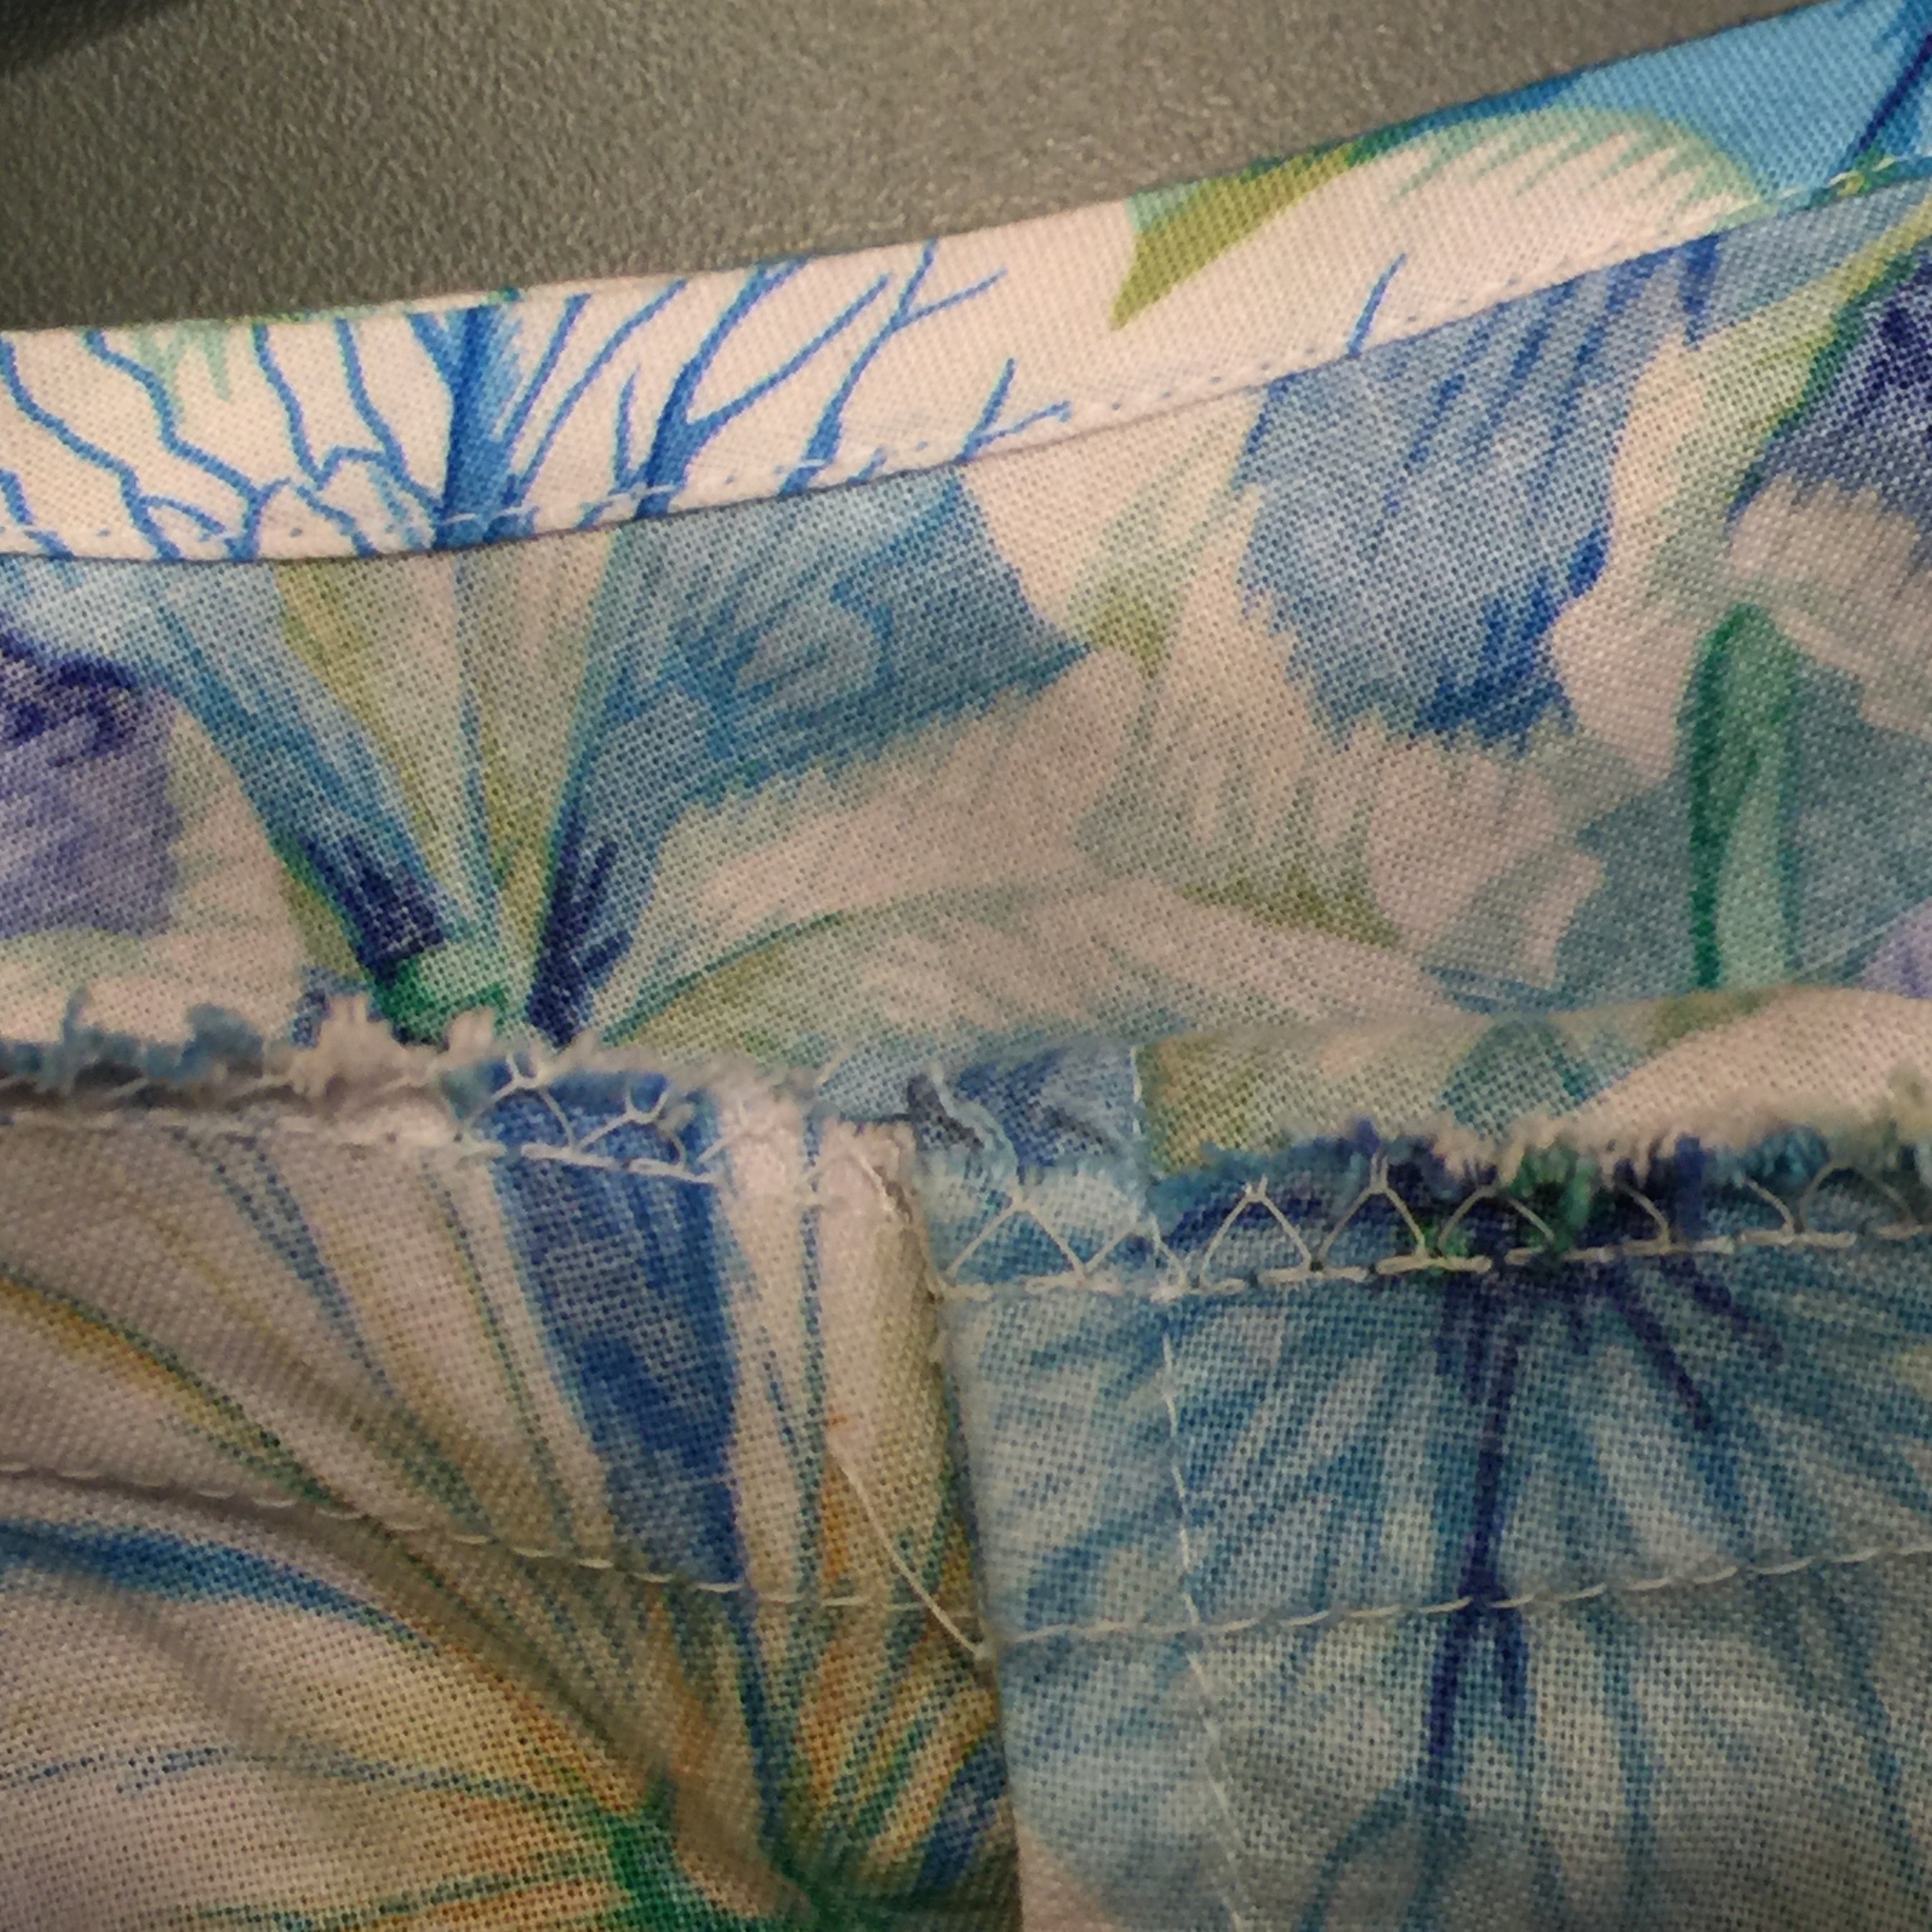
I used a simple vintage T shaped blouse pattern (see photo below with the pink shirt). Because the gauze is very loose and malleable, I used French seams. I sewed with wrong sides together using the Janome “M” overcast foot. Then, press the seam and turn inside out.
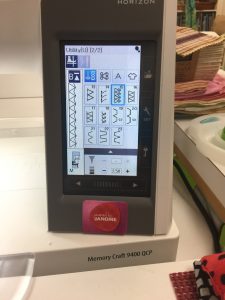
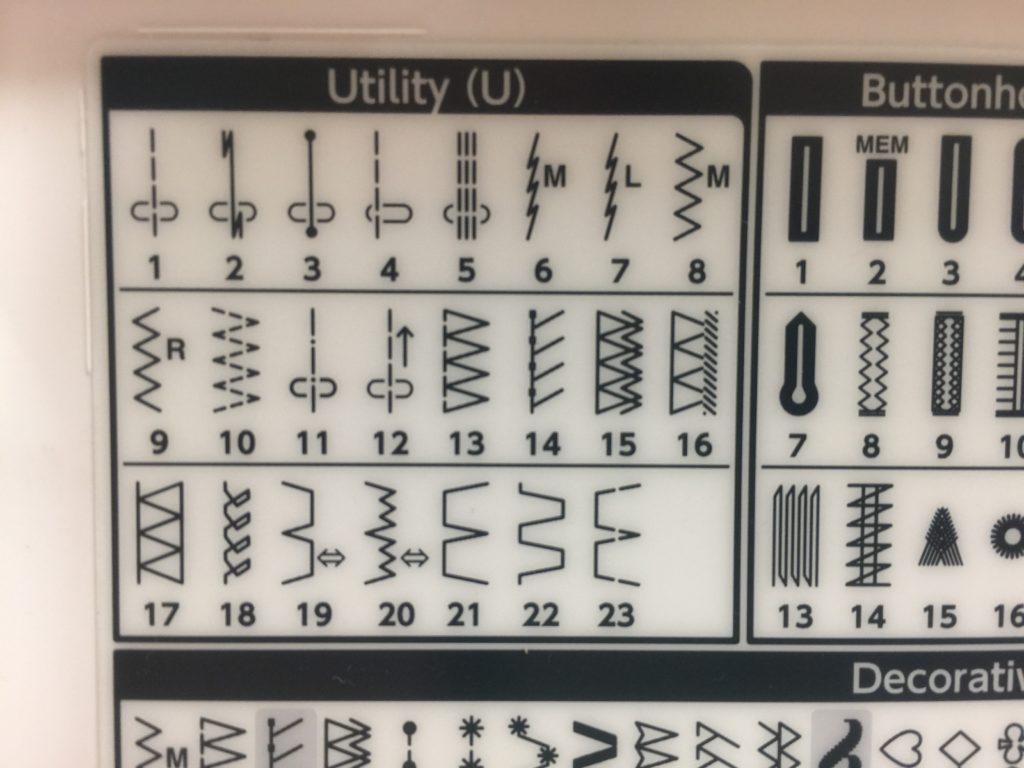
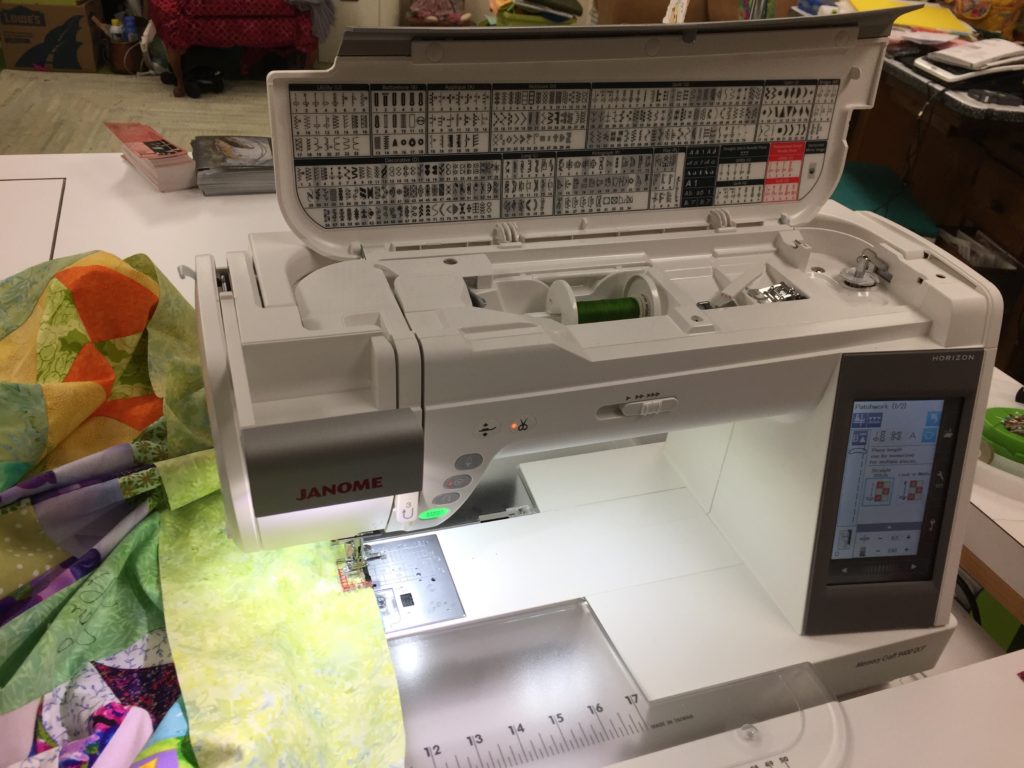
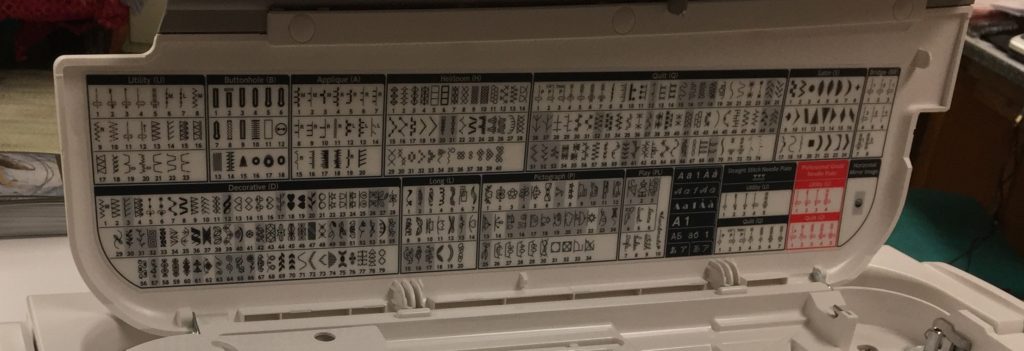
This is the overcast stitch I used. Your machine probably has one similar, or if you have a serger you could use that, too.
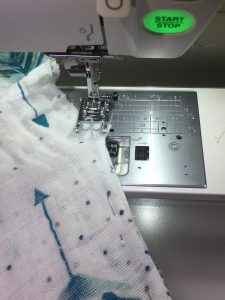
Turn the garment inside out and sew with a 3/8″ seam allowance, which totally encloses the overcast edges to create a clean finish on the seam that won’t ever ravel.
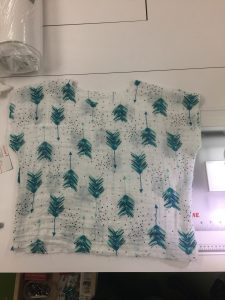
I didn’t have a lot of fabric, so I had to shorten the “sleeves” and length compared to the pattern. Even as a shell this would have been a nice top.
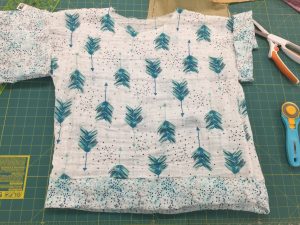
Here is was trying out various lengths for the addition of the dotted fabric to the hem and sleeves.
And trying it on. Those longer sleeves looked awful–needed to be shorter!
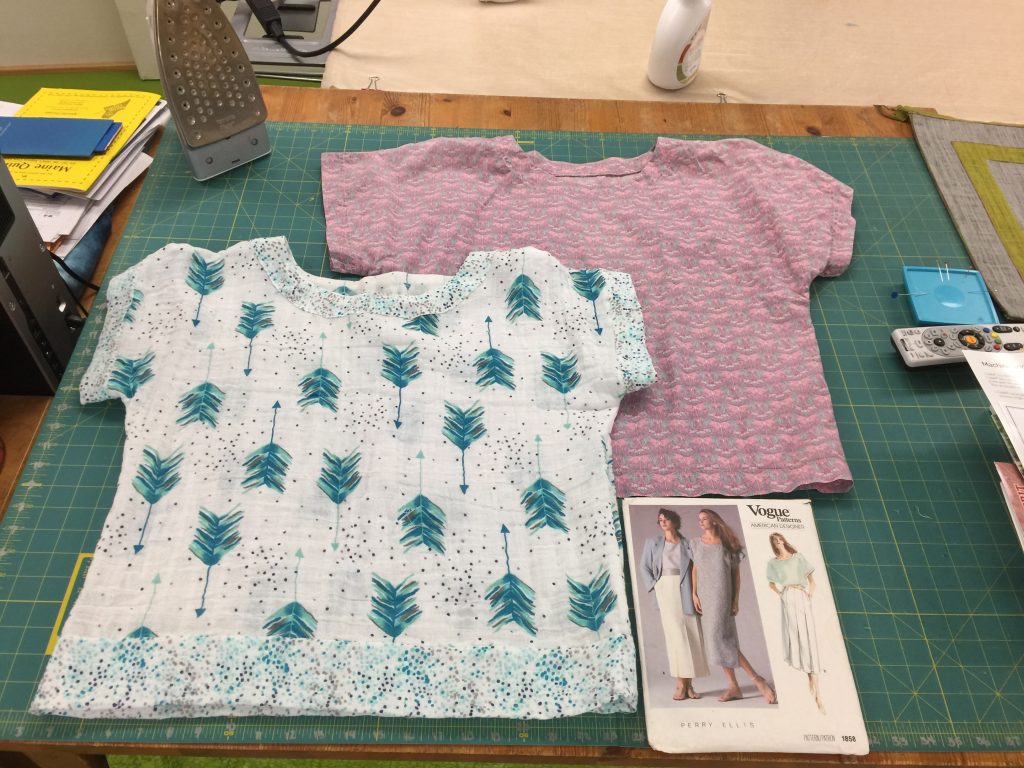
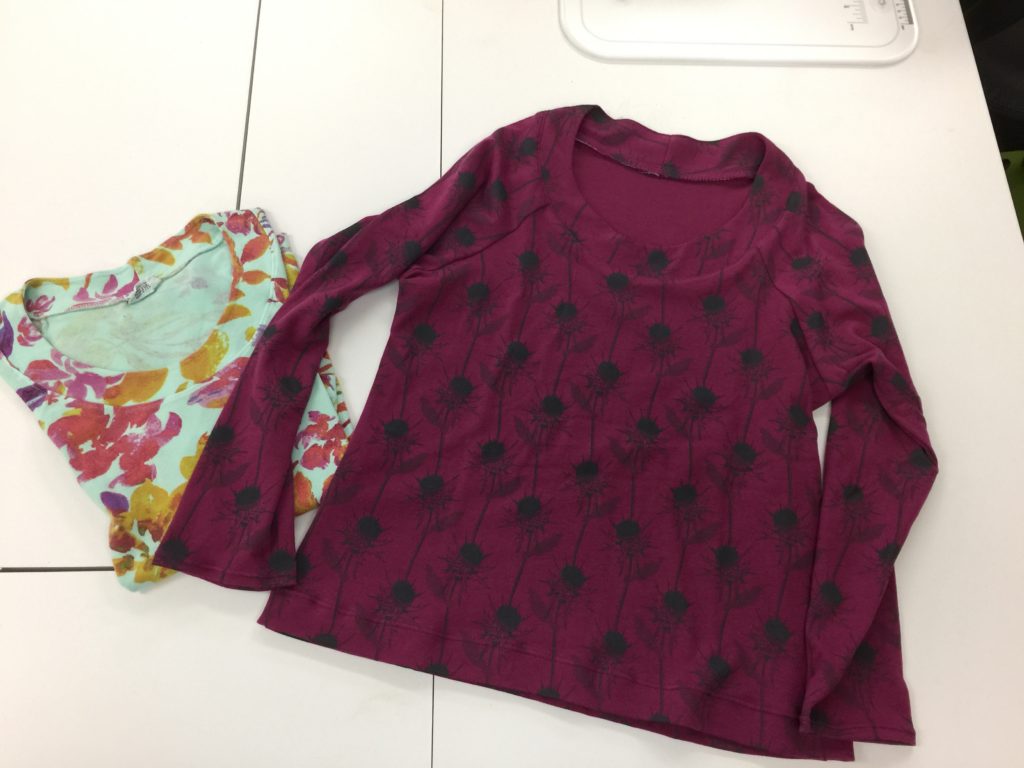
Here is my circa 1988 Vogue pattern which I used to make the pink shirt back in the late 80s or early 90s of Liberty Lawn (and I still wear it and it still looks good) and the slightly modified double-gauze top.
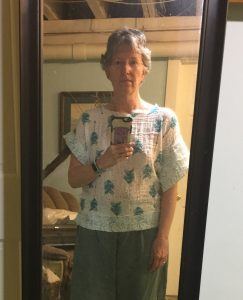
Double Gauze top with fabric from Shannon Fabrics at the Janome Education Summit 2018–and me, one more time. I have on an aqua camisole underneath to show shadow-through–hardly any. I could easily wear normal undergarments and be completely comfortable in this. I have been thinking that this fabric would make really great pajama/lounge pants for hot summer weather.
It’s so much fun re-visiting this inspiring Summit. In retrospect I can’t believe we packed in so much into just under 3 full days! Thank you again Janome America for inviting me to participate, including me as a Janome Artisan, and supporting me and my art these past 15 years. I think I’ve been affiliated with the company longer than many of their freelance educators! And thanks to Shannon Fabric for this session, the kit, and yes, I’m totally gonna order more of that Faux Fur!