Moss Jacket, new for summer!
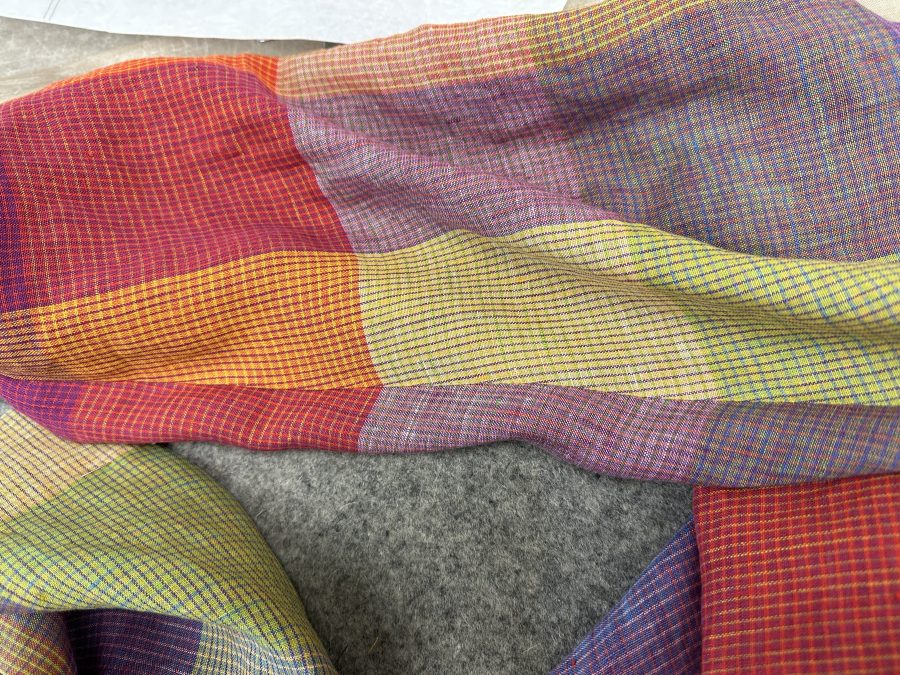
Thursday, July 20th, 2023It’s time for some summer fun–in this case a lightweight summer jacket that has languished since last summer! The pattern is the Moss Jacket from Helen’s Closet Patterns and the fabric is this one from Blackbird Fabrics in Canada. I’ve ordered from Blackbird before and luckily had no issues with US customs.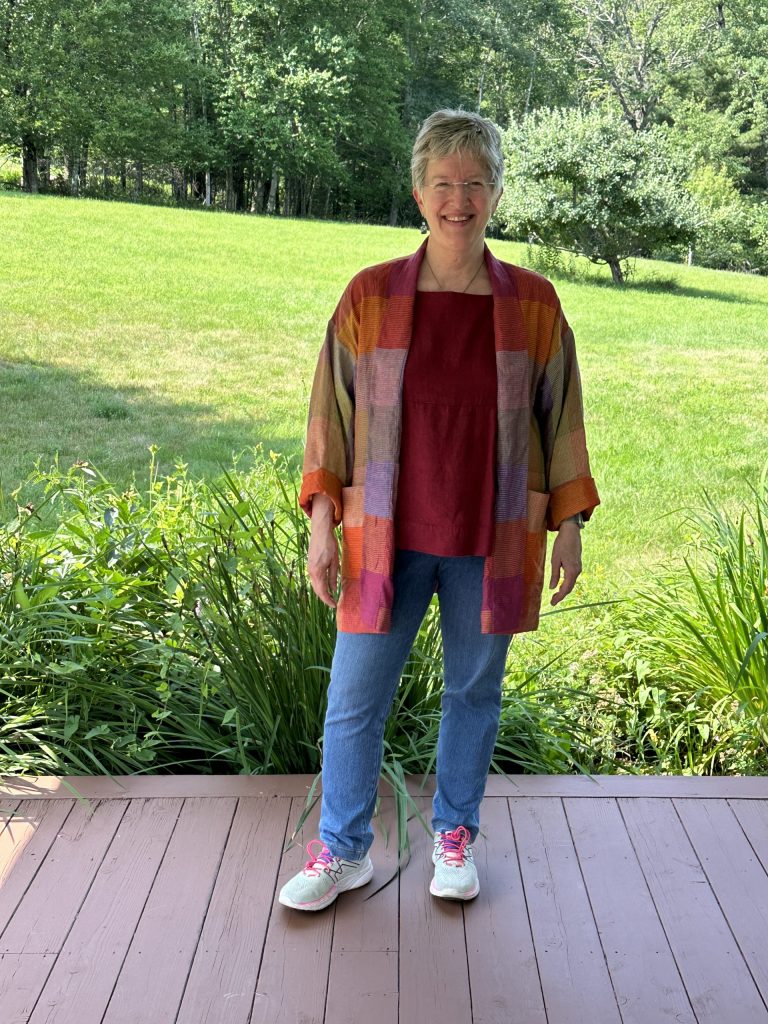
I love a super light jacket–I don’t care for the feel of 99% of sunscreens, but I burn very quickly. This type of garment is my solution. When making a garment, the first thing I do is figure out my fabric layout. Invariably, fabric is not any of the widths for which yardage is offered on the pattern envelope. In this case, I think the fabric was 54″ wide, and pattern layouts were generated for the more widely available 44″ and 58-60″! I bought three yards of the 54″ and figured it would be whatever length I could fit!
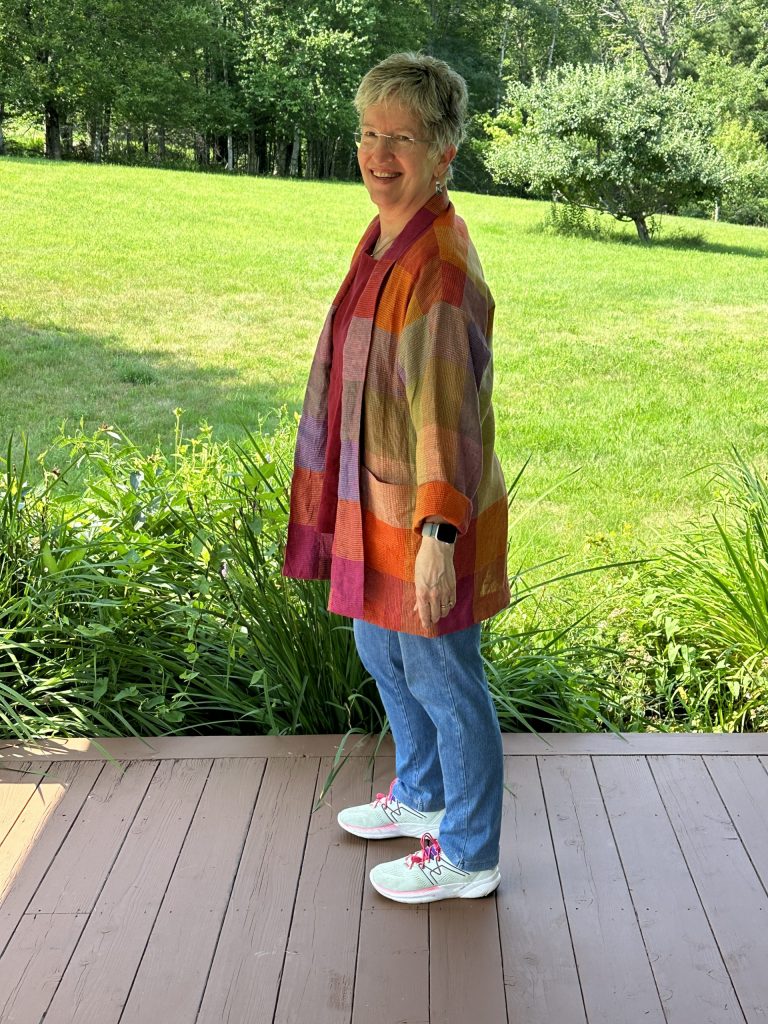
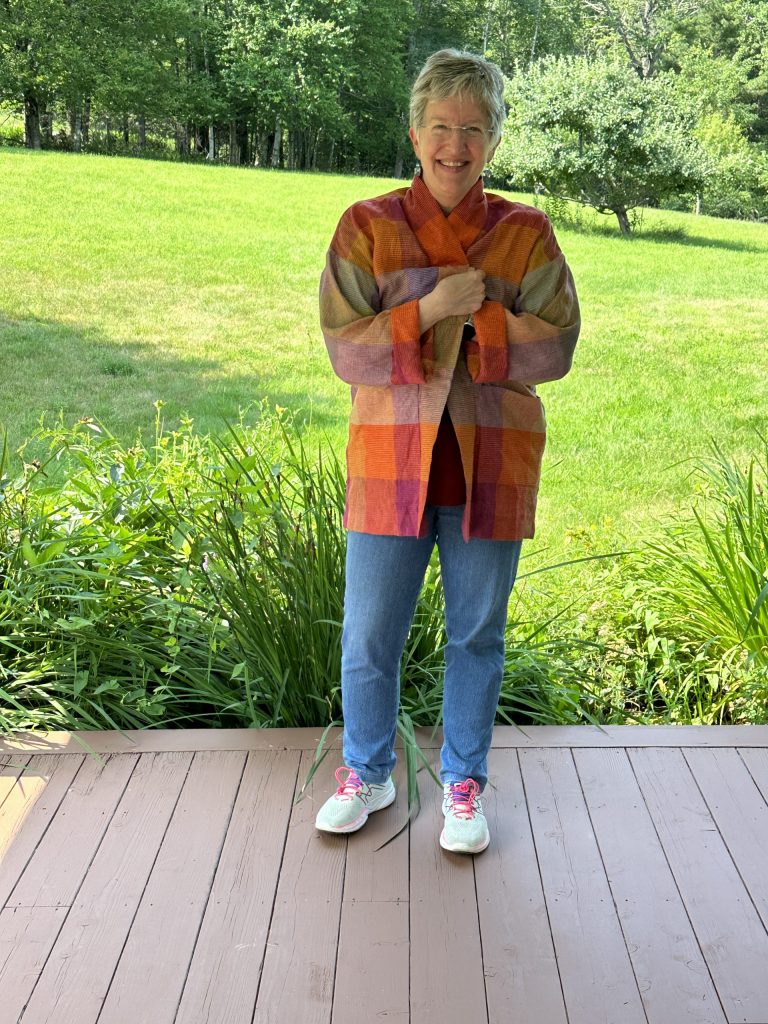
The Moss Jacket comes short (high-hip length) or tunic length, as seen here. The collar can be fold-over, which I chose, or half that width and rests flat.
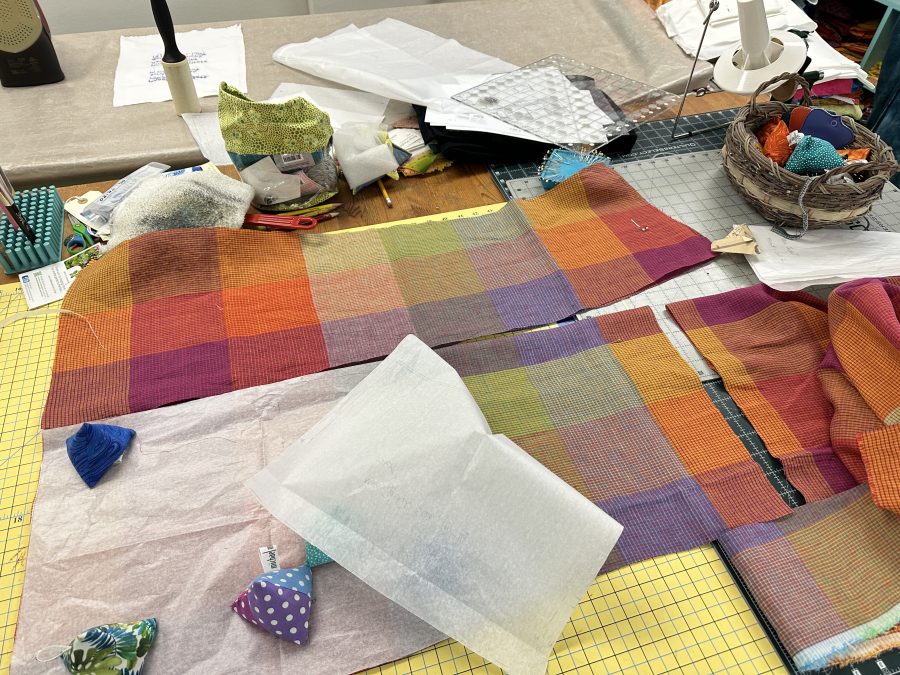
The first thing I did was to cut the fronts (at the top) and the back (with the white tissue folded back) so the horizontal bands in the plaid match perfectly.
When I cut plaids, I am meticulous about pinning the fabric so that it doesn’t wibble-wobble on the cross-grain… I pin through to make sure it is precisely lined up before placing and cutting my pattern pieces.
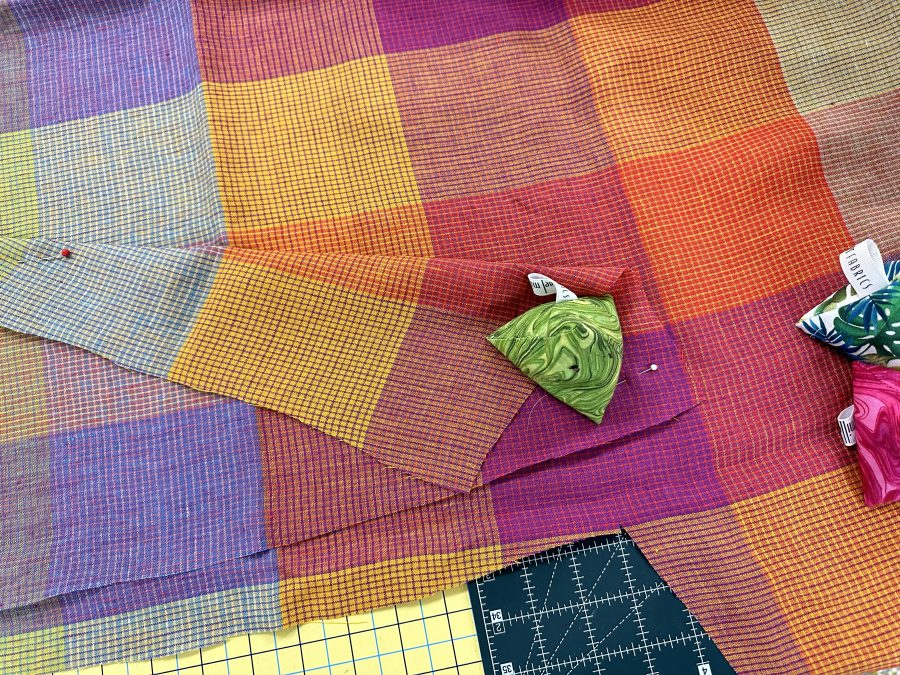
Here’s how I double check that the fabric lines up: pin it at the near edge, then fold back and see that the design matches. I like using pattern weights…this little pyramid is a small, rice-filled (I’d maybe use shotgun pellet next time) bag–my free pattern is here! You can find all sorts of goodies including this one on my Resources page (up at the header click on Resources).
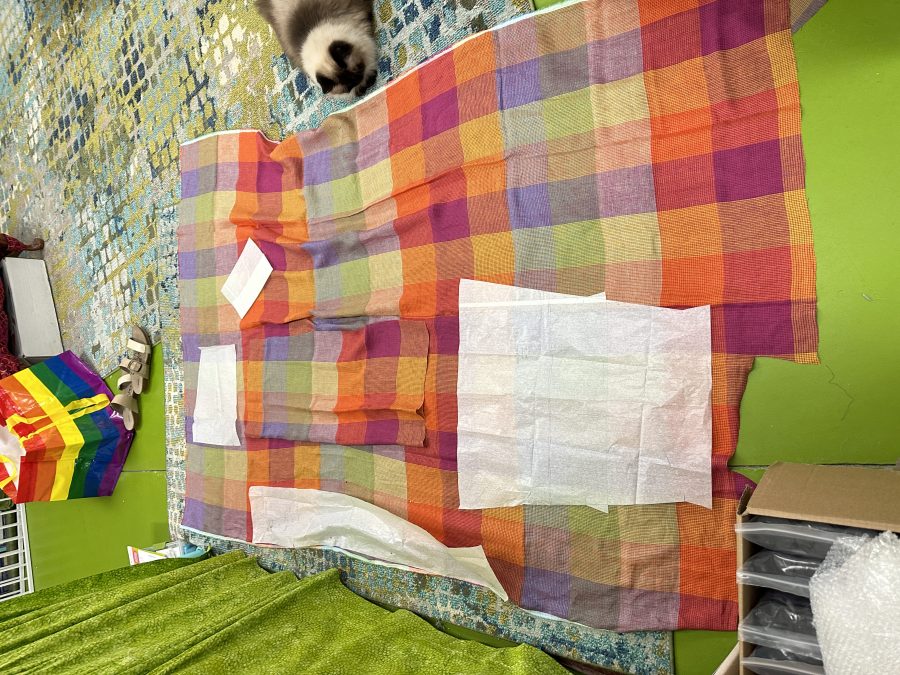
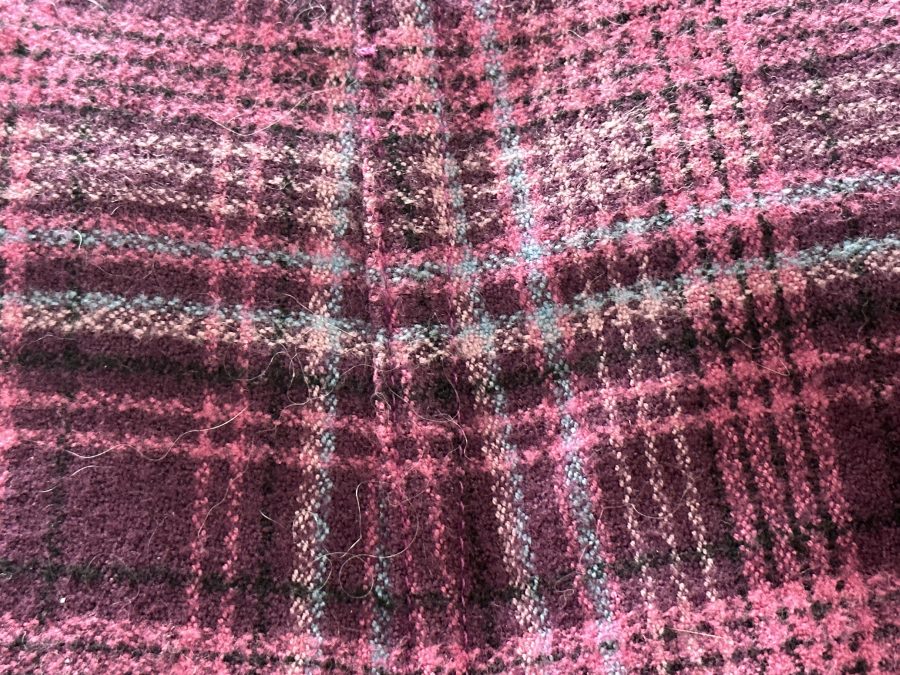
My next task, supervised by Yoda, is to determine layout for pattern matching. You all know I LOVE a perfectly matched design! I had already cut the back and the fronts to match horizontally; the folded back is placed on the fabric above to determine where to cut the yoke so the center darker red vertical aligns perfectly. I then fit the smaller bits in the leftover spaces. Luckily, I was able to get the collar pieces to align perfectly, too.
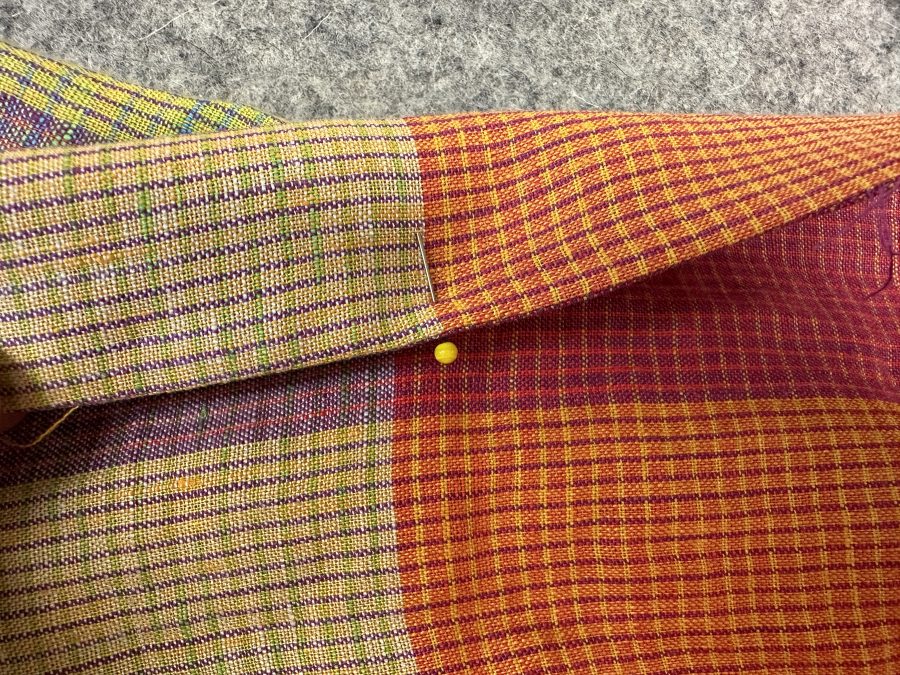
This is how I slide the pins in on the edge of a line or motif. I check both sides to make sure it is even. In this photo, I am folding over the collar to prepare it to sew down the second side.
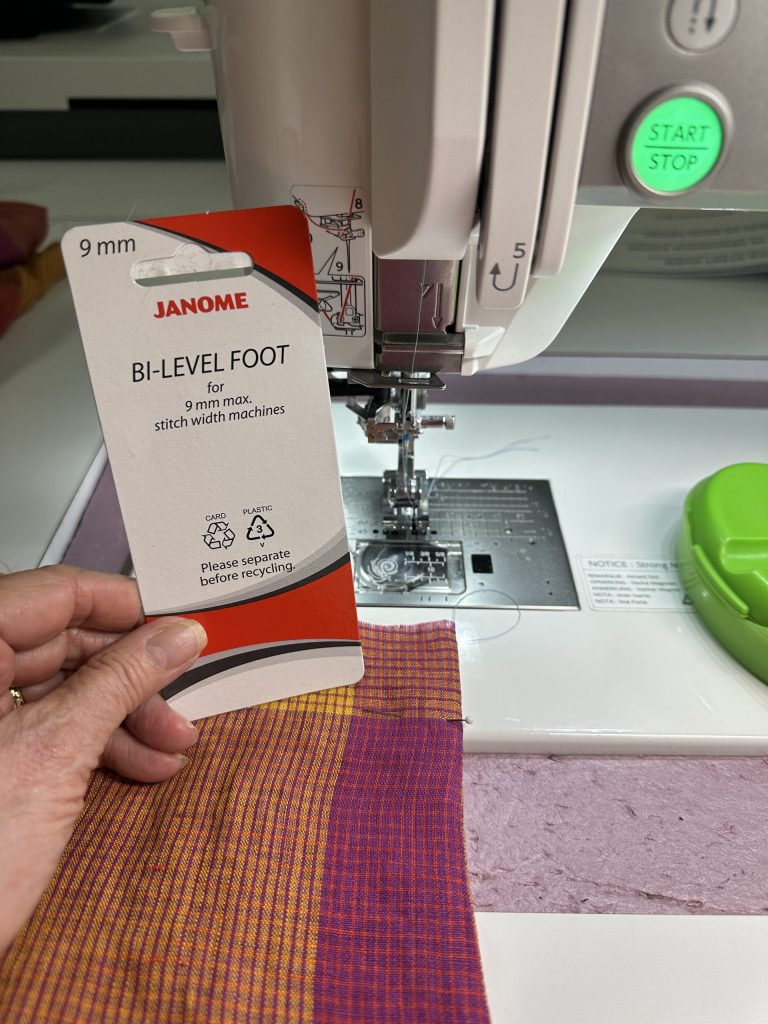
My favorite new presser foot from Janome is the bi-level foot. There is just a bit more room under the left side than the right side of the foot. So far this is giving me the best combination alignment and visibility for edge-stitching.
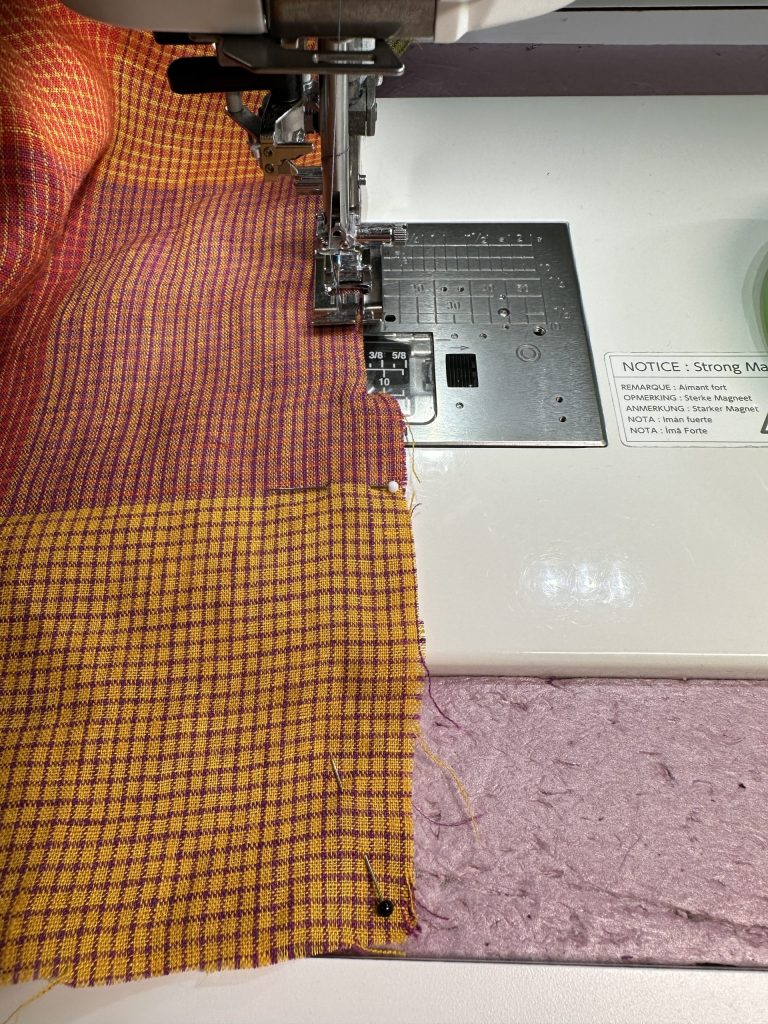
Here’s the foot in action–the right sides rides OFF the edge; the left side rides ON the fabric, then you set the stitching distance from the edge by adjusting your needle position. I understand that at least some other brands have similar feet. Also notice those pins holding the plaid in alignment.
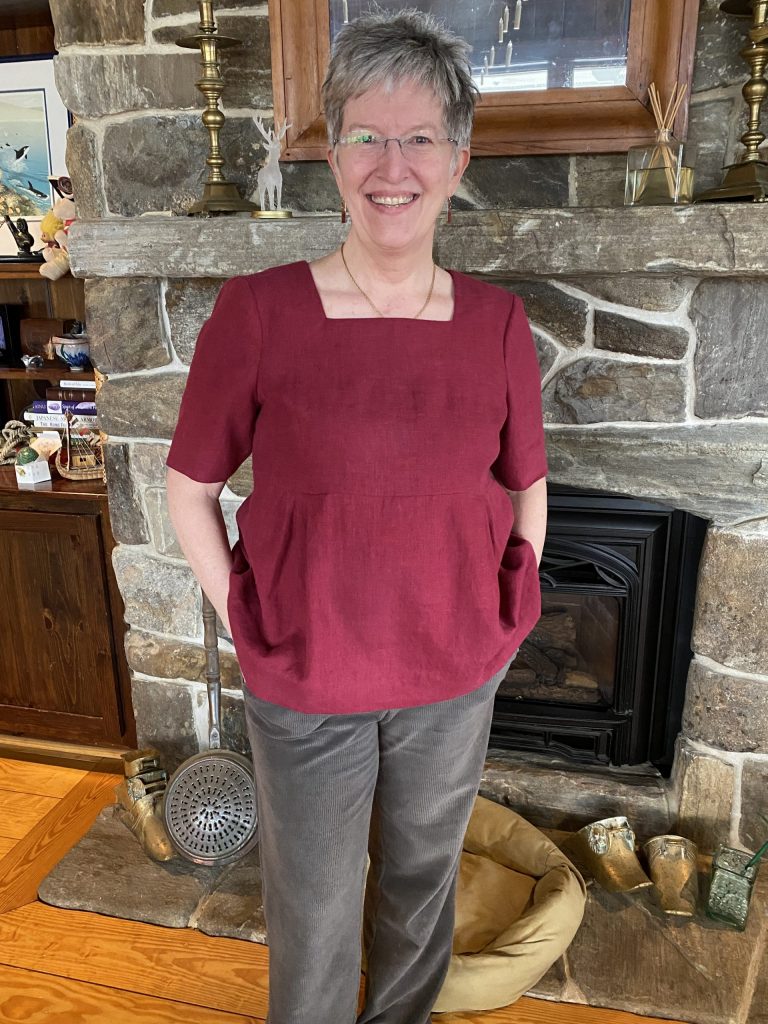
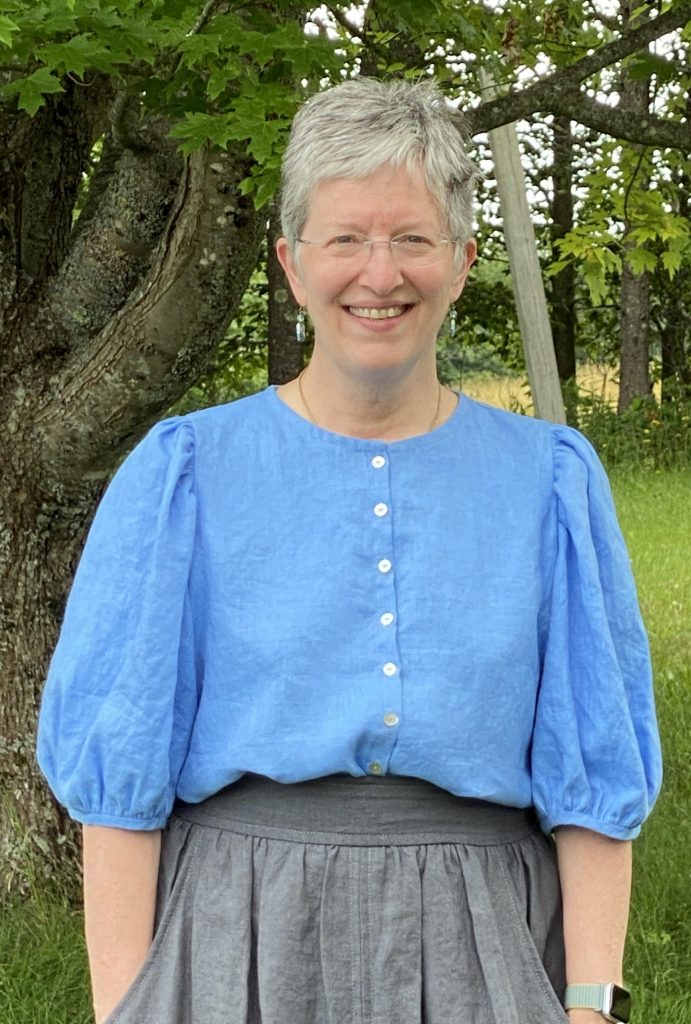
And here are a few more photos of the finished garment on one of this summer’s rare lovely days:
I have several more clothes projects in the pile, so I’ll be back with more before winter hits!

