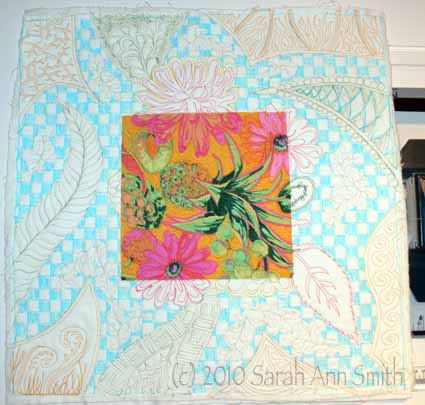
Yes, it has been a while. As usual, that means there has been more than the usual chaos around here. We happened on to a house for sale ad in August, which started a ball rolling that we hadn’t anticipated. We found a different house just a couple miles away (same school district, next town over), made an offer on it, and have been maniacally (sp? that looks weird but not getting a spelling error notice) sprucing up our house. That means little art and quilting have happened. Until this week.
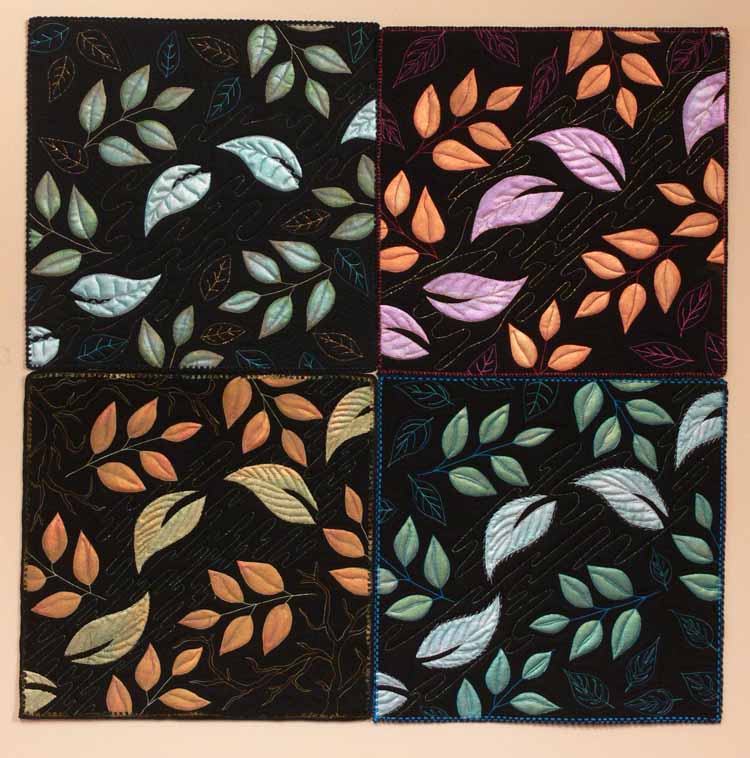
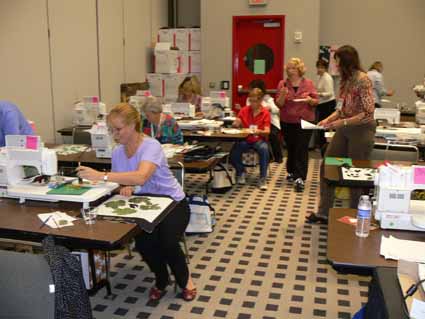
In the midst of getting the house onto MLS, I started a new sample piece for my Intro to Machine Quilting Class which I’ll be teaching again on Sunday at Maine-ly Sewing in Nobleboro. I was prompted by two things: this post over on Jenny Bowker’s blog and the fact that some students find free-motioning into the vastness of empty space –i.e. the 18 inch square quilt sandwich I have them bring– is intimidating. I use this sampler as my basic teaching tool (it’s also patterned in my book–click on picture to see it larger):
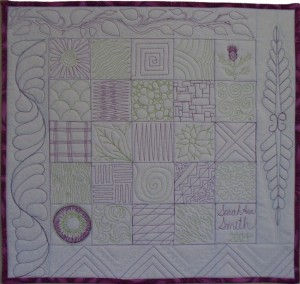
Some students like to make it just as is, sewing the grid, then filling in the squares, since a small square is less intimidating that a large one! Others feel too confined in the squares, so I tell them to just go for it on the sandwich without creating a grid framework. I’ve also long counseled them to use a large print as a guide for learning. You can put the print on the back of the quilt and use that as your design, or just in the borders but repeat the shapes and motifs in the center of the quilt.
If you haven’t yet visited Jenny Bowker’s blog, DO! She is one of my all time favorite quilt artists. Her work is always inspiring and amazing. While you are there, be sure to click on the link to her website and view her quilts. Jenny has combined the two methods I use into one piece…take a square of big-print fabric in the center of the sandwich. Jenny has her students piece the top, I think, but I’ll try fusing instead…faster for a class room setting? Then use various motifs from the print fabric plus fill patterns for the rest. In looking at hers again, I think I need to make MORE of these little pieces; I also am thinking a bed quilt of assorted big print squares with wide, solid-fabric sashings quilted all over like this would be GORGEOUS!
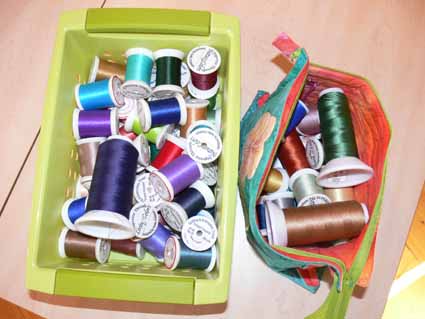
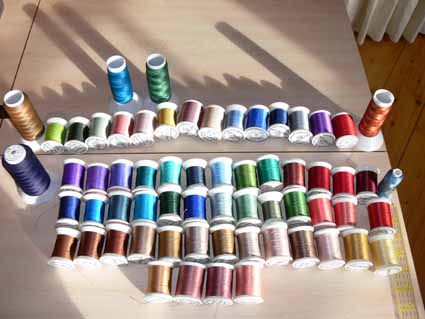
So, I decided to adapt her idea by fusing an 8 inch square into the center of an 18 inch square of white. I also received some spools of thread from Gilbreath Threads, fairly new to the quilt thread market I think–their stuff is available here. They found my website, asked if I’d like to try their threads (the cottons are made at the same factory in Italy as the Aurifil cotton that is so luscious Correction!!!! Gilbreath claims the cottons are as good as Aurifil…see my clarification posting dated October 11, 2010). I said sure, and they sent me a variety. In the next post, I’ll share more about them, but I think I am in LOVE with the 12-wt wool and the 12-wt silk. I am re-thinking my aversion to bobbin work…these are too wonderful NOT to use!
I began by quilting on the print square, then spilling over onto the white. Next, I continued with the variegated green (a Rainbows thread from Superior Threads), with relatively easy quilting (requires less precision than many designs) for the four different “waves” coming in from the sides. I then decided to repeat the yellow color of the heavy wool used to outline the flowers, but using Gilbreath’s 40-wt. Poly. The latter handles and looks much like Superior’s 40-wt poly threads, which are my favorites.
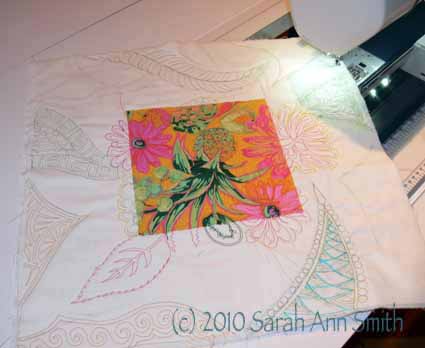
Once the colorful stitching was done, I decided to try the two cotton threads Gilbreath send: a 40-wt ecru and a 50-wt white 2-ply. I used the ecru to stitch a small leaf design in the center of the remaining open areas:
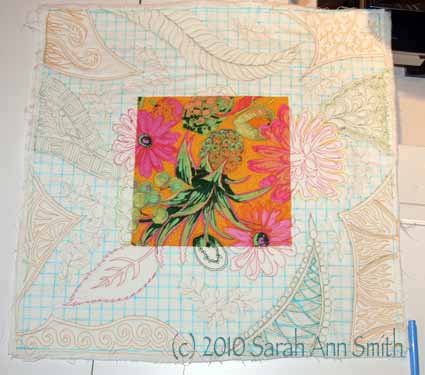
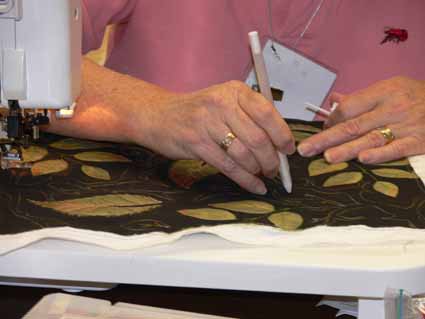
Finally, I used the fine white thread, which appears to be similar to Superior’s MasterPiece thread, for some background quilting. I like to contrast curvy with linear in quilting, so I chose a checkerboard fill patter. I got out my ruler (who me?) and drew a grid with wash-out blue pen (see above). Then, because I am easily confused, I colored in the alternate squares so I wouldn’t go off-track, and stitched on top of the blue (yes, this is the picture from the top, repeated….):

Here’s the back:
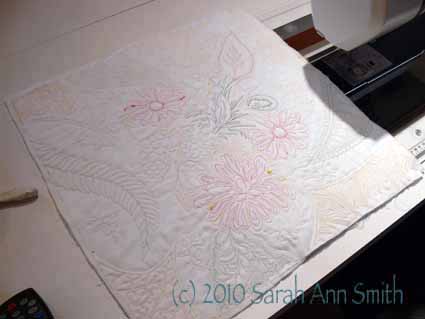
You’ll notice some thread blobs…I left those on purpose since this is educational. The point on this one is read the thread description FIRST. I tried using the 12-wt silk and the 12-wt wool through a topstitch needle (both size 14,90 and 16/100), with limited success. I then read that it is intended for use in the bobbin or by hand. I simply cannot describe how heavenly that heavy silk is….. I can see doing handwork just so I can use it. The sheen, the thickness….GLORIOUS. I think I will take a very close up of that spool for the next post….drool! Anyway, that’s for next time. And you’ll see it with the blue washed out…mo bettah!


