email Youtube

Home
Galleries
Blog
Workshops & Calendar
Store
Resources
About
Contact

Archive for the ‘Coastal Quilters’ Category

Modern Winter Placemats and TableRunner

Wednesday, December 7th, 2016

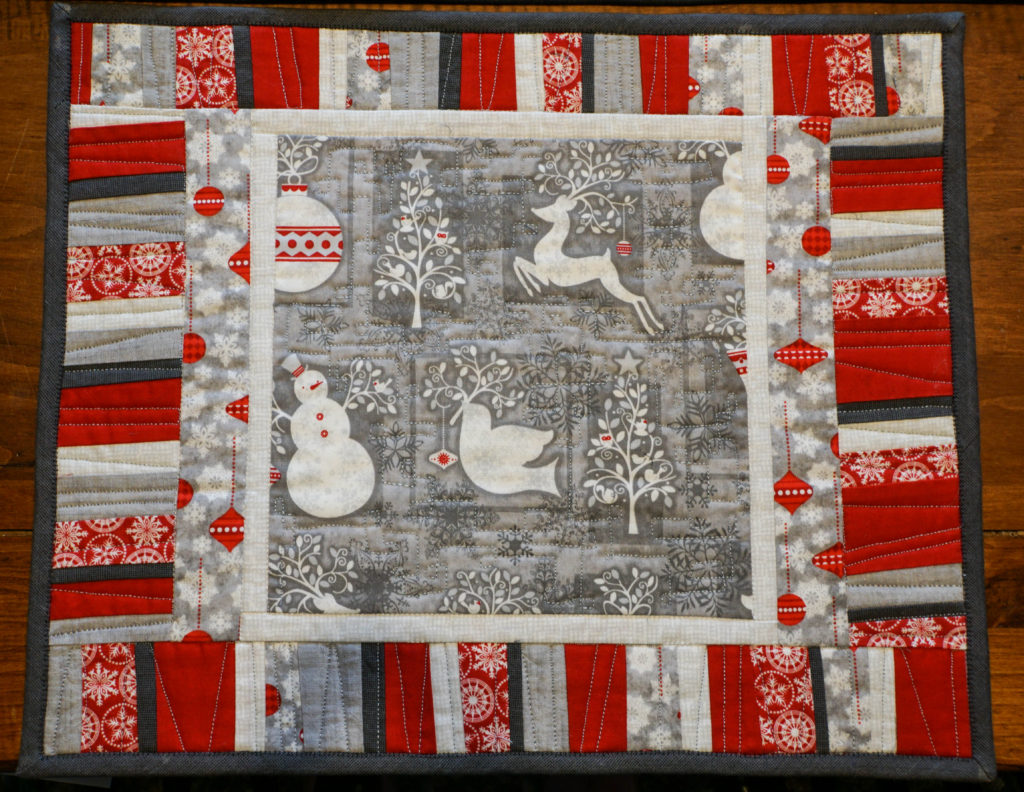
Last December at our local Coastal Quilters Christmas/Holiday meeting, we had a little game where you each bring a giftie, and end up with a different giftie.  I ended up with a lovely set of fat quarters in very “Quilt Modern” colors:  the red, white and gray winter themed ones.  I decided to add some new winter placemats and table runner made from the theme fabric using improvisational piecing. You can find the pattern at Janome America’s blog, here.

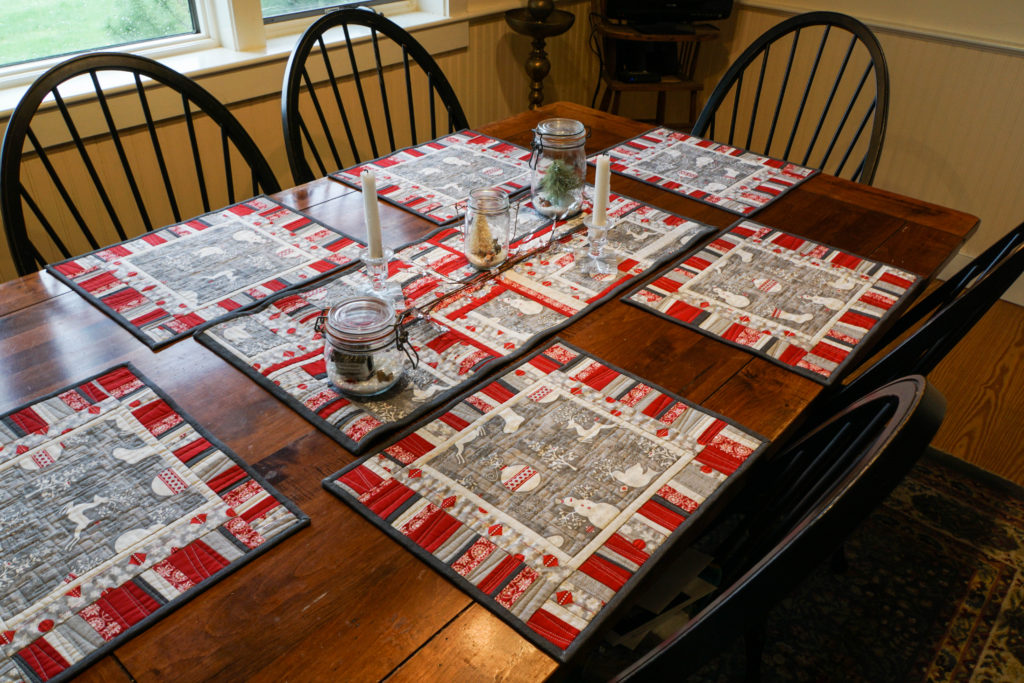
Modern Winter placemats and table runner.

Modern Winter placemats and table runner.

I added the solid red and dark gray fabrics.  I will advise you:  MEASURE YOUR TABLE FIRST.  I made the placemats first, rather oversized.  I had two of them bound.  Then I discovered they were too big, had to pick off the binding, cut them down (the instructions on the Janome site are for my final size), and re-do.  Erk.

Depending on the fabric you select as a feature fabric for the centers, you can adjust the size of the inner borders (or omit them entirely).  I had just a half yard of the feature print, so I needed to use smaller cuts and build them out.  If you buy a little more, then you can omit the inner border and strips.
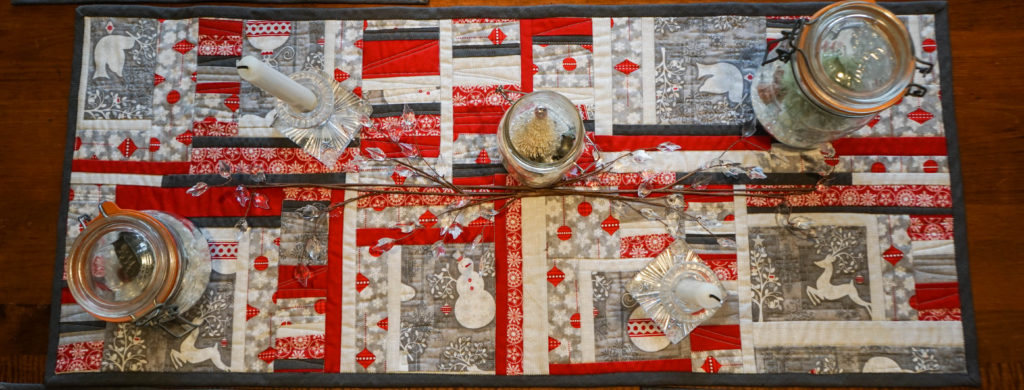
An overhead

An overhead view of the table runner; I used the few remaining bits of the feature print and built them out with strips, then fit them together.  Can you say “liberal use of partial seams?”

Overhead view of placemat

Overhead view of placemat

My favorite way to do bindings is by machine.  My secret:  glue stick!   I only use the glue stick on things that will be washed (probably often), so I wouldn’t do this on a high-end art quilt, but for a baby or bed quilt or table linens?  You betcha!
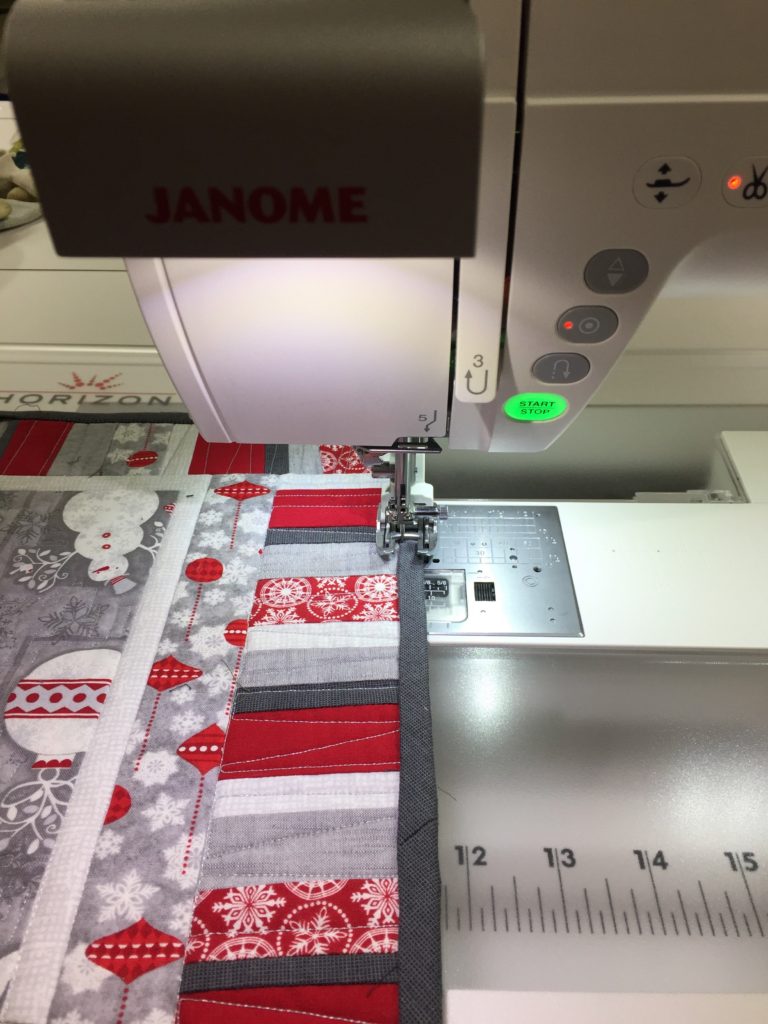
stitching down the bindings on the Janome 9400

Stitching down the bindings on the Janome 9400.  Love that pull-out light!  I sew the binding to the back, wrap it to the front, then at the ironing board use glue stick on the seam allowance.  I press the binding down and it stays put–no pins!  no bumps!  no wiggling out of place! 

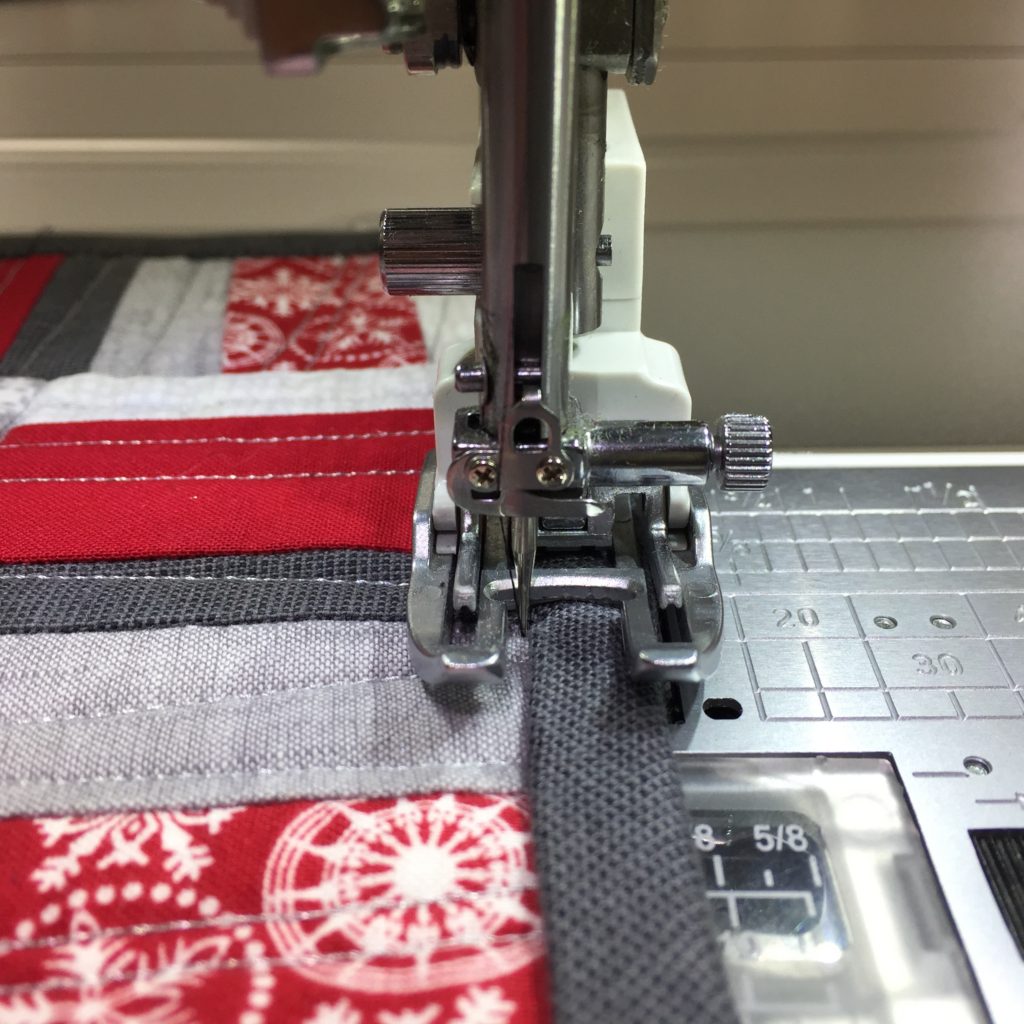
I used a blanket stitch, with the straight part in the “ditch” (just to the left of the dark gray binding), and the “zig” going onto the binding.
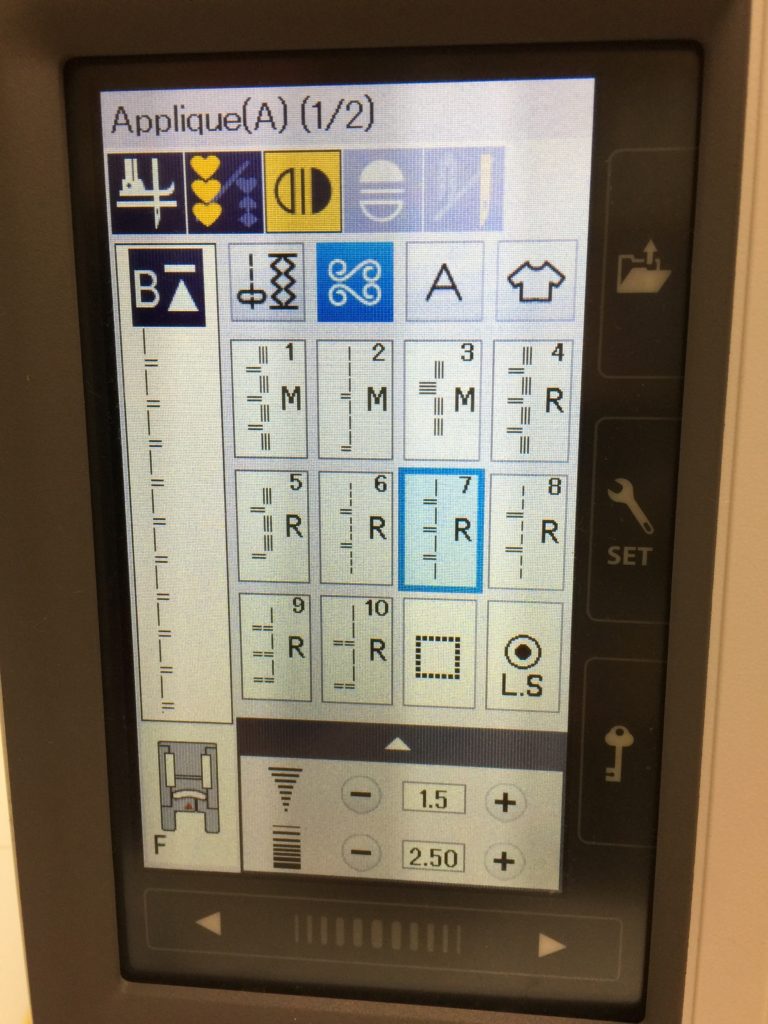
I used this stitch to finish the bindings, and used the mirror image button (above in yellow) so that the swing of the stitch goes to the right of the straight line (see the stitch as displayed at the left of the screen).
I used this stitch to finish the bindings, and used the mirror image button (above in yellow) so that the swing of the stitch goes to the right of the straight line (see the stitch as displayed at the left of the screen).

A closer view. The needle just barely misses the binding when going straight, then swings over onto the binding to hold it in place.
A closer view. The needle just barely misses the binding when going straight, then swings over onto the binding to hold it in place.

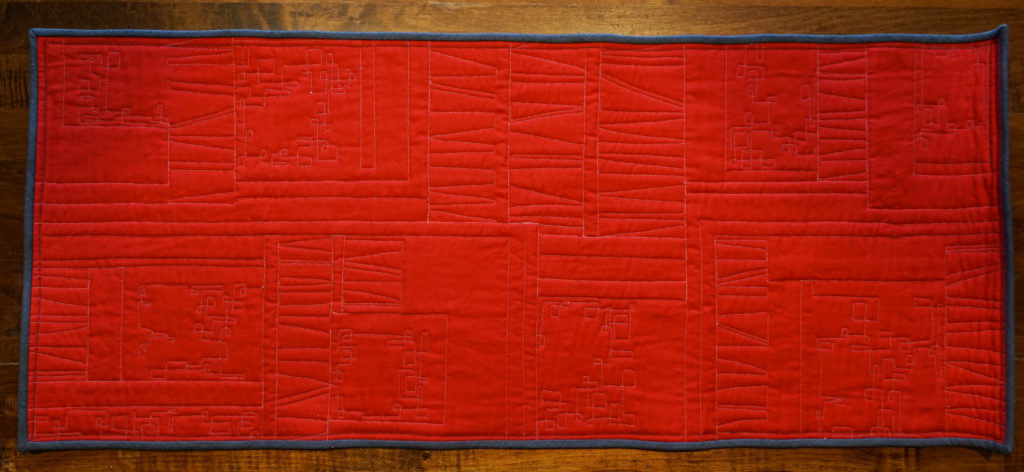
Back view of my quilting. I used a FMQ ruler (thicker than a cutting ruler) with the QO foot (this is not necessarily recommended, you really should use a proper "Ruler Foot" but I was extra careful)

Back view of my quilting. I used a FMQ ruler (thicker than a cutting ruler) with the QO foot (this is not necessarily recommended, you really should use a proper “Ruler Foot” but I was extra careful) to do the straight line quilting across the strip sets, then used a squared off loop in the background of the feature fabric bits.

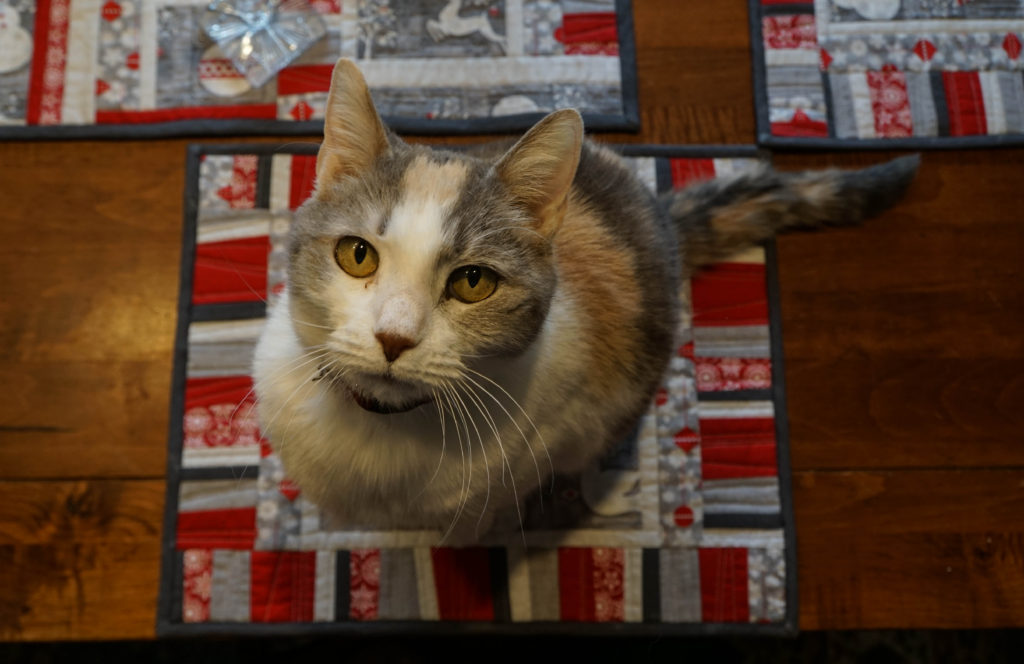
It must be good: it has passed the cat-sitting-on-it seal of approval!

It must be good: it has passed the cat-sitting-on-it seal of approval!


The Nest: a new approach to surface design

Saturday, July 30th, 2016

For most folks who are in to surface design, the surface design is the goal.  For me, the surface design is to create cloth to use in my collaged artwork.  Rather than hunt (and hunt and hunt) for fabric that works, I make my own, using both my own hand-dyed fabrics and commercial fabrics, especially batiks.  In my new class, The Nest, I teach this project as a way to learn several surface design techniques and get you started.  I’ll be teaching this class for the first time (officially) at International Quilt Festival, Houston (class link here) on Thursday afternoon, Class 496.

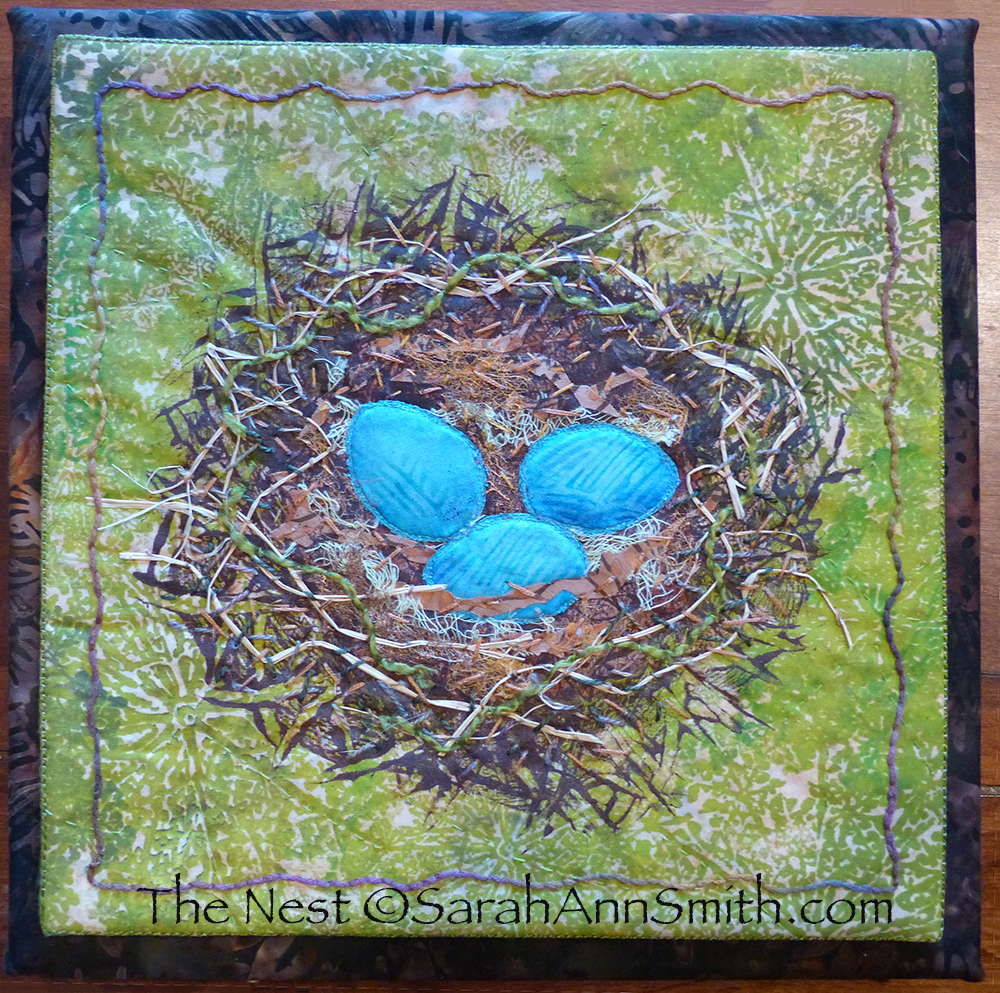
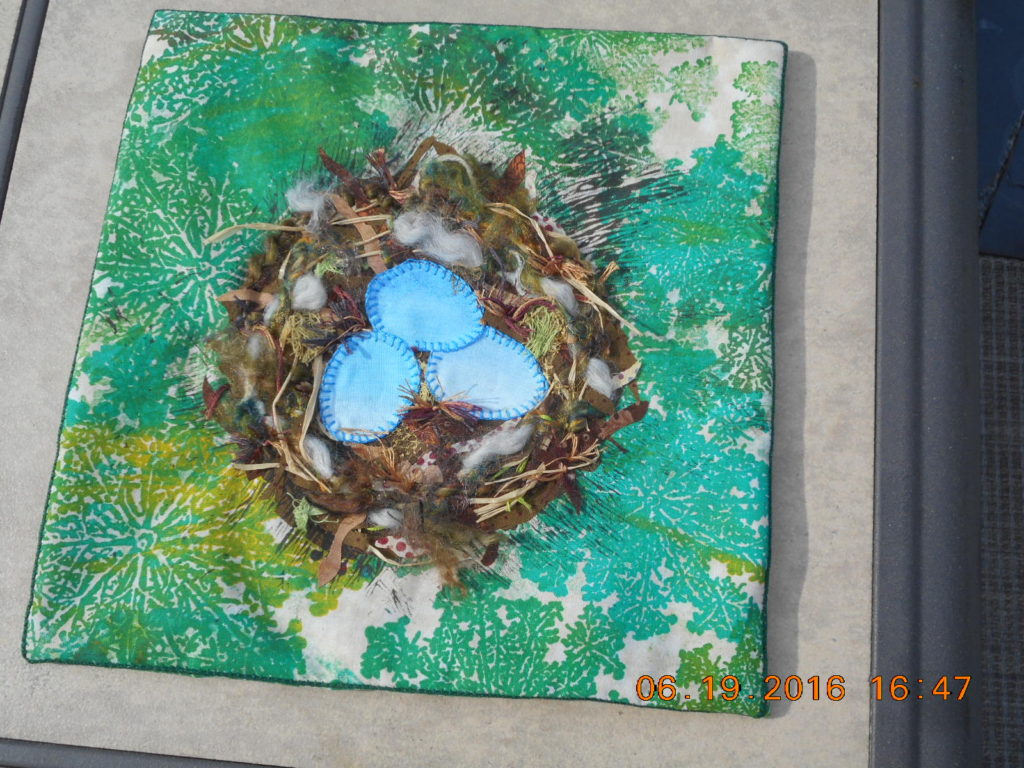
The main class project for my class The Nest:  a new approach to surface design.

The main class project for my class The Nest: a new approach to surface design.  Right click photo to view a bit larger.

I provide a kit (with a fee) with paint, brush; hand-dyed floss, perle cotton and cheesecloth; Sarah’s custom thermofax screen (yours to keep) and more.  You provide the fabric and willingness to play!  The class can be either half or full day; in Houston, it is a half day class.
Since Houston is THE big quilting event in the world, it pays to prepare, so thanks to my local peeps, I did a “test run” on the class to work out timing and make sure everything was clear.   THANK YOU to my Coastal Quilters for helping me out…you were great, and the class helped me immensely (like I can only fit two projects, not 3, in a 3-hour class!).

aside

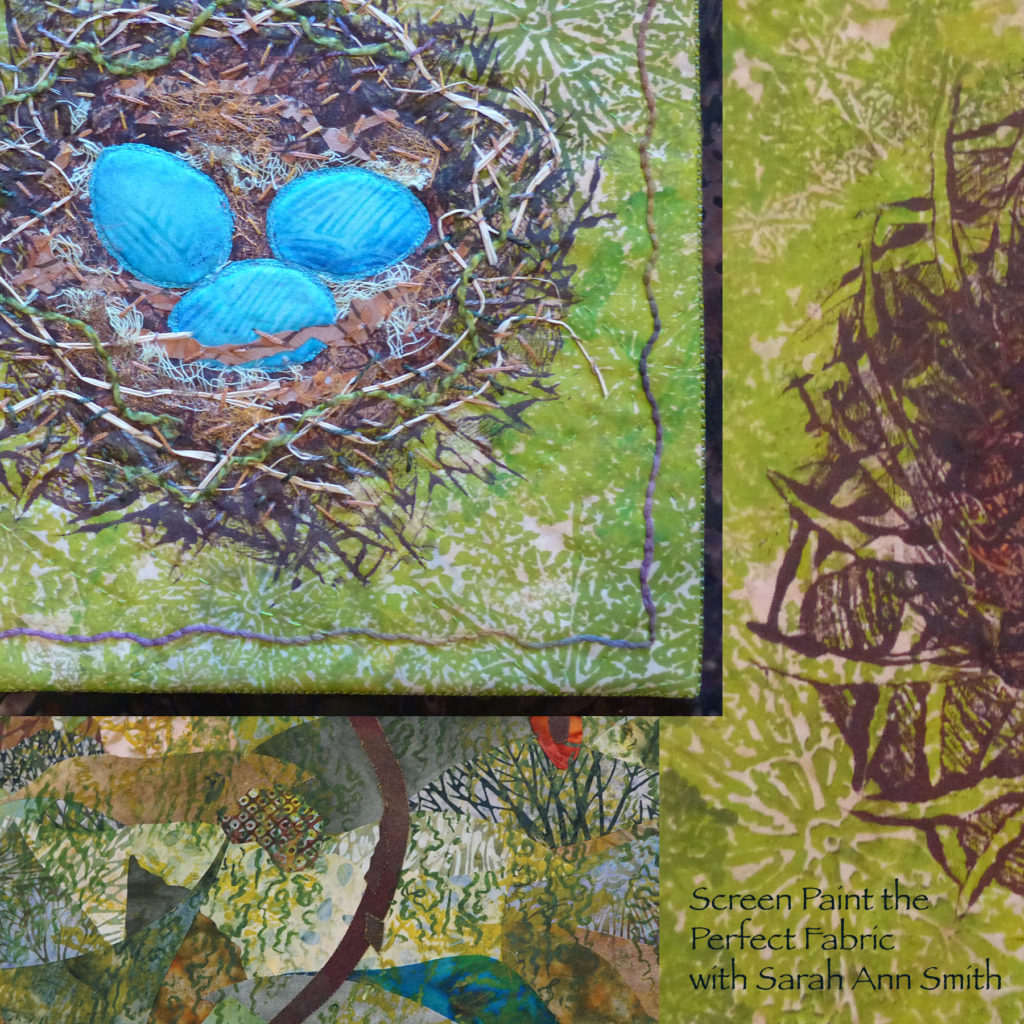
A detail of the project, and some intermediate steps

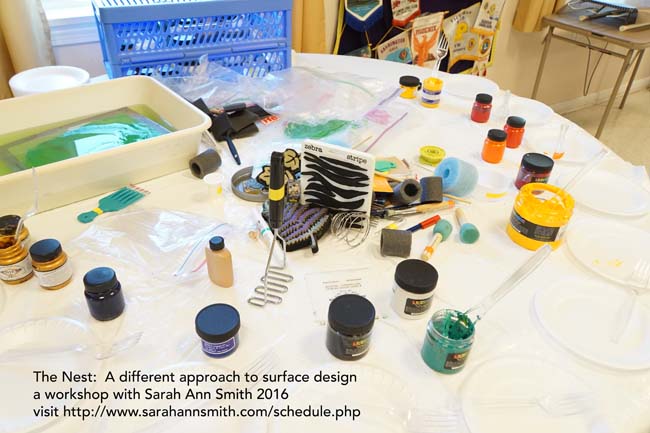
Step one in the class is to get your paint!

Step one in the class is to get your paint!  You can see a thermofax screen soaking in the basin.

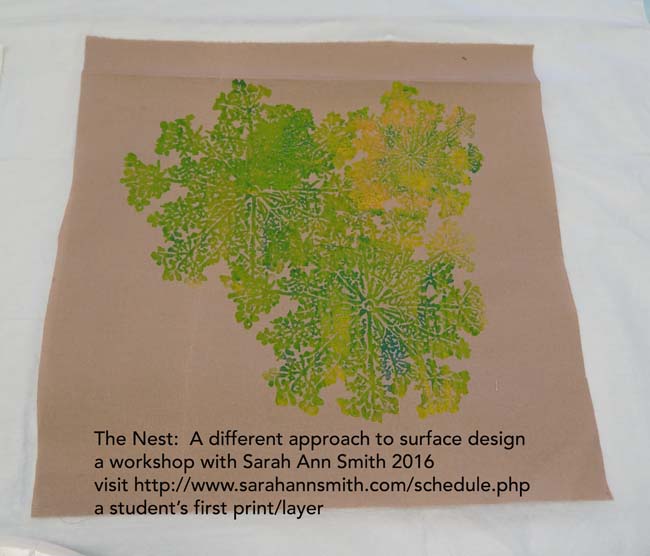
Step one is to print your plain cloth with my custom Queen Anne's Lace screen.

Step one is to print your plain cloth with my custom Queen Anne’s Lace screen.

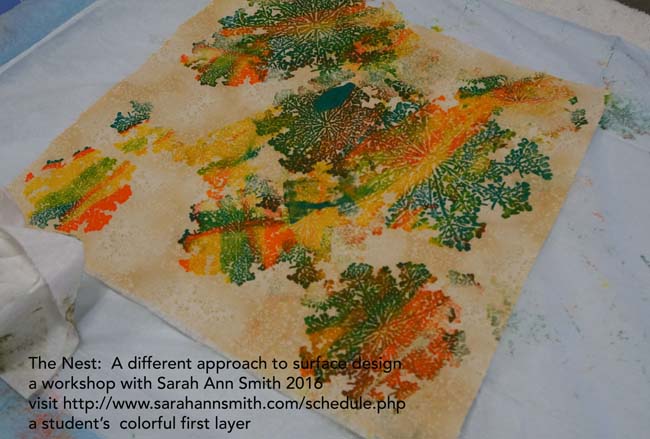
You can go wild and make this project totally your own

You can go wild and make this project totally your own

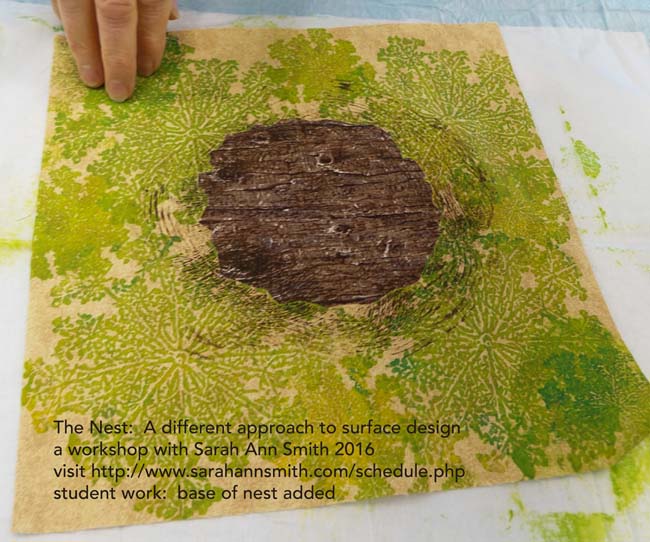
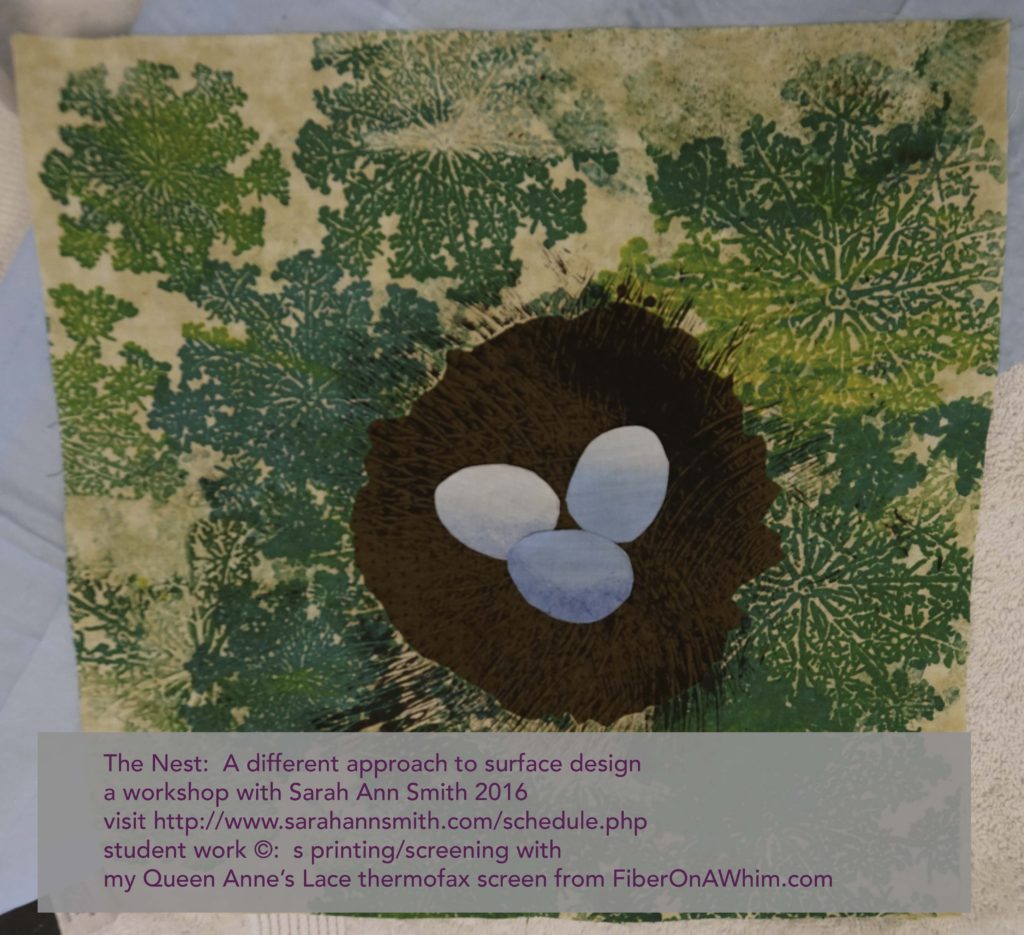
Or you can follow the project.  This student is on her second layer, starting to create her nest.

Or you can follow the project. This student is on her second layer, starting to create her nest.

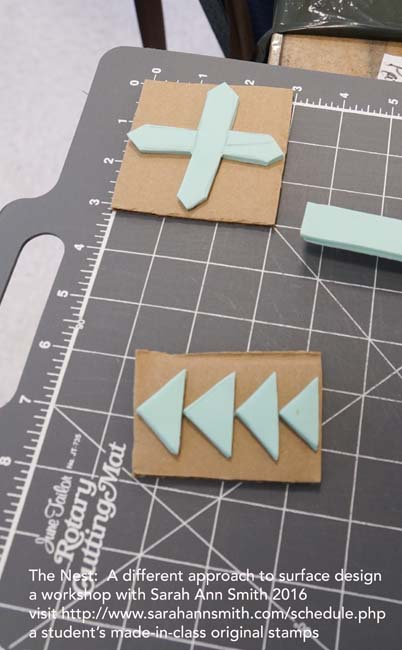
While the paint dries on the Nest, you work on a “free play” exercise, then switch back and forth as the layers dry.  You can make your own stamps (supplies provided), use materials I bring to share, or bring your own from home.

Student stamps.  I think I need to make a flying geese stamp!

Student stamps. I think I need to make a flying geese stamp!

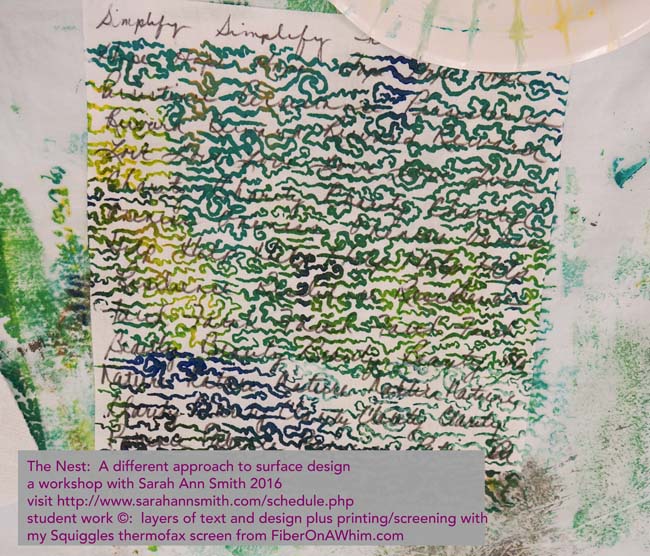
I LOVE this student piece.  It would work perfectly as a background or cut and used in a naturescape.

I LOVE this student piece. It would work perfectly as a background or cut and used in a naturescape.

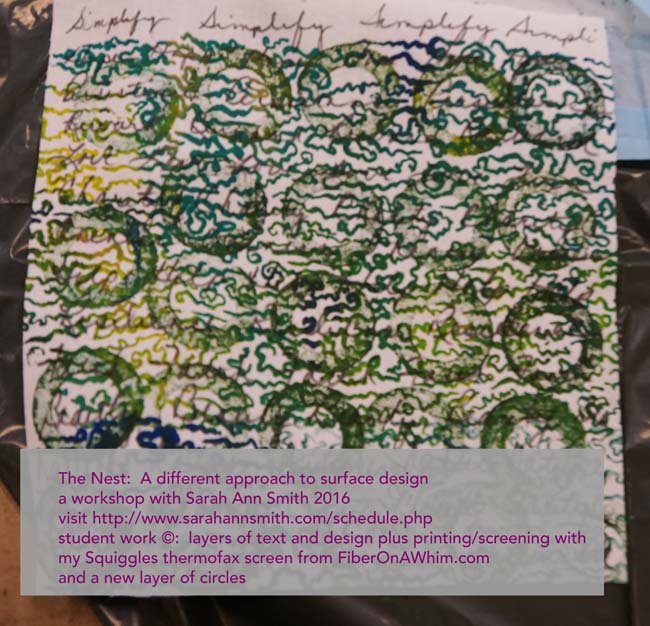
And another layer.  You can go as simple or as busy as you like.

And another layer. You can go as simple or as busy as you like.

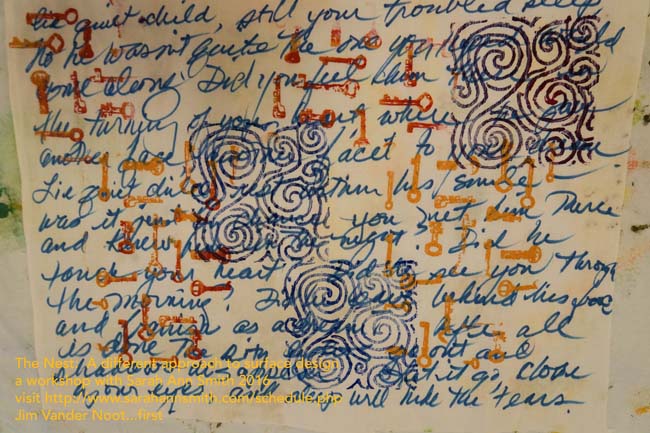
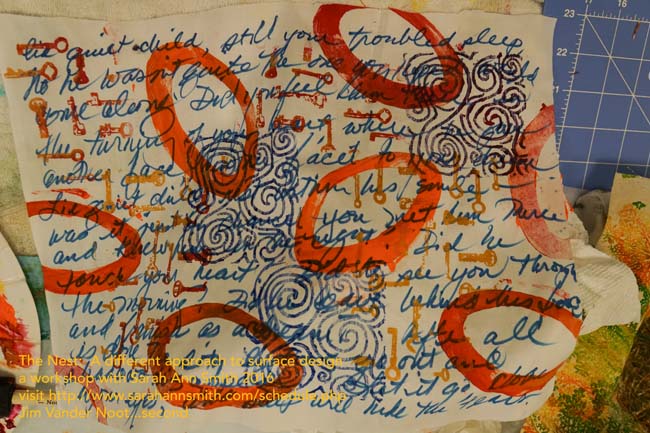
Jim Vander Noot is an experienced art quilter and I LOVE this layered piece.  He began with writing, then added the thermofax screen of keys (from Lyric Kinard, LyricKinard.com, she also makes custom screens)

Jim Vander Noot is an experienced art quilter and I LOVE this layered piece. He began with writing, then added the thermofax screen of keys (from Lyric Kinard, LyricKinard.com, she also makes custom screens)

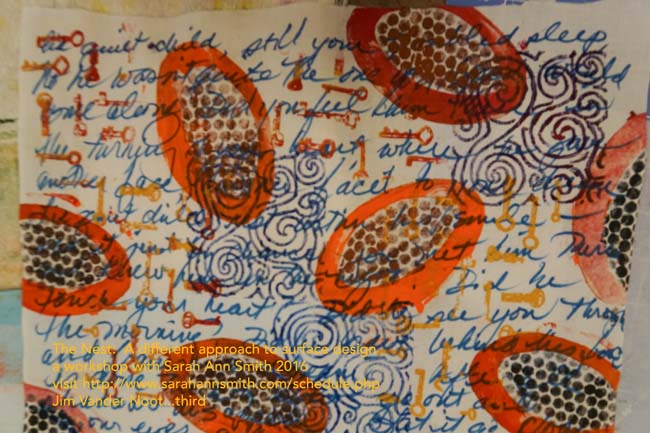
Jim added more layering, and here's the last time I saw this.  LOVE IT.

Jim added more layering, and 

here's the last time I saw this. LOVE IT.

here’s the last time I saw this. LOVE IT.

My thermofax screen designs are available at Fiber on a Whim, I’ll have some for sale in class, and Jan Girod and Kristin Rodriguez (who are Fiber on a Whim) will be vending in a booth on the show floor at Houston.  Artists have my complete permission to use my screens in their artwork, including works that will be sold or exhibited (but of course you can’t copy my designs and sell them…you know how it works!).

Student 1

Student 1, work in progress–if any of my CQ peeps remember whose work this is, please let me know so I can attribute it!

Student 2, work in progress

Student 2, work in progress

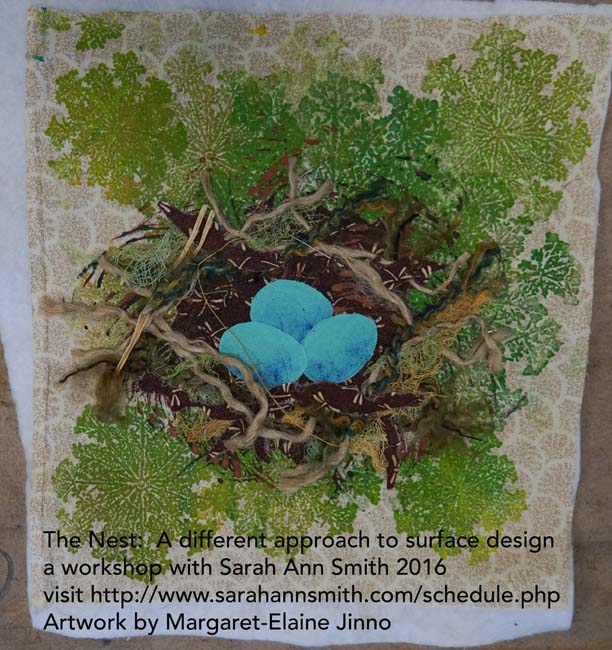
Student 3, Linda Satkowski finished her nest!

Student 3, Linda Satkowski finished her nest!I love the fluffy white wool bits that totally look like feathers.  One student even suggested you can BUY feathers–they are readily available at stores that supply fly fishermen.  COOL idea!  Thank you so much Linda for finishing this and letting me share it.  GREAT job!

So I hope you’ll be inspired by my local quilty friends–I sure am!   And I hope you’ll be able to join me in Houston (or have your guild hire me to come to teach YOU at home!).  See you in November!


A day off, sort of….

Saturday, July 18th, 2015
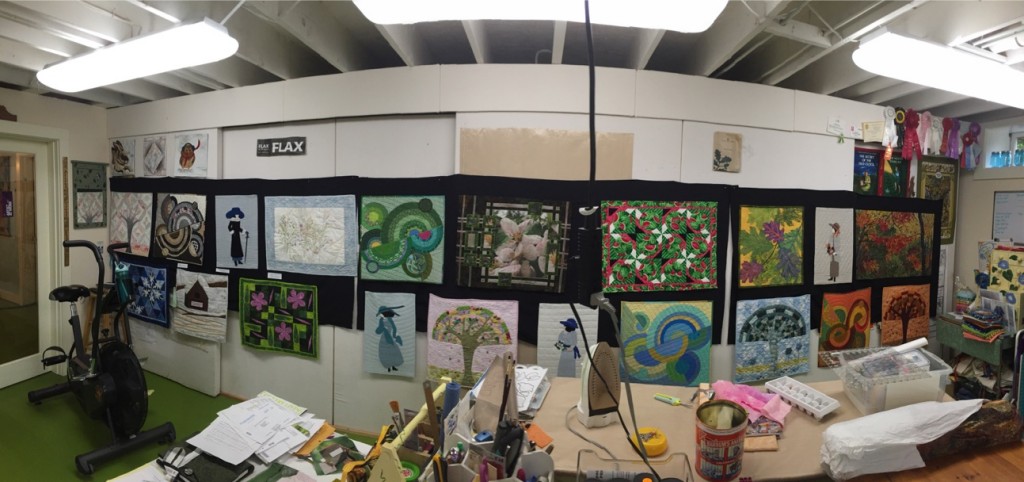
I think that the Coastal Quilters challenge has gotten a bit big for it's wallspace...literally.   My closet/design wall is 20 feet long.  It was not long enough--there is another 6 foot panel!  SHEESH!  BUT, the Coastal Quilter TOTALLY ROCK!

I think that the Coastal Quilters challenge has gotten a bit big for it’s wallspace…literally. My closet/design wall is 20 feet long. It was not long enough–there is another 6 foot panel! SHEESH! BUT, the Coastal Quilters TOTALLY ROCK!

Today began with finishing up chores:

1.  So yesterday I packed up my quilts and teaching supplies and whatnot for teaching at Maine Quilts this coming week (speaking of which, there are still some spots in my classes:  Birch Pond Seasons, Decorative Stitch Applique and Intro to Machine Quilting–go to MaineQuilts.org for more info!). Sent pdf’s to Staples for the handouts, which I’ll pick up Monday.

2.  Started prepping The  Coastal Quilters (my local chapter of the Pine Tree Quilt Guild) Chapter Challenge yesterday.

  • Today I prepared the signage and finished pinning all 23 or 24 quilts,
  • got the signage pin,
  • lint-rollered the black drapes/panels for the bazillionth time (we have every color of cat and pug hair there is and it ALL floats–closed doors are not a barrier that work),
  • folded and padded and packed them up.

This takes HOURS.   HOURS.   Every year I swear I will NOT do it again.  And every year I do.  Thank heavens next year’s challenge the quilts are all to be 16″ square, cuz I’m not doing this with multiple sizes.  Ever.  Again.  Never.  (Don’t quote me on that in a couple years.  Sigh.)

3.  Prepared my quilts (entry and teacher quilt) for delivery on Wednesday.

4.  Found the quilt I entered in Houston and that got accepted.  (More in a future post.  Yes, I’m evil.  You have to wait.) Need to pack it up Monday and ship.

5.  Made more chocolate chip cookies for the child.  OK, so we could both eat batter, plus bake some cookies.  Slurp.

6.  Watched a video or two for my new online sketching class.

7.  Didn’t start the lesson for my photo class.  At least I have an idea or two.  Of course I’m leaving it to the last day, as usual.  Sigh.  But I love the class.  Anyway….I digress (what else is new?).

So I decided to reward myself by working on a small Hawaiian Block/quiltlet that will finish 26 1/2 square.  Yep, the size of a Euro Square pillow sham.   Number 1 of the pair was done in time to teach Hawaiian Applique in Florida this past March.

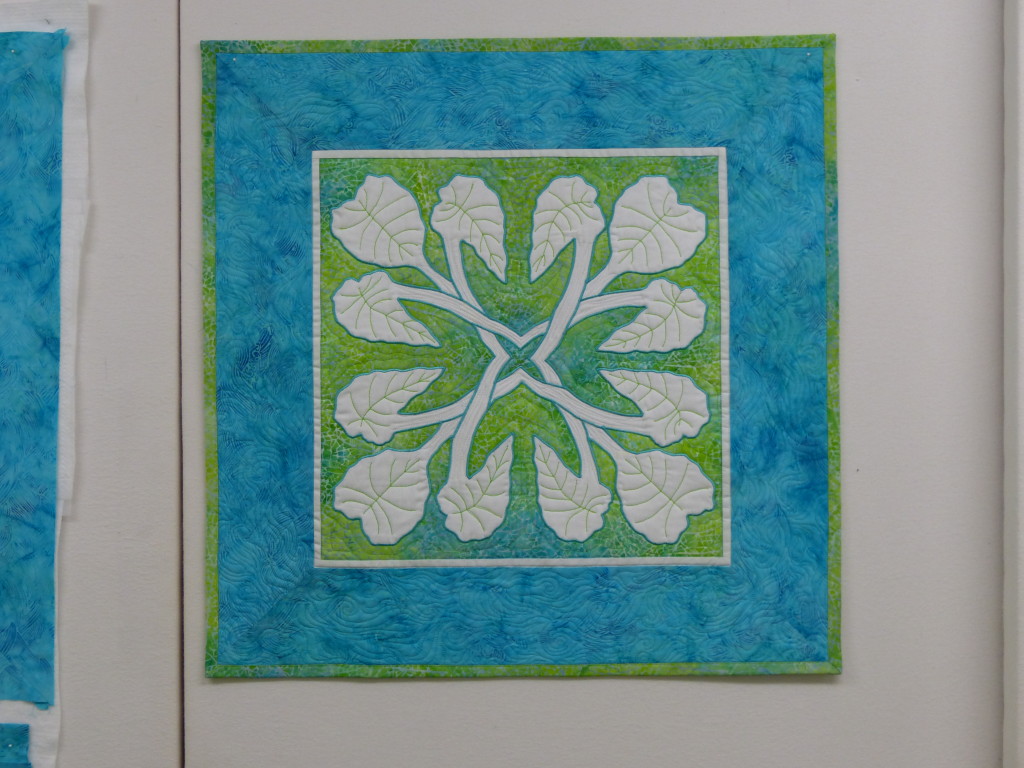
Nourish the Body, Nourish the Soul, (my pattern) Taro block

Nourish the Body, Nourish the Soul, (my pattern) Taro block–first of two matching pillow shams.

I was marking it to square up after quilting when Paul called me up to dinner.  These two will replace hand appliqued, hand quilted Hawiian style pillow shams (pattern by Elizabeth Root) that were the first hand applique I ever did.  I made them during the FIRST Gulf War.   They are now largely “formerly quilted” as most of the threads have broken and worked out, but the applique is still intact.  A few tears from critter claws, threadbare or tufting on the piping due to wear.   Those things, I realized tonight, are 25 YEARS OLD–yes, quarter century old pillow shams.  Yes indeedee, I think it is time to REPLACE THEM.  Still like them, but they look like they have (and they have) literally been around the world.  I’ll share more when done!

That’s it for tonight!  That’s all, Folks!

Autumn is here

Sunday, October 14th, 2012

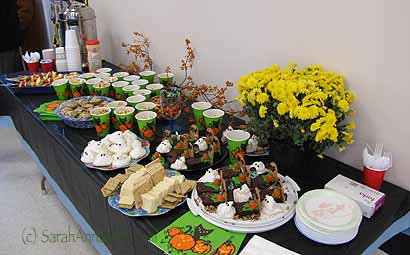
Halloween Refreshments at Coastal Quilters yesterday, Oct. 13

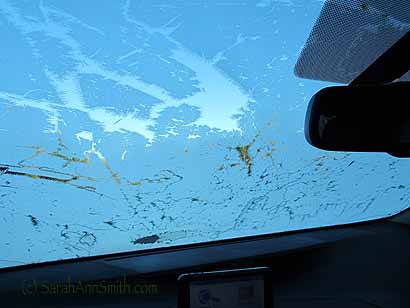
Yesterday was glorious and crisp, this morning is gray, misty and dreary… a perfect day for catching up on blogging, reading, quilting, eating.  Well… I guess I don’t need to catch up on eating but I like the idea anyway!  It’s potato and turkey kielbasa soup in the slow cooker today.   Anyway, when I went to get in the car yesterday morning to head to quilting, there was the first frost on the window!

First frosty windshield of the season…time to turn on the defroster and the seat warmer!

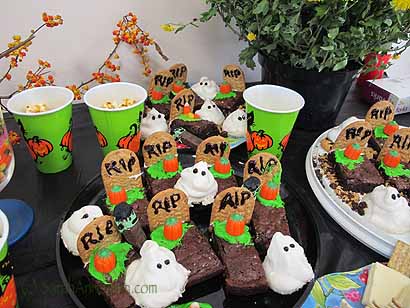
It was a lovely meeting with a great speaker, Mim Bird, owner of the new Over the Rainbow Yarns in Rockland (here…GREAT shop!), great friends, and it was Kathy’s and my turn to do refreshments.  I don’t know what got into me.  I don’t do much holiday decoration other than Christmas, and never do much for Halloween.  Must’ve been possessed by the spirits over on Pinterest or suffering from a need to create…. Kathy fixed the food that tasted good!  I fixed stuff I could play with…yes, I played with my food, and boy did I have fun!  That’s the whole table at the start of the blogpost.

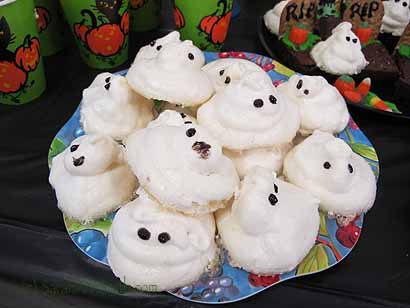
Thanks to Ashley, older son’s girlfriend, for the lovely mums for my birthday that I shared (and promptly returned to our porch).  And we have some bittersweet in the yard, and this piece had already broken off….    and Kath brought great Halloween cups and napkins and made her own caramel popcorn…YUM!  I made brownie graves, Frankensteins and meringue ghosts….

Brownies, tombstones, ghosts, Kathy’s caramel popcorn, and  in there somewhere a Frankenstein (KitKat or other chocolate-coated wafer cookie with frosting to make the head)–see if you can spot him leaning somewhat drunkenly against one of the tombstones

Meringue ghosts were surprisingly easy to make. Mine were a bit short and fat… I guess I’m going to have to break down and buy a pastry cone/funnel/tube thingy…whatever that thing is called that you use to pipe frosting! With a wide tip it would have been easier to make taller ghosts than my squat with-a-spoon fellows

Cardinal in the Pine

Saturday, September 15th, 2012

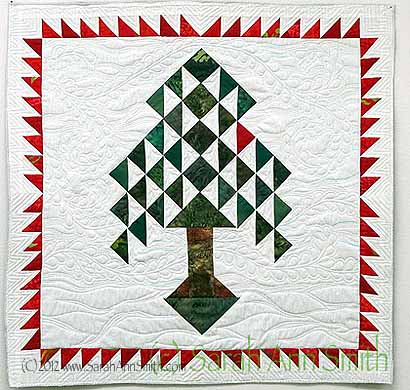
Cardinal in the Pine by Sarah Ann Smith

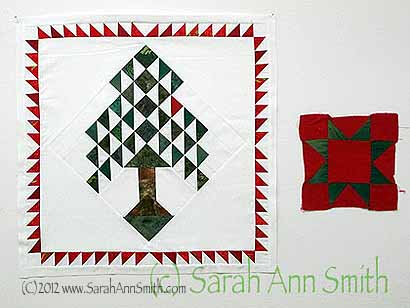
Cardinal in the Pine is my contribution to this year’s Coastal Quilters Chapter Challenge (see this post for all the quilts).  Once again, I–the art quilter–went traditional!  Since the Ohio Star of course reminded me of Christmas, I thought I’d make a holiday quilt with mine.  Online I found a couple free Tree of Life blocks.  I wanted my tree to be vertical.  Since the vertical axis of the tree is usually on the diagonal of the block, I figured out what size I needed the block to be so that it would fit vertically within the 20 1/2″ square format.   (PS–sorry about the double watermarks on the bottom of the photos…I’ll fix that on the next batch.)

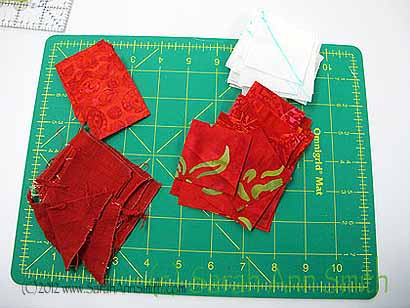
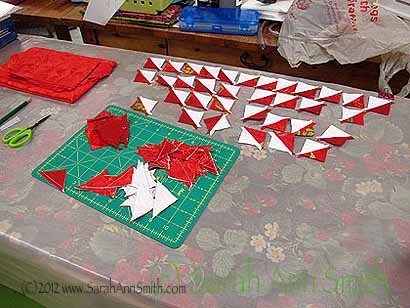
First, there were a LOT of half-square triangles to make, both green-and-white and then red-and-white for the sawtooth border. The red pile on the bottom left is what I had after I “un-stitched” the original block (seen in last photo in this post).

For the reds, I used the red in the original red-green Ohio Start block plus a range of red batiks, all tone-on-tone.  Here I’m trimming, finger pressing, squaring up.

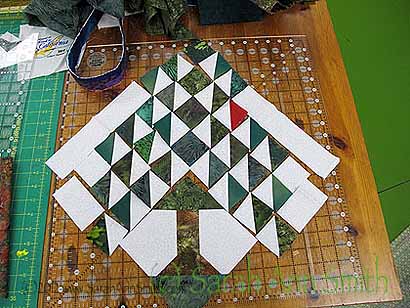
Hooray! I LIKE IT! I’ve got the components of the block pieced and ready to sew together. I used all the green and most of the red in the original block. For the Tree of Life I opted to use just one red square for my favorite East Coast bird: the cardinal; alas, we don’t have any our yard, but they are here in mid-coast Maine. I set the pieced bits out on my 20 1/2″ square ruler to gauge size.

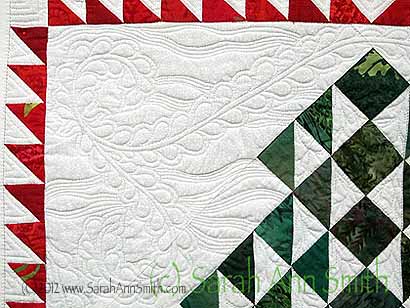
Then on to the really FUN part:  quilting!  I knew I wanted to use a feathered vine as the wind swirling the snow around the tree, and I knew I wanted it to stand out and sparkle, so I used Superior Threads Glitter (a holographic thread–basically ya know the stuff they use to make mylar balloons?  sorta like that except cut into looooonnnngggggg flat strips) in Pearl / Crystal #111 (here).  This thread is amazing, as it looks clear/white/opalescent here, but when used on dark fabric, it looks like an irridescent green (the black quilt on the cover of my book uses the same thread!).  It’s important when using holographic and metallic threads to use a SLIPPERY thread in the bobbin;  I use The Bottom Line, a smooooooth, fine poly from Superior.  Once could also use clear (ugh), rayon (not my fave at all) or silk.  You do *not* want to use cotton, as the slubs on the cotton will grab the glitter or metallic threads and play not-so-nice.

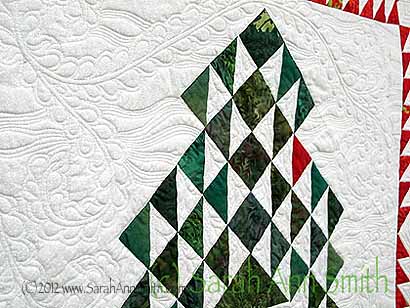
Close-up of quilting on Cardinal in the Pine. Feathered vine stitched in Superior Threads Glitter (Pearl #111). Other background quilting uses Superior’s 40-wt trilobal poly thread in white.

An angled view of the quilting in Cardinal in the Pine shows the relief and (to borrow Pamela Allen’s word) puffosity of the quilting.

And the quilt with the block which inspired this challenge:

Cardinal in the Pine, 20 1/2″ square, with another of the original Ohio Star blocks. I used one of these blocks, a white-on-white (the back side so it wasn’t so garish), and red and green batiks.