email Youtube

Home
Galleries
Blog
Workshops & Calendar
Store
Resources
About
Contact

Archive for the ‘art quilting’ Category

More of what I’ve been doing…

Thursday, May 29th, 2008

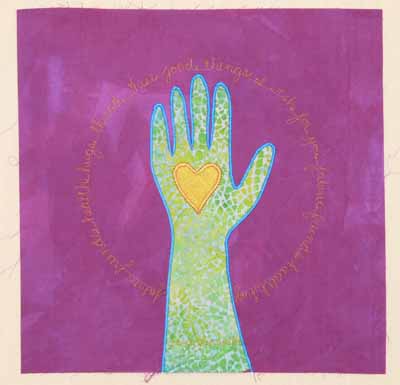
One of the members on one of my e-lists is going through a rough year, recently diagnosed with not one but TWO serious illnesses at the same time. So, another group member is going to put together a snuggly quilt for her, and I made this block. The stitching around it reads: fabric, friends, health, hugs, thread, these things I wish for you, fabric, friends, health, hugs:

Heart in hand

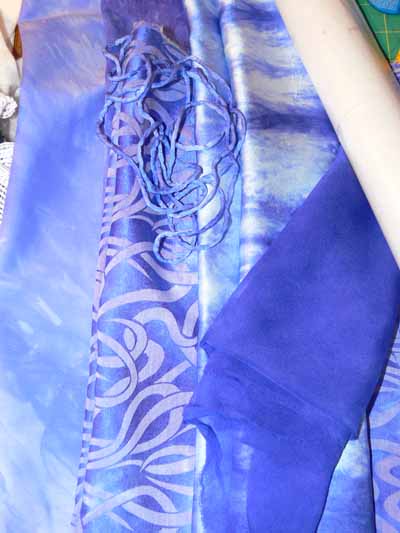
Then I FINALLY, after five months, got the squares cut from my BlauViolett dyed cottons and silks so I can do some tests for lightfastness (as in, will it fade a lot or not?) for this dye, procion MX-RX-7 known as BlauViolett. You may (dimly, in your distant memory) recall reading this blogpost about my December dyeing adventures. Well, I didn’t want glue to be a factor in any lightfastness testing, so I cut sorta-square pieces about 3 1/2 inches on a side and stitched them to some stabilizer (a sewing product used to prevent fabric from behaving badly when doing dense stitchery). Here is what the fabrics looked like in December up on my work table:

Blauviolett.. all of them folded

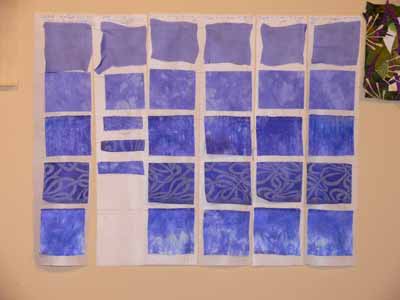
Here are the stitched up groups. There is a VERY wiggly sheer silk at the top, followed by the cotton (the dye is reputed to be very unstable on cotton exposed to light), silk dupioni, a silk jacquard (with a mystery fiber that is clearly neither silk nor cellulose fiber as it stayed white), and the delectable, want to roll naked in it wear it next to my body sandwashed silk . One source has told me that on silk, the dye is stable and retains its GLORIOUS color, but that on cotton it fades horribly. The two vertical strips on the left are going into the dark. The far left one is inside a manila envelope inside a cupboard, the short strip is on top of the envelope in the cupboard (which is opened fairly regularly but not subject to intense light exposure).

On the design wall

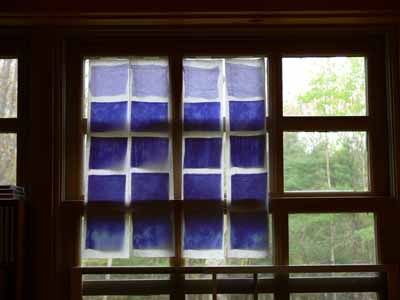
The other four strips are dated with the date they went up on the window. I will, I hope

In the window

remember to take them down at one-month intervals. This window faces east-southeast, and gets some of the best sunlight / exposure in our house. We don’t have any windows without the sashings, so this is the best testing spot I can find (the only other option would be pinned to the screen on the back porch, subject to the elements…nah!). At the end of summer we’ll compare the six strips side by side!

Studio time… it’s a miracle!

Tuesday, May 27th, 2008

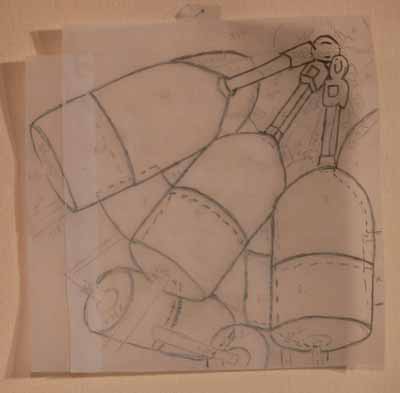
Buoys traced

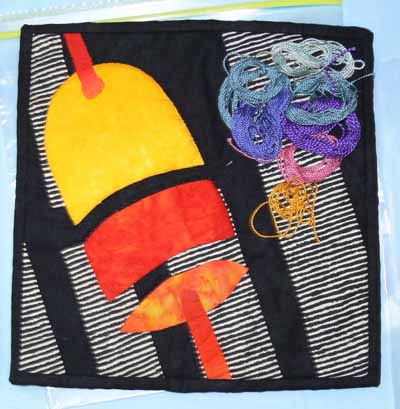
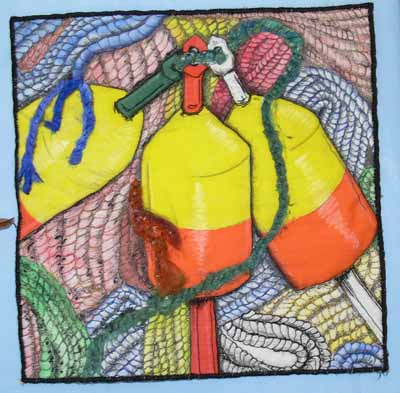
I actually had a little time to play in the studio and tidy up. I had not planned to participate in the Coastal Quilters challenge, which I blogged about a few days ago here. But……about a week before the 10 by 10 inch quiltlets were due I thought, hey…. I could actually pull this off, I have a week. I knew what I wanted to do with the photo… of ropes and buoys… how I wanted to zoom in. And I knew I wanted to do a color study changing the colors from yellow-red buoys and multicolored ropes to something else, but couldn’t decide if I wanted to do all blues, or go wild and use pink and coral and purple. So I decided to do both! I didn’t have the facings finished in time, but since I volunteered to do the paperwork and prep stuff for hanging them in Maine Quilts in late July, I was OK.

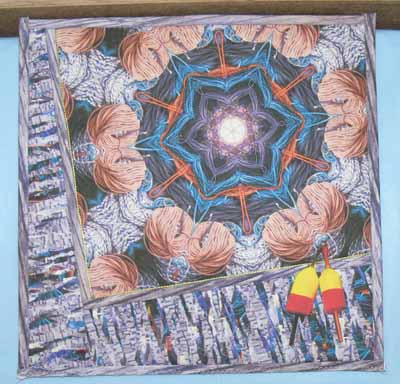
Here’s how I did it. First, I took the photo (by CQ member Jan’s husband Dwight… you can see their website here) and fiddled around with various cropped versions until I had a composition I liked. Then I enlarged it on the computer and taped tracing paper to the screen, and traced lightly with pencil. I needed to reposition the paper and photo a couple of times since my screen isn’t 10 inches tall to get the drawing / tracing in the photo at the start of this post.

Then I picked fabrics. I kept the values the same–the background is the darkest area, the center of the tops of the buoys is the lightest (except for the white thing at the top… can you tell I’m a transplant to Maine… I don’t know what the parts are called…blushing, blushing, hanging head in embarrassment!). I was thinking teal, but the true blues picked themselves. Then I wanted to go way crazy and use a printed batik for the tops, which led to the purple-pink version! I used Saral or Transdoodle transfer paper between the traced design and the fabric to transfer the markings (like using dressmakers paper to mark darts) and cut out the pieces of pre-fused fabrics.

Finally, after fusing up the compositions, I selected at least six threads per piece and quilted the living daylights out of them! FUN! Last step, a facing since I wanted a clean “no edge” look for these pieces. When they return from being part of the group challenge, I’ll mount them on stretcher bars covered with cotton like I did the crane or white flower: White Flower

Coastal Quilters challenge

Wednesday, May 21st, 2008

FrayedEdges 5 by 5

Inspired by my mini-group’s 5 x 5 challenge, which I blogged about here and in the photo above (right click to see it larger), my local quilt guild chapter decided to do a small art quilt challenge which will be displayed at Maine Quilts at the end of July! WOWIE zowie! To keep a little bit of the surprise, I won’t share Dwight P’s photo (used with his permission) on which the quilts were based–tho I will say it was of ropes and buoys.

Right side of table

I will share some of the results….for a group that hasn’t ventured much into art quilting for many of them, I thought this was 100 percent awesome! And the left side of the table:

Left side of table

Jan P., married to the photographer, played with the photo in her computer software, then created the cloth! Everything you see in Jan’s photo began as white.

Jan P

Barb Melchiskey is an expert applique-er , and it appears she has a good eye for abstracting elements, too!

Barb Melchiskey

Mathea Daunheimer, if you can believe it, has only been quilting about two years (and already has a quilt juried in to the Tactile Architecture exhibit in Houston… YEAH MATHEA!), but has clearly done lots of things artistic. She used Tsukinenko inks to draw/paint her piece:

Mathea Daunheimer’s

I’ll share my two pieces…two colorways of the sames cropped view of the photo with you in a later post, including HOW I did the “drawing.” Wish I had taken more close ups! Hope you can come to Augusta at the end of July for our show. Here’s a link to the Pine Tree Quilt Guild / Maine Quilts website.

Available for Orders! Creative Quilting With Beads

Sunday, May 18th, 2008

Creative Quilting With Beads

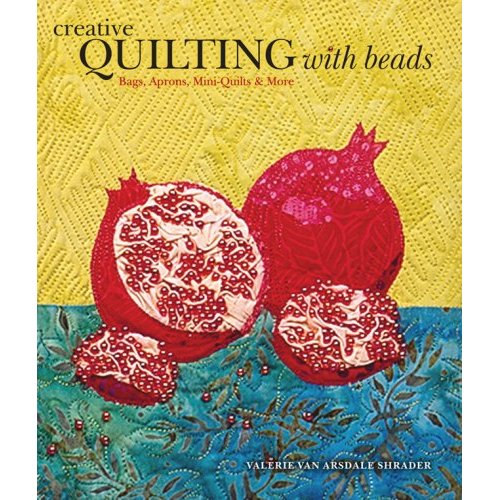
WOOT! My for-sale copies of Creative Quilting with Beads have arrived, along with the beads to make the pomegranate project on the cover. If you are interested, please pop over to the store page on my website, here. I have yet to figure out the mysteries of paypal shipping options (where you enter your location and actually get that to talk to the shopping cart to calculate the correct amount), so there are FOUR options, two for delivery in the US and two for delivery outside the US, all using the Flat Rate Priority Mail envelopes. I can fit one book (barely) into each envelope; I can also squeeze one baggie of beads into the same envelope, so you can purchase just the book, OR the book PLUS the beads.  (PS–if you are in Canada, write to me first, I may be able to get a less expensive postage for you than int’l flat rate….)

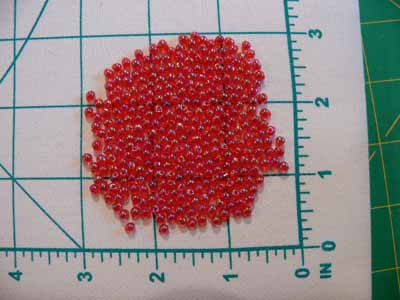
I actually counted (!!!) how many beads on my covers: 291! This was slightly less than a tube of the hard-to-find red drop beads. I had intended to use size 8 seed beads, but when I found the drop beads I knew they were perfect. They are–get ready for a surprise now (not!)–drop shaped, but the hole is near the skinny end. When you take a stitch with them, the thread disappears down at the base and only the red bulbous end shows…so it looks just like a pomegranate seed! I then counted out 300 beads, which was just over 15 grams, so I upped the quantity per baggie to an even 16 grams. So how much is that? Funny you should ask… it is this much:

Drop beads

If you bead at the same density I did, you should have about 15-20 beads leftover… a nice margin I think.

Anyway, you can order autographed-by-me copies on my website and the beads too. Thanks for reading! And once I get Eli to soccer practice later this morning, I’ll take a photo of my alternate colorway and orientation. The version in the book is to cover a composition notebook. The alternate covers a 7″ tall x 10″ wide Canson watercolor notebook/sketchbook (standard size available at www.dickblick.com among other places). Hmmmm…… maybe I’ll offer and e-mail with the measurements etc. already done to those who order from me and ask for them… does that sound good?

Now…to pack up a bag of reading materials while at soccer practice… it is GLORIOUS spring here in Maine…green is blushing all the treetops and after yesterday’s rain the sky is screaming blue! Thermometer says we are up to 62 already and it is only 10:15 am!

PS…for an earlier browse through the book, see my earlier blogpost here.

Paducah 3 — Nearly No Mark Machine Quilting

Monday, May 12th, 2008

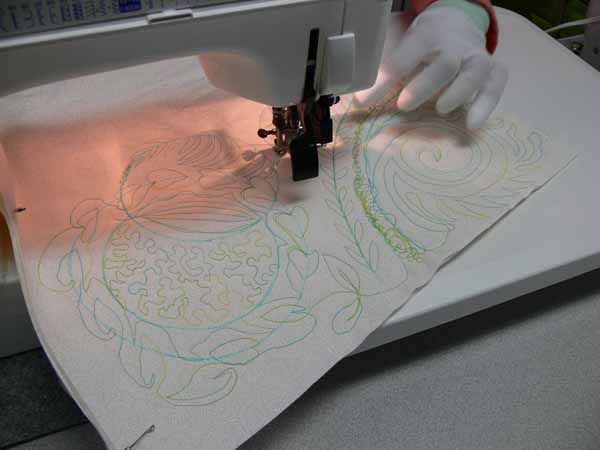
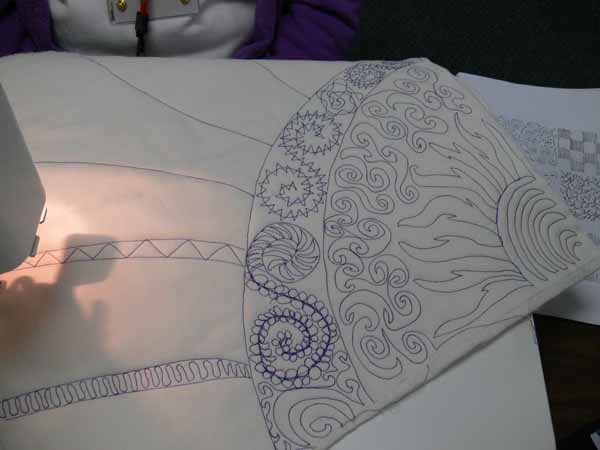
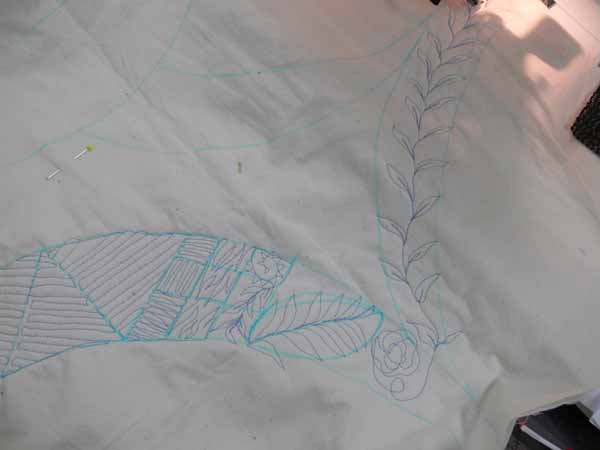
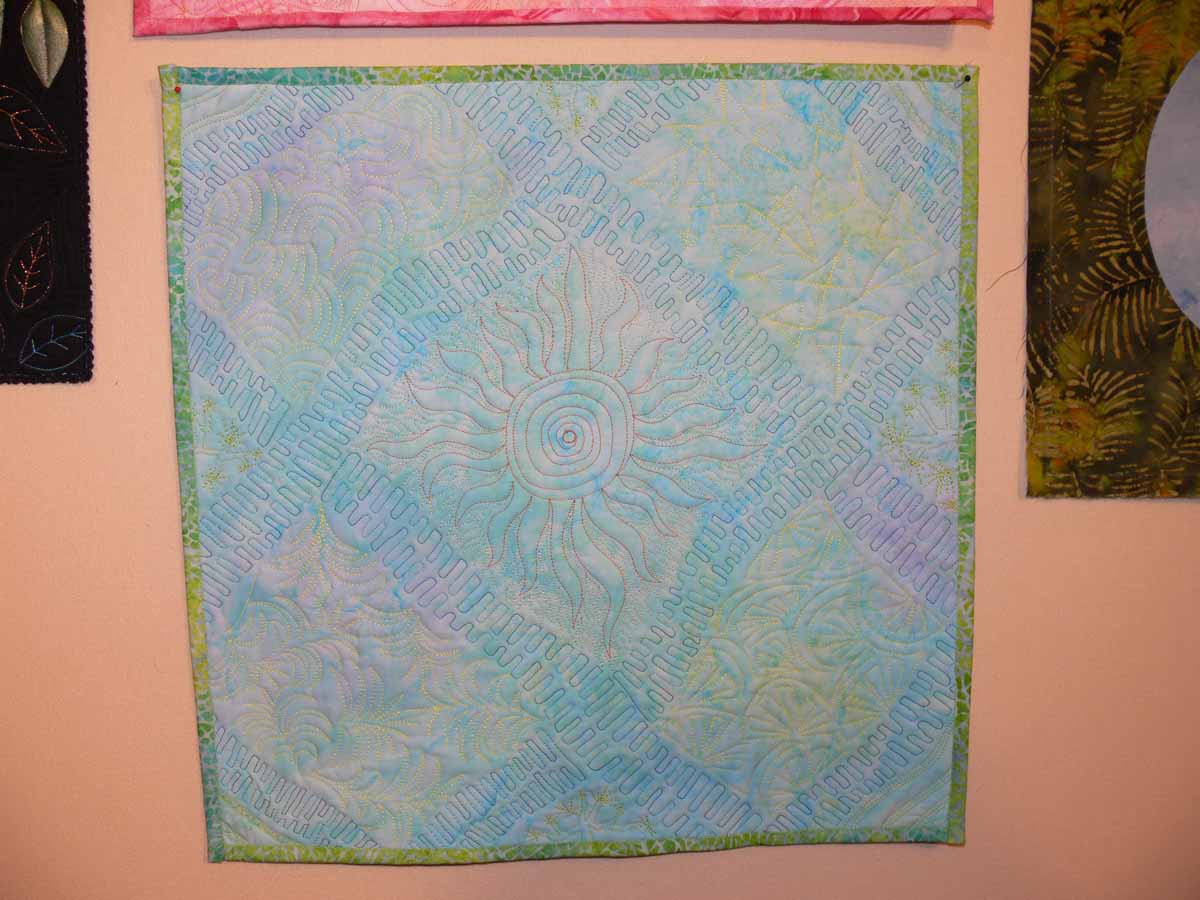
My last quilting class in Paducah, and one of the most fun, was Nearly No Mark machine quilting. Marking a quilt top is up there in the (NOT) fun category with basting! But playing and doodling with your needle and thread IS fun! These designs are ones I use in art quilts all the time, but they can just as easily be used in contemporary and even some traditional quilts. I have come up with what I call my vocabulary of quilting stitches.

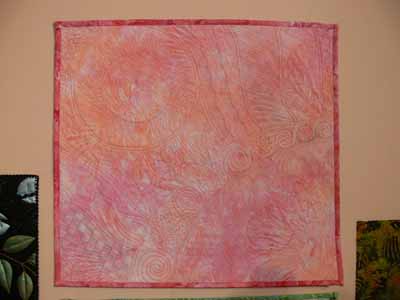
Pink quilt orbs

These are stitched out as fill patterns, but they could easily be enlarged and used for all-over quilting patterns for a lap quilt or snuggly. I shared my teacher samples a while back, but the pink sampler above is the one I like best so I’ll share it again!

FMQ pink detail

Click on the thumbnail for a larger view (or right click on a PC, and on a mack apple-key + click, to open in another tab/window) with more details of the quilting.

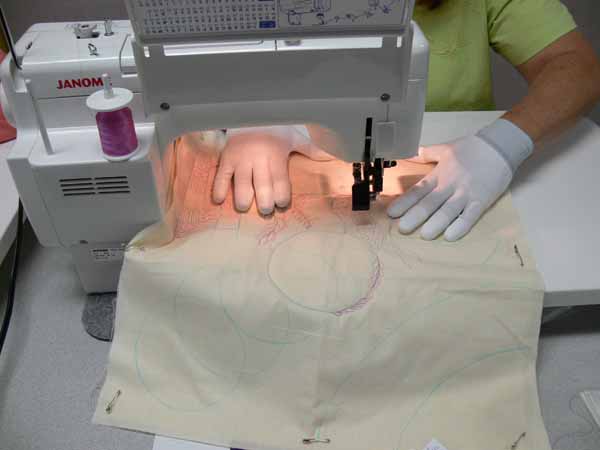
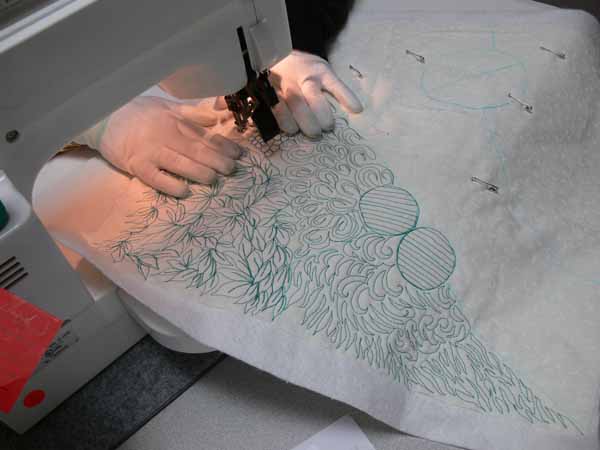
Now lookit what my great students did, and how they translated my patterns into their own thing! This first photo is awesome because she has her hands in what I call the safe position… where you are unlikely to sew through your fingers (it hurts… I’ve done it and do NOT recommend it!) (PS–the following photos can all be viewed larger–click on the photo to resize and/or open in a new tab/window). This hand position also has the virtue of making a small, smooth “hooped” area for your quilting…cool!


Safe hands position

I showed the students how to use your arm as an extended compass to make large arcs using your elbow as a pivot point. Many followed my example and made circles (using my high tech templates—yogurt and take-out lids) and arcs, then filled in the resulting spaces with the nearly-no-mark designs; in this one, I really like her variations on the spirals:

Arc with fill #1

I want to find this thread… it is YLI and is heavier (cotton) than I usually use, but the colors are GLORIOUS and so “me!” The quilter lives in Florida, so I think the water colors are inspired by her home….

YLI thread

I think this student is comfortable and happy playing with free-motion, don’t you? (You can see a smidgen of my handout on the far right)

Arc with fill #2

And another arc… I like the vine inside the arc and also switching up the fill on the mini-checkerboard:

Arc with fill #3

One student took my “Southern California themed” piece:

FMQ Turq

and reworked it… I like her version better! Her thread contrast is way better than mine (I think I’m going to re-do the blue one… it needs it….)

Changing up the grid

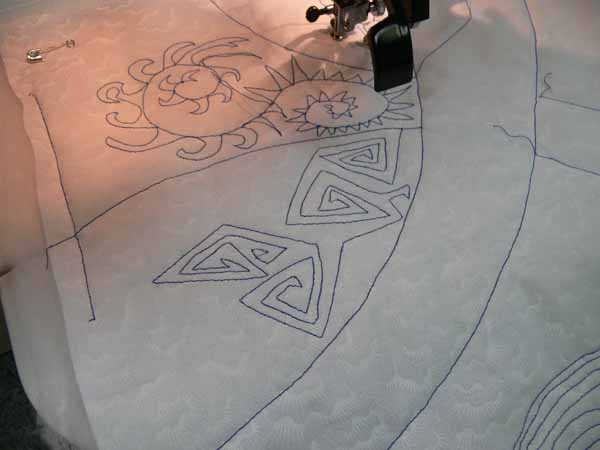
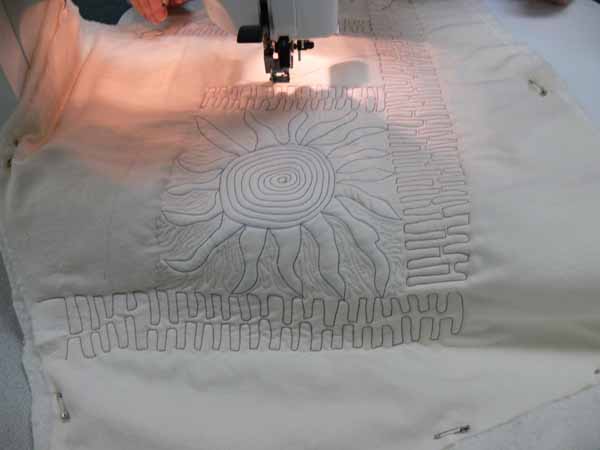
I love that spiky sun that is just at the edge of the sewing table, and also how she used the loops to outline the circle:

Arc with fill #4

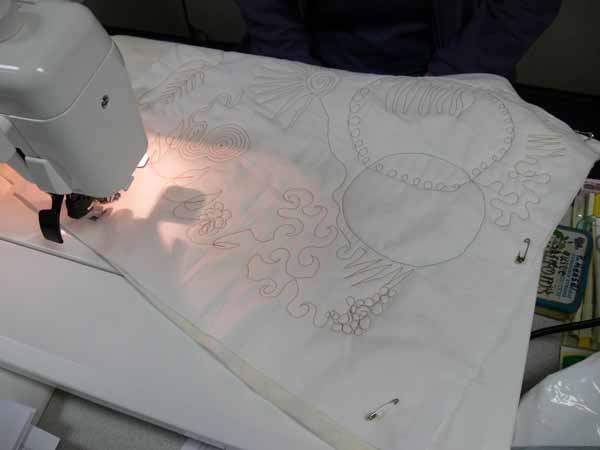
And can you tell she loves to quilt… this lady must love playing with the quilting as much as I do! And poor thing…she was short, and tables were SO high… I have no idea how she managed to quilt so well in those circumstances… I love the merging of one pattern into the next:

Go for the green quilting

I think one of the things I enjoyed most was watching the students take my designs and turn them into their own, modifying, improving, changing up, experimenting… WAY cool!