The Frayed Edges, September 2008–parte tres: Mandalas!
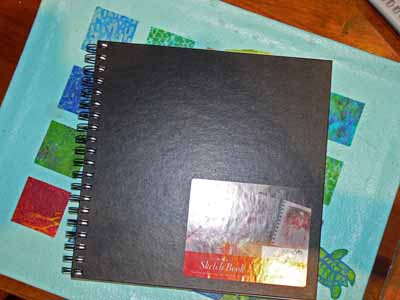
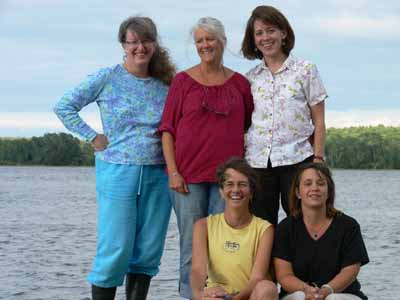
Sunday, September 21st, 2008Earlier this year, four of us (Deborah was in Texas) were able to drop in and say hi to Natasha Kempers-Cullen (one of the early leading art quilters, been in Quilt National, website here), whom Kate, Hannah and Deborah know… I blogged about it here. After that visit, we talked about how fun it would be to do a day workshop when Deborah said she would be able to come visit! Our schedule and Natasha’s fortunately overlapped on just the right day, so on Monday, Sept. 8, we trooped on over to Natasha’s studio at her house. Our supply list included a square sketchbook / notebook, and art pencils, pens, pastels, watercolors, whatever. I brought my Prismacolors, some Aquarelle / watercolor pencils, a waterbrush, a few fine-point sharpies (and went to Target afterwards to buy a whole set….ahem!), some old magazines and papers for collaging, and a lovely Canson square notebook.
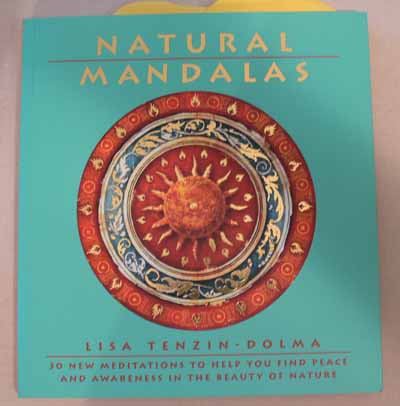
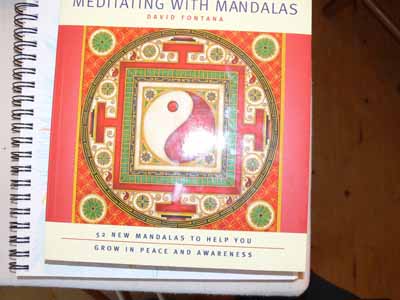
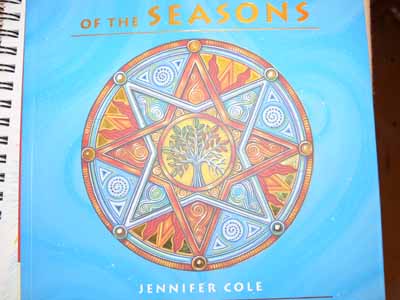
Natasha has some seriously cool books in her library, including these:
I LOVED the artwork in this last one…good eye candy….
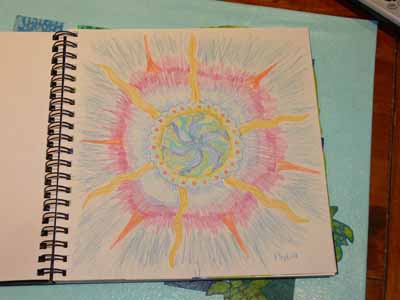
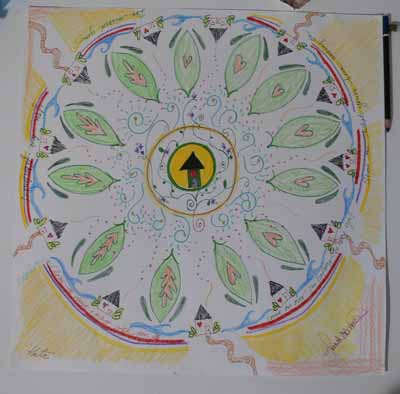
We worked quietly at first…which is of course hard for me. I enjoy the camaraderie, but our first assignment was to take a half hour and draw a mandala starting with a free-hand-drawn circle in the center. Here’s my effort…so-so. The center is OK, but I clearly rushed to fill in the outside. Bleah. I don’t work well when rushed.
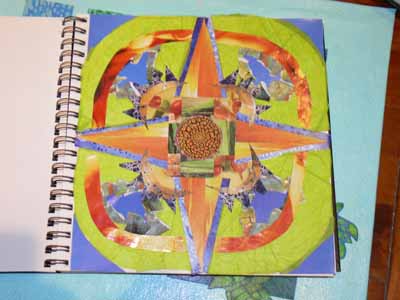
I liked my second one, a collaged piece, better. Natasha had a selection of small “centers” from which we could choose one. I deliberately chose one in colors and texture I don’t normally work with. Here’s how it looks:
I think the green overwhelms (at least it wasn’t where I wanted to go with this one), but it’s not too bad… I really like the shrimp soup bowl I cut into quarter-wedges….Due to the papers I had on hand, it became more of my Caribbean colors and less of the earthy thing I had intended when picking the center….no gardening magazines around, so no good supply of leaf greens and browns!
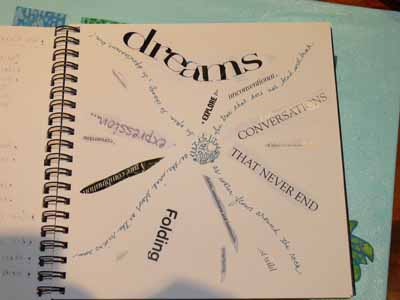
Then my words mandala:
So for flexibility my words and phrases are:
(handwritten)
- as water flows around the rock
- the tree that does not bend will break
- as the wind blows as the rivers run
- be open to change, be spontaneous, live
(from magazines)
- folding
- wild
- resurfacing
- clarity, smoothness and luminosity
- explore
- unconventional
- conversations that never end
- of wisdom and knowledge
- convertible
- a rare combination
- rejuvenation
Hmmmm….
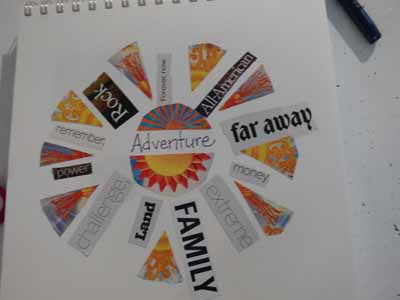
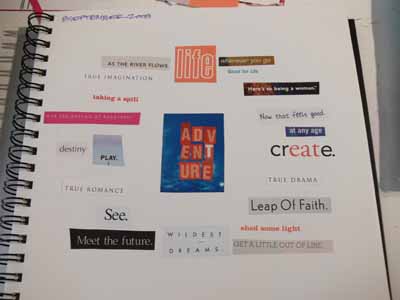
Natasha usually works with longer workshops, not one-day classes, so she had to abbreviate some of our projects, but gave us ideas to do for homework and exploration. Then she had us pick a word…she has these angel cards with words like Freedom, Adventure, Flexibility, etc. We had to write the word in the center of the page, then cut other words from magazines that interpreted the angel-card-word. I got flexibility. Hmmmm. So I used some very “expanded” definitions of flexibility! Here’s that page:
Here’s Kate’s–seriously improved with color wedges
And I’m not sure who did this one…. ladies….help me out here–if I guess correctly from the handwriting, this is Deborah’s:
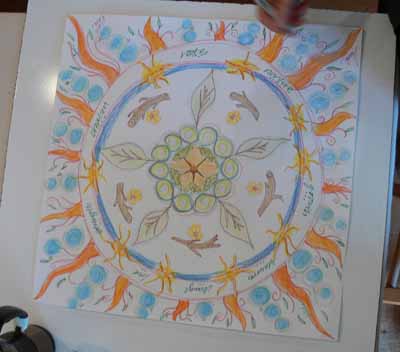
Our final project was a group exercise, with Natasha participating. She gave each of us a large square of paper (about 20 or 21 inches). We were each to begin with the center and draw something in our style and/or colors that interprets Friendship. Then every 5 minutes we switched off the papers, doing two full rounds on each piece. I think in the exercise book from which Natasha was working, they suggest 7 minutes or ten, but Kate needed to be home in time to meet her first grader at the bus, so we did the up-tempo version LOL! at each round you pass your paper to the left, and then continue in the vein of the piece you receive. The longer the process went on, the more freed up we became, working REALLY quickly to try to fill in and make the imagery or colors we wanted. I was REALLY glad to have my watercolor pencils… I’d quickly scribble in color into a shape, then use my waterbrush to moisten and intensify the color.
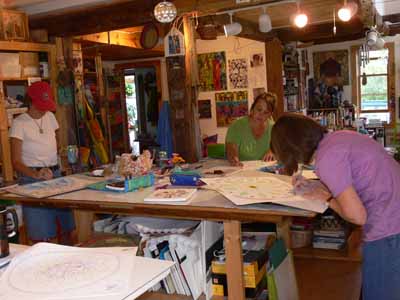
I’m NOT good at translating abstract concepts into specific imagery, or at things like this. Once I got the first part over, tho, it was easy to simply do a round that was a riff on what someone had done before…. For friendship, I fell back on a tried but true: I made a circle with an acorn in the center, from which five trees (us, duh) grow. Here we are working madly, towards the end. This first shot is of Kate, Hannah and Deborah’s table:
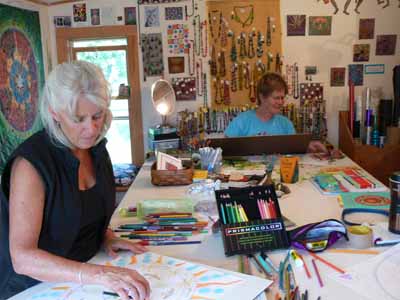
And here’s the table I shared with Kathy and Natasha:
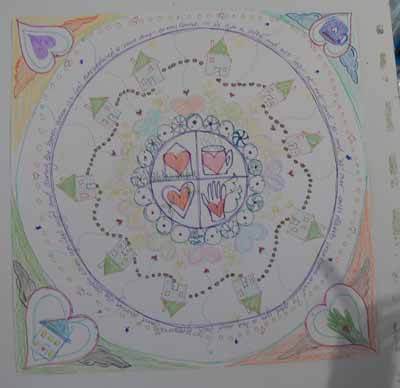
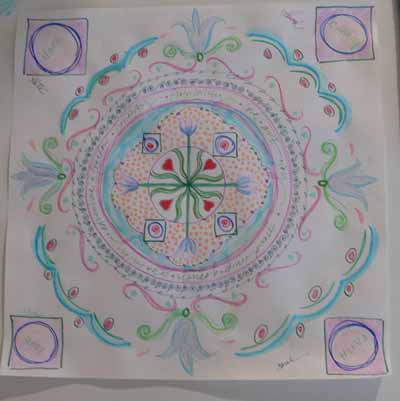
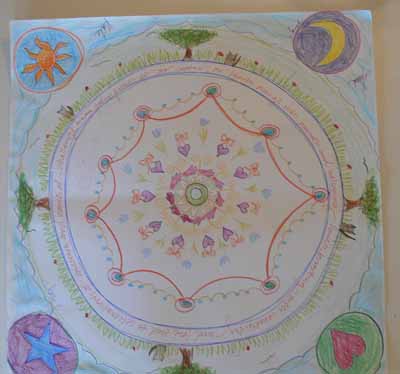
And here is what we had at the end…we all signed all of them…fun! This one was Deborah’s; she began with the mug, heart, home, and hand:
Hannah’s:
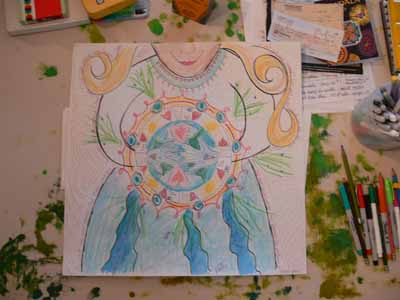
Natasha’s—she began with the hands, Deborah added the arms, torso and chin, so I felt I had to add the skirt… it went from there!
Kate’s:
Kathy’s:
And finally mine:
Then we all split to the winds, kids, families and real life

