Mounting a small quilt on a canvas
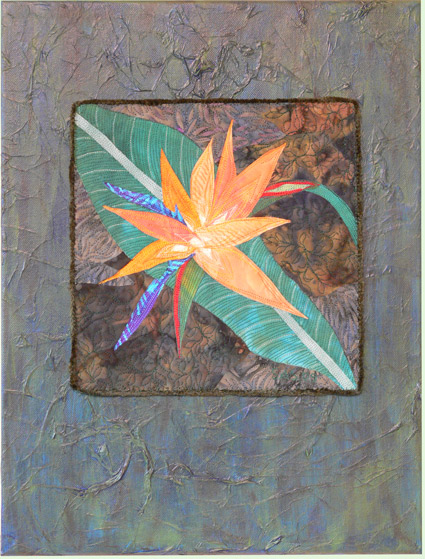
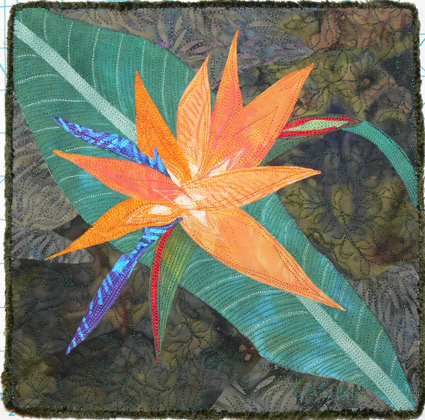
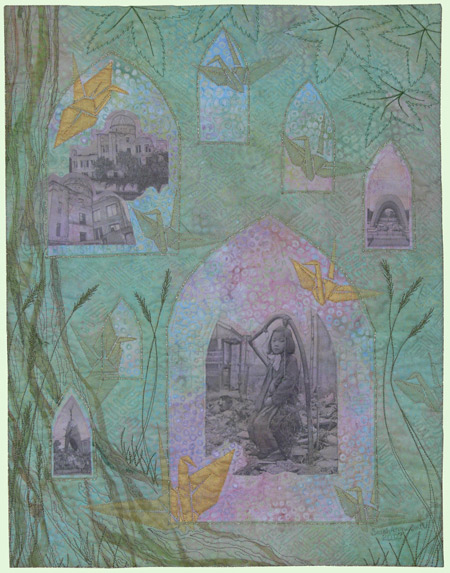
Saturday, February 28th, 2009I’ve mounted a number of pieces on either painted canvas or fabric stretched over artist’s stretcher bars. When I posted my piece for SAQA@20 recently, a friend asked if I could share how with her. I decided it might be a good idea to share with EVERYone, so here goes. Here is the SAQA@20 piece:
For this piece I purchased a primed canvas at my local art supply store (and how heavenly is it to LIVE near an art store…a real one, not a chain…. glorious!).
Here’s what I wrote to Debby, chatty and all:
- Buy canvas. I take the finished (or nearly so) piece with me to the store to eyeball the right dimensions. Make sure you leave enough space on edges that you can sew through canvas, not wood frame (otherwise it is E6000 glue time, and yes, I have done that too!) Canvas is usually primed (painted white).
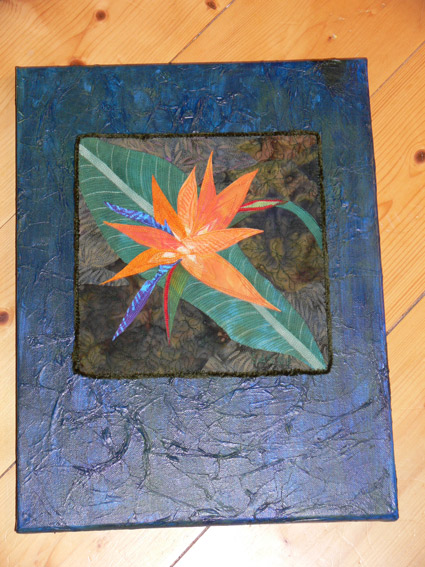
- Mark the location of your work that will be mounted. I placed mine, measured to make sure it was square/level and equidistant from the sides. With a pencil, reach underneath the artwork and sketch a line, maybe an inch inside the edges of the piece.
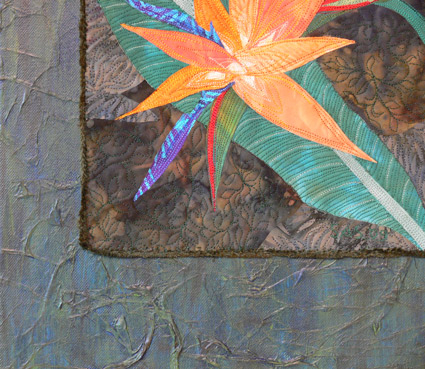
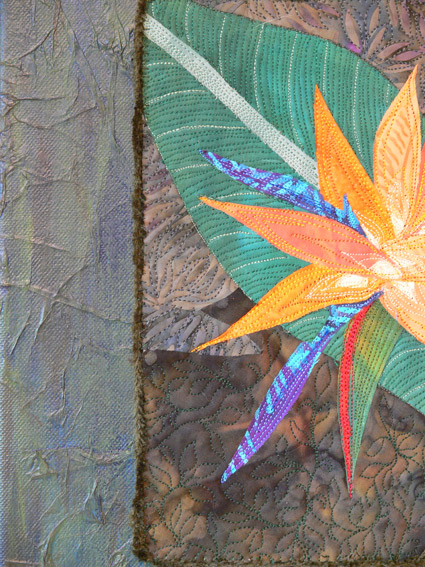
- Find tissue paper-I actually happened to have a fairly old, tatty piece of acid-free tissue so used that, but I would just use plain old tissue paper if I had it. Tear tissue into bits and “glue” to the surface, wrinkling and scrunching as desired. I used Golden Mat Medium, but a Gel Medium or Mod Podge would work too as the “glue” with a sponge paintbrush. The tissue will likely tear a bit–that’s OK. I did NOT extend the tissue far under the location of the artwork… I went to about the pencil line. Allow to dry–overnight if possible.
- Paint. I used a blue paint first, and it was WAY too blue. You may need a brush (not sponge) brush to get into some of the tissue crevices. Allow to dry to the touch. Oh yeah… I happen to have on hand Golden Fluid Acrylics (available at www.dickblick.com) so I used those. You could also use craft acrylics, but the pigment load per ounce (or whatever measure you want) isn’t as much…in other words, there isn’t as much pigment. You get better coverage and durability with artist acrylics, but they aren’t necessary (my Cappuccino series that are on the square canvases…check in the For Sale tab… were painted with craft acrylics).
- Paint a second layer of same color if you don’t want the white of the canvas to show through.
- As I mentioned, mine was way too blue, so using a sponge paintbrush, I added some green, which made it too green. By the way, I tested on the area that would be under the artwork so if it was awful and I couldn’t clean it off, I wouldn’t ruin the canvas. Then I took a wadded up paper towel and swiped. For this one, I kept the swiping vertical, but it could be fun to do every which way, too. That lifted some of the green, and thinned other parts of the green, which was kinda cool.
- It still wasn’t quite right. Did the same thing using Raw Umber (or was it Raw Sienna?), a dark earthy brown. I applied less paint, almost a dry-brush technique dusting the color here and there, then paper-toweling.
- Oh…sewing it on. Once everything is dry, I position the artwork, again measuring for level/equidistant. I spear the corners with pins (and more on the sides if the piece is large). Using a sturdy needle threaded with a double strand of thread that matches the outside edge of the quilt, I stitch about every inch or so. Some artists may only do the corners, but I don’t trust cloth not to move. On the bottom I’ll do maybe every two inches. A thimble REALLY helps as the canvas is tough. I have heard that some folks will sew felt to the back of the quilted art, then use maxi-hold glue. I’ve done that, but don’t really like doing it.
- Finish the back. Black dust-cover stuff (what is underneath upholstered chairs) works great on the backs. I staple gun that (or whatever) to clean-finish the back, and hammer one of those picture hangers to the center top… I call them alligator hangers…straight across the top, downward facing triangles/teeth on the bottom.
- Turn around, admire and enjoy. Hope for a quick sale!
Really fancy eh???
I suppose I should have applied a varnish to the top. I KNOW I should have with the craft acrylics since they are starting to scuff a bit on the edges. I think I shall apply Glad Press N Seal to the top of the quilted parts, then use a spray varnish (Matte or Satin) for those pieces to protect the paint. Maybe on this one too.
Some alternatives:
Buy a canvas the same size as your piece. Paint the edges. Sew felt (black would be best) to the back of your quilt. Glue it using permanent glue to the canvas. By using felt, you can later change your mind and remove the quilt from the canvas if you feel like it.
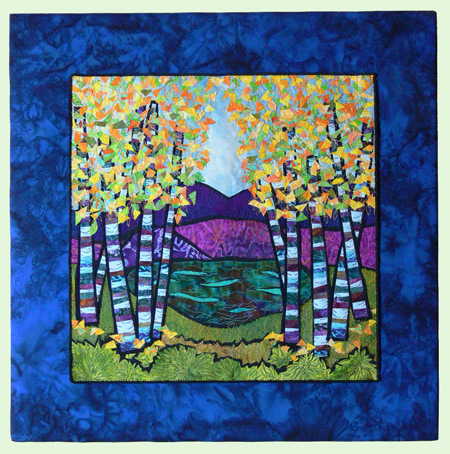
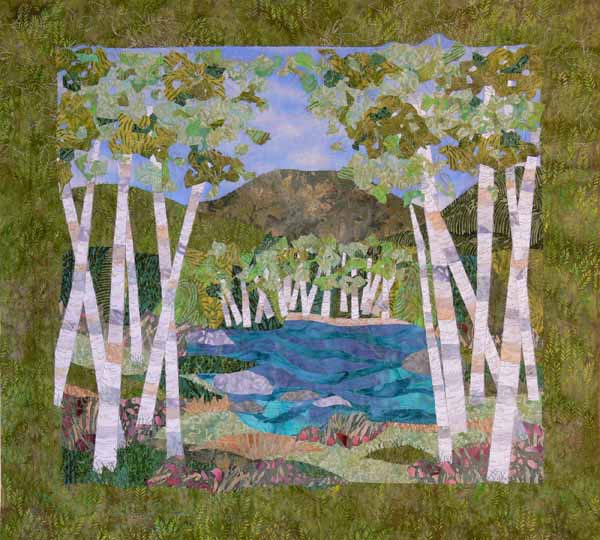
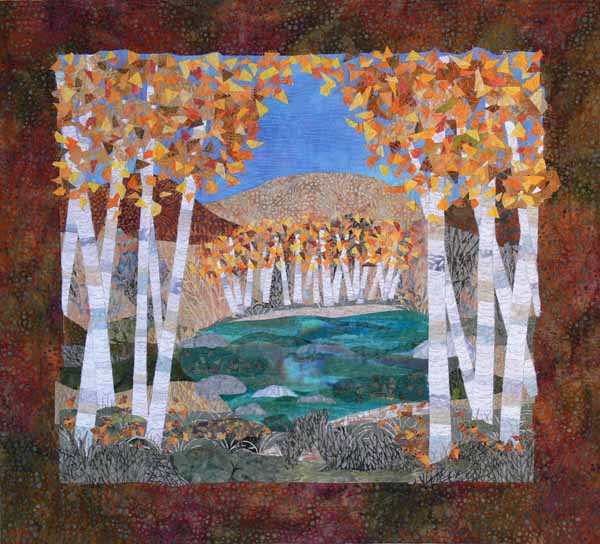
Use artists stretcher bars, cover with batting and coordinating fabric, as I did with Birch Pond and a number of other pieces (check the for sale gallery… the Cloud crane, Tree Branch Moon and maybe some others are done this way):
If there is anything that is confusing…just ask! OK…NOW it’s done. I think…

