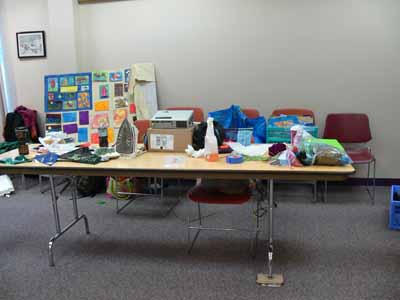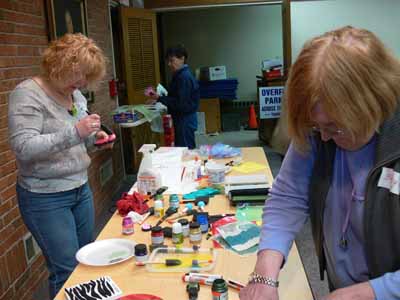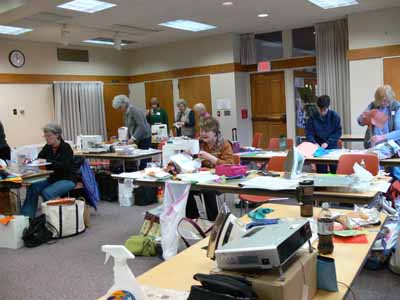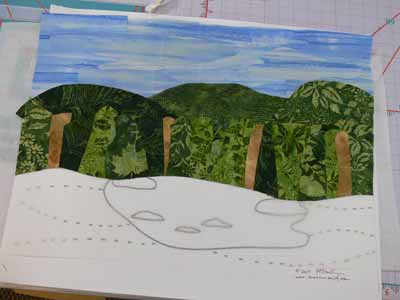
Today’s post is about a new pattern I’ve designed to help folks who want to start art quilting or for folks who are experienced art quilters but want an appealing yet fairly easy pattern. The class to teach Birch Pond Seasons (when I get winter and spring made, I’ll have four views of the same pond across the four seasons) for the first time went swimmingly well as you’ll see by the photos! The pattern itself will be available in about two months (guessing…have to send it away for printing the large sheet this time).
As you might guess by that rather extended absence from the blog, I’ve been busy! Between the first draft of my next article for Machine Quilting Unlimited magazine, getting together the stuff for taxes (not only ours but mom’s, too…bleah), attepting to get some sleep, going to wrestling meets, the usual family and household stuff, making a new small quilt for the article, and teaching, I’ve been rather behind the curve. A while back, I got to teach my Birch Pond landscapes pattern for the first time at Maine-ly Sewing, and it was a gas! I will definitely be polishing up the instructions, sending the pattern off for printing (it’s oversized, and copies at Staples are about 6 times more expensive than shipping it away and getting it professionally printed).
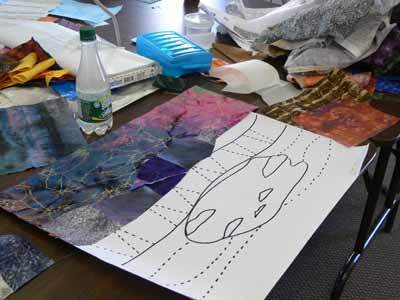
After showing the students how to fuse up fabric (both large chunks and smaller bits) they began composing their quilts. The easiest way proved to be setting out the large pattern (the piece of paper is about 18×22), placing parchment paper on top of the pattern, then the pre-fused fabrics on top of the parchment. Here you can see the pattern through the parchment on the lower half of this quilt. This student did a fabulous job with her sky; she had one piece of fabric that was perfect, but WAY too narrow, so we cut, spliced and overlapped for it to look like a summer’s cloud-dotted sky.
Another student chose a dramatic lightning-streaked sky and dark mountains for her quilt:
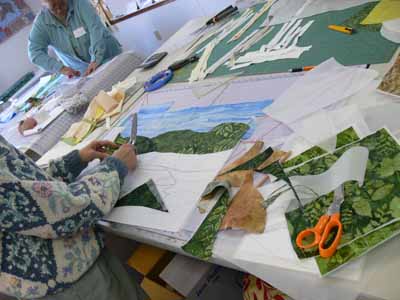
Working from farthest away (sky) to the front (foreground), we began with the sky, then the distant hills, then what I have called “the woods behind the pond.” You could cut a single swath of fabric to go across the entire quilt, but I think by cutting chunks and “piecing/fusing” a band, you get greater depth in the piece:
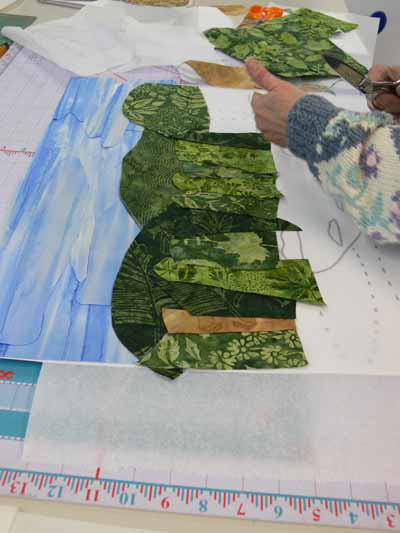
Creating the woods behind the pond
To make the tree trunks, we created “new fabric” by cutting strips of white, cream and gray, then cross-cutting into tree trunks:
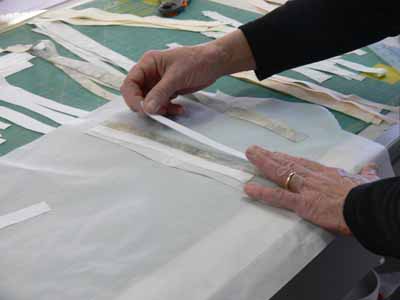
Using strips to create new "fabric"
One student decided to go for wild and funky colors… I’d love to see how this one turns out after she adds the birch trees, foreground plants and quilting. Here is her quilt at the adding the pond stage:
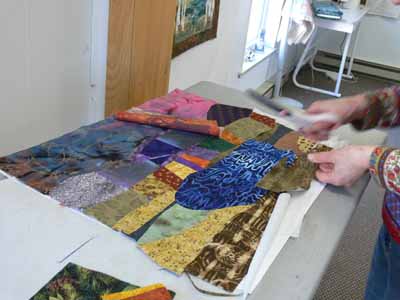
Adding the foreground in the wild and funky one
After the pond, we added the foreground and rocks:
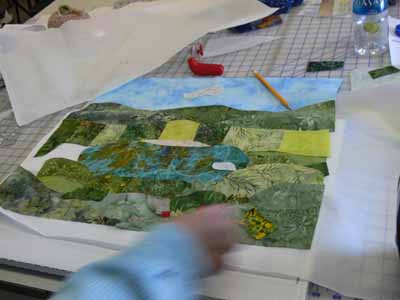
Adding the foreground and rocks
Or, you could add the birch trees behind the pond first:
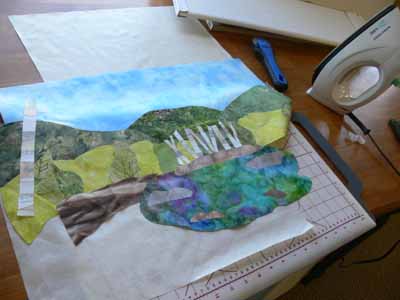
Adding the birch trees behind the pond
Two sisters took the class together, and decided to combine forces. Rather than both of them working separately, they decided by late morning to create one quilt together and get it to nearly-done stage, then make another at home. Here is one of them “building” the scene and adding the birch tree trunks first:
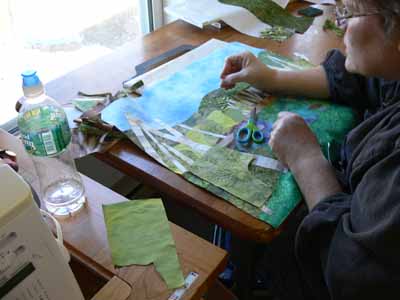
Building the scene
Finally, a nearly complete top (minus borders):
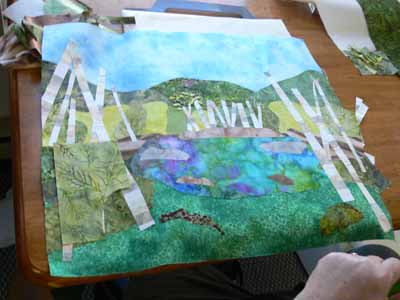
Birch trunks added...next, foliage!
At the end of the day we discussed border selection, quilting designs (the ones on my quilts, which you can see here, are designed to be do-able by newbie machine quilters), and using a facing to finish the edges.
And thanks to one student who went home and finished up, a finished student quilt…hoooray! I REALLY like how she added red flowers going back to the sides of the pond…really helps lead the eye to the pond and the birch trees behind it:
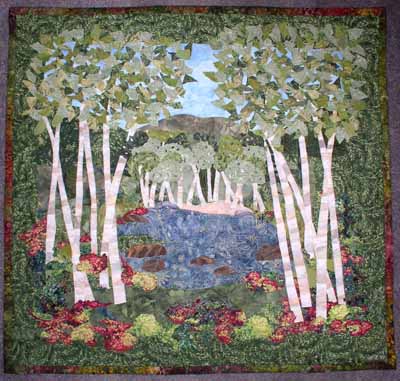
Finished student quilt (thanks Martha!)

