email Youtube

Home
Galleries
Blog
Workshops & Calendar
Store
Resources
About
Contact

Archive for the ‘art quilting’ Category

Tote Tuesday, Feb. 16th edition

Monday, February 15th, 2010

Logo designed by Jeanelle McCall of http://www.fivespoongallery.com/

Get ready folks…tomorrow is another Tote Tuesday fundraiser for the American Cancer Society, and it’s gonna be AMAZING… please visit Virginia Spiegel’s Tote Tuesday page, here.  There are THREE bags of delectables from Karey Bresenhan filled with goodies from her stash, her mama’s, and donations from amazing people around the world.  There are other amazing offers of books, totes, padfolios, artwork… it is just amazing!  Let’s make this an especially successful day!

Next week will be (I think) the last Tote Tuesday, and it will include my donation of a copy of Threadwork Unraveled, a spool of Superior Threads Rainbows in one of my favorite colorways, four pieces of my hand-dyed cloth totalling just over a yard of fabric, and a pair of hand-dyed socks (upside down to each other, AND a piece of artwork using one of my new lino-cuts (more on that tomorrow!).  Stay tuned, and DO surf over to Virginia’s and see if you’d like to bid tomorrow.

The Frayed Edges, January 2010

Sunday, February 7th, 2010

Harrumph!   January escaped, and I still haven’t shared pictures!  In my defense, Deborah’s birthday was this past month, and our activities were her birthday present, so I couldn’t blog about it until AFTER the date!  Since it is now February (SHEEESH!), I am safe….

We met at Hannah’s house on a snowy January day, shared a bit, then headed down to Hannah’s walk-out basement studio, with many lovely built-in goodies thanks to her hubby, and made some art cloth for Deborah, which we then mailed all together.  In a small miracle, we actually got it done, in the mail, and to her in Texas BEFORE her birthday (with a note on the envelope not to open until the birthday).

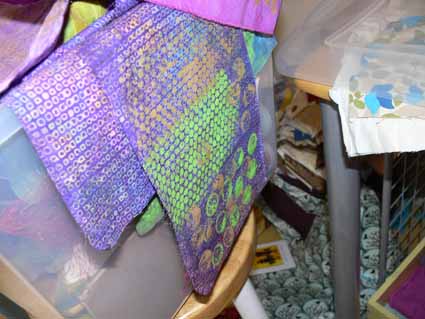
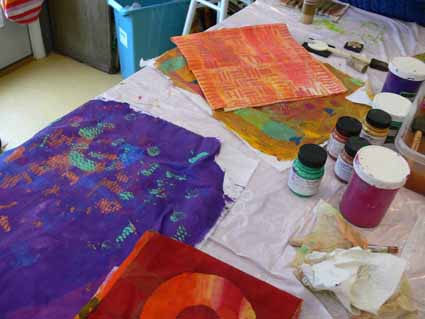
Here’s some of the cloth…the red with grid is (believe it or not) the before!  It got even better, the purple in the lower left is from Hannah and her daughter.  Alas, I didn’t get pics with everyone busily at work, as I was too busy at work too… then when I snapped these the others were upstairs starting lunch….
We had fabric hanging all over the place drying:
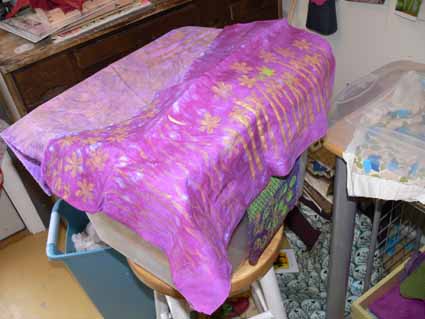
I took it home, ironed it after the paint dried completely to help set the paint, then pinned it up on my design wall for a photo–see how good we are?  We actually let these delectables GO and didn’t keep them!
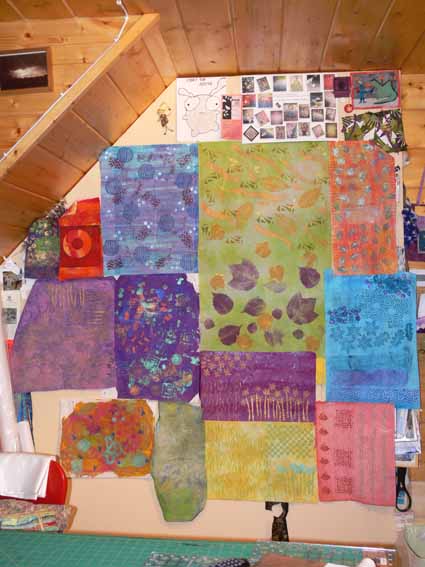
The pieces here are by me (the green one), Kathy (orange, on the right), and it was either Kathy or Kate for the blue (bottom right):
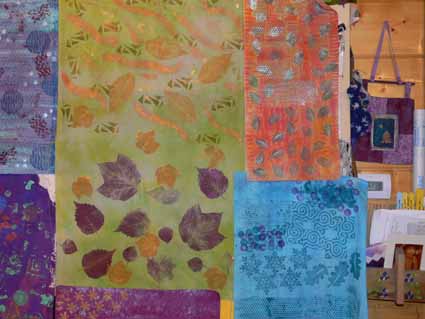
Everyone LOVED this stamp Kate had carved ages ago.  See what good friends we are…we used it, but actually let her take it home with her LOL! (Laugh out Loud for those of for whom English isn’t your first language and who may not know some of our internet abbreviations.)
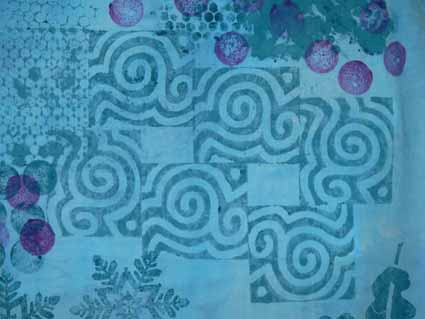
Those round dots, by the way, are the end of a wine cork.  I like that way of acquiring art materials….

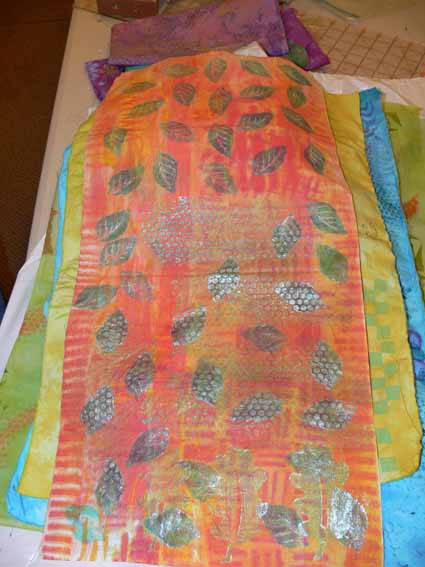
Here’s the orange piece on a pile of fabric to go home with me (better picture below); Kathy dyed the base cloth this  past summer at my house, then added to it at Hannah’s:
And here are green (by me, the bottom part of it), the bottom part of the Kate-or-Kathy blue, the purple by Kathy (boy do I hope I am getting the right names on the cloth… if not, someone correct me Kate and Kath!), a lime green by Kate, and that salmon-y one by me.  We liberally used each others’ hand-made stamps!
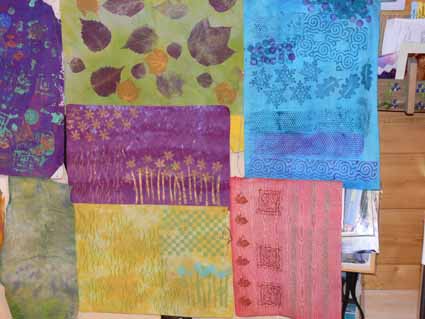
And then:

top row: upper left purple (small) by Kathy, red by Hannah, blue-purple-plum by Sarah (on a commercial batik),

next row:  lighter purple by Kathy, darker purple by Hannah and daughter Nina
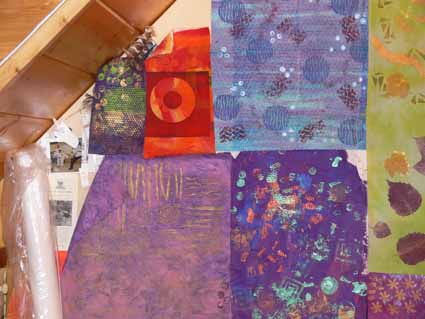
And finally–the top row is a repeat (duh) of the ones just above; the second row is a piece by Hannah and Nina on the left, and a lovely sheer piece by Kathy–she dyed this one at my house this past summer, too, then added to it–it its first life it was a sheer white curtain:
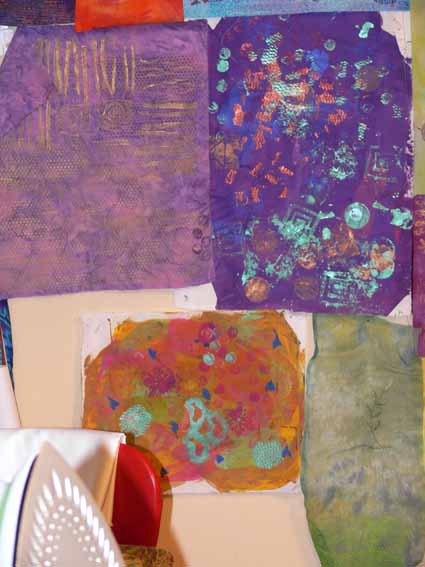
Here are some close ups….Kathy’s finished orange-ish piece…. heavenly–Kath used a stamp of mine and sequin waste as a stencil (to get those perfect circles):
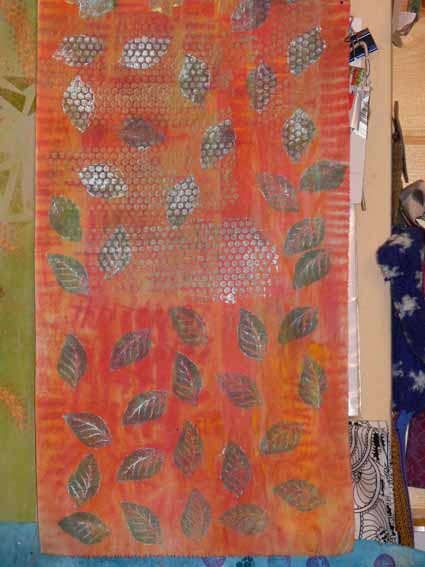
I’m pretty sure Kate made this one using her hand-dyed and various stamps…the grassy bit is Kathy’s stamp made from adhesive-backed foam cut into wisps and mounted on cardboard (cheap, easy, useful, beautiful!):
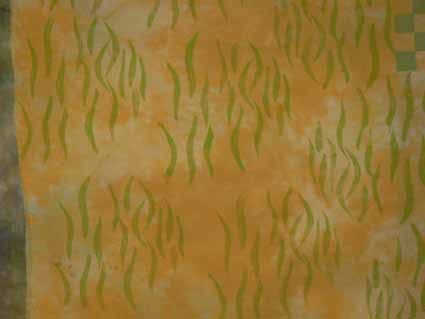
Here’s a detail of that stamp we all wanted to swipe/copy:

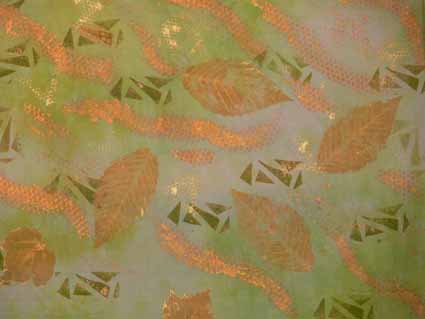
And finally, part of my green one.  It began with hand-dyed by me fabric.  A bit over a year ago I did a demonstration at the Make It University section of the big IQA quilt show in Houston, showing leaf printing.  At Hannah’s I added the green squares (another foam-on-cardboard stamp, this one by me), and made swoopies of gold through sequins waste and printed with plastic needlepoint canvas.  I really like how this one turned out.
It’ll be fun over the next few  years to see bits of these cloths show up in Deborah’s work!  Clearly, we had fun (and missed having Deborah WITH us in body, tho she was certainly there in our hearts).

Lino Cutting with Dijanne Cevaal

Thursday, February 4th, 2010

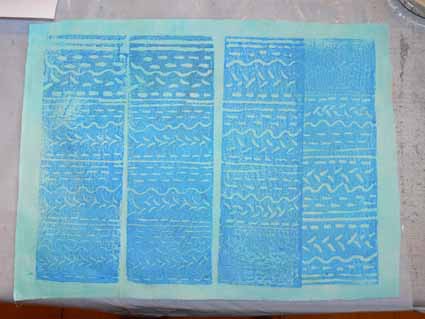
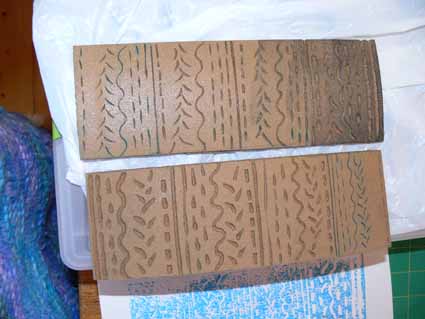
I LOVE woodblock prints, etchings, lino-prints…. I love and am always inspired by Dijanne Cevaal’s work, which you can see on her blog, here (and then follow the links there to more eye-candy).  Well, last year when I was beyond over-busy, I learned she was teaching an online lino-cutting class.  I promptly wrote and asked her to let me know when the next one began.  She did, and on Monday we received our first lesson.  Here are my first rudimentary attempts…

I have cut easier-to-cut surfaces than linoleum, such as MasterCarve (the Rolls Royce of rubbery media) and Speedy-Cut.  But I knew I could learn from Dijanne, and just reading the first lesson was a wonderful tour of antique textiles, textile printing history (did you know that Fauve artist Raoul Dufy also designed couture textiles?  I hadn’t!), and lots of useful tips.

I also learned while working on the first exercise that my Speedball lino-cutting tools are VERY SHARP, and how deep is too deep to cut safely (thereby causing the blade to skitter out of control into my left index finger…OUCH!).  Yes, Dijanne warned us, but I –as usual– appear to have had to learn the hard way that THAT was TOO deep!

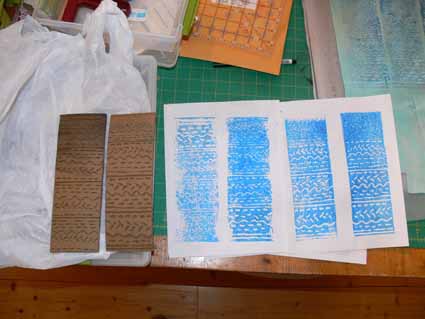
The picture at the top is four efforts at printing on cloth.  I used one of three different types of linoleum (wanting to try out each one before buying a bunch) I ordered from Dick Blick, a major discount art supply house here in the US.  I actually don’t much like the one I used here… it is like sawdust plasticized.  I hope I like the other, but harder to carve (?) lino better… the other yellowish one certainly feels smoother, and the quite hard gray even better.  Anyway, here I decided to be uncharacteristically methodical, and tried all 8 of my blades (I have two different carving tools, and luckily each one came with a slightly different assortment of blades, giving me four “V” and four “U” shapes/sizes).

I did a test-print (I used Jacquard textile paint in blue on a piece of aqua hand-dyed) on paper first.  Clearly, I need to refine how much paint I get on the lino-cut and how well.  My sponge roller is in need of a new sponge, since the last time I used it it accidentally dried with paint in it.  Ooops.

I’ve got two more exercises to do for this lesson, and I’m really looking forward to the next two lessons!  However, I’ll wait for my sliced finger to heal and also work on a MAJOR project that is due and needs massive amounts of work NOW… back in a bit with more lino-cutting!

Betcha didn’t know…

Tuesday, February 2nd, 2010

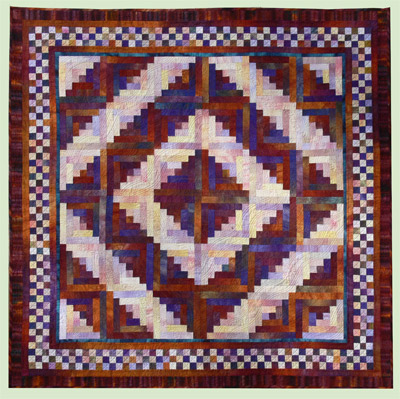
that I began my quilty life as a traditional (well, sort of) quilter.  My very first quilt…the one I began first…was a Mariner’s Compass (!!!!).  However, it was too hot in Central Africa, even sitting by the air conditioner, to sit under the quilt for more than 30 minutes so I gave up trying to quilt it by hand until we got back to the Washington, DC, area.   Pretty soon I started playing with colors, quilting designs and themes, though.  Maybe ten years later, I fell in love with Judy Robertson’s hand-dyed fabrics; I spent a small fortune buying two multi-light yards and two multi-colored dark yards and made this quilt, From Sea to Shining Sea:

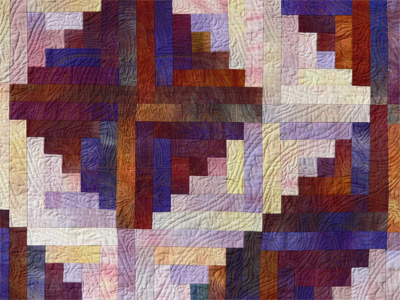
The colors reminded me of the words from America, the Beautiful, so they song is machine quilted into the quilt, with an American eagle (from the US quarter dollar coin) and a sorta-traditional vine.  I tried…but just couldn’t get a truly traditional feathered vine to look  right on this quilt!  Detail:

That purchase of hand-dyeds started me on learning how to hand-dye myself.  Then I started selling my hand-dyeds.  I wanted to show folks that they could combine hand-dyeds and lookalikes with print fabrics and make fun, contemporary quilts based on traditional blocks.  This quilt is, I think, North Winds, and came from the Quilts from the Quiltmaker’s Gift book (link here) or More Quilts from the Quiltmaker’s Gift (link here…forget which one).   They are both lovely books, with great illustrations to show how the quilts will look in different colorways.

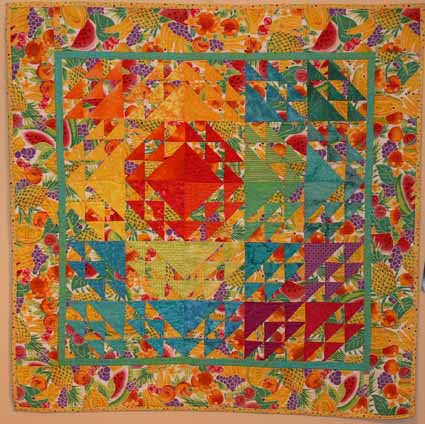
Anyway, this quilt has an official title, but to me it is the Anti-January quilt.  I lived in the Pacific Northwest of the US at the time, where it is gray and dreary from late November until at least February.  I found myself yearning for bright cheery fabrics every January, and made this one at that time of year.  I set the colors to look like the blazing sun surrounded by the green islands and tropical blue waters…..:

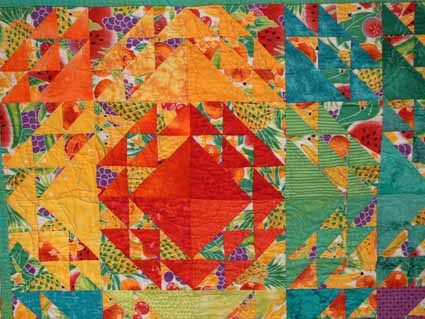
and a detail…quilted with tropical seas, palm trees with coconuts, waving beach grass, tropical fish, seagulls……..

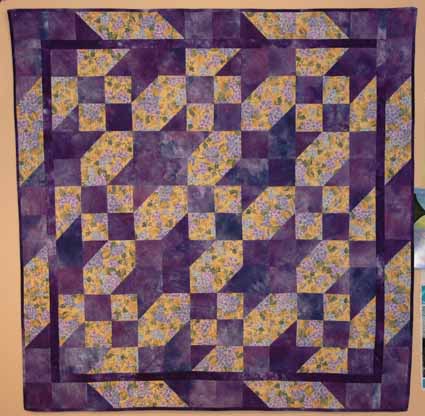
Then as a quickie quilt to help sell MY hand-dyed fabric (which I no longer do really), I grabbed some purple (four fat quarters I think) and a very girlie yellow-purple print on my shelf and made this quilt using the Road to Oklahoma block:

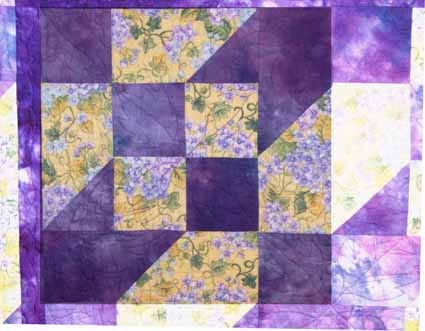
Since it is hard to find the block, I did up this photo.  There are nine blocks of 12 inches each in the center of the quilt, which is about 42 x 42 inches (about a metre square).

Hope you enjoyed this trip into medium-ancient quilt history!

Merrimack Quilt Guild

Saturday, January 30th, 2010

As you might have guessed by the lapse in posts, I was busy/away.  Last weekend was fun… on Thursday evening I gave my Decorated Quilt lecture for the Merrimack Quilt Guild of Plaistow, NH (about a stone’s throw from the Mass. border, literally!) and on Saturday taught Fabric Postcards,

which is really a play-day with an introduction to a bunch of art quilt techniques.  Instead of having to buy a zillion things and stuff, I HAUL a zillion things and stuff and folks can try fusing to collage their postcards, Angelina, fabric stamping (I demo stamp carving, so they can see how easy it is, but too sharp tools, too many distractions to do that in the class with so much else going on), fabric rubbings, using found objects as stamps, resists and rubbing plates,  freezer paper stencils, assorted paint techniques, and finally couching yarn as an edge finish. (PS… given the costs of shipping, this class is now available only within a 2-day drive of home…..)

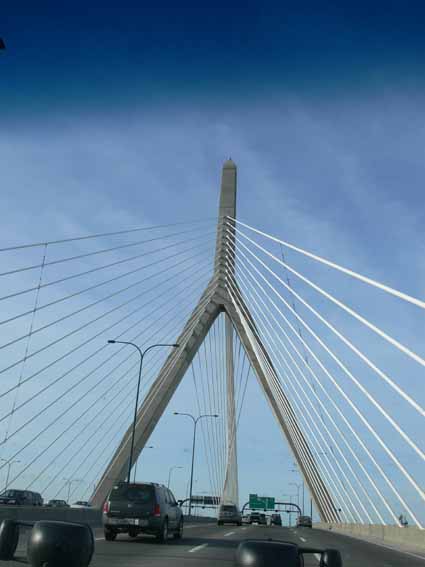
Because it was just a wee bit too far to drive home on Thursday getting home at 2 in the morning on Friday, then get up at 4 in the morning to drive back down on Saturday , my gracious host Cathy Harnish invited me to stay with her, and on Friday—oh joy of joys–we went to Ikea!  I’ve been to this one about three years ago (for a one hour zip through en route to somewhere), and the one in Seattle maybe 8 years ago?   The first time I drove through Boston after we moved to Maine, I just about flipped out…this bridge had NOT been there when I was in grad school in 1981-3!  Since I was a passenger this time, I got to snap pics.  It is supposed to echo the shape of the nearby Bunker Hill monument (an obelisk) and the sailing ships of the days of yore.  It is GORGEOUS…there is a great abstract quilt in this bridge’s lines:

I did pretty well, buying not much–a bamboo placemat for rubbings in the class (which I forgot to unpack and USE in this class…next workshop!), a small lamp for the hall at home, and some shadow boxes in my quest for more ways to display and sell small quilts.  BUT, I saw this… I WANT THIS KITCHEN.  I WANT LIME GREEN COUNTERS!

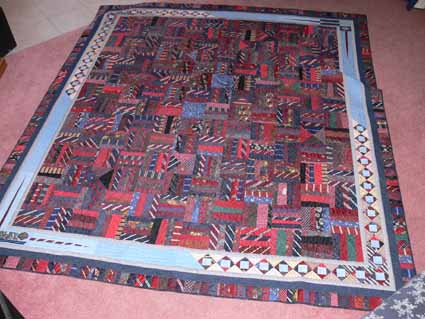
On Friday night, Cathy invited over a table full of guild members, with her dear hubby braving the table of women.  We had show and tell after, too.  While I was there, Cathy shared this commissioned quilt she did for someone made of ties and shirts.  I LOVE LOVE LOVE this border, and think it may be one of the most effective I have seen anywhere–it may have been dictated by the size of the embroideries on the shirts and the leftover scraps, but it is brilliant:

On Saturday, we had a quick set-up time, and then got going.  The morning on this class is learning to use fusibles, especially my favorite  MistyFuse (light hand, easy to use, never any “issues”).   The class was great, and enjoyed the “art smorgasbord” in the afternoon when I set out all the goodies to enjoy.  Everyone always enjoys something different… there are a few things I don’t use hardly ever, but every time I think of eliminating them from the class, there is someone who finds it to be “THEIR” thing, so I keep the materials and techniques included.

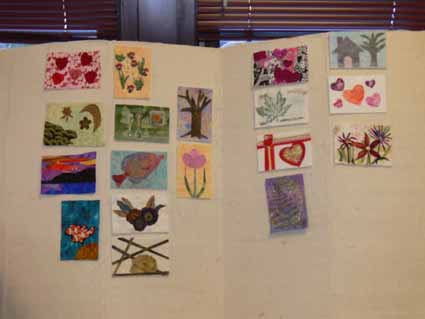
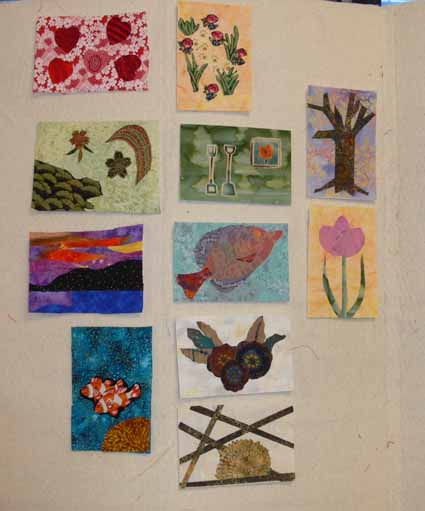
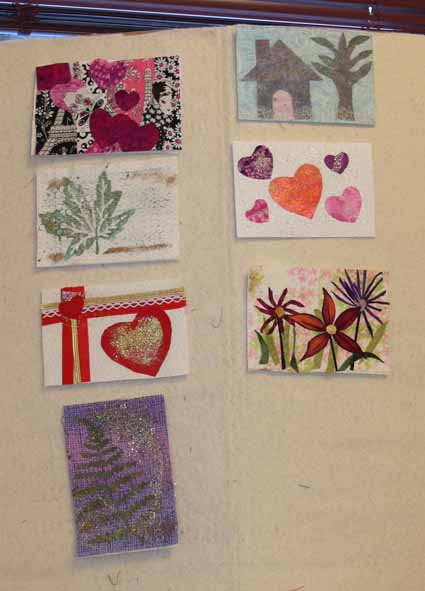
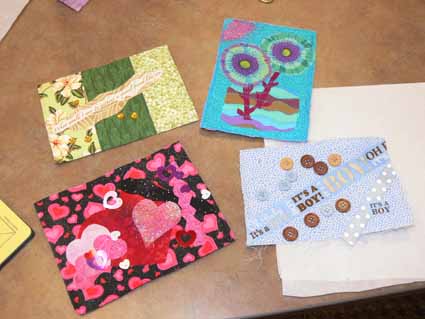
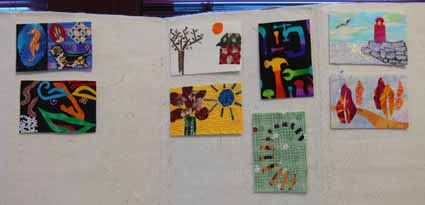
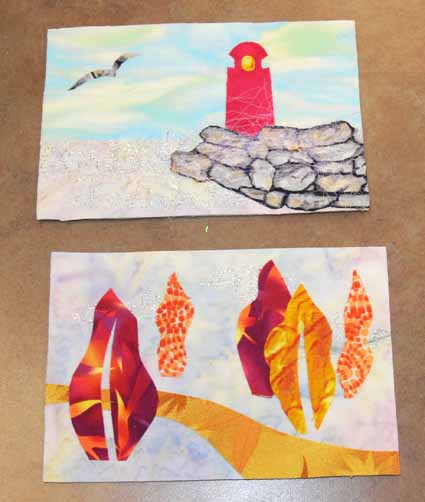
I’m afraid I didn’t get names for the makers of all these cards, but thought I’d share them with you… great variety!  Clearly the upcoming Valentine’s Day was on a couple of minds….

Thanks to all who attended the lecture and came to class… it was, as always, a gas!