email Youtube

Home
Galleries
Blog
Workshops & Calendar
Store
Resources
About
Contact

Archive for the ‘art quilting’ Category

The blue applique vest

Saturday, July 17th, 2010

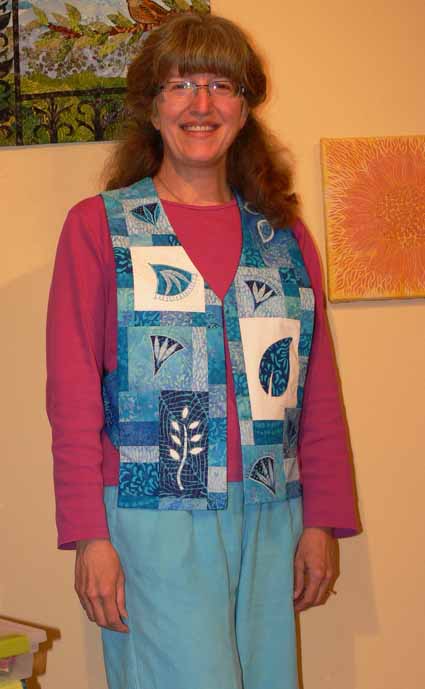
Since there is SO much that has happened in the past two months, I’m going to alternate between the April trip and vacation and other events.   For about two years now, I have wanted to make a vest to wear while teaching applique to show the various types of machine applique and decorative stitching that I teach (two different classes), and how the samples can be used in various projects including clothing, not just quilts.

Here’s me in the just completed vest, frizzy hair, no makeup (and therefore disappearing eyes…I SO envy people with dark eyelashes!) and all:

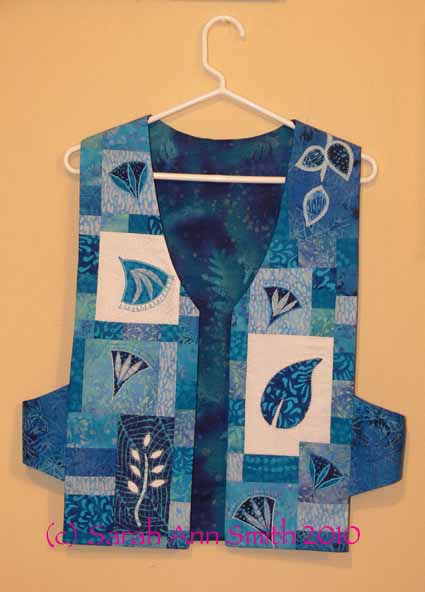
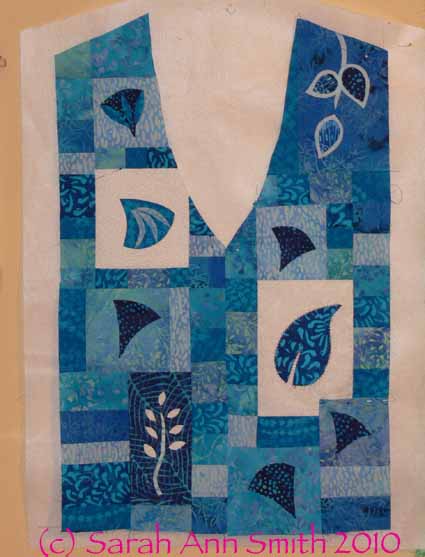
I thought pictures of the vest pinned to the design wall would make it easier to see–this is the front:

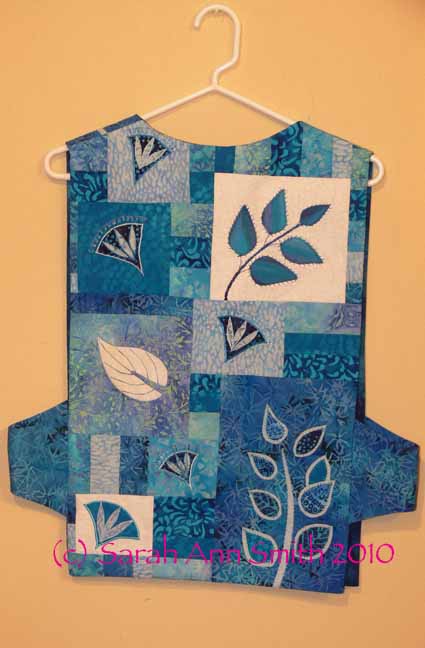
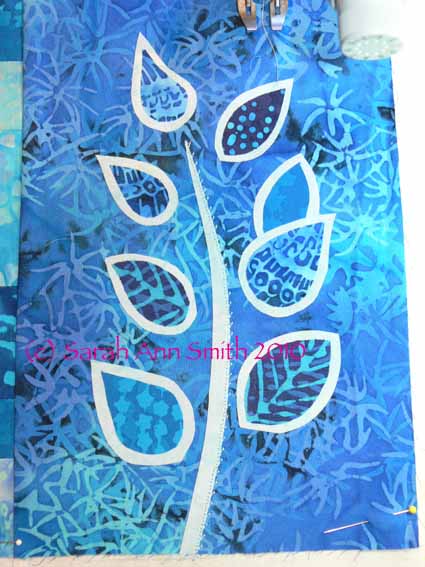
and the back:

At least 12-14 years ago, I bought Make Your Own Japanese Clothing by John Marshall (yes, THE John Marshall who teaches katazome and shibori, makes amazing silk, etc…..  his website is guaranteed to keep you looking for a long time!).  Amazingly, the book is STILL in print (tells you  how good it is); you can find it at Amazon, here.  The Japanese use 14″ wide lengths of cloth to construct their clothing without cutting into the cloth from the sides, so garments are based on rectangles, which makes for easy sewing.  I developed this pattern when I made my Frayed Edges vest (seen in the second photo in this post).

In a nutshell, take your measurements or measure a vest with a fit that you like.  To make the math easy, let’s say 42 inches around.  Divide by 3 and by 6:  1/3 of 42 is 14.  1/6 of 42 is 7.  The front of your vest needs to be, therefore, 14 inches or 1/3 of your circumference (finished…remember to add seam allowances!), the back is the same.  The sides are 1/6 of the distance around you or 7 inches.  It’s that simple!

When I first made the vest, I used rectangles for the sides.  The bottom of the rectangle hit my hit and bent, making me look decidedly hippy and wide.  So I changed the shape to arch on the bottom, with the same curve on the top.  It turns out to be easy AND flattering!

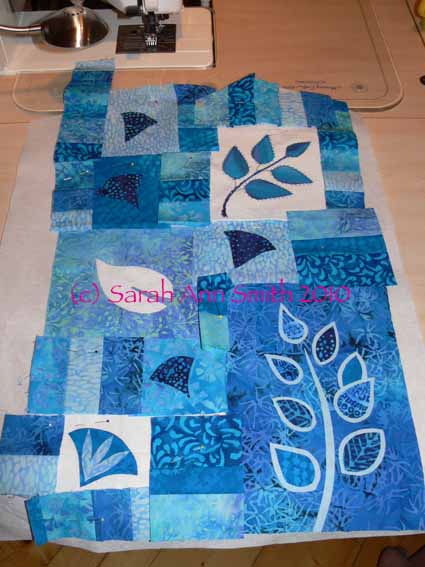
Since I had weird shapes and samples for my applique blocks, I decided to draw out the shape of the vest (used an existing vest to copy the angles for the shoulders and neckline, but modified the front “v” to be slightly curved, again, a flattering line) on RinsAway, a lightweight wash-out stabilizer which I used as a temporary base for construction and decorative stitching.  I placed the applique blocks in a pleasing arrangement, then figured out what I needed to use to fill in the gaps.  I selected about 6-8 prints and cut strips 1 1/2, 2 and 2 1/2 inches, then sewed them together.  I cross-cut sections to create the pieced inserts….I just used a ruler to measure the size I needed, added 1/2 inch (a quarter inch seam allowance for all sides) and cut.

In the photo of the back, the cut pieces and trimmed applique samples (not yet stitched for the fused ones), are pinned to the stabilizer.  In the photo of the front, below, I have pieced together the random shapes and cleaned up the edges.  The pieced fronts are now spray basted to the RinsAway stabilizer in preparation for the decorative stitching.

After stitching, I removed as much of the stabilizer as I could, and sewed up the garment using the usual way of making a vest (it’s a bit of a mind-wrap…you sew the outside to the lining except at the side seams, then turn it right side out  through an opening left in the lining shoulder seam—it seems impossible until you’ve done it!).  Because I tend to get warm walking around the classroom all day (yes, my feet ACHE and THROB by the end of the day), I did not add batting or quilt this one.

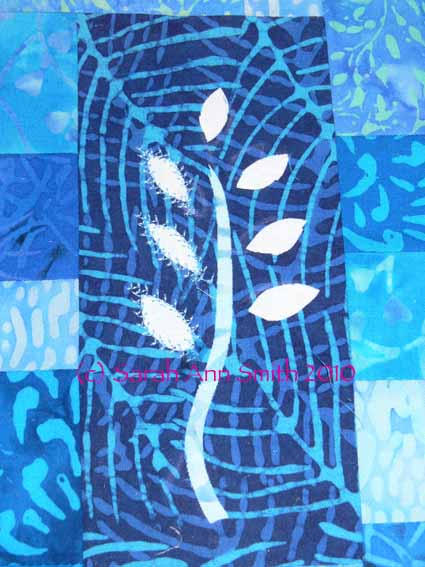
I used both turned edge and raw-edge / fused applique, with various sorts of decorative stitches.  I particularly like the vine coming down over the left shoulder onto the front and the blue background / white sprigged stem (reverse fused applique) on the front.  For the turned-edge pieces, I’ve discovered this new product that I love…. C&T’s washaway applique sheets (click on previous link to see the product).  It has as much body as Ricky Tims’ Stable Stuff (which I still love), but it  is IRON ON!   You can run the sheets through your printer if you want (for example, to print off a zillion identical leaves or to produce templates for a design), cut out the shape in the C&T sheets, iron lightly to the wrong side of the applique fabric, and press the edges.  You can use either a washable glue stick, starch, or just heat to turn the edges before stitching down.  Way cool!

Here are some detail photos of some of the blocks–see what a difference the stitching makes between the buds on the left and the un-sewn ones on the right?:

And my two-layer leaves, which I developed for my Balinese Garden table runner (more on that in an upcoming post!):

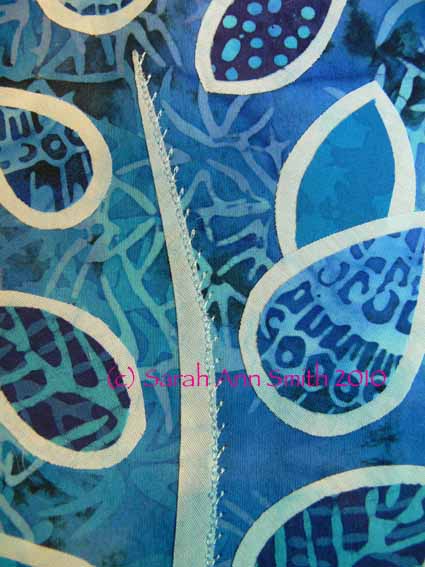
In the photo above, I’ve used a blind hem stitch, available on the most basic machines, to stitch the right side of the stem. In the next photo, you can perhaps see better.  I subsesquently used a 2-sided feather stitch to outline the dark inner leaf and stitch down the lighter outline:

I came up with this 2-layer leaf because on a different project I wanted to use a busy, medium-value (not light, not dark) fabric for the background, and still use medium-value fabrics for the leaves.  Set directly onto the background, there would have been almost NO contrast and the leaves would have been visually lost.  By layering up the leaves like this, you get a nice contrast and outline without having to satin stitch (which while lovely is VERY time consuming, uses LOTS of thread, and may not be the look you want).  Hope you like the vest!

NQA in Columbus, Ohio

Sunday, July 11th, 2010

In June I had the great good fortune to be invited to teach at the National Quilt Association show in Columbus, Ohio.  What FUN!  I had never been to the show, tho last year had a quilt in a special exhibit and won an  Honorable Mention for my Bijagos Warrior quilt.  So this year was an all-new experience for me.  I thoroughly enjoyed the show… it had top level quilts (entry is first-come gets in, not juried! the  only show I think at the national level that isn’t juried), great vendors, but was not so  huge that you felt overwhelmed.  I knew Marjorie Hallowell, owner of my local Maine-ly Sewing shop would be vending, but didn’t expect to meet anyone I knew other than two ladies from the Janome 6500/6600/7700 list who were to be in my classes.  Imagine my surprise then when I went into the hall on set-up day to take something to Marge, when I hear “Sarah Smith!  What are you doing here!” and turn to see Judi Yakab, hand-dyer extraordinaire and owner of Mamaw’s Hand-dyes.

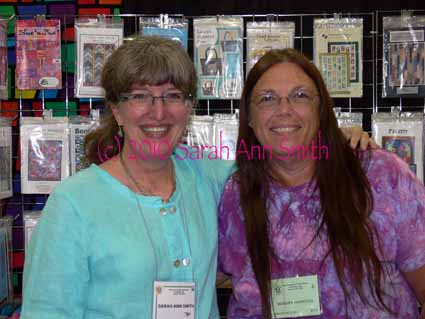
Sarah and Judi Yakab

Judi and I met in a Carol Soderlund dyeing workshop a few years back held at ProChem in Fall River, Mass.  It’s wonderful to see how her business has taken off!  An aisle away I found Marge, then while strolling along a tall woman pops into the aisle (I was nearly asleep at this point) and shouts “Sarah Ann Smith”!  And there were mom and daughter team Jan and Kirsten from Fiber on a Whim!  A couple days later, I met Nancy Z. who runs Maine Quilts and was there with her sister and mom…. AND, remember that trip to teach for the Arizona Quilt Guild?  Well I think about 80 percent of that guild’s leadership is ALSO part of the leadership of the NQA, and everywhere I turned were familiar faces…what FUN!

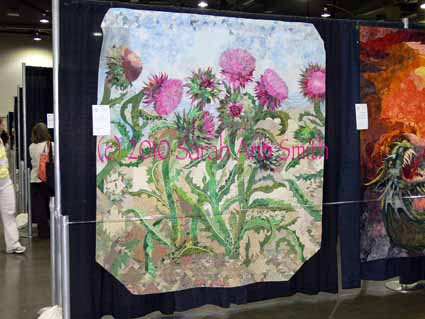
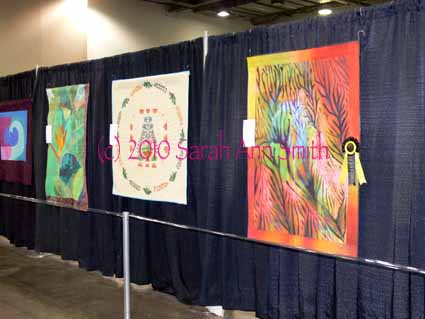
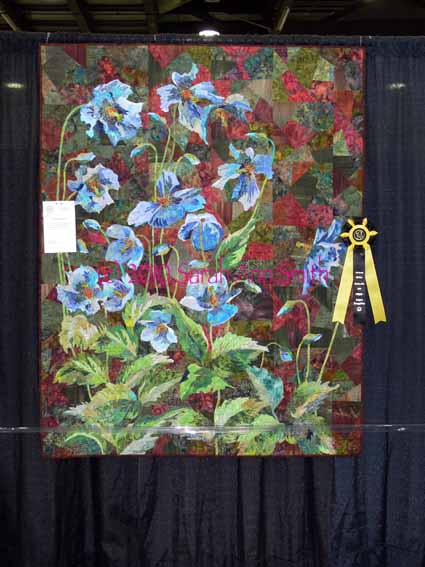
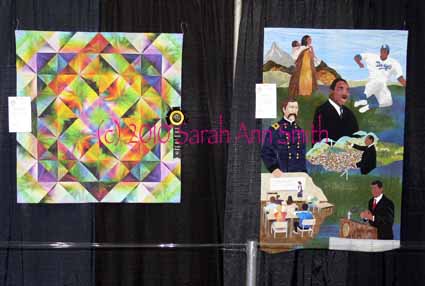
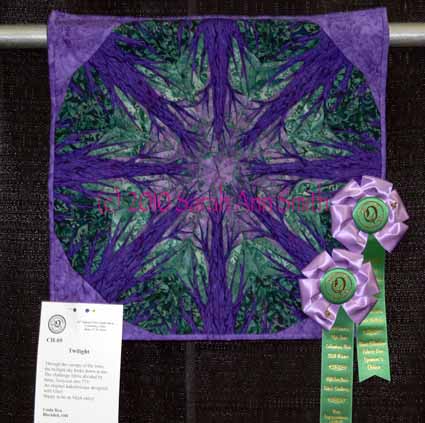
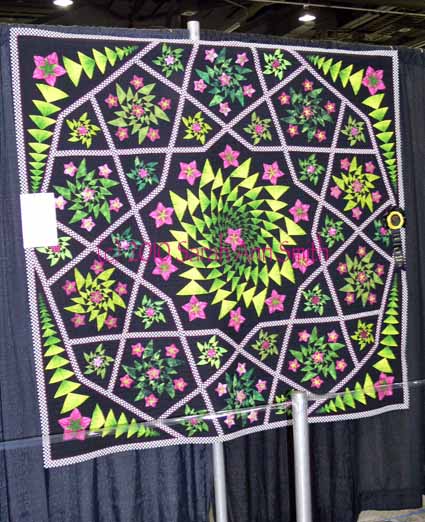
Here are some of my favorite quilts, and I will confess… I committed the cardinal sin and forgot to get pics of the makers.  If any of you know who they are, please tell me and I’ll add the info:

This one made me stop and gasp!... GORGEOUS!


Diane Rusin Doran made the orange and yellow quilt with the ribbon–way to go Diane!

Oh my! Another beauty!

My quilt, Be Inspired No. 1, is on the right; Gloria Hansen's Blushing Triangles is on the left and...yeah! won a ribbon. Gloria is co-designer of my website, too!

From the Trees exhibit...this is paper pieced!!!!!!!

Another one that stops you in your tracks!

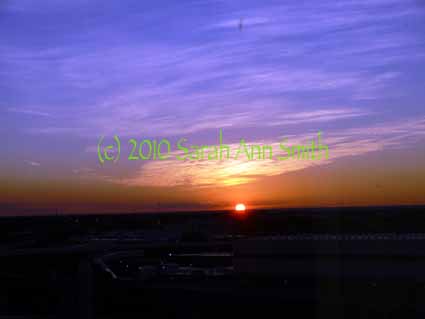
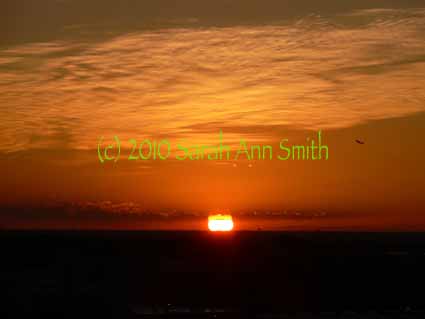
And the last morning….the sunrise sky wasn’t quite that lavender in real life, but it was beautiful:

And a close up:

Sunrise, the day I headed home

I’ll have some pictures of my classes…alas I was so busy in two of them that I forgot to take many pictures!

IQA Happy Dance!

Saturday, July 10th, 2010

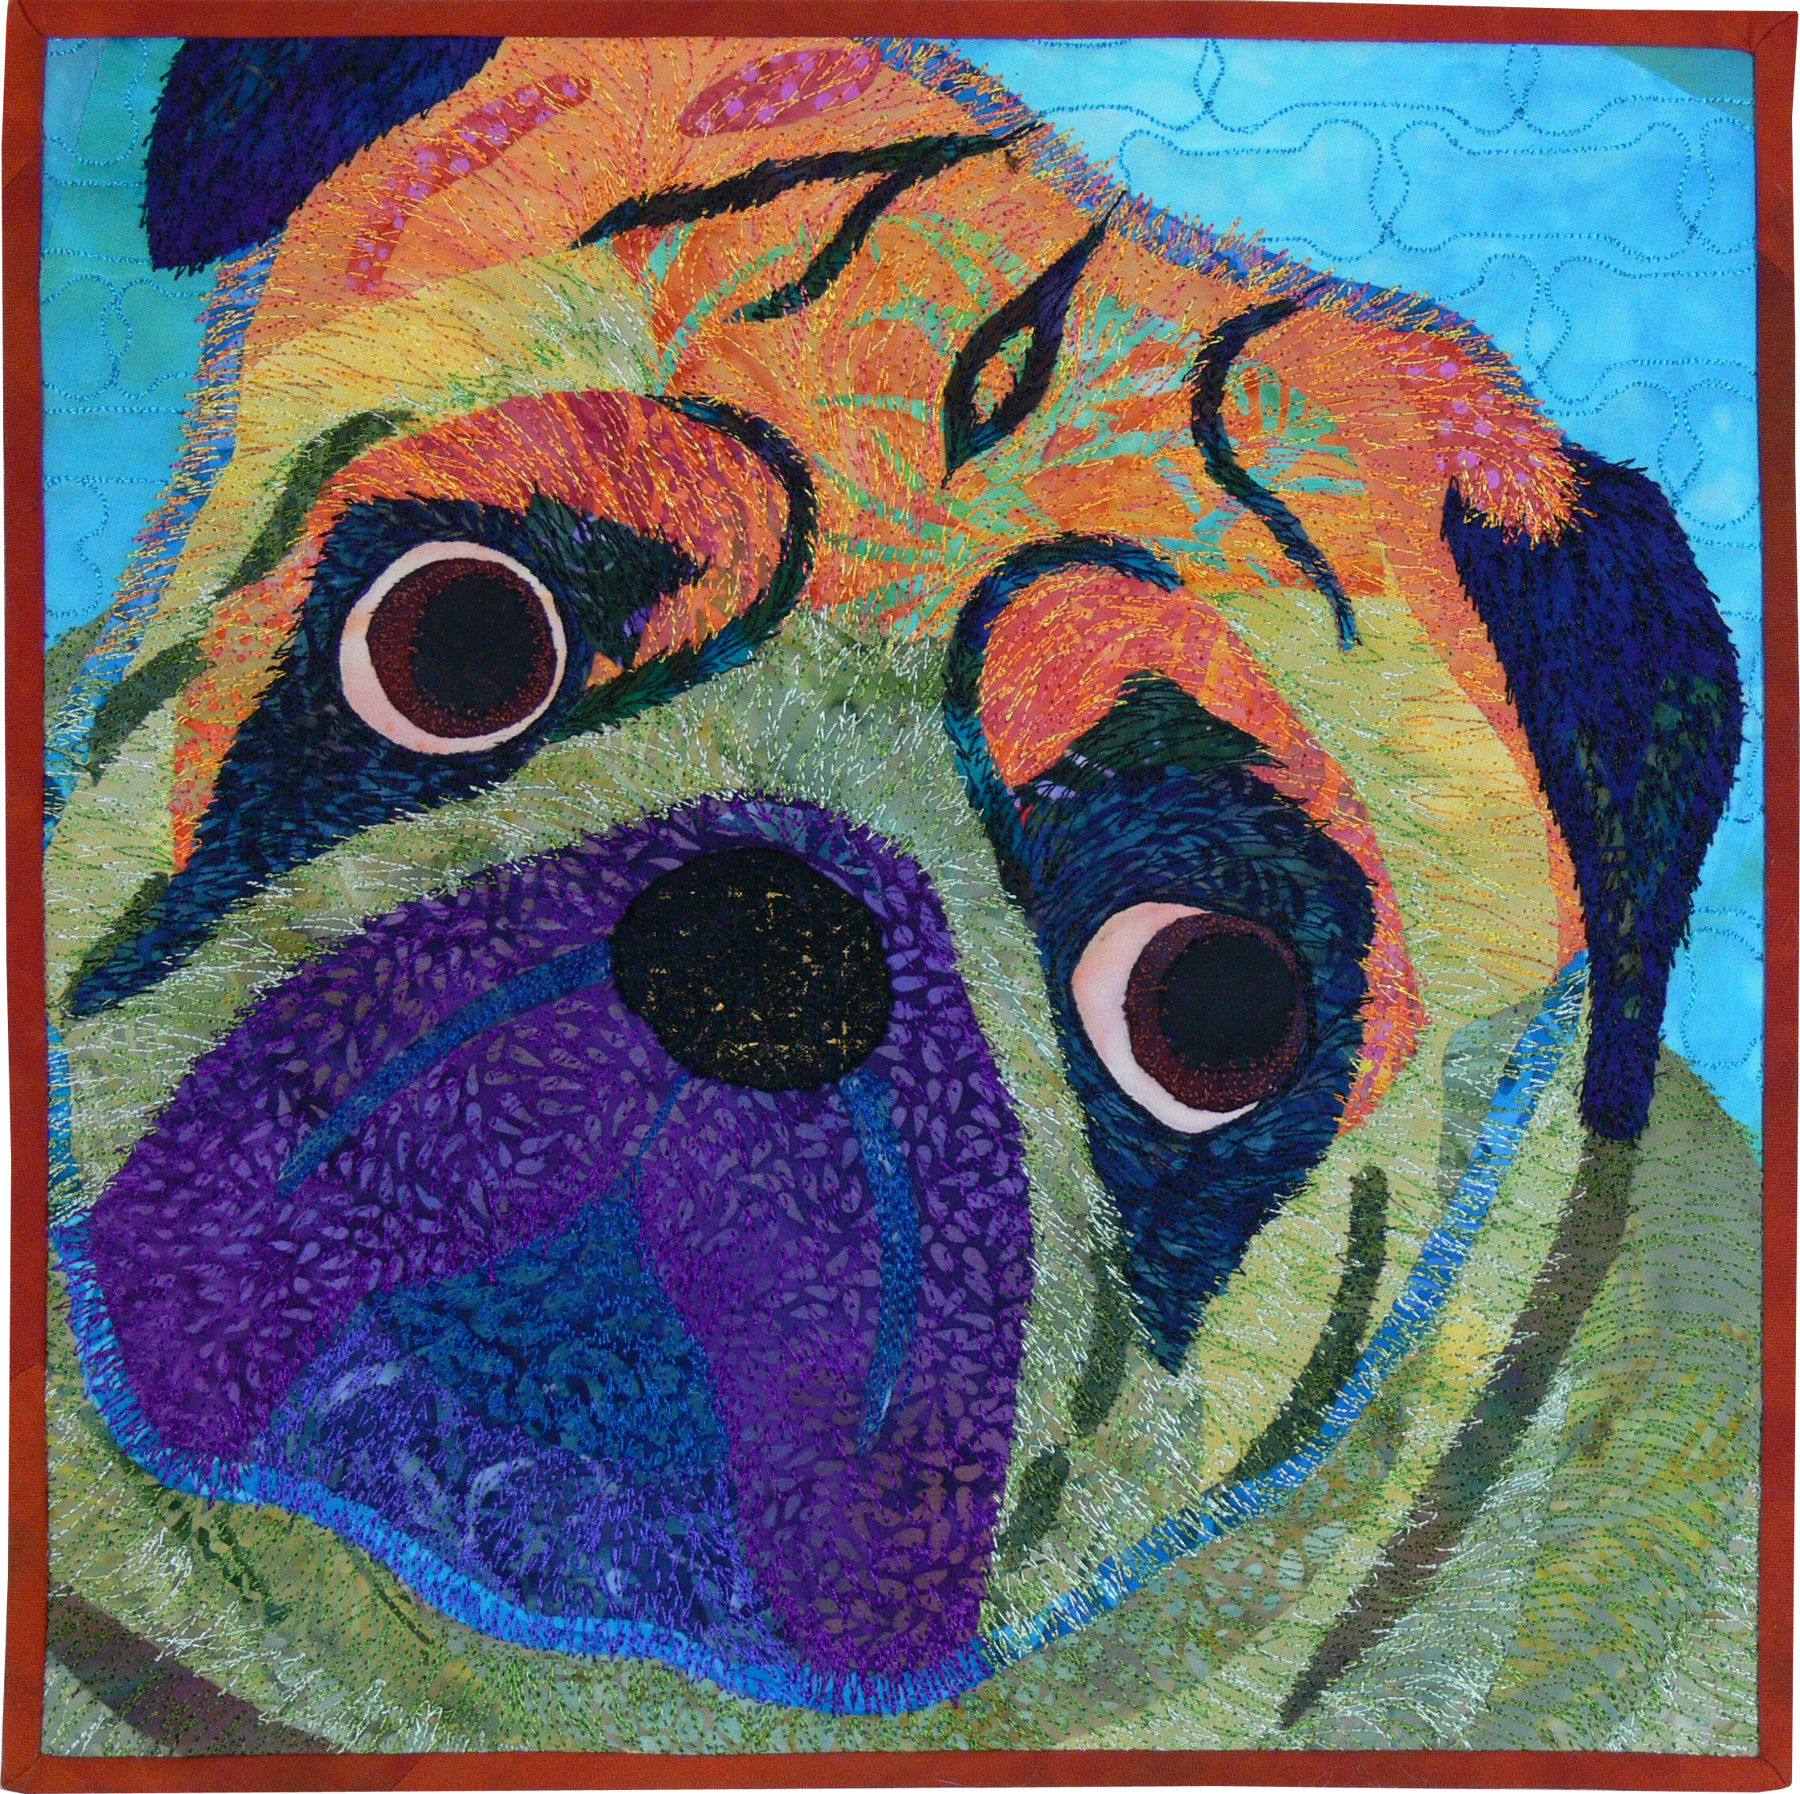
Woooohooo!  (and OMG…two posts in one day?)  Doing the Snoopy Dance (despite the dank humidity and clammy temps here in usually balmy Maine):  Cookie?  PLEEEZE Cookie!, my portrait of our pug Pigwidgeon, got juried into the World of Beauty contest that is the heart of the IQA Quilt Festival in Houston this fall! (Click on picture for much larger view.)

In addition to this sweet pug mug, I’ll have the portrait of my son Joshua in the Beneath the Surface exhibit (thanks to MistyFuse our sponsor!), and two quilts in the special exhibit showing  quilts from Lark Books’ popular 5oo Art Quilts book.  WOOT!  Tippety tap, tippety tap…sounds like more celebrating…break out the ice cream!

Sunflower Lino-Cut

Tuesday, July 6th, 2010

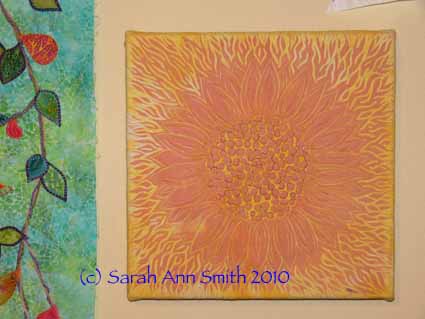
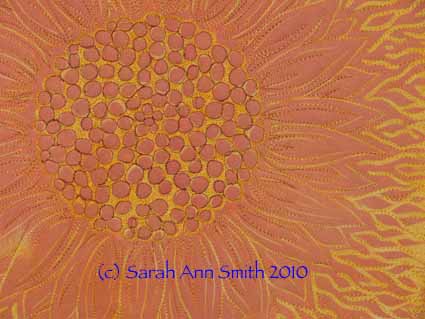
Back during winter, I took an online course on Lino-cutting with Australian Dijanne Cevaal (her blog is here).  One Sunday while watching the Winter Olympics, I began carving this 12″ block–it took most of four hours to Oh-So-Carefully cut (and not slip) just the pebbly center, but it was SO worth the ache in my hands.  I just love the way this turned out:

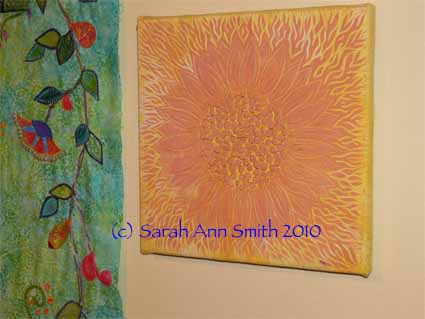
You may be able to get more feel for the quilting from this angled shot:

The quilt was quilted, then wrapped onto artists’ stretcher bars (staple gunned to the back), then finished the back with a nice cloth cover.  Here’s a detail:

Hope you like it!

PS–Dijanne offers the course periodically.  If you are interested, surf over to her blog and ask when it is next scheduled.  OK…just checked, next session starts July 14, so am posting this earlier than I initially planned!  If you move fast, you can take the class soon!

If you love quilted Feathers….

Saturday, July 3rd, 2010

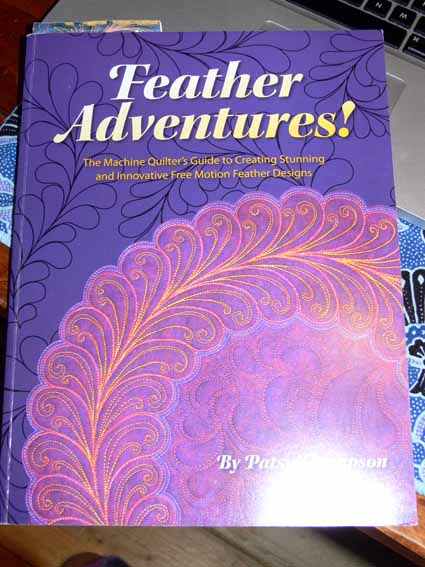
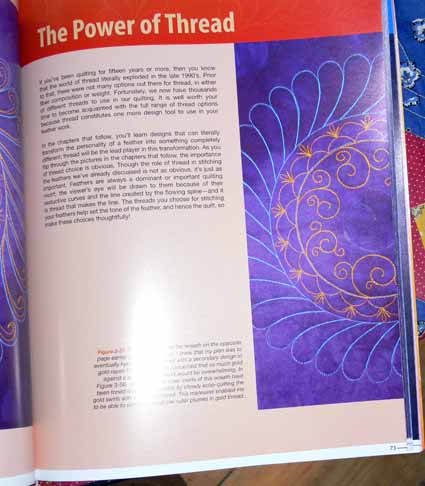
Patsy Thompson is a quilter, author and DVD maven (with seemingly unlimited energy sources!) who loves quilted feathers…the more of them, the more intricate and hyperquilted, the better!  She recently shared her book Feather Adventures! with me:

The book is aptly subtitled:  The Machine Quilter’s Guide to Creating Stunning and Innovative Free Motion Feather Designs, and tantalizingly adds “Volume One”  (that’s hidden in the glare of the camera flash…sorry ’bout that).     The information in this book is good for machine quilters using both home and longarm (on a track) quilters…it’s all about design and building or creating your colorful feathers.

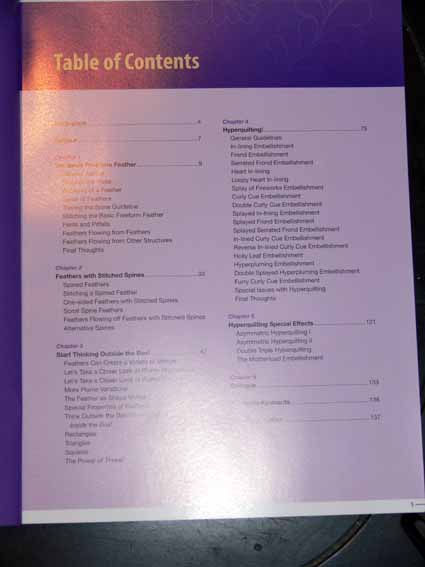
The book is organized into the following chapters:

  1. The Basic Freeform Feather
  2. Feathers with Stitched Spines
  3. Start Thinking Outside the Box!
  4. Hyperquilting!
  5. Hyperquilting Special Effects
  6. Epilogue

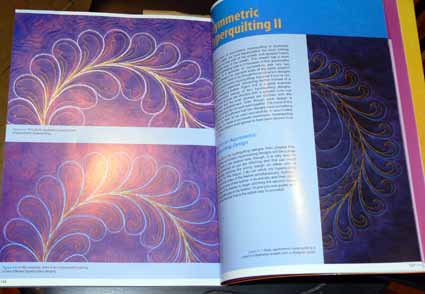
Patsy proceeds from an intro-level feather to increasingly complex variations on the theme, guiding you one step at a time.  The designs at the back at first might appear to be overwhelmingly complex, but as you follow Patsy’s clearly laid out process, you can see that these seemingly-complicated designs are a fairly simple, straightforward process.   As I was flipping through the book when it arrived, I had my first “smack-self-upside-head” moment:  use a flexible ruler to create the spine, then flip it over to mirror image the design OR simple move the curved ruler to repeat the motif.  DUH!   Why didn’t I think of that?  Thank you, Patsy!  (Read more about how on pages 14-15.)

As you read and play around with designs through the chapters, you can see how Patsy has used different variations to come up with feathers that while structurally the same look quite different.   It is up to you to decide how much is just right for your quilt!

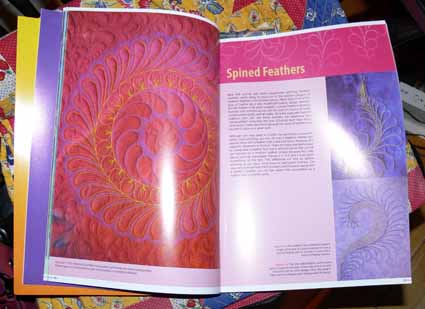
The Stitched Spines are some of my favorite variations…. I can see using these ideas as a jumping off point for using feathers creatively in my quilting.  Even though I tend to make pictorial art quilts, I’ve already begun incorporating traditional quilting motifs.  In the quilt of my son playing his guitar (final post with finished quilt here) , I used several large feathered vines to quilt the background, and think with the inspiration of Patsy’s variations, I’ll be using them even more.

I really liked the curlicues in the photo above, too…. this particular wreath has traditional feathers on the outside, a decoratively stitched spine, and the curlicues on the inside…way cool!

Then Patsy goes over the top with a term I think she coined, Hyperquilting!  Although this might be a bit too much on many quilts (and would get lost on print fabric!), it is sure a fun idea, and may spark new ideas in how to use thread in your quilting beyond just feathers (yes, Patsy….. we all love feathers, but there are other things too!).  The only thing I wish for is more photos (of course?  what quilter doesn’t want more pictures?), especially of the entire quilt pictures.  The detail shots are perfect for achieving the aim of this book:  to teach us how.  But I’d love to see some inset photos that show the entire quilt to the edges so we can get the overall picture.   I’ll look forward to future volumes!

The book is available in a number of places, including from Patsy, here.  While you’re visiting her site, check out her blog…she has LOTS of great information there, too!