Last post I shared about the Shaker Museum in Enfield where we stayed when I taught for the Northern Lights Quilt Guild. Thanks so much for inviting me! I could seriously see wanting to teach weeklong workshops where we start with an idea for a project, try out a few techniques in the mornings, and play with the pieces and design in the afternoon. Finish with quilting and binding… that would be SO much fun! But this time, we had a shorter time frame. Our classroom was HUGE! I’d guess it was 1/3 of the second floor. The Shaker’s probably didn’t foresee me needing to darken the room to do a slide presentation, but the room actually has built-in, recessed shutters on all the windows which came in handy for my purposes, too!
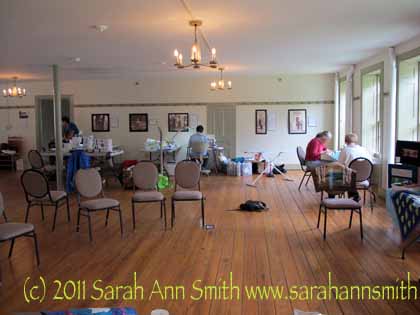
One side of the room--the chairs are leftover from ladies gaythering near the projector and screen before they moved to the walls (and electrical outlets or natural light). Those green raised-panels you see next to the windows are actually the recessed shutters!
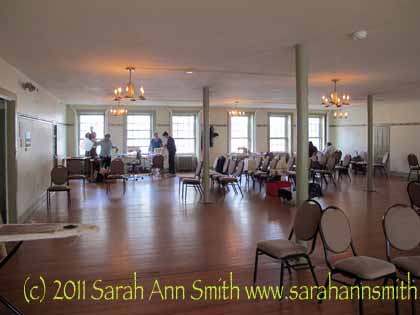
Looking across the room (which is set up for the lecture Friday evening)...VAST!
For the first day, I taught Applique 3 1/2 ways, and as usual was so busy I forgot to take photos. The next day, however, Chris had her blocks out, so here they are…alas, her lovely satin stitching on the one block doesn’t show in my photo!
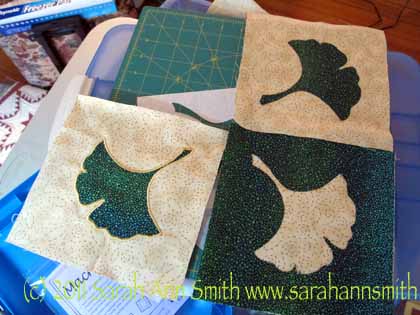
Chris's Gingko leaves
Then we moved on to free-motion quilting on Saturday. Students experience levels varied from having done absolutely none to having done some but not entirely happy with what they did. The key, of course is the dreaded P-word: practice. But knowing a few tips and tricks, and most of all proper preparation, helps folks immensely. Here are some photos of the samplers students did. I use the sampler that is also in my book for teaching, but offer students the choice of using the block/grid format or just going free-form in the freedom of open space. Some students prefer the limited space of the block—it isn’t as intimidating to them as all that openness of an 18 inch (or thereabouts) quilt sandwich. For others, the blocks are seriously claustrophobic, and they prefer to noodle around. So I encourage them to do what makes things most comfortable….. and boy did these ladies go to town!
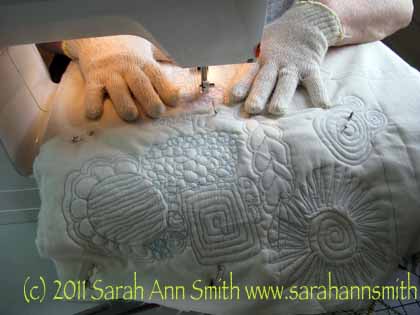
Free-motion play!
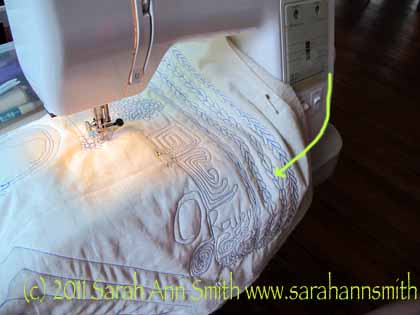
I love the way this one looks like braided leather. The student wasn't too wild about the feathers on the far right, I think because she was being critical of the shapes of the petals which weren't as smooth as she wanted. However, it is a great look with the thin feather plumes on a straight stem grouped like this. I think I'll have to find a way to use this...great for sashings and borders!
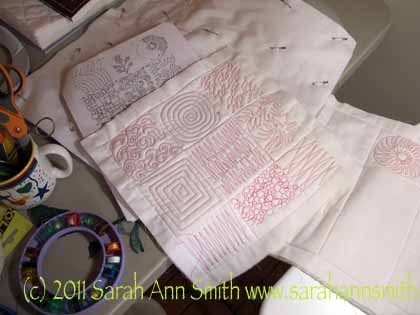
Red! I ask students to use a highly contrasting thread on top and a matching thread on the bottom. I know this is evil. We are so much more critical of readily visible mistakes, but it makes diagnosing tension problems SO much easier--you can actually see what is happening, then write notes onto the white fabric as a reminder of what you did to correct the issues. I'll take the piece and walk a few feet away, then turn it over to where the thread matches the back, and students are always surprised at how good their beginner work looks with just a few more feet distance and matching color!
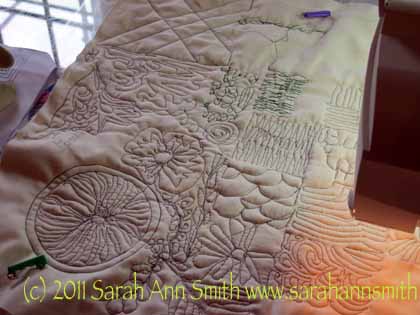
Another red...I think she was having fun!
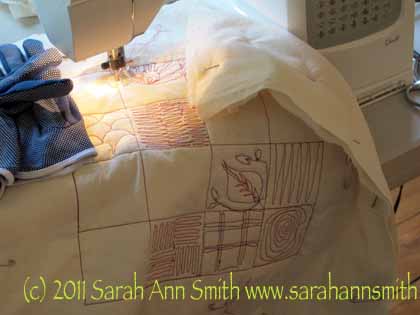
Another, done within the grid
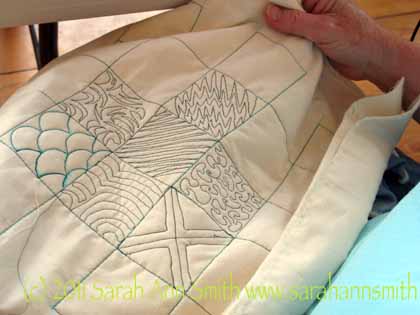
And a blue one...
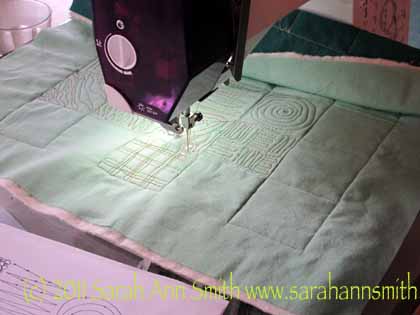
And one more in progress at the machine
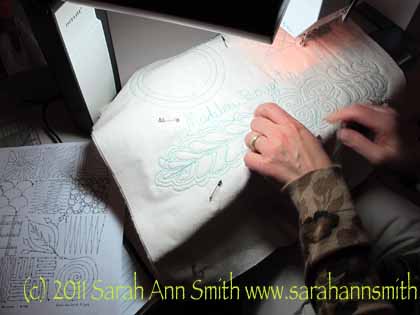
Noone ever believes me when I say that it is easy to write with the sewing machine, but apart from one lady who didn't try (in another class long ago) every single student who has tried to write their name, CAN and does! Your hands know where to go...think how many rent and grocery checks you've signed in your life! Remember how hard it was back in first grade to make the shapes of the letters, and now you don't even think about it? That is muscle memory and practice. Ditto for quilting!
Sunday was a half-day session with a few parts of my Fine Finishes class, about edge finishes, bindings and display techniques. The program chairs decided to focus on the basic and essential double-fold bias binding, which is the basis of so many other techniques, and piping. I taught Susan K. Cleveland’s way of making piping using the Piping Hot Binding tool. As so often is the case, it is a simple idea that is brilliant, with some of the best written directions ever. I heartily recommend this tool–tho it may seem expensive for a piece of plexiglass, the instructions are SO worth every penny! You can find it here at her website, Pieces be With You. It was so much fun watching the ladies learn how to make the piping, use the tool, and then get totally jazzed about the possibilities of using the piping alone, in combination with other stuff (like inserted into the bias binding, alone, etc)! And yep…I was so busy trying to cram the most into a half day that I didn’t take pictures!
Thanks again ladies for a wonderful weekend!
After Enfield, I drove south and lectured the next night for the Chelmsford (Massachusetts) Quilt Guild –and of course no pictures– but really enjoyed that visit, too. I had forgotten that I’d be teaching at a Quilters Gathering in NH, and some asked what classes I’d be teaching. I didn’t know, but one lady kindly checked for me (she’s on the board) so I was able to share that, too. I’ll have to put the classes I teach at shows onto my class listings…where I post where I’ll be teaching on the Classes page of this website. Add that to the to-do list! I’ll be back here soon with more of the stuff that has been keeping me from blogging…stay tuned!
