I’m Living “The Quilt Life”
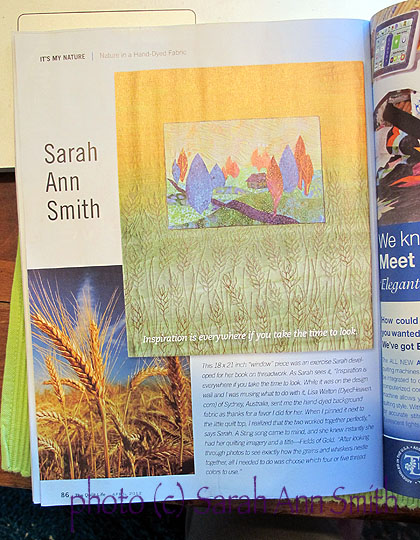
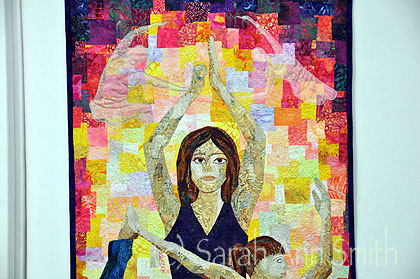
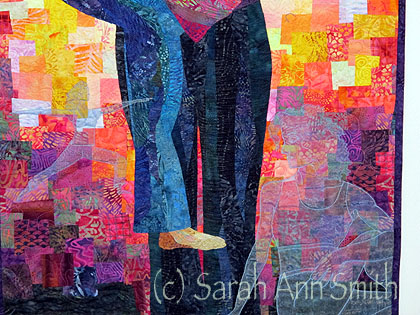
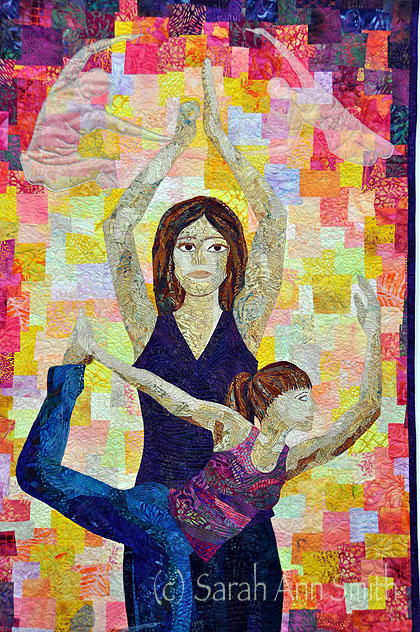
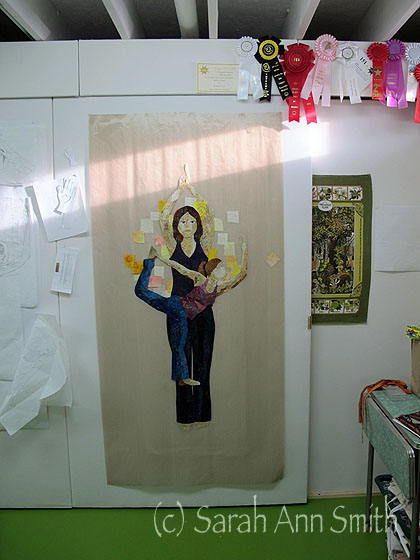
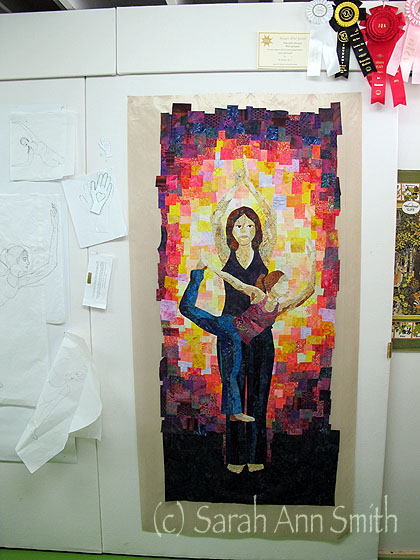
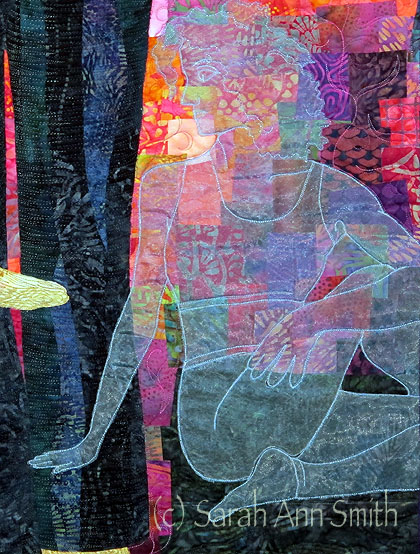
Friday, March 23rd, 2012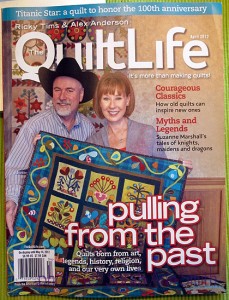 WOWIE ZOWIE! When you’re a quilter, there are a couple of real “biggie” things that can happen. Getting in to one of the major shows (done that), winning an award at a big show (done that! Second Place at Houston, Honorable Mention at the NQA show), being published (done that, a lot fortunately), but up there with winning an award is being on the cover (still hoping) of a major magazine, or featured on the last page in what I think of as the Grand Finale page where most magazines profile one quilt. Guess what…… DONE THAT thanks to Jan Magee (editor) and company at The Quilt Life magazine, which is one of my favorite quilt magazines (along with Quilters Newsletter). My art quilt “Fields of Gold” made the final page!
Here is that last page, 86… I mean PINCH ME? Is this real?!?!?! It MUST be, because I finally have a copy in my happy hands!
And talk about WOW… they included me on the page with the other quilters in this issue…what a line-up…and me, next to them!!! Plus, I’m right next to the amazing Suzanne Marshall, who was my roomie when I taught at AQS-Paducah in 2008. Suzanne is so much fun! I can hardly believe I’m on the page where, in the last issue, Noriko Endo’s quilt was featured! Who ME?????
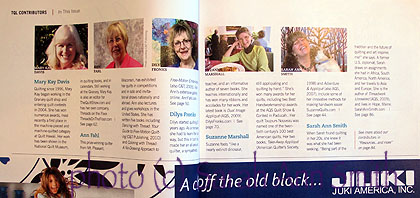
The quilters in this issue page....I'm on the right and LOVE that they chose my favorite "head shot"...the one with the dog! so much more fun than the usual mug shot! It's a PUG shot!
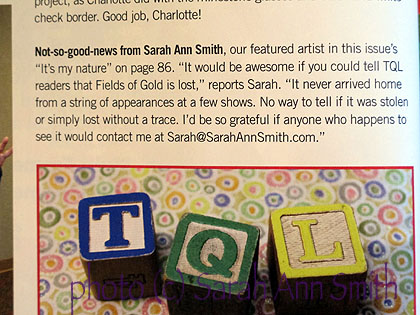
And a final bit of kindness… I had thought this would end up only on their website or blog (blog link here), but it’s on p. 18–a note that this quilt is, sadly, one of two lost. The whole sad story is here. Thanks so much, Jan, for adding this note. If there is any hope of someone spotting this quilt, this will help SOOOOOO much!
Thank you to Jan Magee, the wonderful editor of The Quilt Life, for asking to publish my quilt, to Ricky, Alex and the entire gang that put together The Quilt Life for such a fun magazine….now I’m off to read it cover to cover and pinch myself yet again… wow, this really happened!

