Filming 3 segments for Quilting Arts TV! Part 1
Wednesday, April 2nd, 2014WOWIE what a wonderful thing! In February, when my friend Susan Brubaker Knapp was tapped to take over the hosting duties for Quilting Arts TV when Pokey Bolton stepped down (Pokey is now the Chief Creative Officer for Quilts, Inc., the wonderful folks that bring us Quilt-Mecca aka International Quilt Festival), Susan asked me if I would like to be on the show! YOU BETCHA! And what a wonderful six weeks it has been, prepping step-outs and samples and driving to Ohio to tape the three segments.
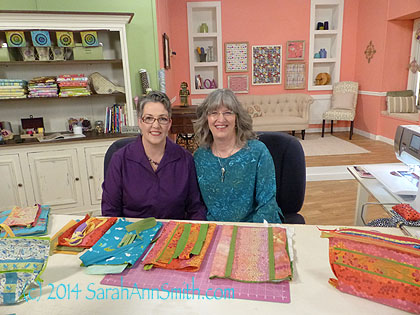
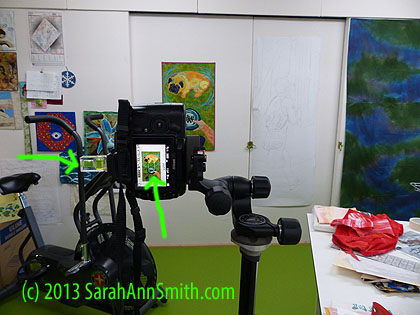
Getting ready to roll tape for my first segment on Quilting Arts TV, Series 1400. On set with host Susan Brubaker Knapp. I show you how to make my incredibly versatile Inside-Out Bag so you can customize size, pockets, techniques for the outside (pieced, applique, surface design). The bag is quick and easy so it also makes a great special gift.
If any of you are on Facebook, you may have seen the images Susan, Vivika Hansen DeNegre (executive Editor for Quilting Arts), I and other guests have posted, but here are some more. And one of the best parts is, just like Houston, getting to meet folks in person that you first met online. Jeannie Cook-Delpit of Bernina was there to help with the machines, and Sue Reno and I taped the same day so it was a blast to meet her. Sue appears to do things the way I do: be prepared to the max and pack in tons of great information. Sue also taped a DVD workshop on her cyanotype process that I know is going to be great! I’m so looking forward to seeing Series 1400 which will begin airing on PBS in July.
First: many thanks to Pokey Chatham Bolton, an amazing woman with vision and talent and drive: who knew when she fell in love with crazy quilting and started a magazine in the back of her in-law’s sheep barn that Quilting Arts would become what it is today! I spoke with her after finding Issue #2 on the stand and called up to subscribe! What a long way you’ve come and how much you have accomplished, Pokey!
Second: many thanks to the sponsors of the show including Bernina of America, Coats and Clark, Havel’s Scissors and AQS. THANK YOU for bringing this show to the happy quilters of the world!
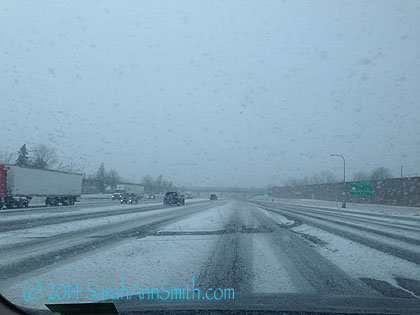
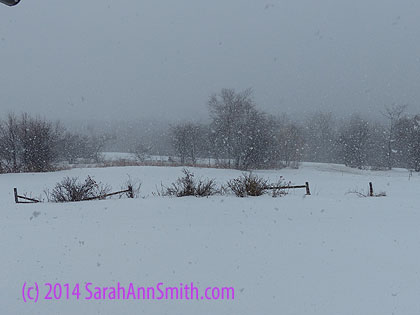
I’m somewhere near the Pennsylvania-New York border on the Thruway driving toward Solon, Ohio (near Cleveland) where the show tapes. I chose to drive rather than fly–I hate airports! It didn’t take much longer than flying, I could take everything with me, and listen to audio books en route.
The trip from Maine to Ohio was 835 miles each way, so a full day and a half. I left at 8 a.m. Tuesday and arrived in Ohio just in time for lunch.
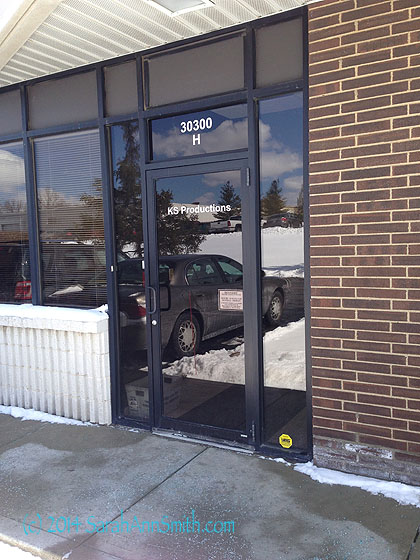
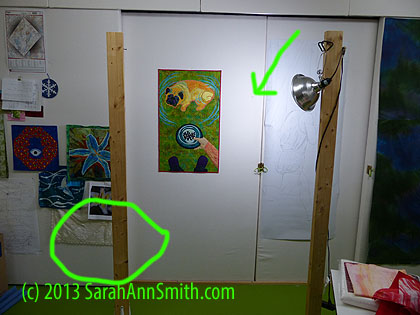
This unassuming door is the entrance to the company (owned by a woman–YEAH!) that films and produces the show. Well organized, lots of good pre-taping information and support–great staff! Thank you Kathie, Katherine and all the crew that make us look good.
Susan Brubaker Knapp is a wonderful artist, teacher, mother, friend, and she is going to be WONDERFUL as host. They are keeping the format the same in general, but introducing a few small changes, first among them is that instead of three segments in a half hour, there will sometimes be two longer segments so we can share more in-depth information. Susan is handling the chaos of taping with aplomb, asking great questions, and I couldn’t have felt more relaxed or comfortable with Susan, Vivika, Helen Gregory (now VP for Content at F+W/Interweave) and Kristine Lunblad of Quilting Arts. Thank you to Kristine for taking all of these photos…it was so funny: she’d have three cameras around her neck and as many phones to take the requisite “on set” photos for each segment.
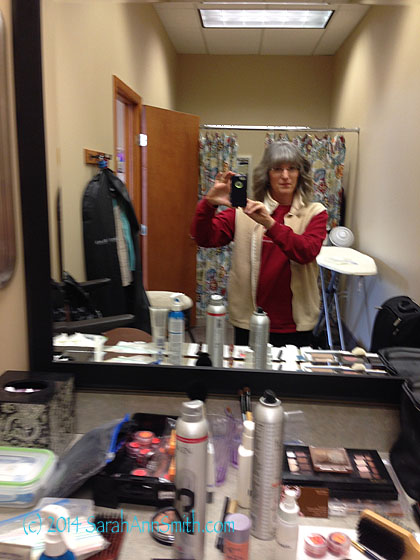
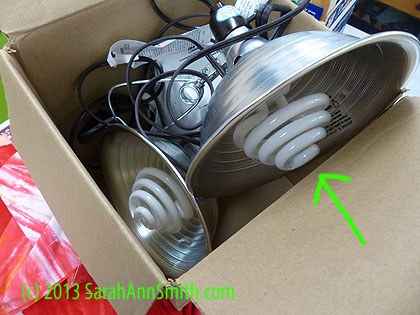
TV lights do weird things to make up, so when taping for TV or a DVD workshop, a professional comes in to do your make up so you look good on camera. Thank you Sue, because you succeeded! Here I am taking a sorta blurry selfie after Sue worked her magic at the make-up/hair station.
The guests (meaning those of us on the show) were invited to bring outfit changes for our different episodes They film 12 or 13 episodes at a time. If you’ve seen the show in the past, you know Pokey had on a different outfit in each episode. But the guests are in multiple episodes, and they all tape the same day. So Susan had to change about a thousand times (well maybe five to seven) a day. They have a bulletin board up with photos of Susan in outfit and jewelry, with “Day 1,” “Day 2” et cetera, so they could keep track of what she needed to be wearing for which segment/episode. So I went in and looked at the photos to pick which of my tops to wear so we’d look good together.
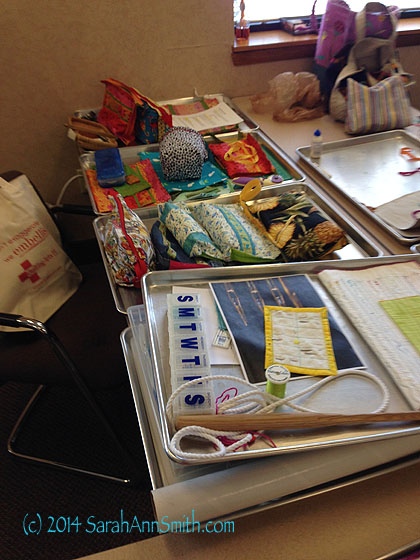
Some of the trays for my segments: the rear three are for the bags (the last tray is all the different bags I’ve made with this method), plus the one for the thread-needles segment. PS: Marie Z. J.: see your black-white-gray thread-catcher bag on the second tray? I love it so much I brought it to use on set!
On the day I arrived, I set out all my stuff for the segments on trays (like great big sheet cake pans). I guess I had a lot for the bags segment, as one staffer asked if I was taping a workshop (60-75 minutes) as well as a segment (mine were 10-12 minutes each). Hmmm. Over-prepared?
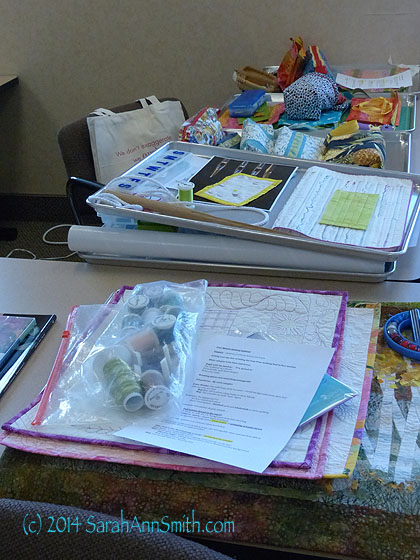
And the last tray, for my free-motion quilting segment on taking the leap from walking foot to beginner designs. Thanks to Jenny Bowker (website here) for allowing me to adapt one of her teaching methods and share the way I teach it on the episode. While we’re speaking of Jenny, she has just undergone surgery for breast cancer in her Australian homeland. Let’s all send MASSIVE healing light and comfort and “nuke the cancer into oblivion” thoughts to speed along her recovery. Go, JENNY!
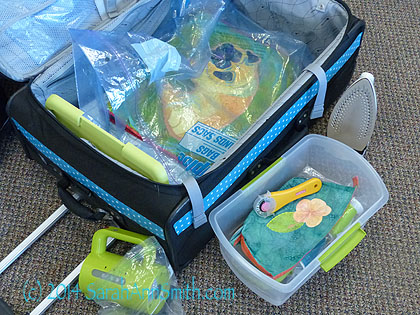
And my suitcase, emptied of projects but with a few quilts to decorate the set still inside. And my take-with-me electric kettle which I take when driving. Nothing like a relaxing cup of decaf tea (made properly with boiling water!) at the end of a long teaching day on the road!
To close, a special Thank-you to hubby, who totally didn’t mind that I spent our 31st anniversary driving to Ohio and setting up my trays!
Next blogpost: Taping my segments on Thursday!
A note: where I live in rural Maine, alas we don’t get QA TV on our local PBS affiliate. In some markets, the creative shows are on a PBS spin-off channel called CREATE TV. If you get your TV on cable, you will likely be able to catch the show on air. We have DirectTV, and alas no joy. But you will be able to purchase the entire series or individual episodes (download only on the latter) once the series airs.