Thermofax screens galore!
Wednesday, October 8th, 2014I promised I’d share more of the thermofax screens I have designed and that Fiber on a Whim is making and selling, so here they are. You can order these online or buy them at International Quilt Festival and other shows where Fiber on a Whim has a booth.
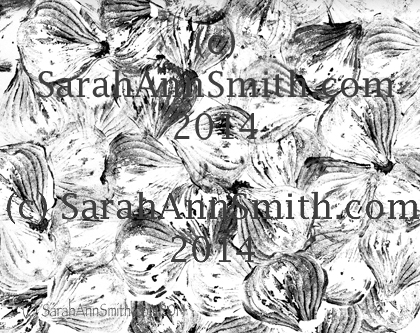
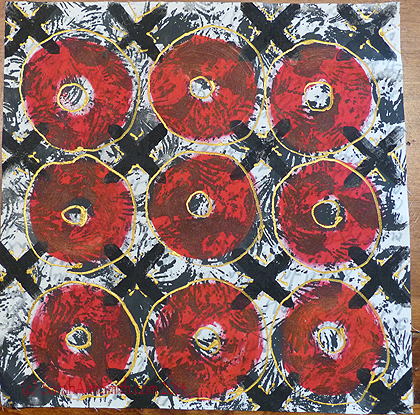
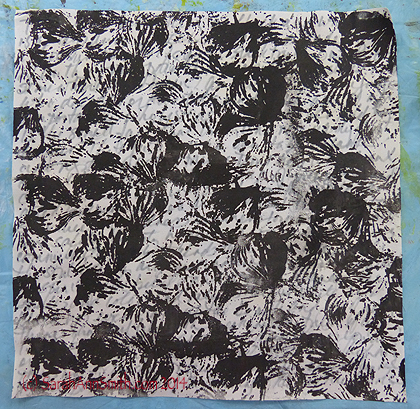
Onions is one of my favorite designs. I used a small white onion to stamp, then fiddled with the print in photoshop to create this screen. It makes a fantastic background print or part of a layered piece of complex cloth.
I’m teaching two mini Whimsy-Classes in the Fiber on a Whim booth on the show floor at Quilt Festival, and we’ll be using the onion screen for oen of the two small projects in the classes. For more information on this, visit here. There is no advance sign up–come to the booth and the first 8 in line 15 minutes before the classes get in. The modest $10 fee covers the kit fee–I provide everything you need.
The screens are so new I don’t even have some of them yet!
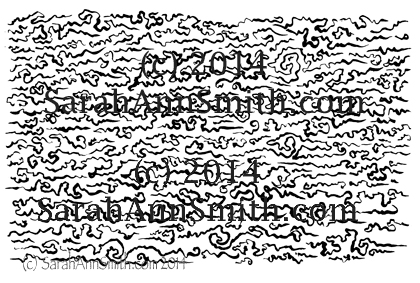
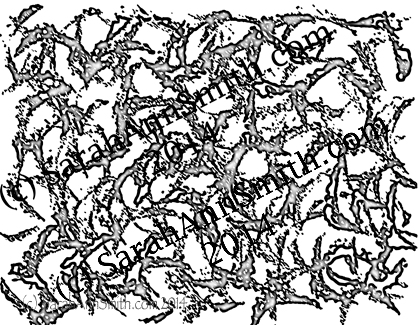
Squiggles thermofax screen by Sarah Ann Smith at FiberonaWhim.com
Woven, thermofax screen design. Sometimes you just want a bit of something. This is a full-size screen so you can print as much or as little of the screen as you like. With the somewhat irregular edges, it is easily overlapped.
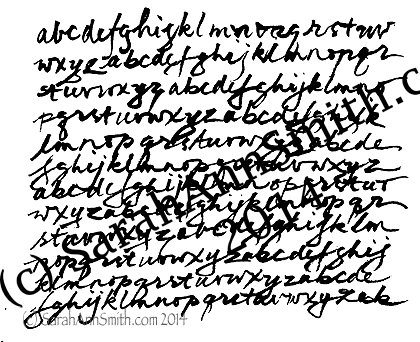
One of FoaW’s best-selling thermofax screens is an old French ledger, so we thought we’d try an alphabet, hand-written by me in a brush pen. Again, a good background design, which is what I was going for with most of my designs.
Another vegetable–this time celery!
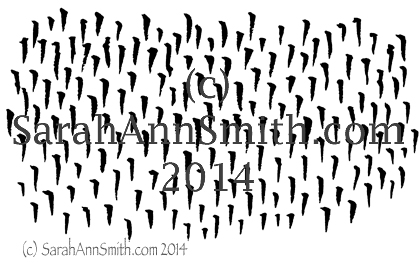
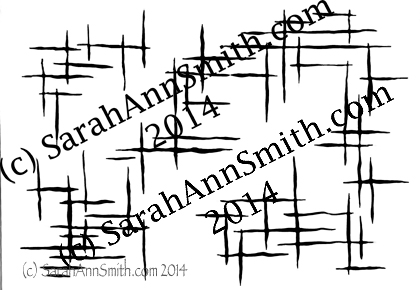
The dagger-drops screen is a smaller size because you can easily repeat it. It will be fun to play with this, alternating the direction of the print 90 degrees or at diagonals or every which way.
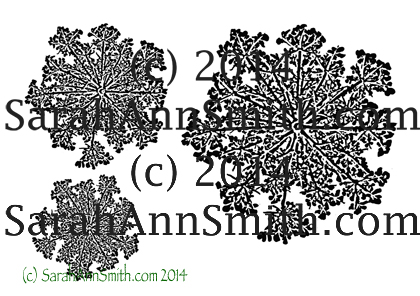
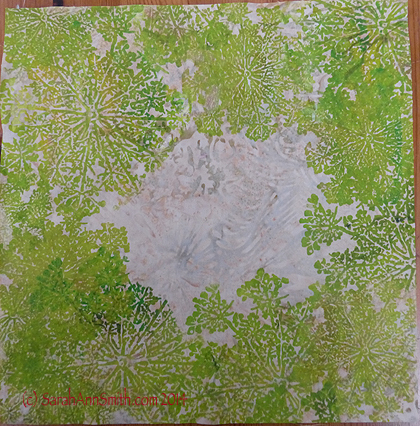
The Queen Anne’s lace is from a photo I took, modified in photoshop elements, then scaled into three sizes. We will use this in the mini Whimsy-Classes project you can see in this blogpost.
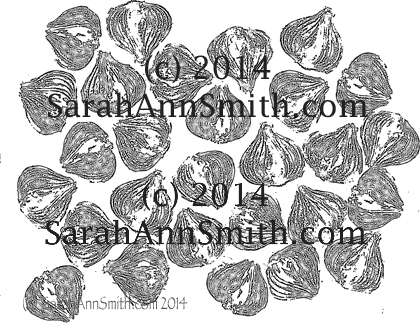
Another onion print, a full size (9×12 inch) screen, that I call Tossed Onions.
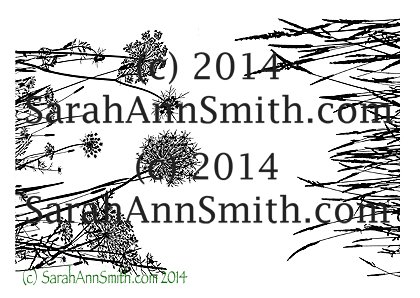
Grasses, a full size screen with two ends to use. Kristin of FoaW requested this one–I had ordered it earlier for one of my own projects.
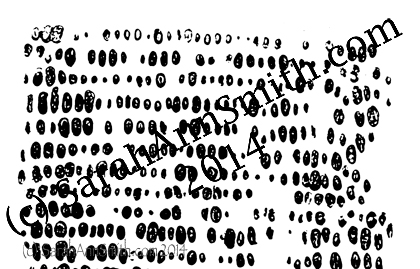
And last but not least, another great background print design, corn! Yep, I sacrificed an ear of corn on the cob for the sake of art.
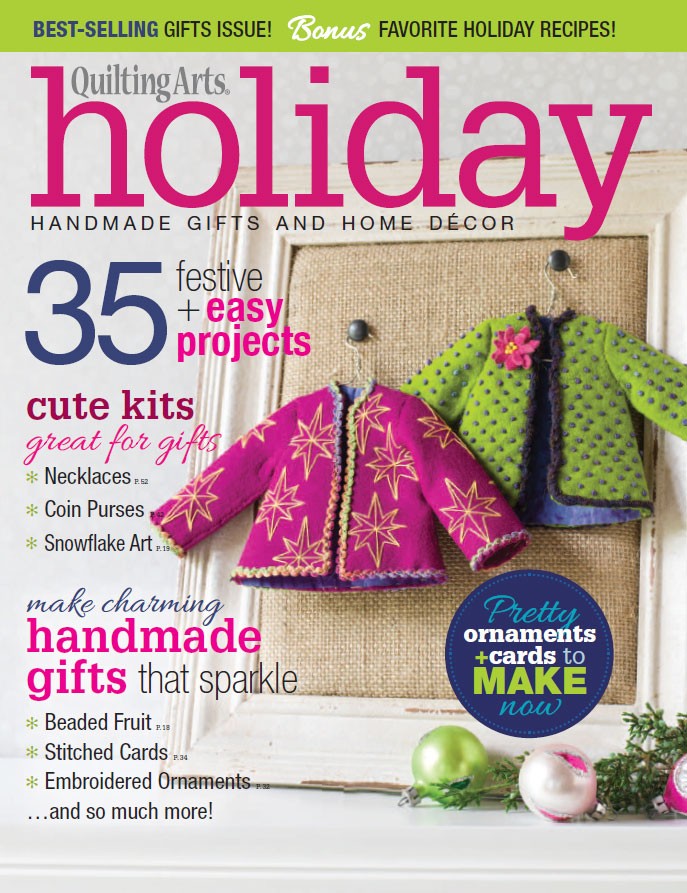
In a few days I’ll do a review of Lynn Krawczyk’s great new book, Intentional Printing. It will give you TONS of ideas on how to use thermofax screens and other surface design techniques. Stay tuned! Here’s a link to Lynn’s website in the meantime, and she’s a ton of fun and on Facebook here.
And just in case you don’t feel like scrolling to the top but want to see the website where the screens are sold, here’s the link one more time! I can’t wait to go to Quilt Festival, but I’m also looking forward to returning to my studio and playing with paint and thermofax screens!