HQ Sweet 16 for sale
Tuesday, September 6th, 2016Update: machine is sold! Just under a year ago I took delivery of a wonderful machine: the HQ Sweet 16 sit-down quilting machine. It has both regular and ruler feet, all the regular parts. In outstanding working order, well maintained, clean. I’ve got all the original packing materials for transporting it to you. I’m also including 14 M-class bobbins (empty) and a bunch of appropriate machine needles. I will say the HQ dealer and tech support is OUTSTANDING. I’ve decided to upgrade, and need to sell this one to make way for the next beastie. MSRP is $5,599. For sale for $3995 plus shipping. If you live within a 4 1/2 hour drive of Camden, Maine, I’ll deliver to your driveway free of charge!
Contact Sarah at the Contact Me page or comment on this post.
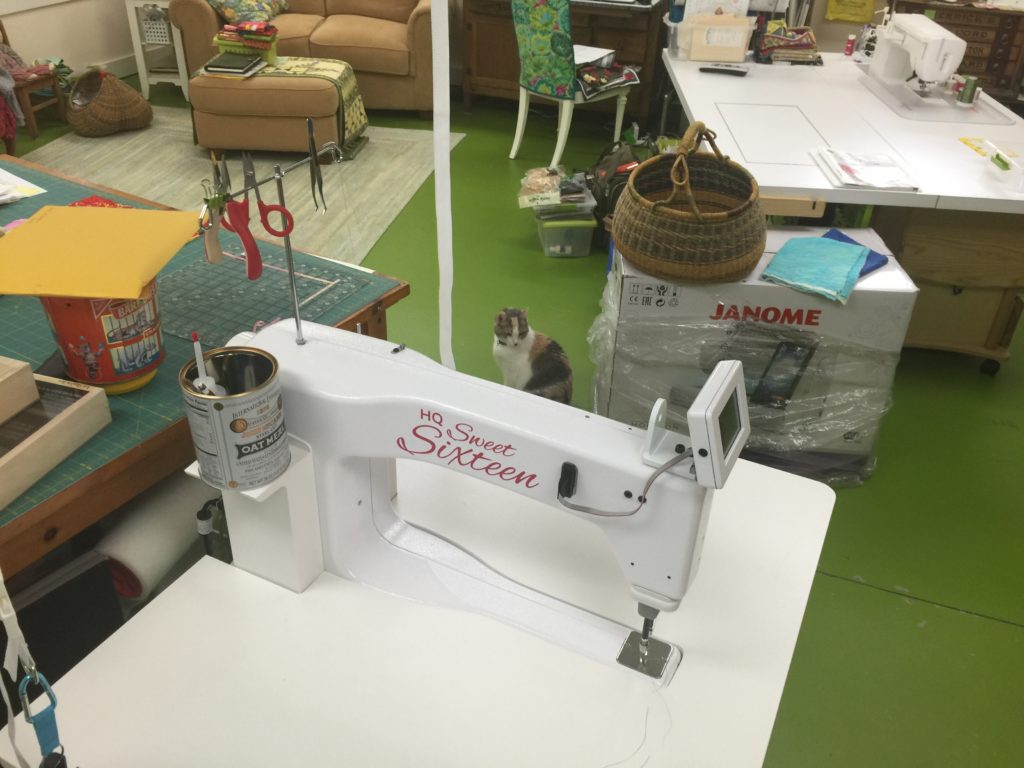
HQ Sweet Sixteen for Sale (Sept 2016), just under one year old, mint condition. Cat not included. This is the most recent version of the Sweet 16 and has the thread tension information (so it’s not a guessing game). Does not have a stitch regulator, but it can easily be added (consult with your local Handiquilter dealer).
Straight on view of HQ Sweet Sixteen for sale. Leave a comment or use the contact me page at SarahAnnSmith.com if you are seriously interested and have questions. More pictures at end of blogpost.
Here are three quilts I have quilted on this beauty, so you can see the quality of the stitching:

Umbelliferous: Queen Anne’s Lace No. 1, quilted on the Sweet Sixteen sit-down machine for sale. ©SarahAnnSmith.com
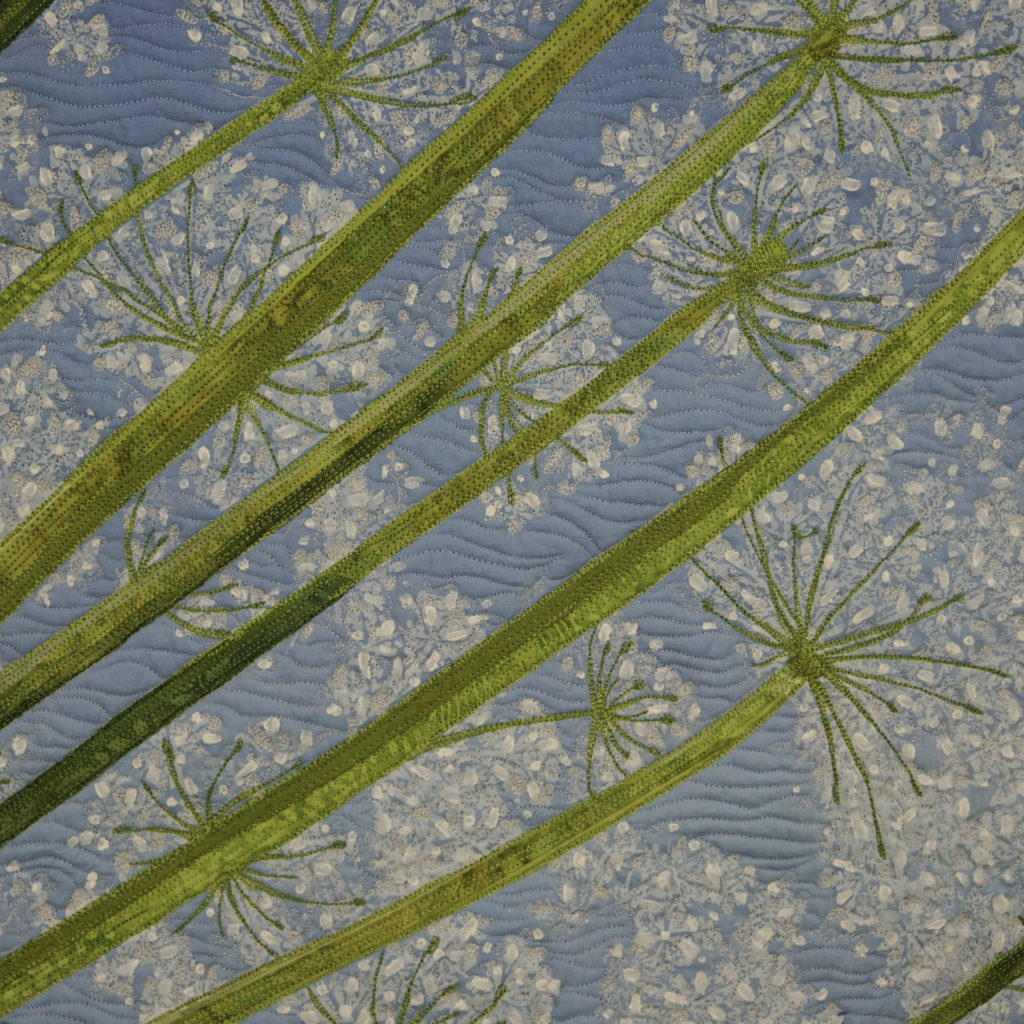
Detail showing quality of stitching, Umbelliferous: Queen Anne’s Lace No. 1, (c) Sarah Ann Smith.com
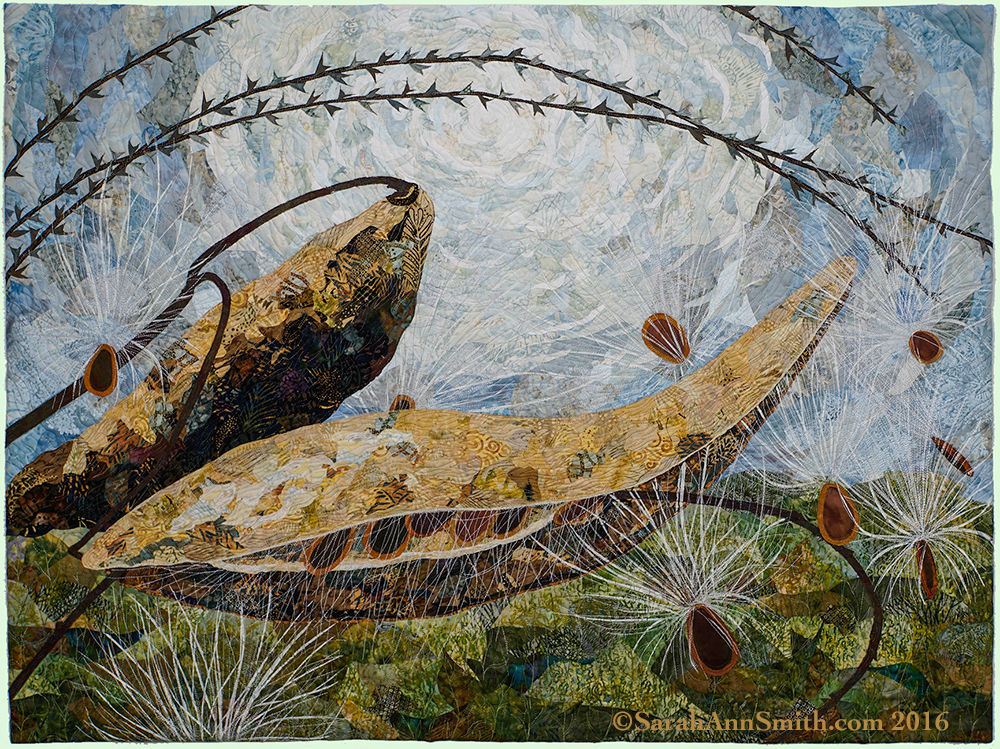
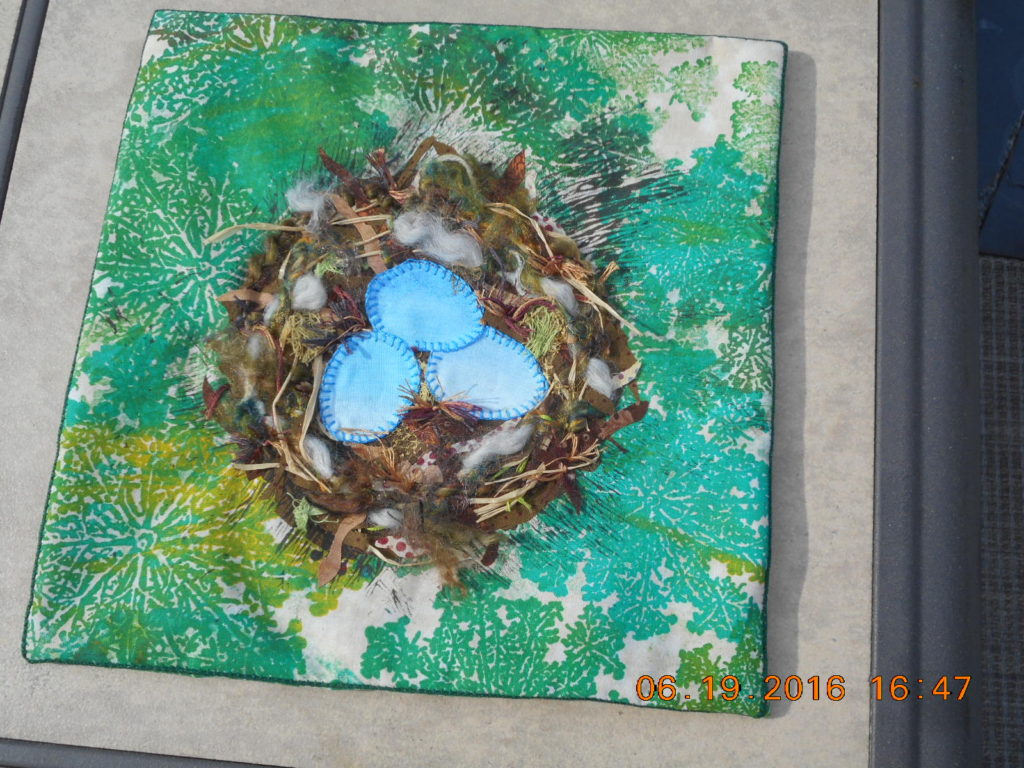
Milkweed No. 1, ©SarahAnnSmith.com. Quilted on the Sweet 16 that is for sale.
![]()

My most recent work, Peony, quilted on the Sweet 16. ©SarahAnnSmith.com
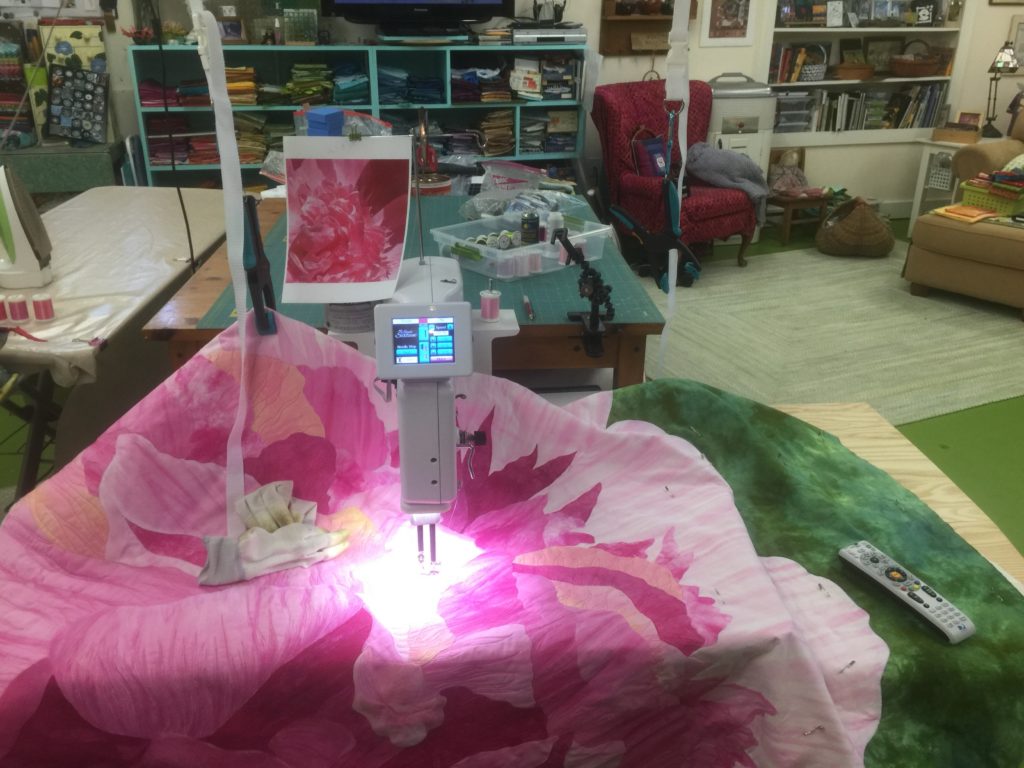
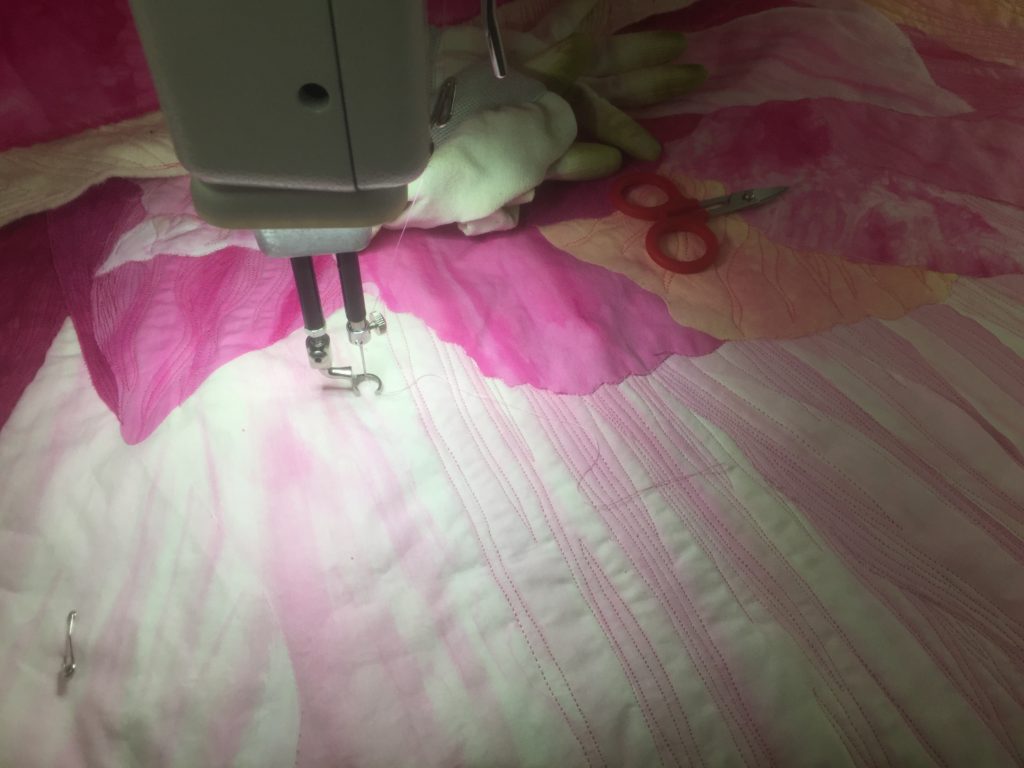
Working on the lighter petals on the big peony quilt. It will finish about 45×55 I think…..depends on how much I trim off and/or turn to the back.

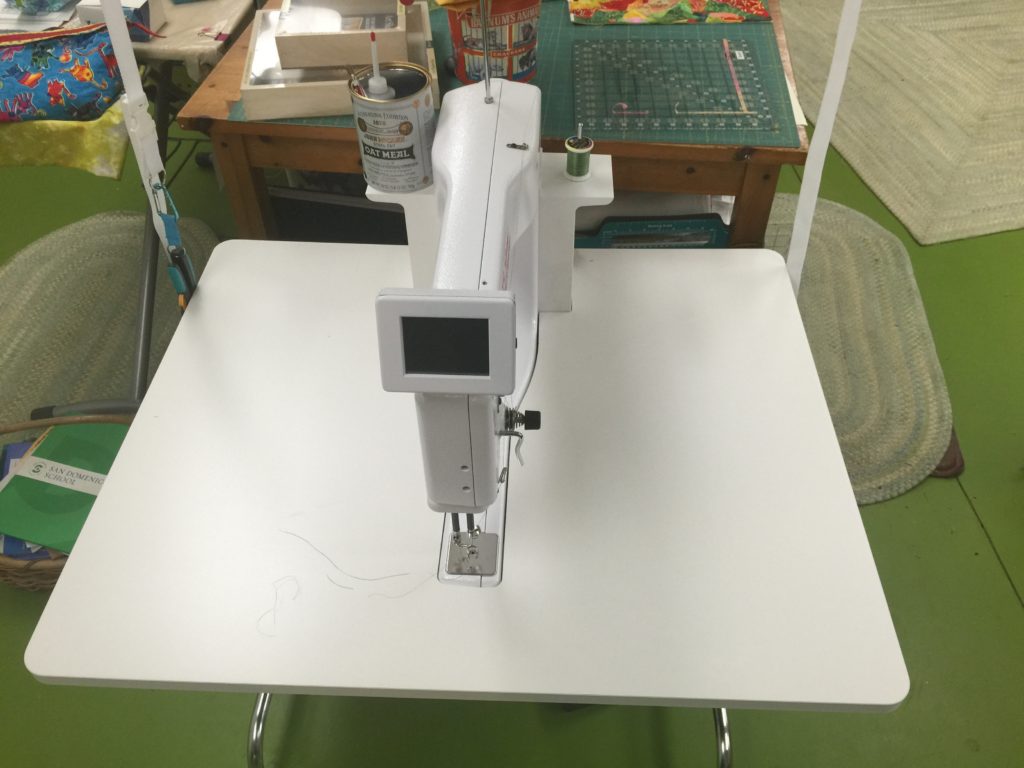
Side view.
HQ Sweet Sixteen, less than a year old, for sale! Contact Sarah at the Contact Me page or comment on this post.