In my last post, I told you about my new series of workshops. Click here (or scroll down) to read the previous post. The first workshop, From Photo to Flower Collage, can be a one or two-day workshop. This time, it will be two-days (click here for more information, there are just a couple spots left). The second workshop, ThreadColoring the Flower (click here) is booked this time as a one-day class.
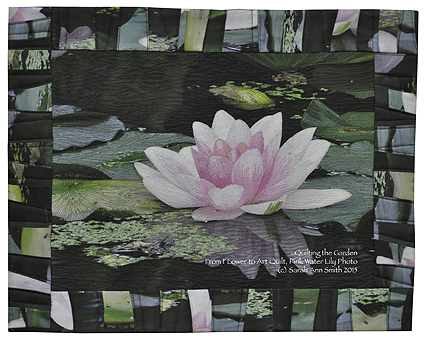
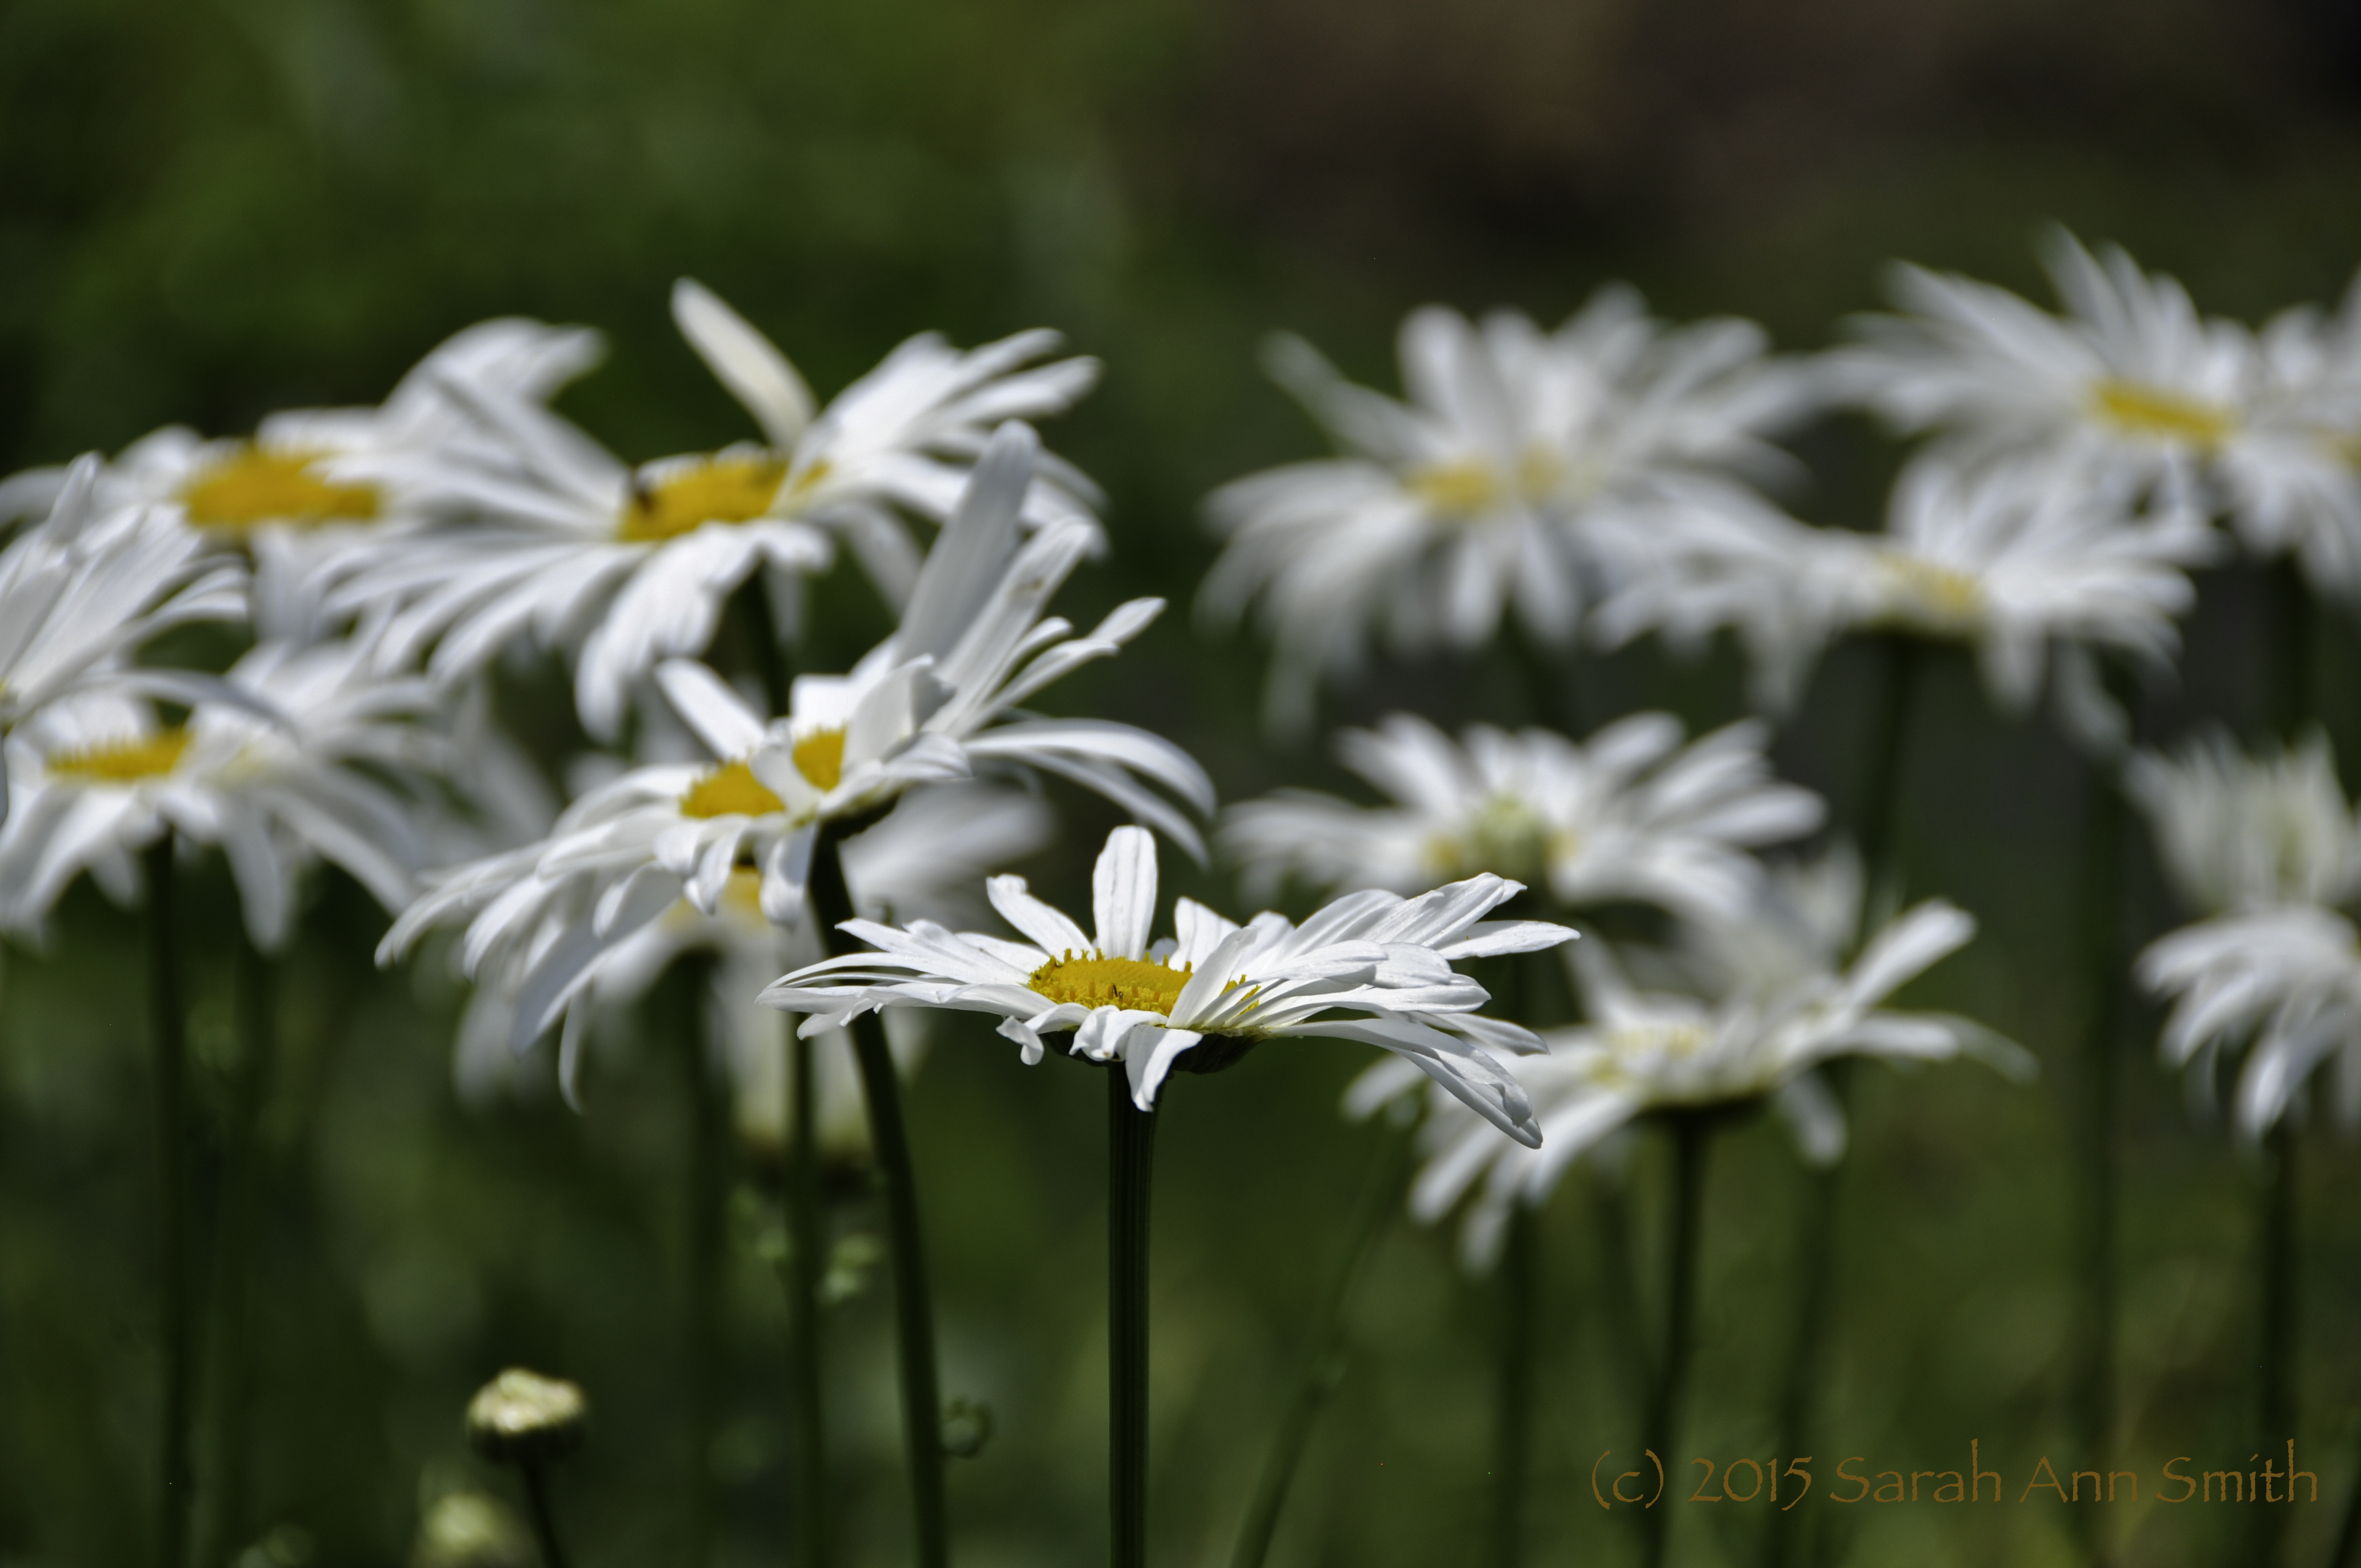
The Pink Water Lily from my ThreadColoring the Flower workshop. www.SarahAnnSmith.com (c) 2015
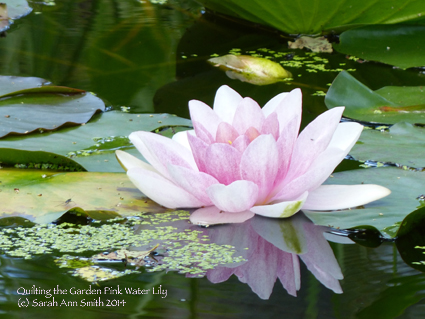
The water lily photo for the workshop. Photo (c) SarahAnnSmith

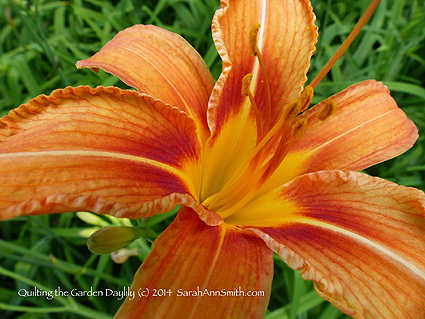
The Close up of the wild Day Lily, also used in the workshop. (c) Sarah Ann Smith. PS: Sorry about all the watermarking and copyright notices–after the incident where someone created derivative copies of my work, I’m being even more diligent about marking stuff. So sad to have to do this!
Again, students begin with a choice of two images: the pink water lily or the orange day lily. This time, however, students choose in advance which flower, because I provide them with a photo printed onto cotton sateen (done at Spoonflower). Why? You know how you go to a workshop, and are lucky if you get the top done in time to begin quilting at the end of the day? I wanted students to have the entire day to learn how to use and blend the thread so that they learn the process. If they begin with the image already on the cloth, they can get straight to the thread-coloring without worrying about “messing up” the top on which they worked so hard.
Along with the approx. 11 x 14 inch photo-on-fabric, the kit includes five spools of Superior Threads 40-wt. trilobal polyester thread for quilting the flower (students need to provide their own greens or purchase additional–I wanted to keep the cost of the kit down by requiring only the threads needed for the flower), and stabilizer to help prevent distortion from the dense stitching. We’ll talk about tension, needles, stabilizing for dense thread-work and more. However, if students wish, after working a bit on the photo-on-fabric, they are welcome to switch over and start quilting their collaged flower (if they were in the Photo to Flower Collage workshop, of course).
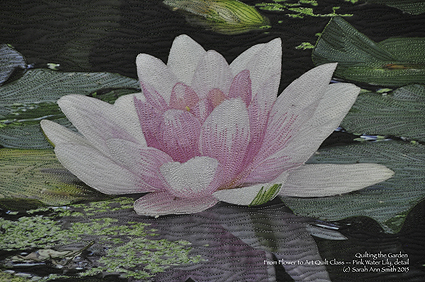
Detail of the Pink Water Lily shows the dense stitching.
For my Water Lily quilt, I took a second photo, cut it up, and used it as a frame for the small quilt. The Day Lily is simply quilted and aced, as are most of my art quilts, with no border.
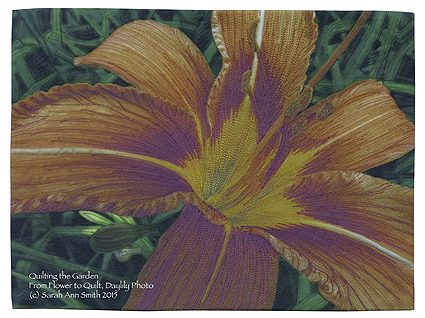
Quilted DayLily.
I’m so psyched about the trip to North Carolina–I’ll get to meet internet friends who are taking the class, and spend THREE DAYS with some of them, plus visit Program Chair Debby Harwell, whom I met in a dyeing workshop with Carol Soderlund (at ProChem in Massachusetts) lo these many years ago. This is gonna be a blast! I can’t wait to share what the students do. Now, I just need to figure out how to take photos and blog from my ipad!